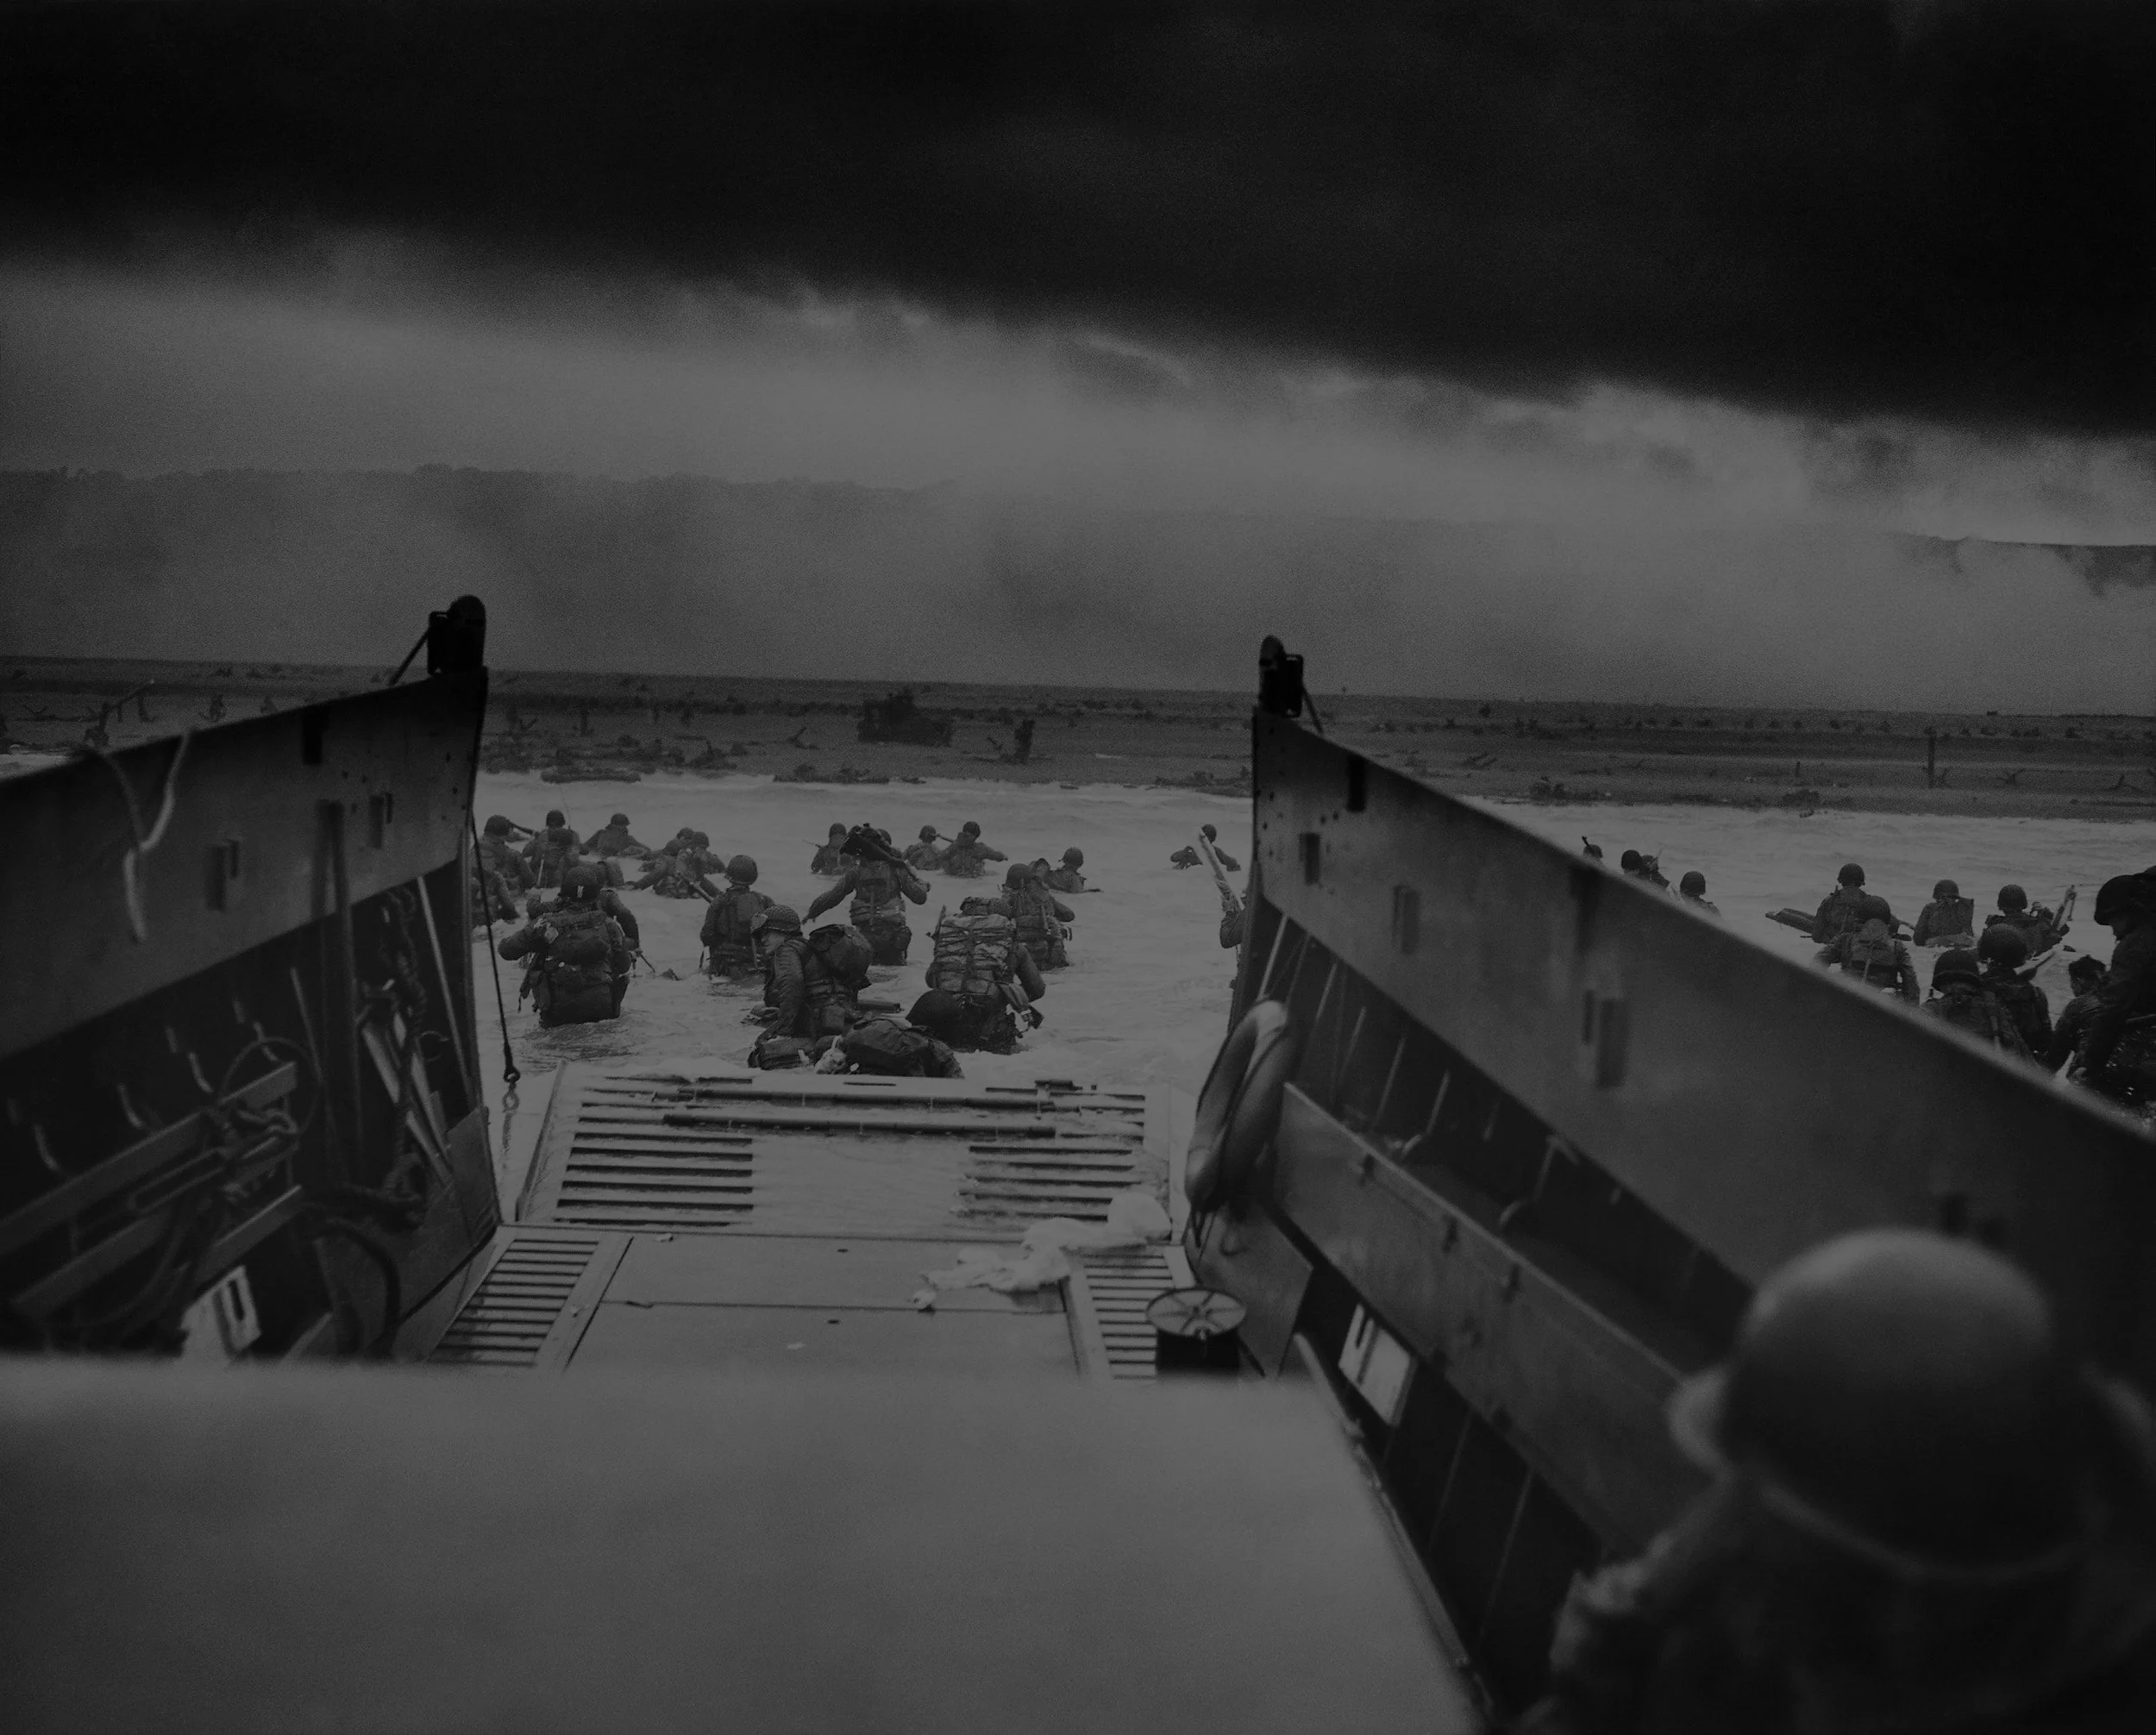


WEAR YOUR PIECE OF WORLD WAR II HISTORY…
MADE FROM A JUNE 6TH, 1944 D-DAY PARACHUTE
This exclusive limited edition World War II D-Day relic parachute watch was created from an authentic June 6, 1944 U.S. Airborne paratrooper camouflage parachute that was recovered and preserved from “Drop Zone C” between Sainte-Mère-Église and Sainte-Marie-du-Mont.
EXCLUSIVE PRICE OF $395
LIMTED EDITION OF 200
SUPPORTS VETERAN NON-PROFITS

WWII: 1941-1945 European Theater Allied Combat Maps
WWII 1941-1945 original Allied battlefield maps used during some of the most infamous battles in the ETO.

WWII: Battlefield Recovered Bullets, Casings, & Shrapnel
WWII European Theater & Pacific Theater battlefield recovered “FIRED” bullets, bullet casings, and shrapnel.

WWII: 1941-1945 Pacific Theater Allied Combat Maps
WWII 1941-1945 original Allied battlefield maps used during some of the most infamous battles in the PTO.
- Museum Collection-
Authentic WWII Artifacts Ready for Immediate Display
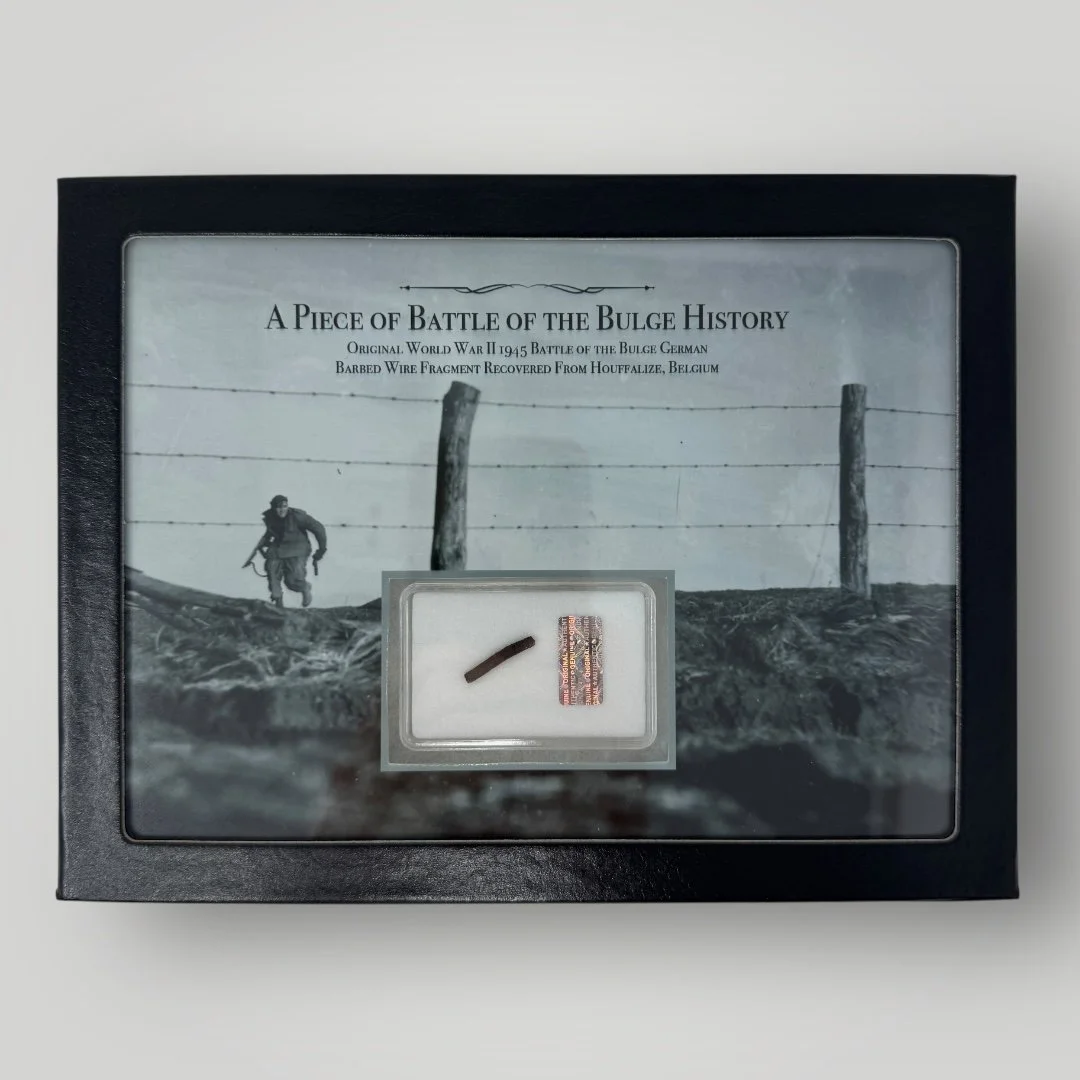
Comes with a hand-signed Certificate of Authenticity and a full historical research write-up.
*Ships via USPS Priority Mail in a medium box with full insurance, tracking, and signature confirmation required upon delivery!
Display Size: 6.25 x 8.25 inches (Medium/Large Display Size)
From: World War II - European Theater
Historical Piece of WWII History Included: Original World War II 1945 Battle of the Bulge German Barbed Wire Fragment Recovered From Houffalize, Belgium
Dated: 1945
Exclusive WWII Relic Display: Limited Edition of 50
________________________
🇺🇸A PROUD U.S.A. COMPANY - OUR PROCESS🇺🇸
Each of our “Piece of History” displays is meticulously hand-made, one-of-a-kind, and created to honor and preserve the legacy of World War II. Our in-house graphic design team carefully pairs every relic with a high-resolution archival photograph directly tied to the historical context of the relic itself. Every display includes a custom title and an historical description, providing meaningful insight into the artifact’s significance. Printed on premium matte photographic paper, each display is housed in a high-quality 6×8 frame proudly made in the U.S.A. To ensure both preservation and presentation, the artifact is placed on plush archival padding inside a UV-resistant clear acrylic case. Before being sealed, each piece is authenticated by our archivists and secured with a tamper-proof authentication hologram. This dual-layered display is designed to be instantly ready for your home, office, or collection…whether on a desk, wall, or shelf. Own your piece of WWII history today!
________________________
#1. Historical Significance:
Houffalize, tucked into the frozen folds of the Ardennes, became a hard fought crossroads during the final phase of the Battle of the Bulge, where shattered roads, narrow valleys, and constant shelling turned every mile into a contest of will. As American forces closed in from multiple directions in January 1945, German defenders relied heavily on field obstacles, especially barbed wire, to slow the advance and protect their withdrawals. The wire was not neatly laid. It was tangled between trees, stretched across roads, and layered in front of small strongpoints, forcing U.S. infantry to cut, crawl, and bunch up under fire while also watching for mines hidden in the snow. In the forests and along the approaches to Houffalize, even a single strand could halt a patrol, expose a squad, or turn a quiet movement into a deadly moment. Among the U.S. units operating in and around the Houffalize sector were elements of the 82nd Airborne Division, which held key ground to the north, along with armored and infantry forces from the 3rd Armored Division, the 11th Armored Division, and infantry divisions such as the 87th, 84th, and 90th, all converging as the German bulge collapsed. In this battered landscape, barbed wire became more than an obstacle. It was a silent partner to bullets and shells, shaping the fight in small, cruel ways, and reminding every soldier that in the Ardennes, even the simplest defenses could decide who moved forward and who did not.
#2. Why This Display is Special:
Our "Piece of History" displays are a tangible connection to one of the most pivotal moments in WWII history. Carefully curated and designed, each display transforms an authentic fragment of WWII history into a breathtaking and meaningful tribute to the past. Whether you're a passionate history enthusiast, a proud descendant of a WWII veteran, or simply someone who values the sacrifices made for freedom, this limited edition display offers a unique way to honor the legacy of the Greatest Generation. Each display invites conversation, reflection, and a deeper appreciation for the courage and resilience of the U.S. soldiers who fought in the European Theater. It stands not only as a stunning display but as a reminder of the bravery, sacrifice, and enduring spirit that helped shape the modern world. Let this display spark curiosity, inspire remembrance, and preserve the memory of those who fought for liberty for generations to come.
🇺🇸We are deeply honored to preserve these powerful pieces of history…not only for the world-renowned museums we curate for, but also for private collectors like yours! For this special display, 50% of all sales from this “Piece of History” display will be donated to the non-profit Honor Flight Network. Honor Flight is committed to transporting as many U.S. military veterans as possible to Washington, D.C., where they can visit the memorials dedicated to their service and sacrifice—all at no cost to them. Thank you for joining us in preserving history and honoring the heroes who helped shape it. 🇺🇸
This display would make an extraordinary addition to any WWII or military history collection. For further details or inquiries, please don’t hesitate to reach out.
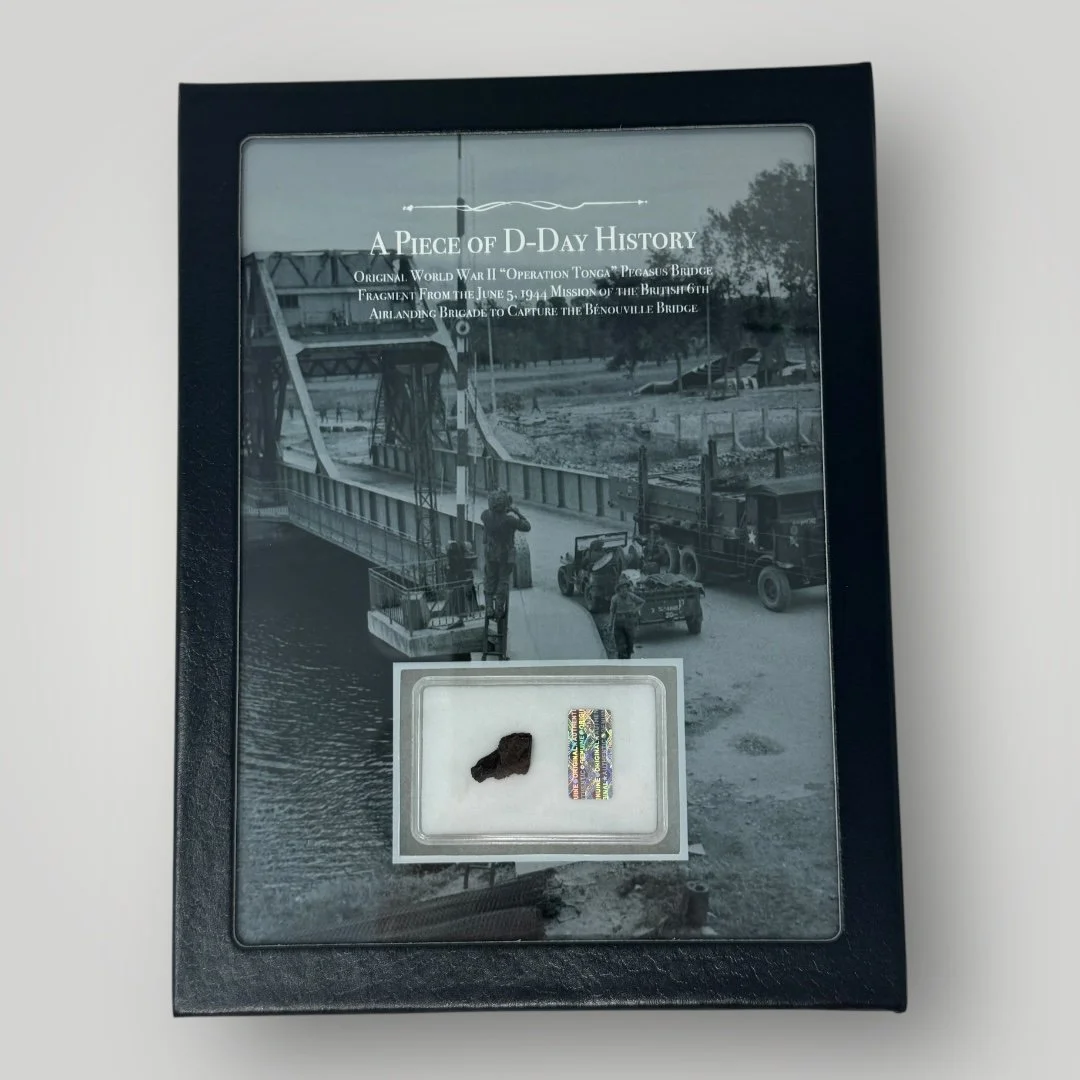
Comes with a hand-signed Certificate of Authenticity and a full historical research write-up.
*Ships via USPS Priority Mail in a medium box with full insurance, tracking, and signature confirmation required upon delivery!
Display Size: 6.25 x 8.25 inches (Medium/Large Display Size)
From: World War II - European Theater
Historical Piece of WWII History Included: Original World War II Operation Tonga Pegasus Bridge Fragment From the June 5th, 1944 Mission of British 6th Airlanding Brigade to Capture the Bénouville Bridge
Dated: 1944
Exclusive WWII Relic Display: Limited Edition of 50
________________________
🇺🇸A PROUD U.S.A. COMPANY - OUR PROCESS🇺🇸
Each WWII "Piece of History" is carefully presented in a hand-crafted display made in the U.S.A. to honor and preserve its history. Our team pairs every piece of history with high-resolution archival photographs that connect directly to the moment it represents. The result is not just a display. It is a preserved story. Housed in a premium 6×8 large display frame, each presentation features a custom title, a detailed historical description, and a protective UV resistant acrylic cover with plush archival padding beneath the artifact. Every component is selected to protect the piece while elevating its visual and historical impact. Each piece is also fully authenticated, sealed with a tamper proof hologram, and prepared for confident display in your home, office, or private collection. Own a true piece of the past and preserve its legacy for generations to come.
________________________
#1. Historical Significance:
Pegasus Bridge stands as one of the most symbolically powerful sites of the Second World War, not because of its size or firepower, but because of the precision, courage, and urgency that defined its capture. Located at Bénouville over the Caen Canal in Normandy, the bridge controlled a critical gateway between the eastern flank of the Allied landing beaches and the interior of France. On the night of June 5, 1944, it became the first objective of the D Day invasion to be successfully seized by Allied forces. Its capture ensured that German armored units could not counterattack the vulnerable British landing beaches of Sword Beach from the east, while also providing the Allies with a secure route inland.
This operation was part of Operation Tonga, the airborne phase of the British contribution to Operation Overlord. Operation Tonga assigned the British 6th Airborne Division with an extraordinary mission. They were to land deep behind enemy lines under cover of darkness, secure vital bridges, destroy key infrastructure, and hold their positions until relieved by seaborne forces. Their objectives included the bridges over the Caen Canal and the Orne River, the destruction of the Merville artillery battery, and the protection of the eastern flank of the entire invasion. Failure at Pegasus Bridge would have placed the Sword Beach landings in immediate danger of German armored counterattack.
The assault on Pegasus Bridge was executed by a specially selected force from the 6th Airlanding Brigade, led by Major John Howard of the Oxfordshire and Buckinghamshire Light Infantry. Rather than parachuting, Howard’s men arrived in six Horsa gliders, towed across the English Channel and released in near silence just minutes after midnight. The landing was one of the most remarkable feats of navigation and piloting of the war. The gliders touched down only yards from the bridge, despite darkness, obstacles, and enemy defenses. Within moments, British troops were rushing the bridge, engaging German guards at close range with rifles, grenades, and bayonets.
The fight was brief but violent. German defenders were taken by surprise, yet resistance was fierce in pockets. Lieutenant Den Brotheridge, one of the first men across the bridge, was mortally wounded and is widely regarded as the first Allied officer killed on D Day. Despite this loss, the British secured the bridge in roughly ten minutes. The bridge was quickly renamed Pegasus Bridge in honor of the winged horse emblem of the British Airborne Forces. Nearby, a second force captured the Orne River bridge, later known as Horsa Bridge, ensuring both crossings were firmly in Allied hands.
The role of the British 6th Airlanding Brigade did not end with the initial assault. After the capture, the soldiers were tasked with holding the bridge against repeated German counterattacks. They faced infantry assaults, mortar fire, and armored threats, often with limited heavy weapons and little cover. Relief finally arrived when Lord Lovat’s commandos advanced from Sword Beach, famously led by bagpiper Bill Millin, crossing Pegasus Bridge to link up with the airborne troops. This moment symbolized the successful union of airborne and amphibious forces, a central goal of Operation Overlord.
Strategically, the capture of Pegasus Bridge was decisive. It prevented German Panzer divisions from moving rapidly toward Sword Beach, protected the vulnerable eastern flank of the invasion, and provided a stable corridor for Allied expansion inland. Tactically, it demonstrated the effectiveness of airborne and glider forces when combined with precise planning and leadership. Morally, it became a symbol of Allied daring and professionalism, proving that bold, small scale actions could shape the outcome of an entire campaign.
#2. Why This Display is Special:
Our "Piece of History" displays are a tangible connection to one of the most pivotal moments in WWII history. Carefully curated and designed, each display transforms an authentic fragment of WWII history into a breathtaking and meaningful tribute to the past. Whether you're a passionate history enthusiast, a proud descendant of a WWII veteran, or simply someone who values the sacrifices made for freedom, this limited edition display offers a unique way to honor the legacy of the Greatest Generation. Each display invites conversation, reflection, and a deeper appreciation for the courage and resilience of the Allied soldiers who fought in the European Theater. It stands not only as a stunning display but as a reminder of the bravery, sacrifice, and enduring spirit that helped shape the modern world. Let this display spark curiosity, inspire remembrance, and preserve the memory of those who fought for liberty for generations to come.
🇺🇸We are deeply honored to preserve these powerful pieces of history…not only for the world-renowned museums we curate for, but also for private collectors like yours! For this special display, 50% of all sales from this “Piece of History” display will be donated to the non-profit Honor Flight Network. Honor Flight is committed to transporting as many U.S. military veterans as possible to Washington, D.C., where they can visit the memorials dedicated to their service and sacrifice—all at no cost to them. Thank you for joining us in preserving history and honoring the heroes who helped shape it. 🇺🇸
This display would make an extraordinary addition to any WWII or military history collection. For further details or inquiries, please don’t hesitate to reach out.
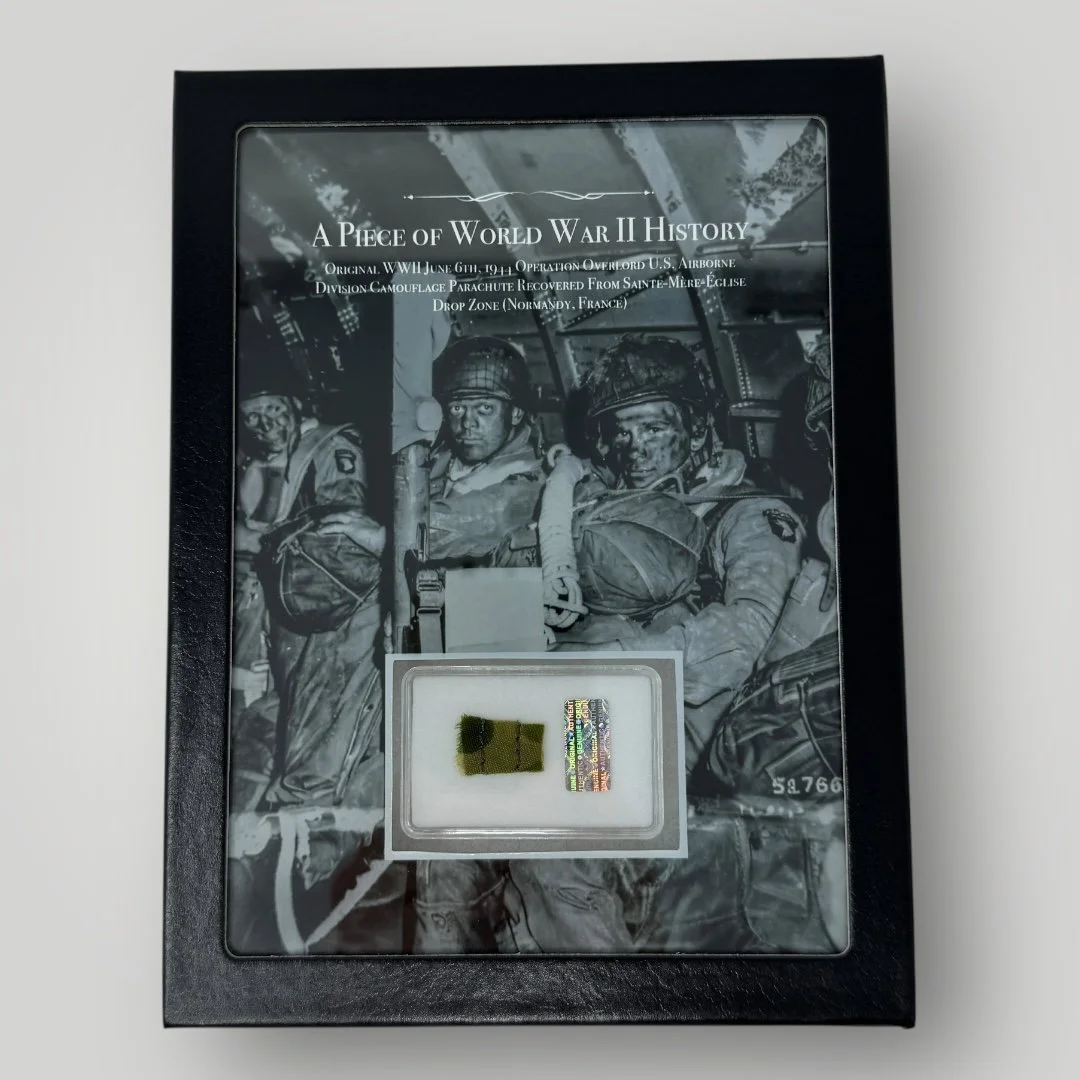
Comes with a hand-signed Certificate of Authenticity and a full historical research write-up.
*Ships via USPS Priority Mail in a medium box with full insurance, tracking, and signature confirmation required upon delivery!
Display Size: 6.25 x 8.25 inches (Medium/Large Display Size)
From: World War II - European Theater
Historical Piece of WWII History Included: Original World War II June 6th, 1944 Operation Overlord U.S. Airborne Division Paratrooper Camouflage Parachute Recovered From Sainte-Mère-Église Drop Zone (Normandy, France)
Dated: 1944
Exclusive WWII Relic Display: Limited Edition of 50
________________________
🇺🇸A PROUD U.S.A. COMPANY - OUR PROCESS🇺🇸
Each of our “Piece of History” displays is meticulously hand-made, one-of-a-kind, and created to honor and preserve the legacy of World War II. Our in-house graphic design team carefully pairs every relic with a high-resolution archival photograph directly tied to the historical context of the relic itself. Every display includes a custom title and an historical description, providing meaningful insight into the artifact’s significance. Printed on premium matte photographic paper, each display is housed in a high-quality 6×8 frame proudly made in the U.S.A. To ensure both preservation and presentation, the artifact is placed on plush archival padding inside a UV-resistant clear acrylic case. Before being sealed, each piece is authenticated by our archivists and secured with a tamper-proof authentication hologram. This dual-layered display is designed to be instantly ready for your home, office, or collection…whether on a desk, wall, or shelf. Own your piece of WWII history today!
________________________
#1. Historical Significance:
The U.S. Airborne Division drop zone surrounding Sainte Mère Église on June 6, 1944 stands as one of the most historically powerful and emotionally charged landscapes of Operation Overlord, because it was here, in the dark hours just after midnight, that the first American soldiers of the invasion stepped into occupied France. More than 13,100 paratroopers of the 82nd Airborne Division and the 101st Airborne Division descended across the Normandy countryside in a storm of German antiaircraft fire, burning C-47 aircraft engines, tracer rounds, and drifting parachutes that turned the sky into a battlefield before a single Allied soldier reached the beaches.
Sainte Mère Église became the first liberated town in France, secured largely by men of the 82nd Airborne’s 505th Parachute Infantry Regiment, alongside elements of the 507th and 508th Regiments, while the 101st Airborne landed to the south near Utah Beach to secure causeways and prevent German reinforcements from reaching the coast. Many paratroopers were scattered miles from their intended drop zones, yet they regrouped in small, improvised units and fought with extraordinary determination, turning barns, hedgerows, and churchyards into strongpoints that disrupted German communications and defenses at a critical moment.
#2. Why This Display is Special:
Our "Piece of History" displays are a tangible connection to one of the most pivotal moments in WWII history. Carefully curated and designed, each display transforms an authentic fragment of WWII history into a breathtaking and meaningful tribute to the past. Whether you're a passionate history enthusiast, a proud descendant of a WWII veteran, or simply someone who values the sacrifices made for freedom, this limited edition display offers a unique way to honor the legacy of the Greatest Generation. Each display invites conversation, reflection, and a deeper appreciation for the courage and resilience of the U.S. soldiers who fought in the European Theater. It stands not only as a stunning display but as a reminder of the bravery, sacrifice, and enduring spirit that helped shape the modern world. Let this display spark curiosity, inspire remembrance, and preserve the memory of those who fought for liberty for generations to come.
🇺🇸We are deeply honored to preserve these powerful pieces of history…not only for the world-renowned museums we curate for, but also for private collectors like yours! For this special display, 50% of all sales from this “Piece of History” display will be donated to the non-profit Honor Flight Network. Honor Flight is committed to transporting as many U.S. military veterans as possible to Washington, D.C., where they can visit the memorials dedicated to their service and sacrifice—all at no cost to them. Thank you for joining us in preserving history and honoring the heroes who helped shape it. 🇺🇸
This display would make an extraordinary addition to any WWII or military history collection. For further details or inquiries, please don’t hesitate to reach out.
Comes with a hand-signed Certificate of Authenticity and a full historical research write-up.
*Ships via USPS Priority Mail in a medium box with full insurance, tracking, and signature confirmation required upon delivery!
Display Size: 6.25 x 8.25 inches (Medium/Large Display Size)
From: World War II - European Theater
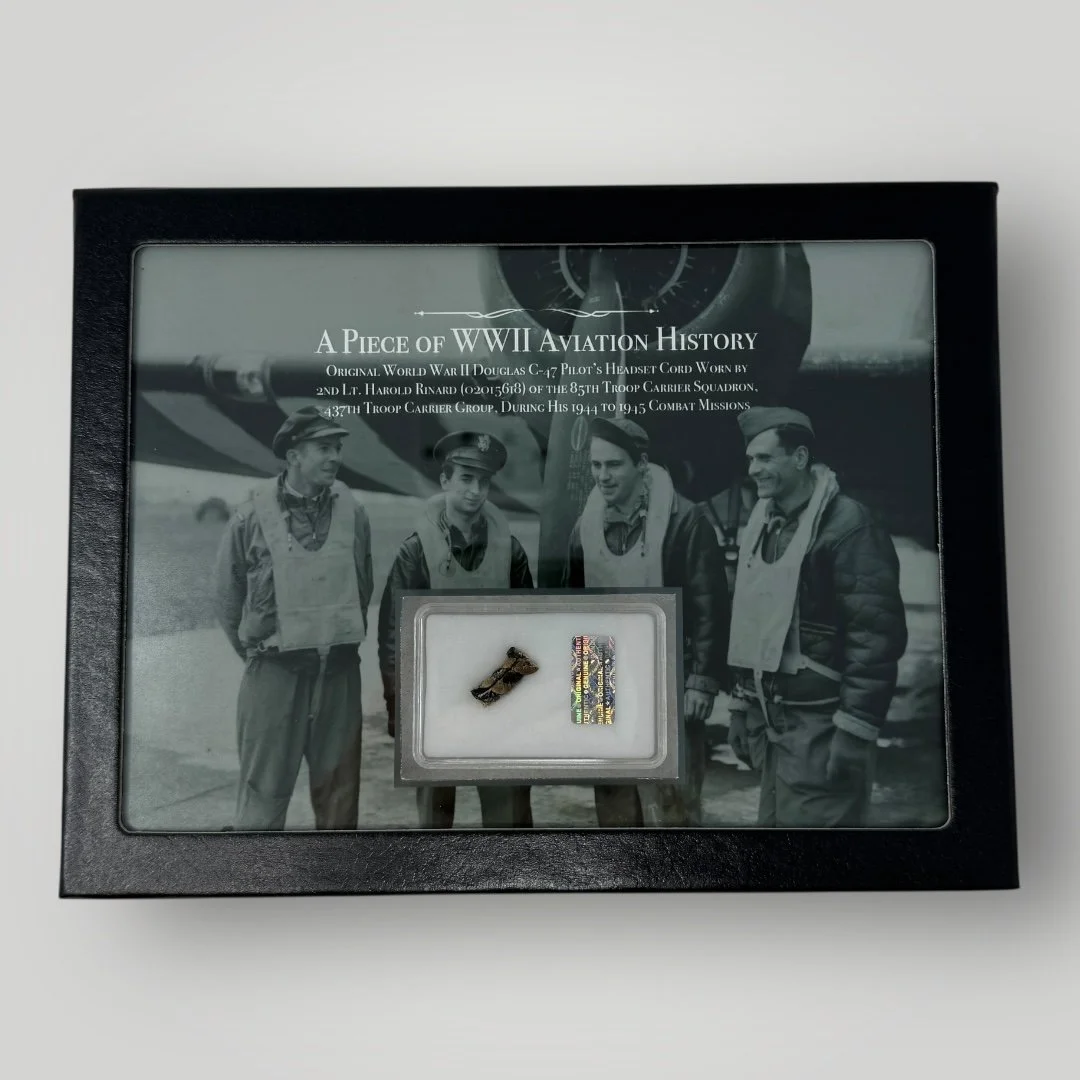
Historical Piece of WWII History Included: Original World War II Douglas C-47 Pilot’s Headset Cord Worn by 2nd Lt. Harold Rinard (02015618) of the 85th Troop Carrier Squadron, 437th Troop Carrier Group, During His 1944 to 1945 Combat Missions
Dated: 1944-1945
Exclusive WWII Relic Display: Limited Edition of 50
________________________
🇺🇸A PROUD U.S.A. COMPANY - OUR PROCESS🇺🇸
Each of our “Piece of History” displays is meticulously hand-made, one-of-a-kind, and created to honor and preserve the legacy of World War II. Our in-house graphic design team carefully pairs every relic with a high-resolution archival photograph directly tied to the historical context of the relic itself. Every display includes a custom title and an historical description, providing meaningful insight into the artifact’s significance. Printed on premium matte photographic paper, each display is housed in a high-quality 6×8 frame proudly made in the U.S.A. To ensure both preservation and presentation, the artifact is placed on plush archival padding inside a UV-resistant clear acrylic case. Before being sealed, each piece is authenticated by our archivists and secured with a tamper-proof authentication hologram. This dual-layered display is designed to be instantly ready for your home, office, or collection…whether on a desk, wall, or shelf. Own your piece of WWII history today!
________________________
#1. Historical Significance:
This exceptionally rare and museum grade World War II artifact is an original U.S. Army Air Forces airborne troop carrier C-47 pilot headset cord that was heavily “mission worn” in combat by 2nd Lt. Harold Rinard (02015618), a Douglas C-47 Skytrain pilot with the 85th Troop Carrier Squadron of the 437th Troop Carrier Group under the IX Troop Carrier Command of the Ninth Air Force, whose C-47 aircraft directly supported some of the largest airborne operations of the European Theater.
2nd Lt. Harold Rinard (02015618) served as a Douglas C-47 Skytrain pilot with the 85th Troop Carrier Squadron, 437th Troop Carrier Group, IX Troop Carrier Command, flying continuous combat missions during every major Allied airborne operation in Western Europe.
On June 6th and 7th, 1944, he flew into enemy fire during Operation Neptune, the airborne phase of D-Day, piloting his C-47 from RAF Ramsbury at low altitude across the English Channel while towing gliders into the Cotentin Peninsula in direct support of the 82nd Airborne Division, then returning on follow up sorties to deliver vital frontline equipment, rations, and medical supplies to isolated 101st and 82nd airborne units under constant flak and small arms fire.
In the weeks after the invasion, he flew repeated combat resupply and medical evacuation missions throughout France, landing in forward areas to deliver critical supplies and evacuate wounded soldiers.
In August 1944, Rinard deployed to the Mediterranean Theater for Operation Dragoon, flying airborne assault and resupply missions during the invasion of southern France before returning to England. He then flew heavily contested glider tow and resupply missions during Operation Market Garden in September 1944, sustaining airborne forces fighting deep behind enemy lines in the Netherlands.
During the Battle of the Bulge in December 1944, he flew winter resupply missions through storms and enemy fire to encircled American forces around Bastogne, delivering food, fuel, ammunition, and medical supplies that helped keep the line intact.
On March 24, 1945, Rinard participated in Operation Varsity, towing two gliders across the Rhine River and releasing them east of Wesel during the largest single day airborne assault of the war. In the final weeks of combat, he continued flying supply and evacuation missions across Germany before transitioning after Victory in Europe to humanitarian flights evacuating prisoners of war and displaced civilians, concluding a combat career defined by sustained airborne assault, precision flying, and repeated missions flown under fire from Normandy to the Rhine.
#2. Why This Display is Special:
Our "Piece of History" displays are a tangible connection to one of the most pivotal moments in WWII history. Carefully curated and designed, each display transforms an authentic fragment of WWII history into a breathtaking and meaningful tribute to the past. Whether you're a passionate history enthusiast, a proud descendant of a WWII veteran, or simply someone who values the sacrifices made for freedom, this limited edition display offers a unique way to honor the legacy of the Greatest Generation. Each display invites conversation, reflection, and a deeper appreciation for the courage and resilience of the U.S. soldiers who fought in the European Theater. It stands not only as a stunning display but as a reminder of the bravery, sacrifice, and enduring spirit that helped shape the modern world. Let this display spark curiosity, inspire remembrance, and preserve the memory of those who fought for liberty for generations to come.
🇺🇸We are deeply honored to preserve these powerful pieces of history…not only for the world-renowned museums we curate for, but also for private collectors like yours! For this special display, 50% of all sales from this “Piece of History” display will be donated to the non-profit Honor Flight Network. Honor Flight is committed to transporting as many U.S. military veterans as possible to Washington, D.C., where they can visit the memorials dedicated to their service and sacrifice—all at no cost to them. Thank you for joining us in preserving history and honoring the heroes who helped shape it. 🇺🇸
This display would make an extraordinary addition to any WWII or military history collection. For further details or inquiries, please don’t hesitate to reach out.
Comes with a hand-signed Certificate of Authenticity and a full historical research write-up.
*Ships via USPS Priority Mail in a medium box with full insurance, tracking, and signature confirmation required upon delivery!
Display Size: 6.25 x 8.25 inches (Medium/Large Display Size)
From: World War II - European Theater
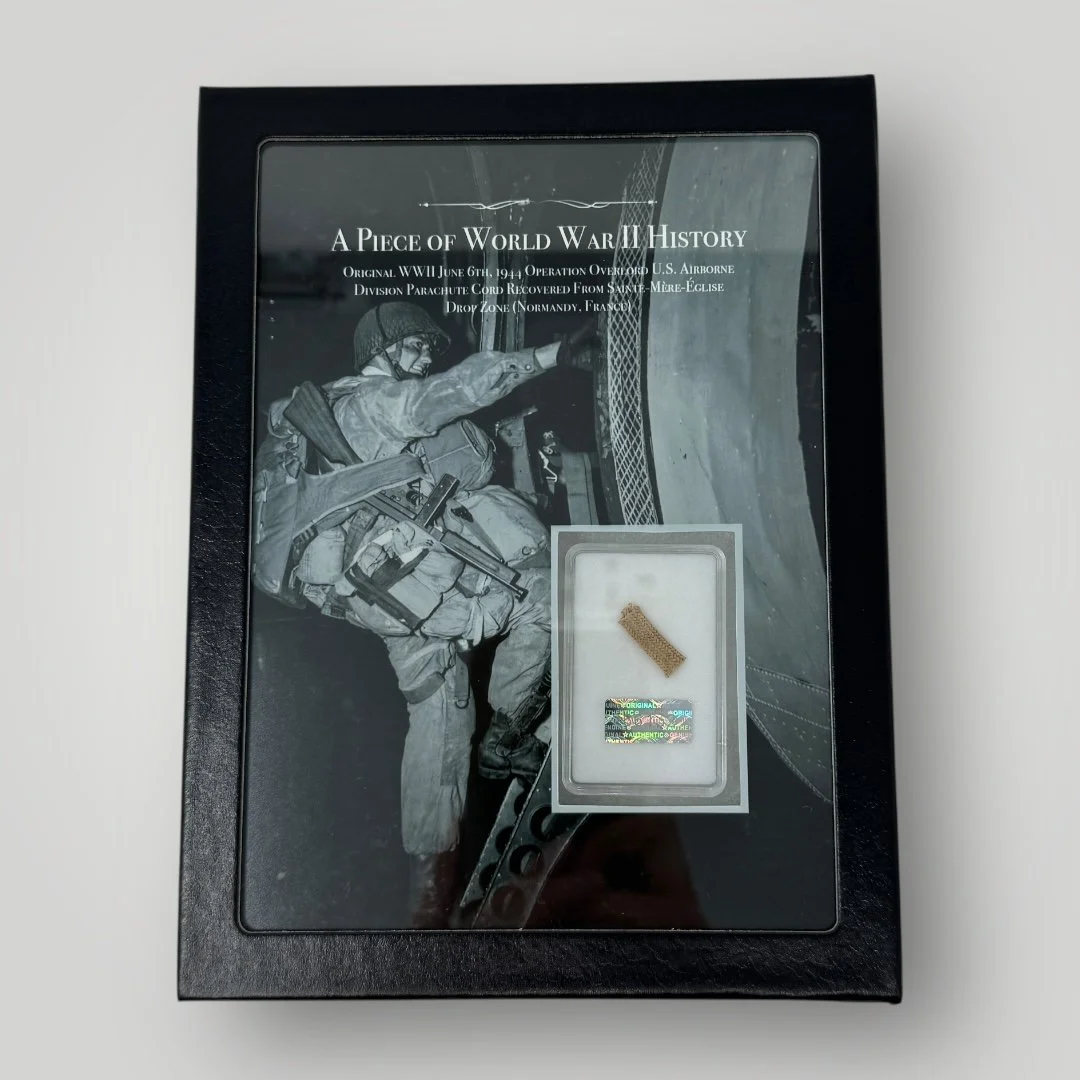
Historical Piece of WWII History Included: Original World War II June 6th, 1944 Operation Overlord U.S. Airborne Division Paratrooper Parachute Cord Recovered From Sainte-Mère-Église Drop Zone (Normandy, France)
Dated: 1944
Exclusive WWII Relic Display: Limited Edition of 50
________________________
🇺🇸A PROUD U.S.A. COMPANY - OUR PROCESS🇺🇸
Each of our “Piece of History” displays is meticulously hand-made, one-of-a-kind, and created to honor and preserve the legacy of World War II. Our in-house graphic design team carefully pairs every relic with a high-resolution archival photograph directly tied to the historical context of the relic itself. Every display includes a custom title and an historical description, providing meaningful insight into the artifact’s significance. Printed on premium matte photographic paper, each display is housed in a high-quality 6×8 frame proudly made in the U.S.A. To ensure both preservation and presentation, the artifact is placed on plush archival padding inside a UV-resistant clear acrylic case. Before being sealed, each piece is authenticated by our archivists and secured with a tamper-proof authentication hologram. This dual-layered display is designed to be instantly ready for your home, office, or collection…whether on a desk, wall, or shelf. Own your piece of WWII history today!
________________________
#1. Historical Significance:
The U.S. Airborne Division drop zone surrounding Sainte Mère Église on June 6, 1944 stands as one of the most historically powerful and emotionally charged landscapes of Operation Overlord, because it was here, in the dark hours just after midnight, that the first American soldiers of the invasion stepped into occupied France. More than 13,100 paratroopers of the 82nd Airborne Division and the 101st Airborne Division descended across the Normandy countryside in a storm of German antiaircraft fire, burning C-47 aircraft engines, tracer rounds, and drifting parachutes that turned the sky into a battlefield before a single Allied soldier reached the beaches.
Sainte Mère Église became the first liberated town in France, secured largely by men of the 82nd Airborne’s 505th Parachute Infantry Regiment, alongside elements of the 507th and 508th Regiments, while the 101st Airborne landed to the south near Utah Beach to secure causeways and prevent German reinforcements from reaching the coast. Many paratroopers were scattered miles from their intended drop zones, yet they regrouped in small, improvised units and fought with extraordinary determination, turning barns, hedgerows, and churchyards into strongpoints that disrupted German communications and defenses at a critical moment.
The parachute cords that carried these men to earth were themselves symbols of wartime innovation and survival, woven from strong nylon that replaced scarce silk, designed to withstand violent deployment forces while supporting a fully equipped soldier carrying over eighty pounds of gear, and often cut immediately upon landing so the paratrooper could free himself before enemy fire or rising water could claim him. These cords, now preserved in museums and private collections, represent far more than fabric and fiber, because they physically embody the moment when ordinary men trusted their lives to a few woven strands in order to change the course of history. In the fields around Sainte Mère Église, those cords fluttered in trees, on rooftops, and across hedgerows, silent witnesses to bravery, confusion, sacrifice, and resolve, marking the exact places where America’s airborne soldiers began the long and costly road toward the liberation of Western Europe.
#2. Why This Display is Special:
Our "Piece of History" displays are a tangible connection to one of the most pivotal moments in WWII history. Carefully curated and designed, each display transforms an authentic fragment of WWII history into a breathtaking and meaningful tribute to the past. Whether you're a passionate history enthusiast, a proud descendant of a WWII veteran, or simply someone who values the sacrifices made for freedom, this limited edition display offers a unique way to honor the legacy of the Greatest Generation. Each display invites conversation, reflection, and a deeper appreciation for the courage and resilience of the U.S. soldiers who fought in the European Theater. It stands not only as a stunning display but as a reminder of the bravery, sacrifice, and enduring spirit that helped shape the modern world. Let this display spark curiosity, inspire remembrance, and preserve the memory of those who fought for liberty for generations to come.
🇺🇸We are deeply honored to preserve these powerful pieces of history…not only for the world-renowned museums we curate for, but also for private collectors like yours! For this special display, 50% of all sales from this “Piece of History” display will be donated to the non-profit Honor Flight Network. Honor Flight is committed to transporting as many U.S. military veterans as possible to Washington, D.C., where they can visit the memorials dedicated to their service and sacrifice—all at no cost to them. Thank you for joining us in preserving history and honoring the heroes who helped shape it. 🇺🇸
This display would make an extraordinary addition to any WWII or military history collection. For further details or inquiries, please don’t hesitate to reach out.
Comes with a hand-signed Certificate of Authenticity and a full historical research write-up.
*Ships via USPS Priority Mail in a medium box with full insurance, tracking, and signature confirmation required upon delivery.
Display Size: 6.25 x 8.25 inches (Medium/Large Display Size)
From: World War II - European Theater
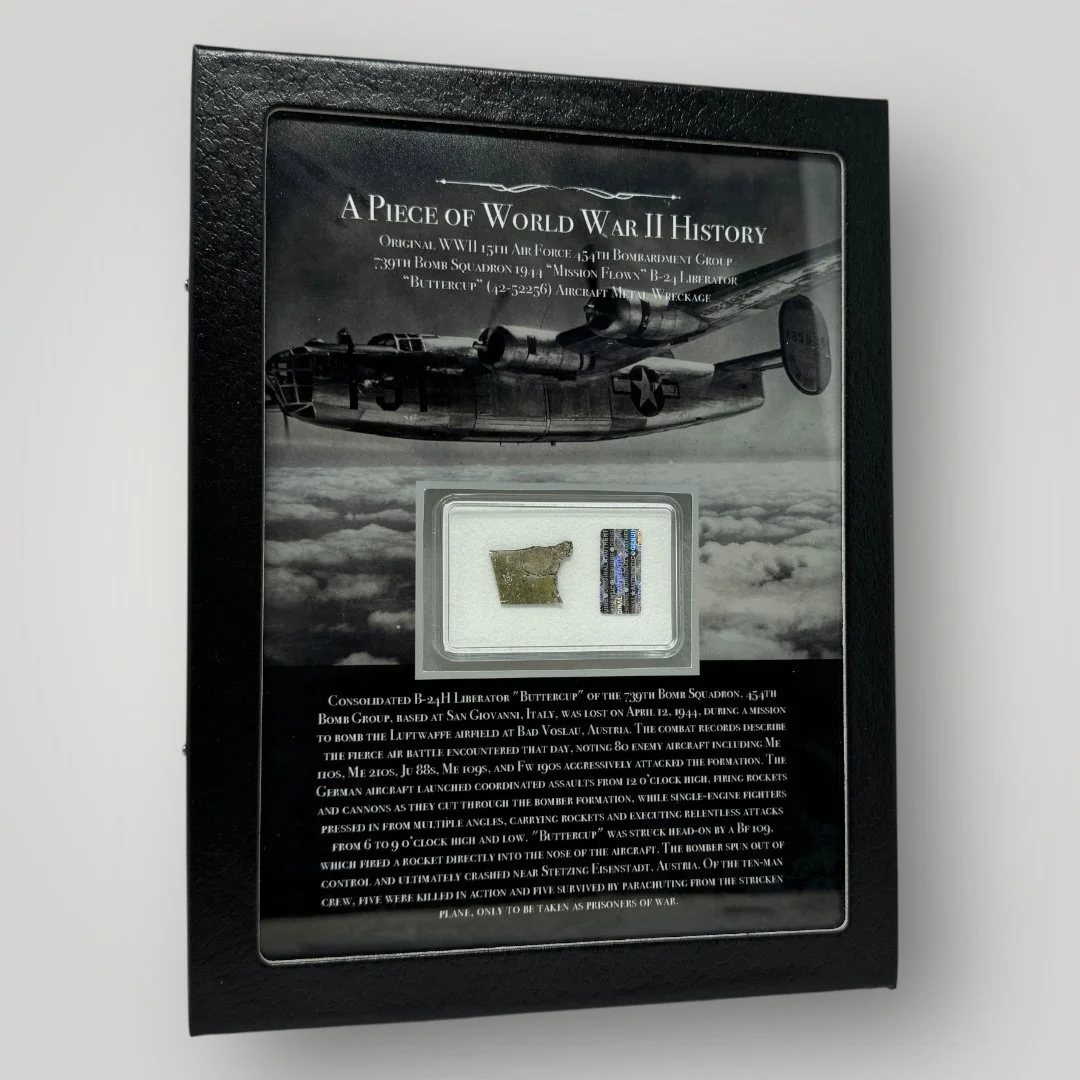
Historical Piece of WWII History Included: Original WWII 15th Air Force 454th Bomb Group / 739th Bomb Squadron “Mission Flown” B-24 Liberator “Buttercup” (42-52256) Aircraft Wreckage Fragment
Dated: 1944
________________________
🇺🇸A PROUD U.S.A. COMPANY - OUR PROCESS🇺🇸
Each of our “Piece of History” displays is meticulously hand-made, one-of-a-kind, and created to honor and preserve the legacy of World War II. Our in-house graphic design team carefully pairs every relic with a high-resolution archival photograph and an authentic battlefield map—both directly tied to the historical context of the relic itself. Every display includes a custom title and an in-depth historical description, providing meaningful insight into the artifact’s significance. Printed on premium matte photographic paper, each display is housed in a high-quality 6×8 frame proudly made in the U.S.A. To ensure both preservation and presentation, the artifact is placed on plush archival padding inside a UV-resistant clear acrylic case. Before being sealed, each piece is authenticated by our archivists and secured with a tamper-proof authentication hologram. This dual-layered display is designed to be instantly ready for your home, office, or collection…whether on a desk, wall, or shelf. Own your piece of WWII history today!
________________________
#1. Historical Significance:
Consolidated B-24H Liberator “Buttercup,” serial number 42-52256, was a heavy bomber assigned to the 739th Bomb Squadron of the 454th Bomb Group, operating out of the San Giovanni airfield in southern Italy as part of the U.S. Fifteenth Air Force. On April 12, 1944, “Buttercup” was one of many aircraft launched on a dangerous long-range mission to strike the heavily defended Luftwaffe airfield at Bad Vöslau, Austria—an important German installation south of Vienna. As the formation approached the target, they were met by one of the most intense air battles recorded by the Group. Between 12:05 and 12:45 hours, an estimated 70 to 80 German fighters—ranging from Messerschmitt Me 109s, Me 110s, and Me 210s to Focke-Wulf Fw 190s and Junkers Ju 88s—mounted an aggressive, coordinated assault. Twin-engine enemy aircraft attacked from directly ahead, flying in groups of four to six in line-abreast formation and unleashing a storm of rockets and cannon fire into the bomber stream. At the same time, single-engine fighters attacked from the rear and sides, diving in from high and low angles, often flying parallel to the formation before breaking in for their deadly runs. These tactics overwhelmed many bombers, including “Buttercup,” which was reportedly struck head-on by a Bf 109 G-6 that fired a rocket directly into the nose of the aircraft. The impact caused an immediate fire that quickly spread, rendering the aircraft uncontrollable. Witnesses observed the B-24 spin out of formation and descend toward the ground in flames before crashing near Stetzing, outside Eisenstadt, Austria. Of the ten-man crew aboard that day, five airmen were killed in action: 2nd Lt. William M. West (navigator), 2nd Lt. William J. Harden (bombardier), Staff Sgt. John D. Reed Jr. (flight engineer/waist gunner), Staff Sgt. Raymond E. Lunsford (ball turret gunner), and Staff Sgt. Charles H. Aldridge Jr. (nose gunner). The remaining five—2nd Lt. John J. O’Connor (pilot), 2nd Lt. James A. Kelley (copilot), Staff Sgt. Edmund Trzcinski (radio operator), Staff Sgt. John J. Mackin (top turret gunner), and Staff Sgt. Paul A. Rackmyer Jr. (tail gunner)—managed to escape the aircraft by parachute. They were quickly captured by German forces and held as prisoners of war until the end of the conflict. The story of “Buttercup” remains a powerful testament to the bravery and sacrifice of the B-24 crews of the Fifteenth Air Force, who flew deep into enemy territory under constant threat from flak and fighters to cripple Axis air power and infrastructure.
#2. Why This Display is Special:
Our "Piece of History" displays are a tangible connection to one of the most pivotal moments in WWII history. Carefully curated and designed, each display transforms an authentic fragment of WWII history into a breathtaking and meaningful tribute to the past. Whether you're a passionate history enthusiast, a proud descendant of a WWII veteran, or simply someone who values the sacrifices made for freedom, this limited edition display offers a unique way to honor the legacy of the Greatest Generation. Each display invites conversation, reflection, and a deeper appreciation for the courage and resilience of the U.S. pilots and crew who flew in the European Theater. It stands not only as a stunning display but as a reminder of the bravery, sacrifice, and enduring spirit that helped shape the modern world. Let this display spark curiosity, inspire remembrance, and preserve the memory of those who fought for liberty for generations to come.
🇺🇸We are deeply honored to preserve these powerful pieces of history…not only for the world-renowned museums we curate for, but also for private collectors like yours! For this special display, 50% of all sales from this “Piece of History” display will be donated to the non-profit Honor Flight Network. Honor Flight is committed to transporting as many U.S. military veterans as possible to Washington, D.C., where they can visit the memorials dedicated to their service and sacrifice—all at no cost to them. Thank you for joining us in preserving history and honoring the heroes who helped shape it. 🇺🇸
This display would make an extraordinary addition to any WWII or military history collection. For further details or inquiries, please don’t hesitate to reach out.
Comes with a hand-signed Certificate of Authenticity and a full historical research write-up.
*Ships via USPS Priority Mail in a medium box with full insurance, tracking, and signature confirmation required upon delivery.
Display Size: 6.25 x 8.25 inches (Medium/Large Display Size)
From: World War II - European Theater
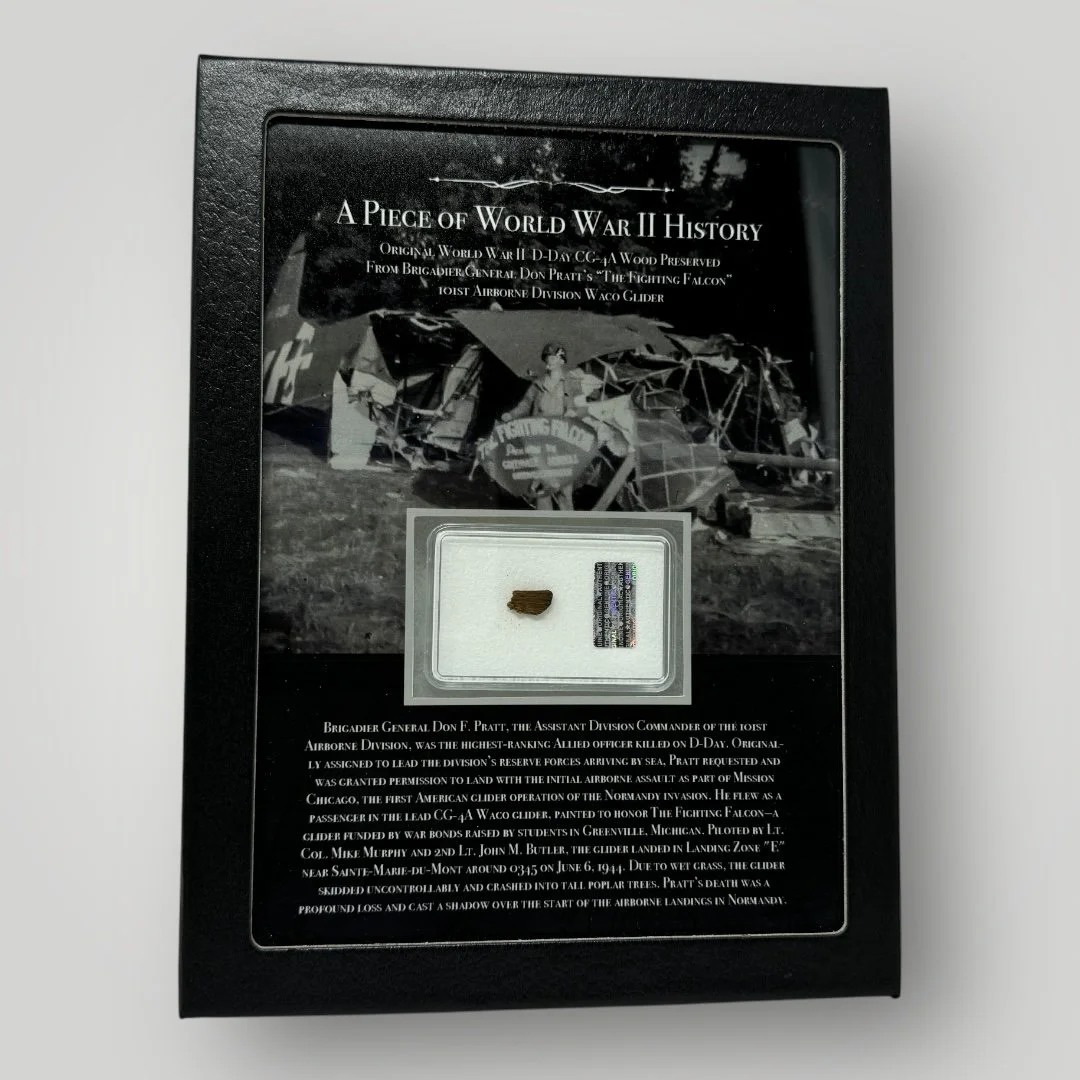
Historical Piece of WWII History Included: Original World War II Operation Overlord D-Day CG-4A Wood Preserved From Brigadier General Don Pratt’s “THE FIGHTING FALCON” 101st Airborne Division Waco Glider.
Dated: June 6th, 1944
________________________
🇺🇸A PROUD U.S.A. COMPANY - OUR PROCESS🇺🇸
Each of our “Piece of History” displays is meticulously hand-made, one-of-a-kind, and created to honor and preserve the legacy of World War II. Our in-house graphic design team carefully pairs every relic with a high-resolution archival photograph and an authentic battlefield map—both directly tied to the historical context of the relic itself. Every display includes a custom title and an in-depth historical description, providing meaningful insight into the artifact’s significance. Printed on premium matte photographic paper, each display is housed in a high-quality 6×8 frame proudly made in the U.S.A. To ensure both preservation and presentation, the artifact is placed on plush archival padding inside a UV-resistant clear acrylic case. Before being sealed, each piece is authenticated by our archivists and secured with a tamper-proof authentication hologram. This dual-layered display is designed to be instantly ready for your home, office, or collection…whether on a desk, wall, or shelf. Own your piece of WWII history today!
________________________
#1. Historical Significance:
On June 6, 1944, during the historic D-Day landings of Operation Overlord, Brigadier General Don F. Pratt of the 101st Airborne Division became a key figure in one of the most daring and dangerous aspects of the invasion: the glider assault. As Assistant Division Commander, General Pratt was assigned to land with the 327th Glider Infantry Regiment in a Waco CG-4A glider—famously named "The Fighting Falcon"—one of the hundreds of gliders involved in the early morning airborne assault into German-occupied France. The glider, towed by a C-47 Skytrain, was part of Mission Elmira, a critical component of the 101st’s plan to deliver troops, weapons, and equipment behind enemy lines near Sainte-Marie-du-Mont, in the Cotentin Peninsula, with the goal of seizing vital road junctions and causeways leading inland from Utah Beach. Pratt’s Waco glider was loaded with his command jeep, radio gear, and several other soldiers, and was one of the first to land. However, the landing went tragically wrong. After being released from its tow aircraft, The Fighting Falcon came in too fast on the dew-covered grass of Landing Zone “E” near Hiesville. The glider skidded across the field and crashed into a line of poplar trees, the force of the impact causing fatal injuries. General Pratt, who had chosen to ride in the glider rather than parachute in order to command his troops immediately upon landing, was killed instantly—making him the highest-ranking Allied officer to die on D-Day. His death was a significant blow to the 101st Airborne’s command structure. The sacrifice of The Fighting Falcon’s crew and passengers underscored the immense risks of the glider missions, which were vital yet perilous operations often overshadowed by the more well-known parachute drops. Despite the loss, the mission succeeded in bringing in much-needed reinforcements and equipment to support the paratroopers already engaged in intense fighting against entrenched German forces. The battered wreckage of The Fighting Falconwould become a solemn symbol of the airborne struggle on D-Day, representing the bravery and tragic cost paid by the men of the 101st Airborne Division.German
#2. Why This Display is Special:
Our "Piece of History" displays are a tangible connection to one of the most pivotal moments in WWII history. Carefully curated and designed, each display transforms an authentic fragment of WWII history into a breathtaking and meaningful tribute to the past. Whether you're a passionate history enthusiast, a proud descendant of a WWII veteran, or simply someone who values the sacrifices made for freedom, this limited edition display offers a unique way to honor the legacy of the Greatest Generation. Each display invites conversation, reflection, and a deeper appreciation for the courage and resilience of the U.S. soldiers who fought in the European Theater. It stands not only as a stunning display but as a reminder of the bravery, sacrifice, and enduring spirit that helped shape the modern world. Let this display spark curiosity, inspire remembrance, and preserve the memory of those who fought for liberty for generations to come.
🇺🇸We are deeply honored to preserve these powerful pieces of history…not only for the world-renowned museums we curate for, but also for private collectors like yours! For this special display, 50% of all sales from this “Piece of History” display will be donated to the non-profit Honor Flight Network. Honor Flight is committed to transporting as many U.S. military veterans as possible to Washington, D.C., where they can visit the memorials dedicated to their service and sacrifice—all at no cost to them. Thank you for joining us in preserving history and honoring the heroes who helped shape it. 🇺🇸
This display would make an extraordinary addition to any WWII or military history collection. For further details or inquiries, please don’t hesitate to reach out.
Comes with a hand-signed Certificate of Authenticity and a full historical research write-up.
*Ships via USPS Priority Mail in a medium box with full insurance, tracking, and signature confirmation required upon delivery.
Display Size: 6.25 x 8.25 inches (Medium/Large Display Size)
From: World War II - European Theater
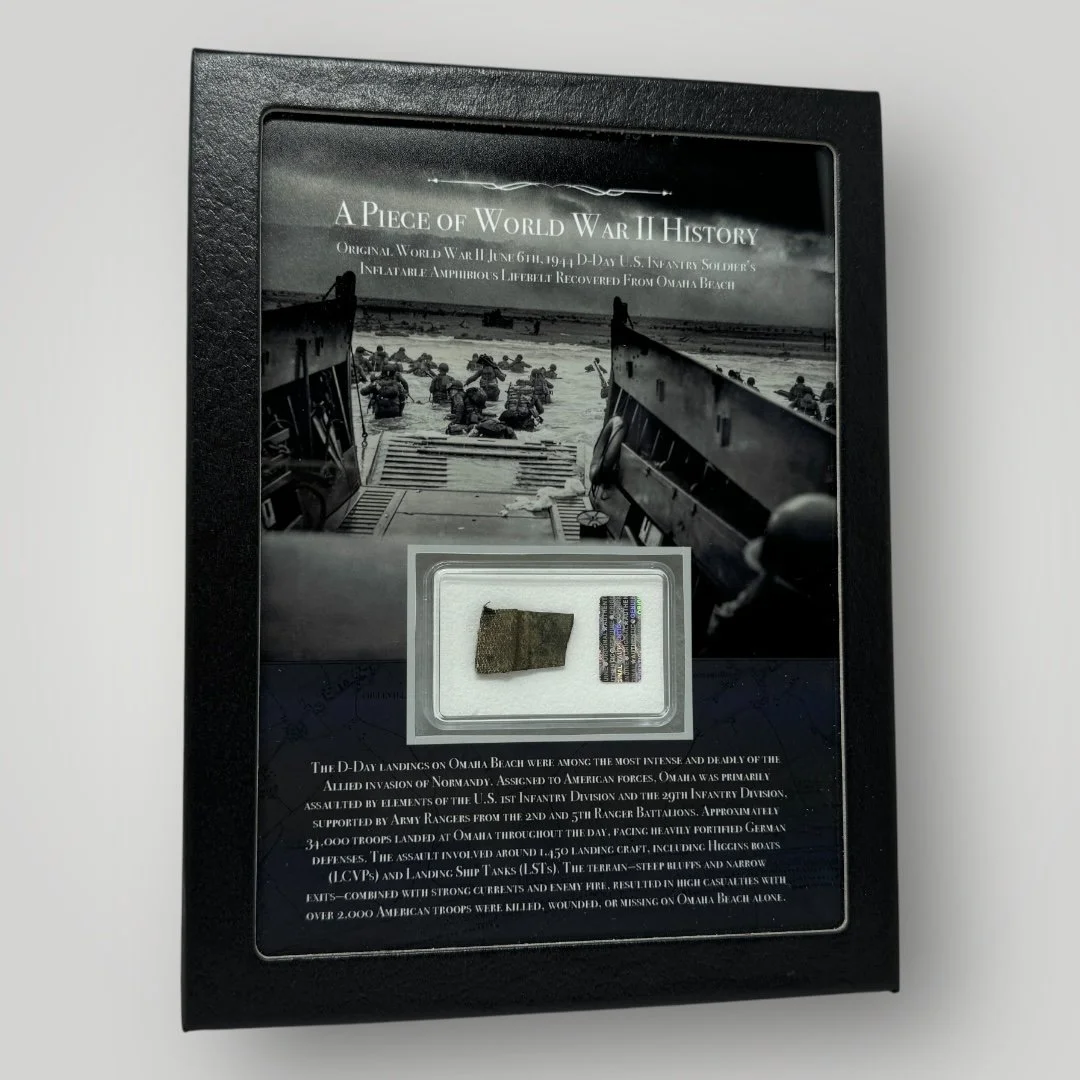
Historical Piece of WWII History Included: Original World War II Operation Overlord D-Day U.S. Infantry Soldier’s Inflatable Amphibious Lifebelt Fragment Recovered From The Sands Of Omaha Beach (Normandy) Battlefield
Dated: June 6th, 1944
________________________
🇺🇸A PROUD U.S.A. COMPANY - OUR PROCESS🇺🇸
Each of our “Piece of History” displays is meticulously hand-made, one-of-a-kind, and created to honor and preserve the legacy of World War II. Our in-house graphic design team carefully pairs every relic with a high-resolution archival photograph and an authentic battlefield map—both directly tied to the historical context of the relic itself. Every display includes a custom title and an in-depth historical description, providing meaningful insight into the artifact’s significance. Printed on premium matte photographic paper, each display is housed in a high-quality 6×8 frame proudly made in the U.S.A. To ensure both preservation and presentation, the artifact is placed on plush archival padding inside a UV-resistant clear acrylic case. Before being sealed, each piece is authenticated by our archivists and secured with a tamper-proof authentication hologram. This dual-layered display is designed to be instantly ready for your home, office, or collection…whether on a desk, wall, or shelf. Own your piece of WWII history today!
________________________
#1. Historical Significance:
The D-Day landings at Omaha Beach, part of Operation Overlord on June 6th, 1944, stand as one of the most intense and harrowing amphibious assaults in military history. Situated between Utah Beach to the west and Gold Beach to the east, Omaha Beach stretched roughly five miles along the heavily fortified coast of Normandy, France, and was divided into several landing sectors: Charlie, Dog Green, Dog White, Dog Red, Easy Green, Easy Red, Fox Green, and Fox Red. The responsibility for taking Omaha fell primarily to the U.S. 1st Infantry Division, known as "The Big Red One," and the 29th Infantry Division, a National Guard unit from Virginia, Maryland, and Pennsylvania, both supported by specialized units including the 2nd and 5th Ranger Battalions and elements of the 116th Regimental Combat Team. Their objective was to secure a beachhead, link up with forces from Utah Beach, and push inland toward the key town of Saint-Lô. Facing them were entrenched German forces of the 352nd Infantry Division, veterans of the Eastern Front who had recently reinforced the sector and manned a network of concrete bunkers and extensive fortifications. The initial waves of American troops suffered devastating losses as rough seas scattered landing craft, pre-invasion bombardments failed to destroy German defenses, and many soldiers were down before even reaching the shore. On Dog Green sector in particular, the 116th Infantry's Company A was nearly wiped out within minutes. Despite these brutal setbacks, small groups of soldiers slowly pushed inland, scaling cliffs, destroying pillboxes, and securing vital exits off the beach under withering fire. By the end of the day, American forces had carved out a tenuous hold on Omaha Beach, paying a high price in blood and heroism. Their courage and determination laid the foundation for the liberation of occupied France and the ultimate Allied victory in Europe.
#2. Why This Display is Special:
Our "Piece of History" displays are a tangible connection to one of the most pivotal moments in WWII history. Carefully curated and designed, each display transforms an authentic fragment of WWII history into a breathtaking and meaningful tribute to the past. Whether you're a passionate history enthusiast, a proud descendant of a WWII veteran, or simply someone who values the sacrifices made for freedom, this limited edition display offers a unique way to honor the legacy of the Greatest Generation. Each display invites conversation, reflection, and a deeper appreciation for the courage and resilience of the U.S. soldiers who fought in the European Theater. It stands not only as a stunning display but as a reminder of the bravery, sacrifice, and enduring spirit that helped shape the modern world. Let this display spark curiosity, inspire remembrance, and preserve the memory of those who fought for liberty for generations to come.
🇺🇸We are deeply honored to preserve these powerful pieces of history…not only for the world-renowned museums we curate for, but also for private collectors like yours! For this special display, 50% of all sales from this “Piece of History” display will be donated to the non-profit Honor Flight Network. Honor Flight is committed to transporting as many U.S. military veterans as possible to Washington, D.C., where they can visit the memorials dedicated to their service and sacrifice—all at no cost to them. Thank you for joining us in preserving history and honoring the heroes who helped shape it. 🇺🇸
This display would make an extraordinary addition to any WWII or military history collection. For further details or inquiries, please don’t hesitate to reach out.
Comes with a hand-signed Certificate of Authenticity and a full historical research write-up.
*Ships via USPS Priority Mail in a medium box with full insurance, tracking, and signature confirmation required upon delivery.
Display Size: 6.25 x 8.25 inches (Medium/Large Display Size)
From: World War II - European Theater
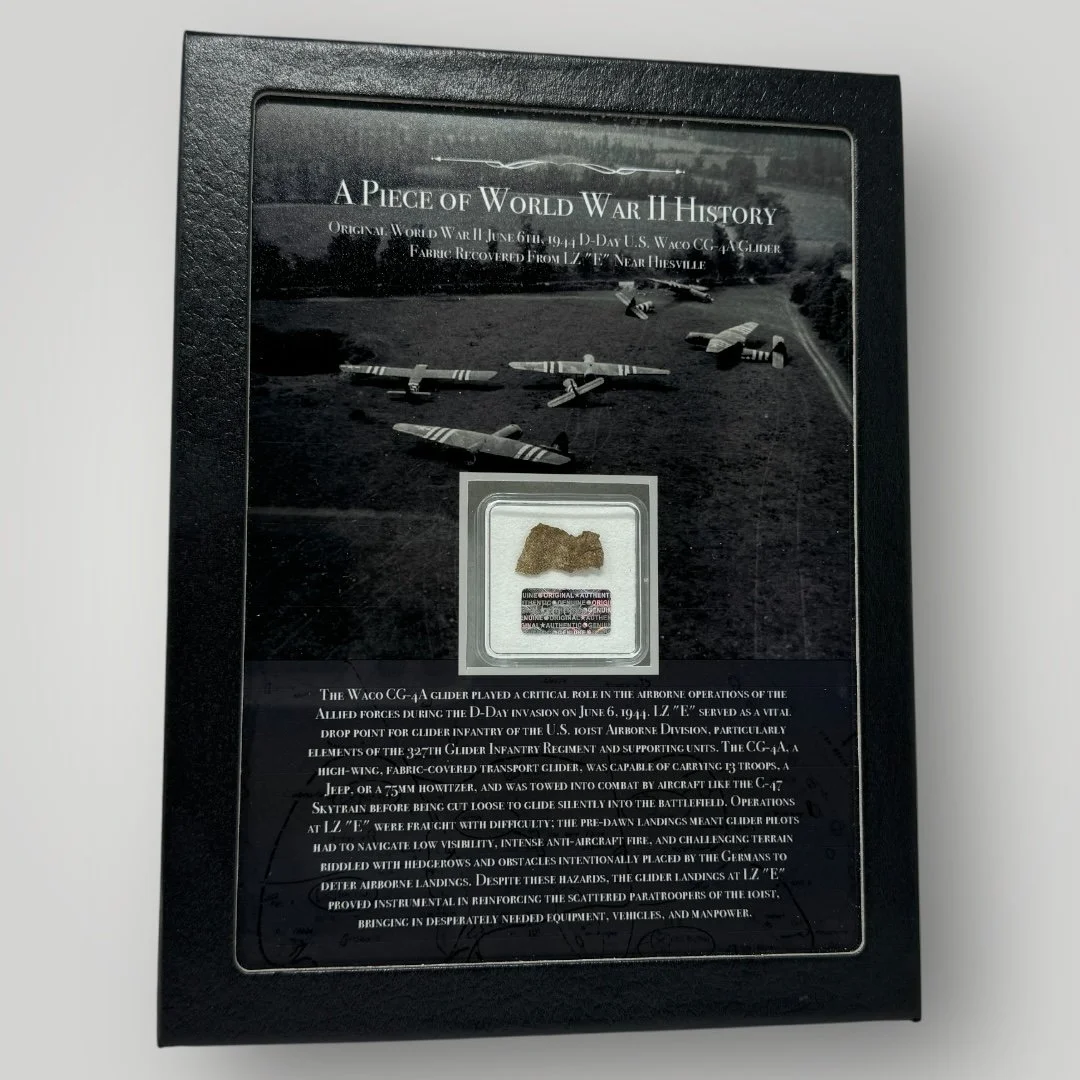
Historical Piece of WWII History Included: Original World War II Operation Overlord D-Day U.S. Waco CG-4A Glider Fabric Recovered From LZ “E” Near Hiesville (Normandy) Battlefield
Dated: June 6th, 1944
________________________
🇺🇸A PROUD U.S.A. COMPANY - OUR PROCESS🇺🇸
Each of our “Piece of History” displays is meticulously hand-made, one-of-a-kind, and created to honor and preserve the legacy of World War II. Our in-house graphic design team carefully pairs every relic with a high-resolution archival photograph and an authentic battlefield map—both directly tied to the historical context of the relic itself. Every display includes a custom title and an in-depth historical description, providing meaningful insight into the artifact’s significance. Printed on premium matte photographic paper, each display is housed in a high-quality 6×8 frame proudly made in the U.S.A. To ensure both preservation and presentation, the artifact is placed on plush archival padding inside a UV-resistant clear acrylic case. Before being sealed, each piece is authenticated by our archivists and secured with a tamper-proof authentication hologram. This dual-layered display is designed to be instantly ready for your home, office, or collection…whether on a desk, wall, or shelf. Own your piece of WWII history today!
________________________
#1. Historical Significance:
During the early hours of June 6, 1944, as part of Operation Overlord—the Allied invasion of German-occupied Western Europe—the U.S. military launched a bold and dangerous airborne assault utilizing glider operations to silently deliver troops and equipment behind enemy lines in Normandy. Central to this effort was the Waco CG-4A glider, a canvas-and-metal framed, engineless aircraft that could carry up to 13 troops, a jeep, and other various equipment. The CG-4A was towed across the English Channel by C-47 Skytrains and released near predetermined landing zones under cover of darkness. One of the most strategically important of these zones was Landing Zone “E,” situated near the small French hamlet of Hiesville, just a few miles inland from Utah Beach. LZ “E” served as a key insertion point for elements of the U.S. 101st Airborne Division, particularly the 327th Glider Infantry Regiment, which was tasked with reinforcing paratroopers who had dropped hours earlier. Despite its relative proximity to German defensive positions and the inherent risks of flying unpowered aircraft into enemy-held territory, the glider missions were crucial for establishing a foothold beyond the beaches. At Hiesville, many gliders crash-landed due to fog, enemy fire, and the rough hedgerow-lined terrain of the Normandy countryside. Some gliders broke apart on impact but many successfully delivered their precious cargo of troops, anti-tank, and communications equipment. These glider-borne forces played a critical role in securing causeways and road junctions needed for the seaborne invasion to move inland. The bravery of the glider pilots—volunteers who flew in one direction with no engines and little chance of extraction—was later recognized as among the most harrowing feats of D-Day. Their landing at LZ “E” marked a pivotal moment in the airborne phase of Operation Overlord, helping to link up scattered paratroopers, disrupt German communications, and open the way for reinforcements from Utah Beach.
#2. Why This Display is Special:
Our "Piece of History" displays are a tangible connection to one of the most pivotal moments in WWII history. Carefully curated and designed, each display transforms an authentic fragment of WWII history into a breathtaking and meaningful tribute to the past. Whether you're a passionate history enthusiast, a proud descendant of a WWII veteran, or simply someone who values the sacrifices made for freedom, this limited edition display offers a unique way to honor the legacy of the Greatest Generation. Each display invites conversation, reflection, and a deeper appreciation for the courage and resilience of the U.S. soldiers who fought in the European Theater. It stands not only as a stunning display but as a reminder of the bravery, sacrifice, and enduring spirit that helped shape the modern world. Let this display spark curiosity, inspire remembrance, and preserve the memory of those who fought for liberty for generations to come.
🇺🇸We are deeply honored to preserve these powerful pieces of history…not only for the world-renowned museums we curate for, but also for private collectors like yours! For this special display, 50% of all sales from this “Piece of History” display will be donated to the non-profit Honor Flight Network. Honor Flight is committed to transporting as many U.S. military veterans as possible to Washington, D.C., where they can visit the memorials dedicated to their service and sacrifice—all at no cost to them. Thank you for joining us in preserving history and honoring the heroes who helped shape it. 🇺🇸
This display would make an extraordinary addition to any WWII or military history collection. For further details or inquiries, please don’t hesitate to reach out.
Comes with a hand-signed Certificate of Authenticity and a full historical research write-up.
*Ships via USPS Priority Mail in a medium box with full insurance, tracking, and signature confirmation required upon delivery.
Display Size: 6.25 x 8.25 inches (Medium/Large Display Size)
From: World War II - European Theater
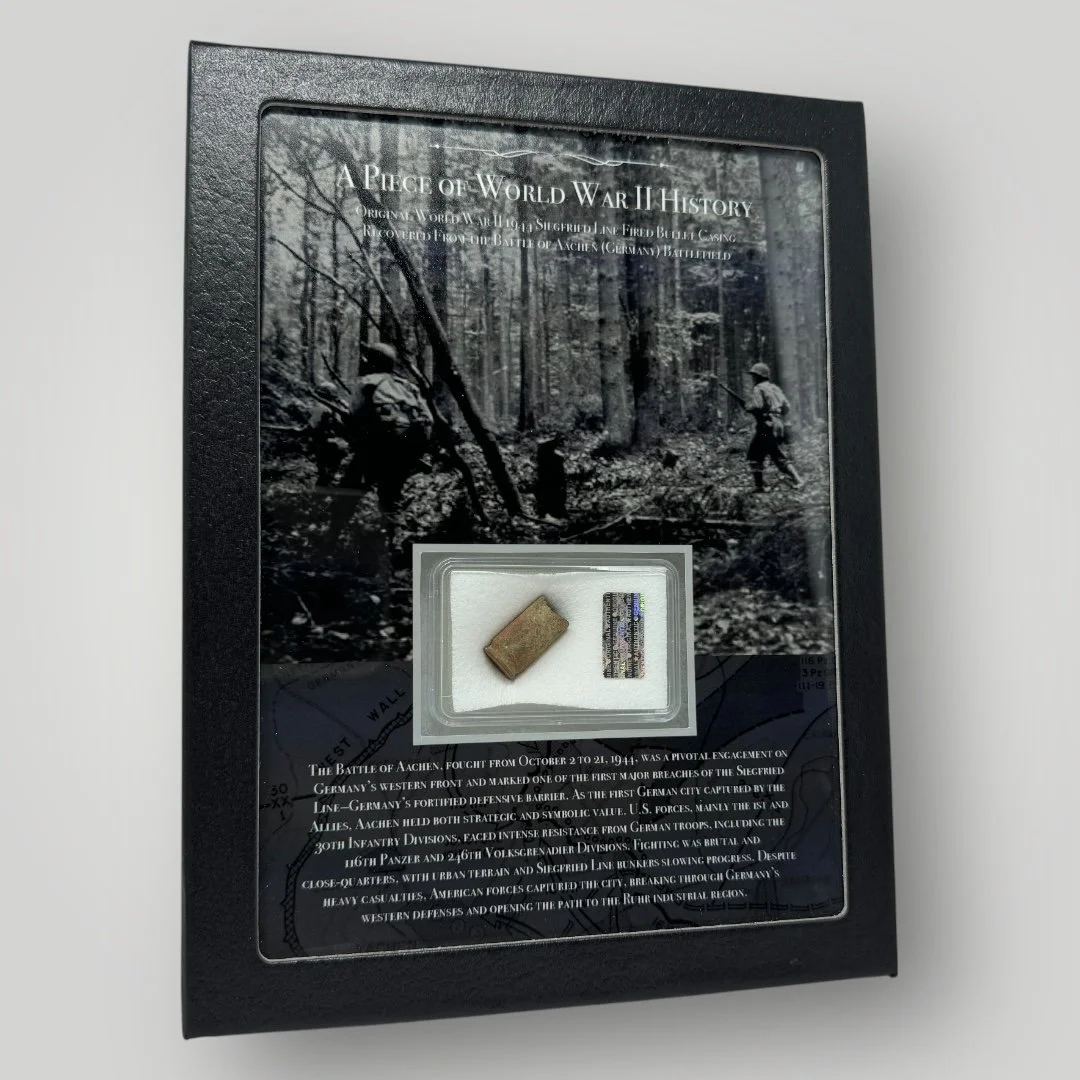
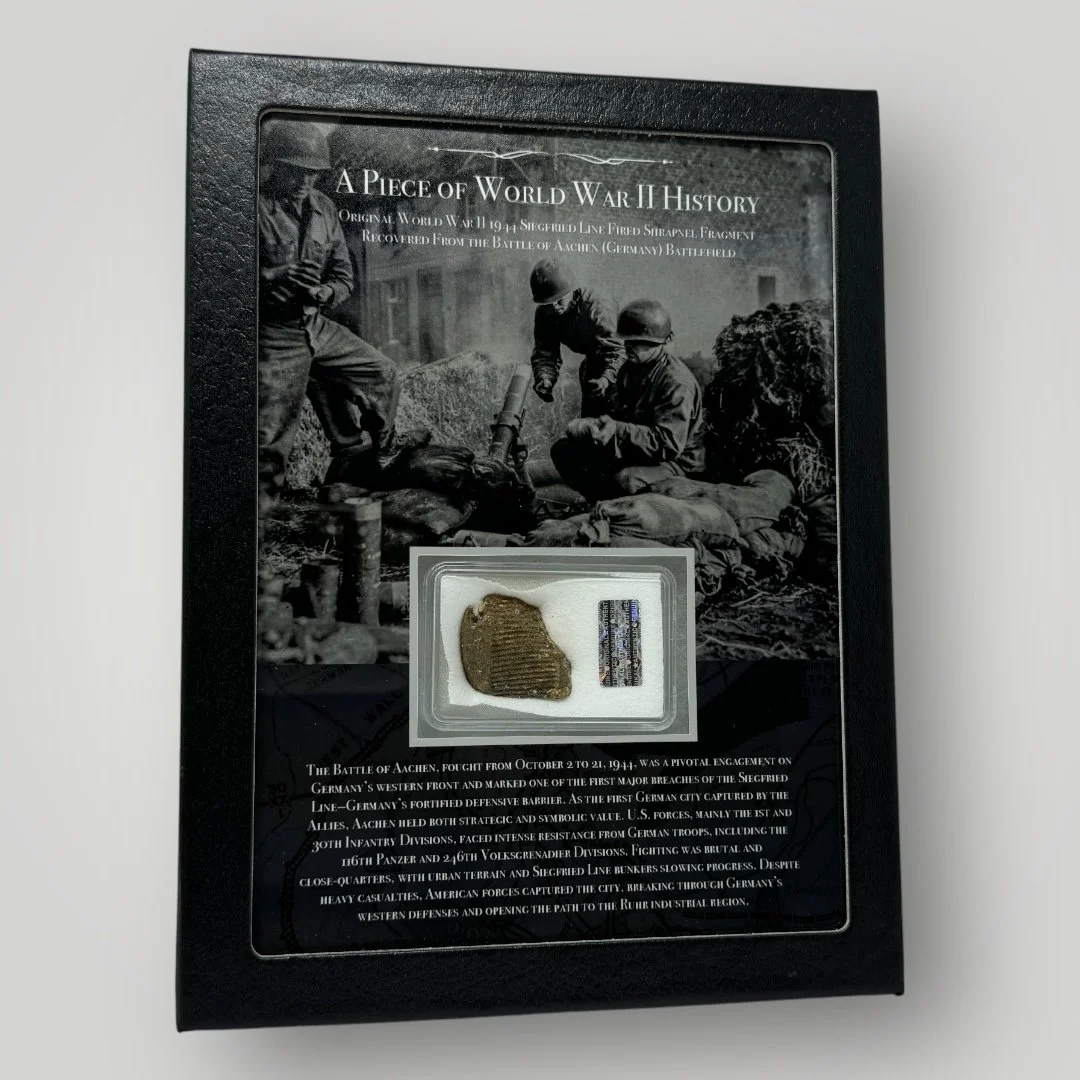
Historical Piece of WWII History Included: Original World War II 1944 Siegfried Line Relic Fragment Recovered From The Battle of Aachen (Germany) Battlefield
Dated: October 1944
________________________
🇺🇸A PROUD U.S.A. COMPANY - OUR PROCESS🇺🇸
Each of our “Piece of History” displays is meticulously hand-made, one-of-a-kind, and created to honor and preserve the legacy of World War II. Our in-house graphic design team carefully pairs every relic with a high-resolution archival photograph and an authentic battlefield map—both directly tied to the historical context of the relic itself. Every display includes a custom title and an in-depth historical description, providing meaningful insight into the artifact’s significance. Printed on premium matte photographic paper, each display is housed in a high-quality 6×8 frame proudly made in the U.S.A. To ensure both preservation and presentation, the artifact is placed on plush archival padding inside a UV-resistant clear acrylic case. Before being sealed, each piece is authenticated by our archivists and secured with a tamper-proof authentication hologram. This dual-layered display is designed to be instantly ready for your home, office, or collection…whether on a desk, wall, or shelf. Own your piece of WWII history today!
________________________
#1. Historical Significance:
The Battle of Aachen, fought from October 2 to October 21, 1944, was a pivotal clash during World War II and marked the first major German city to fall to Allied forces. Located near the German border, Aachen was heavily fortified as part of the Siegfried Line(known to the Germans as the Westwall), a dense network of bunkers and fortifications designed to repel invasions. The U.S. First Army, primarily led by the 1st Infantry Division (the “Big Red One”) and the 30th Infantry Division, launched a coordinated attack aimed at breaching this formidable line and securing the city, which held strategic and symbolic significance as a gateway into Germany’s industrial heartland, the Ruhr. Fighting was intense and often urban, with German paratroopers and other highly trained units fiercely defending every street and stronghold. The Allies’ goal was not only to capture Aachen but to crack the Siegfried Line, which they achieved at high cost. The fall of Aachen symbolized a breach in Germany’s western defenses and foreshadowed the eventual Allied advance into the German interior.
#2. Why This Display is Special:
Our "Piece of History" displays are a tangible connection to one of the most pivotal moments in WWII history. Carefully curated and designed, each display transforms an authentic fragment of WWII history into a breathtaking and meaningful tribute to the past. Whether you're a passionate history enthusiast, a proud descendant of a WWII veteran, or simply someone who values the sacrifices made for freedom, this limited edition display offers a unique way to honor the legacy of the Greatest Generation. Each display invites conversation, reflection, and a deeper appreciation for the courage and resilience of the U.S. soldiers who fought in the European Theater. It stands not only as a stunning display but as a reminder of the bravery, sacrifice, and enduring spirit that helped shape the modern world. Let this display spark curiosity, inspire remembrance, and preserve the memory of those who fought for liberty for generations to come.
🇺🇸We are deeply honored to preserve these powerful pieces of history…not only for the world-renowned museums we curate for, but also for private collectors like yours! For this special display, 50% of all sales from this “Piece of History” display will be donated to the non-profit Honor Flight Network. Honor Flight is committed to transporting as many U.S. military veterans as possible to Washington, D.C., where they can visit the memorials dedicated to their service and sacrifice—all at no cost to them. Thank you for joining us in preserving history and honoring the heroes who helped shape it. 🇺🇸
This display would make an extraordinary addition to any WWII or military history collection. For further details or inquiries, please don’t hesitate to reach out.
Comes with a hand-signed Certificate of Authenticity and a full historical research write-up.
*Ships via USPS Priority Mail in a medium box with full insurance, tracking, and signature confirmation required upon delivery.
Display Size: 6.25 x 8.25 inches (Medium/Large Display Size)
From: World War II - European Theater
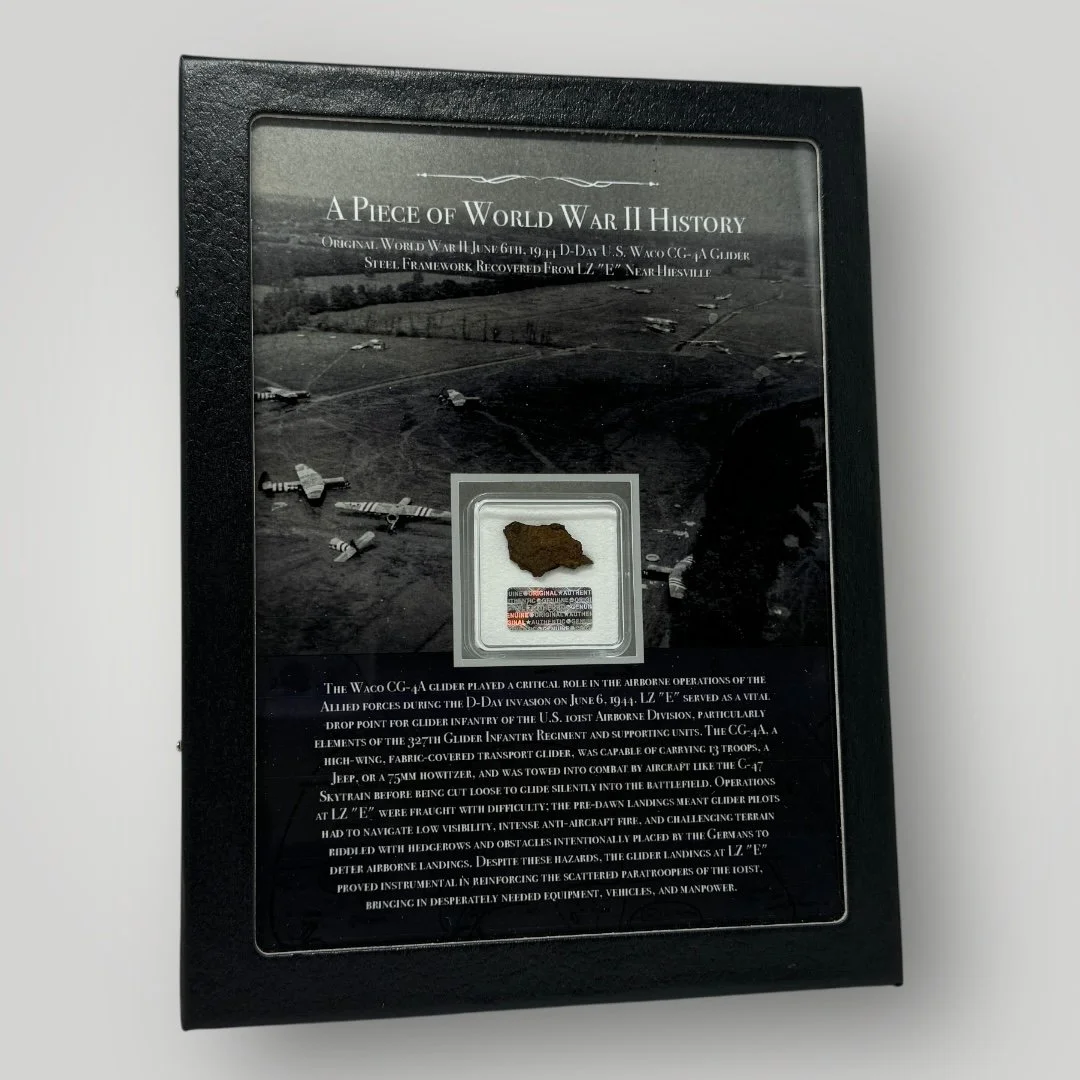
Historical Piece of WWII History Included: Original World War II Operation Overlord D-Day U.S. Waco CG-4A Glider Metal Recovered From LZ “E” Near Hiesville (Normandy) Battlefield
Dated: June 6th, 1944
________________________
🇺🇸A PROUD U.S.A. COMPANY - OUR PROCESS🇺🇸
Each of our “Piece of History” displays is meticulously hand-made, one-of-a-kind, and created to honor and preserve the legacy of World War II. Our in-house graphic design team carefully pairs every relic with a high-resolution archival photograph and an authentic battlefield map—both directly tied to the historical context of the relic itself. Every display includes a custom title and an in-depth historical description, providing meaningful insight into the artifact’s significance. Printed on premium matte photographic paper, each display is housed in a high-quality 6×8 frame proudly made in the U.S.A. To ensure both preservation and presentation, the artifact is placed on plush archival padding inside a UV-resistant clear acrylic case. Before being sealed, each piece is authenticated by our archivists and secured with a tamper-proof authentication hologram. This dual-layered display is designed to be instantly ready for your home, office, or collection…whether on a desk, wall, or shelf. Own your piece of WWII history today!
________________________
#1. Historical Significance:
During the early hours of June 6, 1944, as part of Operation Overlord—the Allied invasion of German-occupied Western Europe—the U.S. military launched a bold and dangerous airborne assault utilizing glider operations to silently deliver troops and equipment behind enemy lines in Normandy. Central to this effort was the Waco CG-4A glider, a canvas-and-metal framed, engineless aircraft that could carry up to 13 troops, a jeep, and other various equipment. The CG-4A was towed across the English Channel by C-47 Skytrains and released near predetermined landing zones under cover of darkness. One of the most strategically important of these zones was Landing Zone “E,” situated near the small French hamlet of Hiesville, just a few miles inland from Utah Beach. LZ “E” served as a key insertion point for elements of the U.S. 101st Airborne Division, particularly the 327th Glider Infantry Regiment, which was tasked with reinforcing paratroopers who had dropped hours earlier. Despite its relative proximity to German defensive positions and the inherent risks of flying unpowered aircraft into enemy-held territory, the glider missions were crucial for establishing a foothold beyond the beaches. At Hiesville, many gliders crash-landed due to fog, enemy fire, and the rough hedgerow-lined terrain of the Normandy countryside. Some gliders broke apart on impact but many successfully delivered their precious cargo of troops, anti-tank, and communications equipment. These glider-borne forces played a critical role in securing causeways and road junctions needed for the seaborne invasion to move inland. The bravery of the glider pilots—volunteers who flew in one direction with no engines and little chance of extraction—was later recognized as among the most harrowing feats of D-Day. Their landing at LZ “E” marked a pivotal moment in the airborne phase of Operation Overlord, helping to link up scattered paratroopers, disrupt German communications, and open the way for reinforcements from Utah Beach.
#2. Why This Display is Special:
Our "Piece of History" displays are a tangible connection to one of the most pivotal moments in WWII history. Carefully curated and designed, each display transforms an authentic fragment of WWII history into a breathtaking and meaningful tribute to the past. Whether you're a passionate history enthusiast, a proud descendant of a WWII veteran, or simply someone who values the sacrifices made for freedom, this limited edition display offers a unique way to honor the legacy of the Greatest Generation. Each display invites conversation, reflection, and a deeper appreciation for the courage and resilience of the U.S. soldiers who fought in the European Theater. It stands not only as a stunning display but as a reminder of the bravery, sacrifice, and enduring spirit that helped shape the modern world. Let this display spark curiosity, inspire remembrance, and preserve the memory of those who fought for liberty for generations to come.
🇺🇸We are deeply honored to preserve these powerful pieces of history…not only for the world-renowned museums we curate for, but also for private collectors like yours! For this special display, 50% of all sales from this “Piece of History” display will be donated to the non-profit Honor Flight Network. Honor Flight is committed to transporting as many U.S. military veterans as possible to Washington, D.C., where they can visit the memorials dedicated to their service and sacrifice—all at no cost to them. Thank you for joining us in preserving history and honoring the heroes who helped shape it. 🇺🇸
This display would make an extraordinary addition to any WWII or military history collection. For further details or inquiries, please don’t hesitate to reach out.
Comes with a hand-signed Certificate of Authenticity and a full historical research write-up.
*Ships via USPS Priority Mail in a medium box with full insurance, tracking, and signature confirmation required upon delivery.
Display Size: 6.25 x 8.25 inches (Medium/Large Display Size)
From: World War II - European Theater
Historical Piece of WWII History Included: Original World War II 1944 Siegfried Line Relic Fragment Recovered From The Battle of Aachen (Germany) Battlefield
Dated: October 1944
________________________
🇺🇸A PROUD U.S.A. COMPANY - OUR PROCESS🇺🇸
Each of our “Piece of History” displays is meticulously hand-made, one-of-a-kind, and created to honor and preserve the legacy of World War II. Our in-house graphic design team carefully pairs every relic with a high-resolution archival photograph and an authentic battlefield map—both directly tied to the historical context of the relic itself. Every display includes a custom title and an in-depth historical description, providing meaningful insight into the artifact’s significance. Printed on premium matte photographic paper, each display is housed in a high-quality 6×8 frame proudly made in the U.S.A. To ensure both preservation and presentation, the artifact is placed on plush archival padding inside a UV-resistant clear acrylic case. Before being sealed, each piece is authenticated by our archivists and secured with a tamper-proof authentication hologram. This dual-layered display is designed to be instantly ready for your home, office, or collection…whether on a desk, wall, or shelf. Own your piece of WWII history today!
________________________
#1. Historical Significance:
The Battle of Aachen, fought from October 2 to October 21, 1944, was a pivotal clash during World War II and marked the first major German city to fall to Allied forces. Located near the German border, Aachen was heavily fortified as part of the Siegfried Line (known to the Germans as the Westwall), a dense network of bunkers and fortifications designed to repel invasions. The U.S. First Army, primarily led by the 1st Infantry Division(the “Big Red One”) and the 30th Infantry Division, launched a coordinated attack aimed at breaching this formidable line and securing the city, which held strategic and symbolic significance as a gateway into Germany’s industrial heartland, the Ruhr. Fighting was intense and often urban, with German paratroopers and other highly trained units fiercely defending every street and stronghold. The Allies’ goal was not only to capture Aachen but to crack the Siegfried Line, which they achieved at high cost. The fall of Aachen symbolized a breach in Germany’s western defenses and foreshadowed the eventual Allied advance into the German interior.
#2. Why This Display is Special:
Our "Piece of History" displays are a tangible connection to one of the most pivotal moments in WWII history. Carefully curated and designed, each display transforms an authentic fragment of WWII history into a breathtaking and meaningful tribute to the past. Whether you're a passionate history enthusiast, a proud descendant of a WWII veteran, or simply someone who values the sacrifices made for freedom, this limited edition display offers a unique way to honor the legacy of the Greatest Generation. Each display invites conversation, reflection, and a deeper appreciation for the courage and resilience of the U.S. soldiers who fought in the European Theater. It stands not only as a stunning display but as a reminder of the bravery, sacrifice, and enduring spirit that helped shape the modern world. Let this display spark curiosity, inspire remembrance, and preserve the memory of those who fought for liberty for generations to come.
🇺🇸We are deeply honored to preserve these powerful pieces of history…not only for the world-renowned museums we curate for, but also for private collectors like yours! For this special display, 50% of all sales from this “Piece of History” display will be donated to the non-profit Honor Flight Network. Honor Flight is committed to transporting as many U.S. military veterans as possible to Washington, D.C., where they can visit the memorials dedicated to their service and sacrifice—all at no cost to them. Thank you for joining us in preserving history and honoring the heroes who helped shape it. 🇺🇸
This display would make an extraordinary addition to any WWII or military history collection. For further details or inquiries, please don’t hesitate to reach out.
Comes with a hand-signed C.O.A. and a full historical research write-up
This would make an incredibly unique gift for any WWII or D-Day enthusiast! This already comes in a beautiful glass display ready to become a conversation centrepiece in any office or display case.
Display Size: 8 inches tall x 6 inches wide
From: World War II - ETO
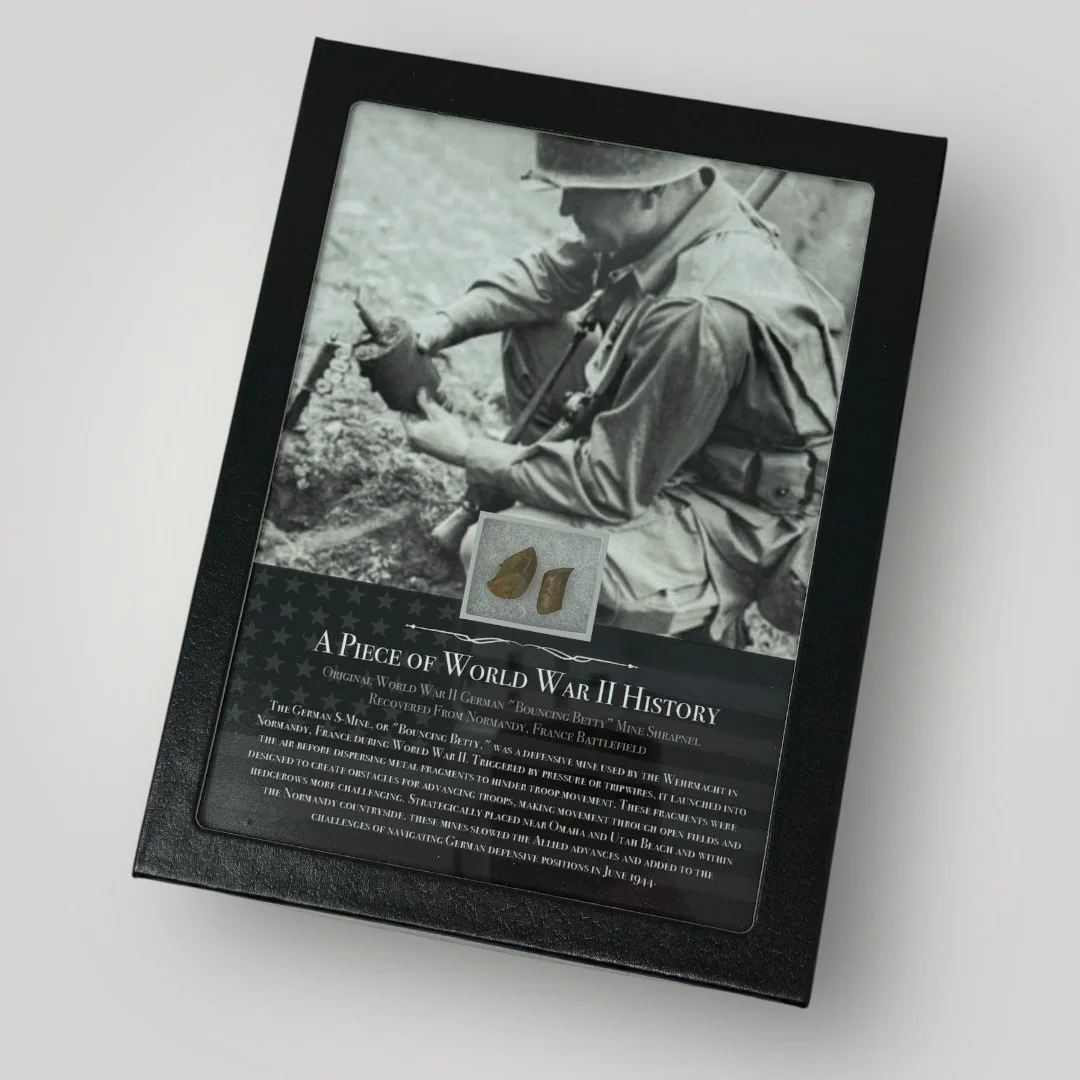
Type: Original WWII German "Bouncing Betty" Mine Shrapnel Recovered From Normandy, France Battlefield
Dated: 1944
*Limited Edition of 50*
This display series is a limited edition of 50 pieces, meaning that each "Piece of History" WWII display is unique. Please note that the WWII German "Bouncing Betty" mine shrapnel that you receive may vary slightly from the display shown, as each one is one-of-a-kind! This display case is our LARGE size, measuring a perfect 8 inches tall x 6 inches wide.
The German Bouncing Betty, officially designated the S-mine (Schrapnellmine), was one of the most feared anti-personnel weapons deployed during World War II, particularly notorious for its devastating role on the Normandy battlefield following the D-Day landings. Developed in the 1930s and refined through early war experiences, the S-mine was ingeniously designed to launch itself approximately 1 meter into the air before detonating, releasing a burst of steel ball bearings and metal fragments in a lethal 360-degree horizontal arc. Unlike traditional landmines that exploded beneath a target’s foot, the Bouncing Betty turned the air itself into a killing zone, striking soldiers at chest and head height, where vital organs and arteries were most vulnerable. Its effective kill radius often reached up to 20 meters, while injuries could occur even beyond that, depending on terrain and vegetation. During the Normandy invasion, as Allied troops advanced through hedgerows, fields, and village paths, many encountered these hidden devices. Often concealed with minimal metal content or disguised under foliage and dirt, they were nearly invisible to the eye and resistant to early mine detectors. The psychological terror was immense—troops knew that one wrong step could unleash a rain of hot, spinning shrapnel capable of decimating entire squads. Reports from medics and frontline units noted that Bouncing Betty wounds were often gruesomely consistent: deep abdominal lacerations, shredded limbs, and horrific facial injuries. These injuries overwhelmed field hospitals and amputee wards, contributing significantly to the casualty toll in the days and weeks following the initial landings. Moreover, their strategic placement along key roads, exits from landing zones, and defensive perimeters meant that even areas considered secure were often deadly traps. The Bouncing Betty was not just a weapon of destruction, but a tool of psychological warfare, intended to maim rather than kill, thereby sapping morale and bogging down the Allied advance with the burden of the wounded.
This would make an extraordinary addition to any WWII collection.
Comes with a hand-signed C.O.A. and a full historical research write-up
This would make an incredibly unique gift for any WWII or D-Day enthusiast! This already comes in a beautiful glass display ready to become a conversation centrepiece in any office or display case.
Display Size: 8 inches tall x 6 inches wide
From: World War II
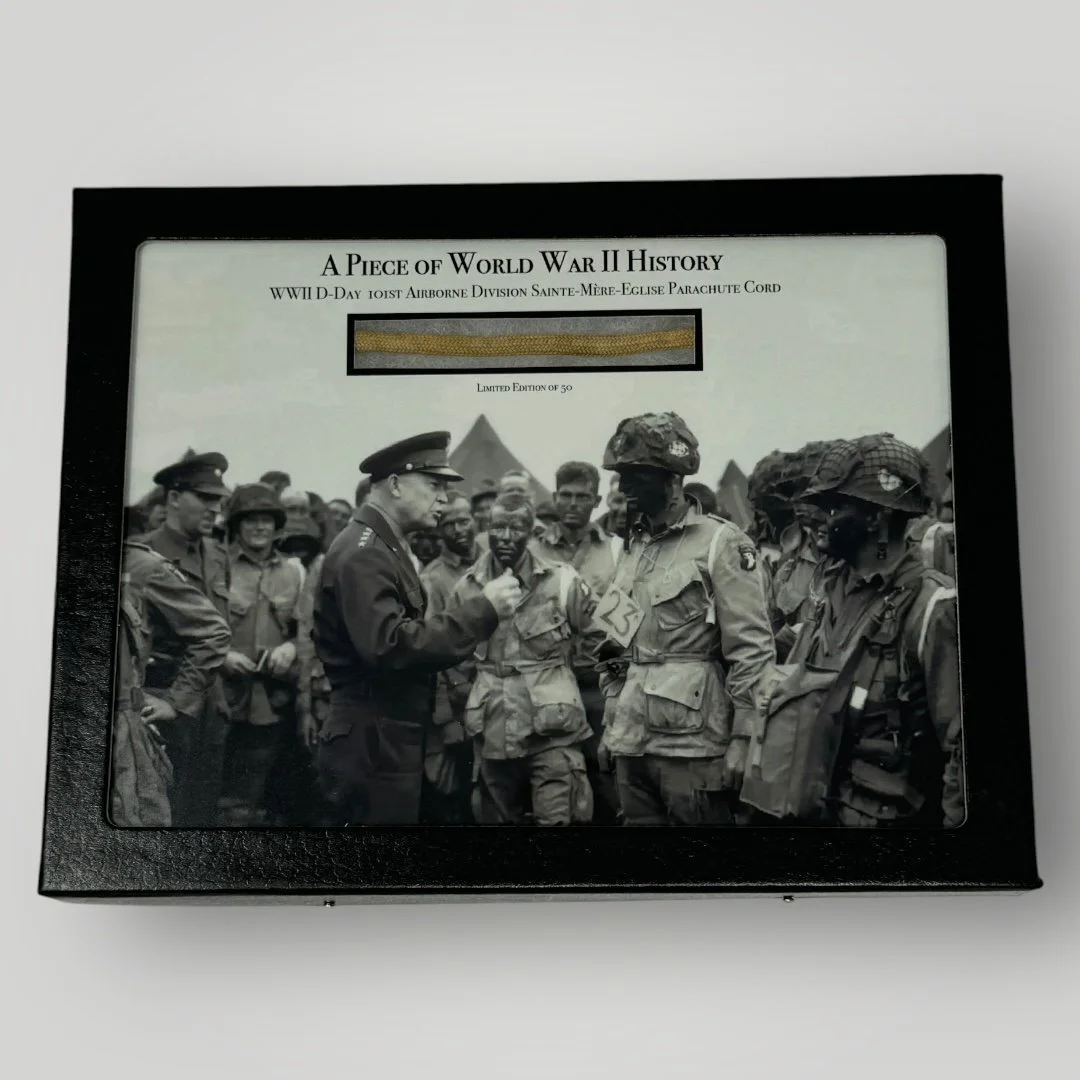
Type: Original WWII D-Day (Operation Overlord) 101st Airborne U.S. Paratrooper cut parachute cord from the Sainte-Mère-Eglise DZ
Dated: June 6th, 1944
*Limited Edition of 50*
This display series is a limited edition of 50 pieces, meaning that each "Piece of History" WWII 101st Airborne Division D-Day parachute cord display is unique. Please note that the WWII 101st Airborne Division D-Day parachute cord you receive may vary just slightly from the fabric shown as each one is one-of-a-kind!
Due to the overwhelming demand for our authentic "Piece of History" display collections, we are thrilled to introduce one of our very first “Piece of History” WWII 101st Airborne D-Day display collections! This remarkable WWII display features a cut parachute cord that was used by a 101st Airborne paratrooper on D-Day, meticulously encased in a glass display case with plush padding and a tightly sealed finish.
This display case is our LARGE size, measuring a perfect 8 inches tall x 6 inches wide.
This incredibly rare and very historic piece of WWII history is an original WWII D-Day (Operation Overlord) 101st Airborne U.S. Paratrooper cut parachute cord from the Sainte-Mère-Eglise drop zone.
On D-Day, June 6, 1944, the 101st Airborne Division was tasked with securing key positions near Sainte-Mère-Église, a critical town in Normandy.
Paratroopers from the division were dropped early in the morning by C-47 aircraft and faced scattered landings due to misdrops.
Despite this, they secured key bridges, roads, and causeways to support the main Allied forces landing on Utah Beach.
This would make an extraordinary addition to any WWII collection.
- Best Sellers -
Historic 8x10 Artifact Prints
Comes with a hand-signed Certificate of Authenticity and a full historical research write-up.
Print Size: 8 x 10 inches
Paper Type: Museum-Grade Archival Matte Fine Art Paper
From: World War II - Pacific Theater
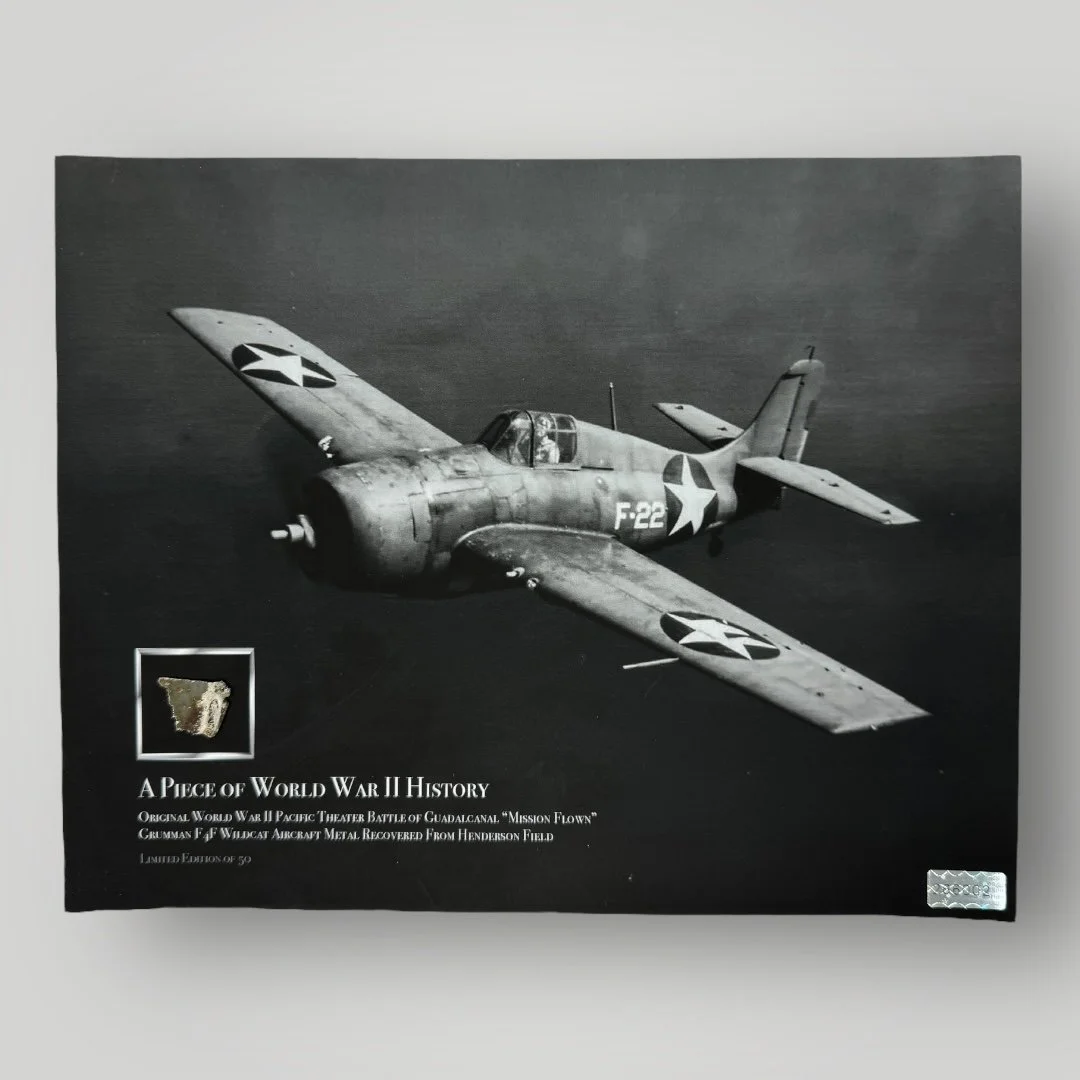
Historical Piece of History Included: Original Aircraft Fragment from a U.S. WWII Grumman F4F Wildcat Flown During the Battle of Guadalcanal at Henderson Field
Dated: 1942-1943
________________________
Each print in this Limited Edition series is truly unique. As part of our "Piece of History Prints" collection, it includes a fragment of an original WWII mission flown Grumman F4F Wildcat aircraft. The specific piece of Grumman F4F Wildcat aircraft fragment on your print may vary just slightly from others, as every fragment is truly one-of-a-kind.
This meticulously preserved fragment is professionally integrated into the print, and is perfect for framing and displaying, making it an exceptional addition to any WWII, or aviation collection.
****Included in your purchase is a 100% FREE & COMPLIMENTARY 8x11 hard acrylic display sleeve so that your print and piece of history inclusion are safely protected. This can be used as a permanent display option or until you select the perfect frame for your print.
________________________
#1. Historical Significance:
This print features an authentic mission-flown aircraft fragment of a WWII Grumman F4F Wildcat from Guadalcanal at Henderson Field (1942–1943). The Grumman F4F Wildcat was a rugged, reliable, and pivotal American fighter aircraft that played a critical role during the early Pacific campaigns of World War II, particularly in the brutal and strategically vital Battle of Guadalcanal. As the primary fighter used by U.S. Navy and Marine Corps pilots during the initial phase of the Pacific War, the Wildcat found itself at the center of the fight for Henderson Field, a captured Japanese airstrip on Guadalcanal that became the linchpin for American air operations in the Solomon Islands. Although the Wildcat was technically inferior in maneuverability and range to its primary adversary—the Japanese Mitsubishi A6M Zero—it compensated with a tougher airframe, self-sealing fuel tanks, armor protection, and the skill of its pilots, many of whom flew from the muddy, makeshift runways of Henderson Field under constant threat of bombardment and ground assault. The Wildcat’s role at Guadalcanal was instrumental in defending the field from relentless Japanese bombing raids and fighter sweeps, often outnumbered but never outmatched in resolve. Pilots such as Captain Joe Foss, who became an ace and Medal of Honor recipient while flying Wildcats from Henderson, exemplified the aircraft’s effectiveness in skilled hands. Despite limited resources, mechanical breakdowns, and the difficulty of maintaining aircraft in tropical conditions, the F4F Wildcat formed the backbone of the "Cactus Air Force," the ragtag group of Marine, Navy, and Army pilots operating from the airfield. Tactics such as the innovative “Thach Weave” allowed Wildcat pilots to overcome the Zero’s advantages in agility, turning battles of attrition into victories and gradually tipping air superiority toward the Allies. The dogfights over Guadalcanal not only preserved Henderson Field—allowing the Allies to control the skies and protect supply routes—but also marked a turning point in the Pacific War, with the Wildcat serving as a symbol of perseverance, tactical ingenuity, and air power at a moment when the outcome of the war in the Pacific was still far from certain.
#2. Why This Print is Special:
Our "Piece of History Print" transforms this storied piece of WWII history into a stunning and meaningful piece of the past perfect for any history enthusiast or anyone with an interest in aviation history. Let this limited edition print be a conversation starter, a source of inspiration, and a tribute to the legacy of the pilots of WWII.
This piece would make an extraordinary addition to any WWII, aircraft, or aviation history collection.
Comes with a hand-signed Certificate of Authenticity and a full historical research write-up.
Print Size: 8 x 10 inches
Paper Type: Museum-Grade Archival Matte Fine Art Paper
From: World War II - ETO
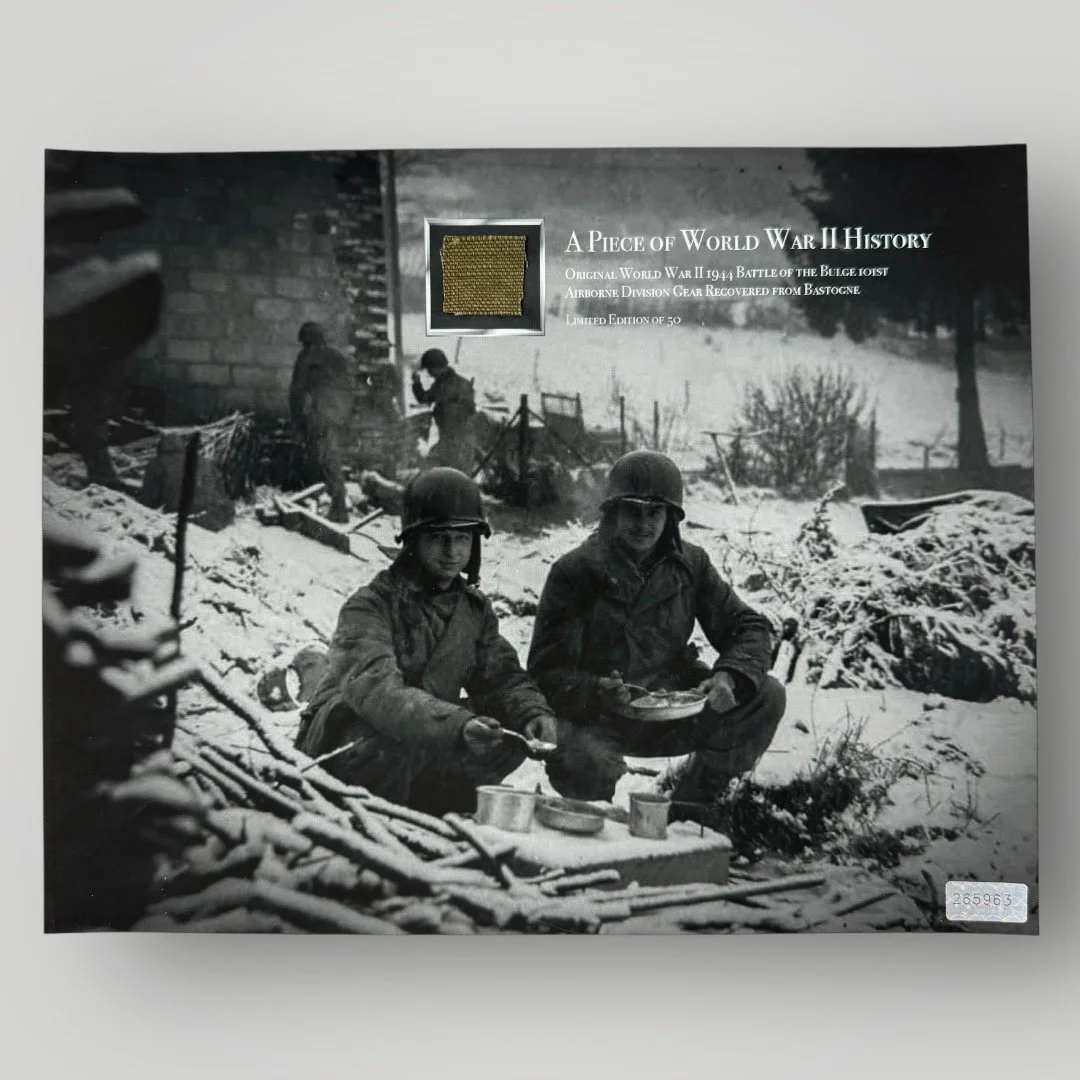
Historical Piece of WWII History Included: Original WWII Battle of the Bugle 101st Airborne Division Gear Recovered From Bastogne.
Dated: December 1944
________________________
Each print in this Limited Edition series is truly unique. As part of our "Piece of History Prints" collection, it includes a fragment of an original Battle of the Bugle 101st Airborne Division gear recovered from Bastogne. This series is a limited edition of 50 meaning that each is truly one-of-a-kind as every piece is truly one-of-a-kind. This meticulously preserved fragment is professionally integrated into the print, and is perfect for framing and displaying, making it an exceptional addition to any WWII, or Airborne collection.
****Included in your purchase is a 100% FREE & COMPLIMENTARY 8x11 hard acrylic display sleeve so that your print and piece of history inclusion are safely protected. This can be used as a permanent display option or until you select the perfect frame.
________________________
#1. Historical Significance:
This print features an original and very historic piece of original 1944 Battle of the Bugle 101st Airborne Division gear that was recovered from Bastogne. In December 1944, American forces had been spread across a 75-mile stretch of the Ardennes Forest. The Battle of the Bulge lasted six weeks, though it came to an apex during the Siege of Bastogne. By December 22nd, the 101st Airborne Division was completely surrounded at Bastogne. The 101st Airborne Division used to operating behind enemy lines and famously held Bastogne until relieved on December 26, 1944.
#2. Why This Print is Special:
Our "Piece of History Print" transforms this storied piece of WWII history into a stunning and meaningful piece of the past perfect for any history enthusiast or anyone with an interest in history. Let this limited edition print be a conversation starter, a source of inspiration, and a tribute to the legacy of the U.S. Airborne during WWII.
🇺🇸 It truly is an honor for us to be able to preserve these pieces of history for famous museums and private collections like yours...for this specific sale, 50% of all sales for this "Piece of History" print will be donated to the non-profit Honor Flight Network. Honor Flight is dedicated to transporting as many United States military veterans as possible to see the memorials of the respective war they participated, in Washington, DC, at no cost to the veterans. Thank you for helping us preserve history and remembering our nation's heroes. 🇺🇸
This piece would make an extraordinary addition to any WWII or Airborne history collection.
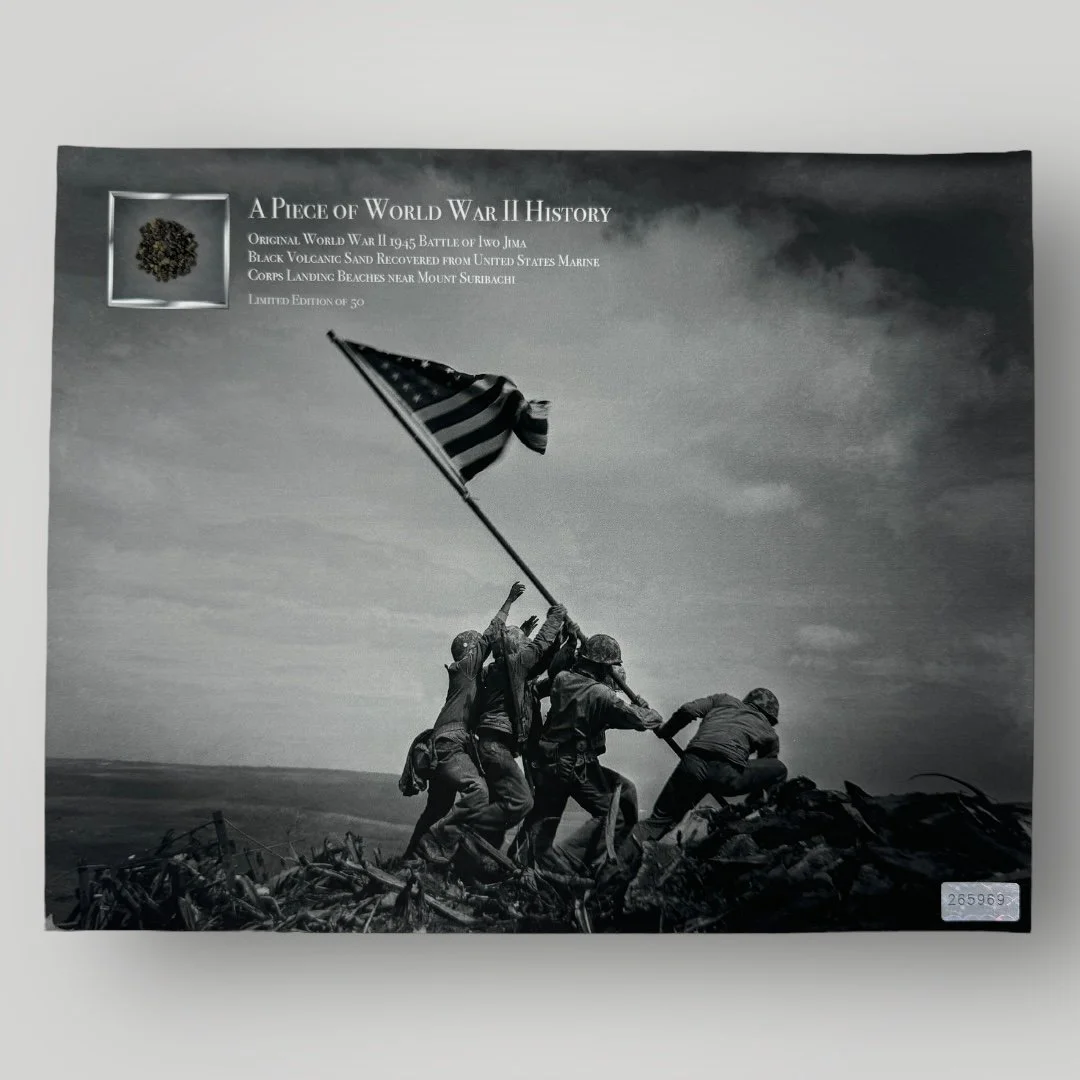
Comes with a hand-signed Certificate of Authenticity and a full historical research write-up.
Print Size: 8 x 10 inches
Paper Type: Museum-Grade Archival Matte Fine Art Paper
From: World War II - PTO
Historical Piece of WWII History Included: Original WWII Iwo Jima sand from the United States Marine Corps landing beaches.
Dated: 1945
________________________
Each print in this Limited Edition series is truly unique. As part of our "Piece of History Prints" collection, it includes original WWII Iwo Jima sand from the United States Marine Corps landing beaches. This series is a limited edition of 50 meaning that each is truly one-of-a-kind as every piece is truly one-of-a-kind. This meticulously preserved volcanic sand is professionally integrated into the print, and is perfect for framing and displaying, making it an exceptional addition to any WWII, or USMC collection.
****Included in your purchase is a 100% FREE & COMPLIMENTARY 8x11 hard acrylic display sleeve so that your print and piece of history inclusion are safely protected. This can be used as a permanent display option or until you select the perfect frame.
________________________
#1. Historical Significance:
This print features original WWII Iwo Jima sand from the historic island that played a crucial role in the PTO.
In early 1945, Iwo Jima became a key location in the Pacific. The island’s black volcanic sands became a symbol of perseverance and dedication of the USMC marking an important chapter in history. Most famously, the Iwo Jima flag-raising photograph became one of the most infamous moments of WWII.
#2. Why This Print is Special:
Our "Piece of History Print" transforms this storied piece of WWII history into a stunning and meaningful piece of the past perfect for any history enthusiast or anyone with an interest in history. Let this limited edition print be a conversation starter, a source of inspiration, and a tribute to the legacy of the U.S. Marine Corps during WWII.
🇺🇸 It truly is an honor for us to be able to preserve these pieces of history for famous museums and private collections like yours...for this specific sale, 50% of all sales for this "Piece of History" print will be donated to the non-profit Honor Flight Network. Honor Flight is dedicated to transporting as many United States military veterans as possible to see the memorials of the respective war they participated, in Washington, DC, at no cost to the veterans. Thank you for helping us preserve history and remembering our nation's heroes. 🇺🇸
This piece would make an extraordinary addition to any WWII or USMC history collection.
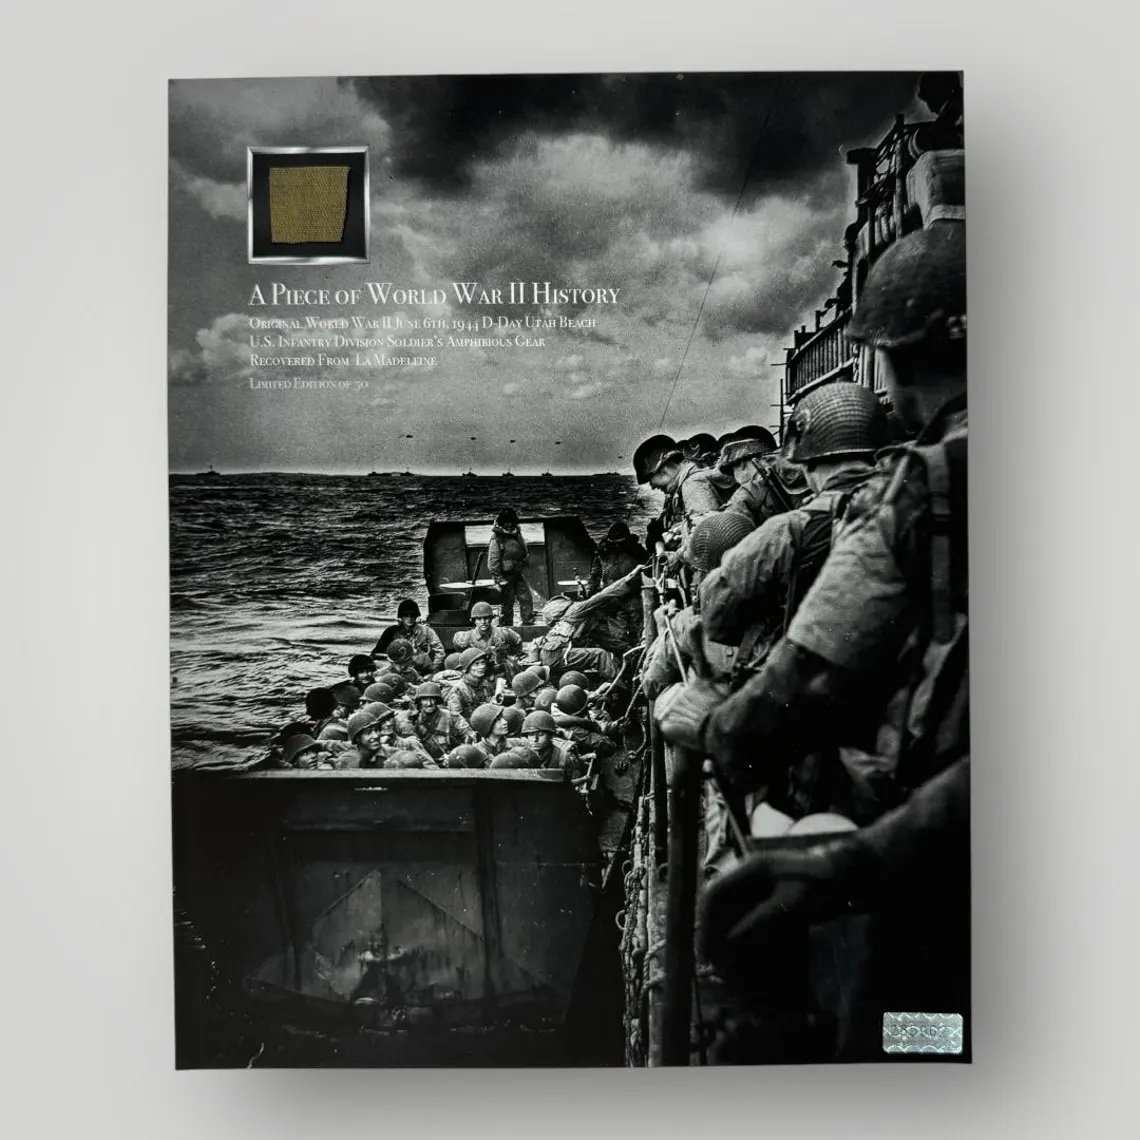
Comes with a hand-signed Certificate of Authenticity and a full historical research write-up.
Print Size: 8 x 10 inches
Paper Type: Museum-Grade Archival Matte Fine Art Paper
From: World War II - ETO
Historical Piece of WWII History Included: Original WWII D-Day U.S. Infantry Soldier's Amphibious Gear Recovered from Utah Beach (La Madeleine) Landing Sector.
Dated: June 6th, 1944
________________________
Each print in this Limited Edition series is truly unique. As part of our "Piece of History Prints" collection, it includes a fragment of an original WWII D-Day U.S. Infantry soldier's amphibious gear recovered from the Utah Beach (La Madeleine) landing sector. This series is a limited edition of 50 meaning that each is truly one-of-a-kind as every piece is truly one-of-a-kind. This meticulously preserved fragment is professionally integrated into the print, and is perfect for framing and displaying, making it an exceptional addition to any WWII, or D-Day collection.
****Included in your purchase is a 100% FREE & COMPLIMENTARY 8x11 hard acrylic display sleeve so that your print and piece of history inclusion are safely protected. This can be used as a permanent display option or until you select the perfect frame.
________________________
#1. Historical Significance:
This print features an original WWII D-Day U.S. Infantry soldier’s amphibious gear that was recovered from the Utah Beach (La Madeleine) landing sector, a key site during the D-Day Normandy landings on June 6, 1944. As the westernmost landing zone of Operation Overlord, Utah Beach was the designated sector for the U.S. 4th Infantry Division. The soldiers arriving in their designated landing crafts relied on specialized amphibious gear to navigate the unique challenges of a beach landing. These items were designed to assist troops as they moved from landing craft to shore, ensuring they could effectively transport equipment, maintain mobility, and adapt to the shifting terrain of the water and sand coastline.
#2. Why This Print is Special:
Our "Piece of History Print" transforms this storied piece of WWII history into a stunning and meaningful piece of the past perfect for any history enthusiast or anyone with an interest in history. Let this limited edition print be a conversation starter, a source of inspiration, and a tribute to the legacy of the U.S. Army during WWII.
🇺🇸 It truly is an honor for us to be able to preserve these pieces of history for famous museums and private collections like yours...for this specific sale, 50% of all sales for this "Piece of History" print will be donated to the non-profit Honor Flight Network. Honor Flight is dedicated to transporting as many United States military veterans as possible to see the memorials of the respective war they participated, in Washington, DC, at no cost to the veterans. Thank you for helping us preserve history and remembering our nation's heroes. 🇺🇸
This piece would make an extraordinary addition to any WWII, D-Day, or U.S. Army history collection. For further details or inquiries, please don’t hesitate to reach out.
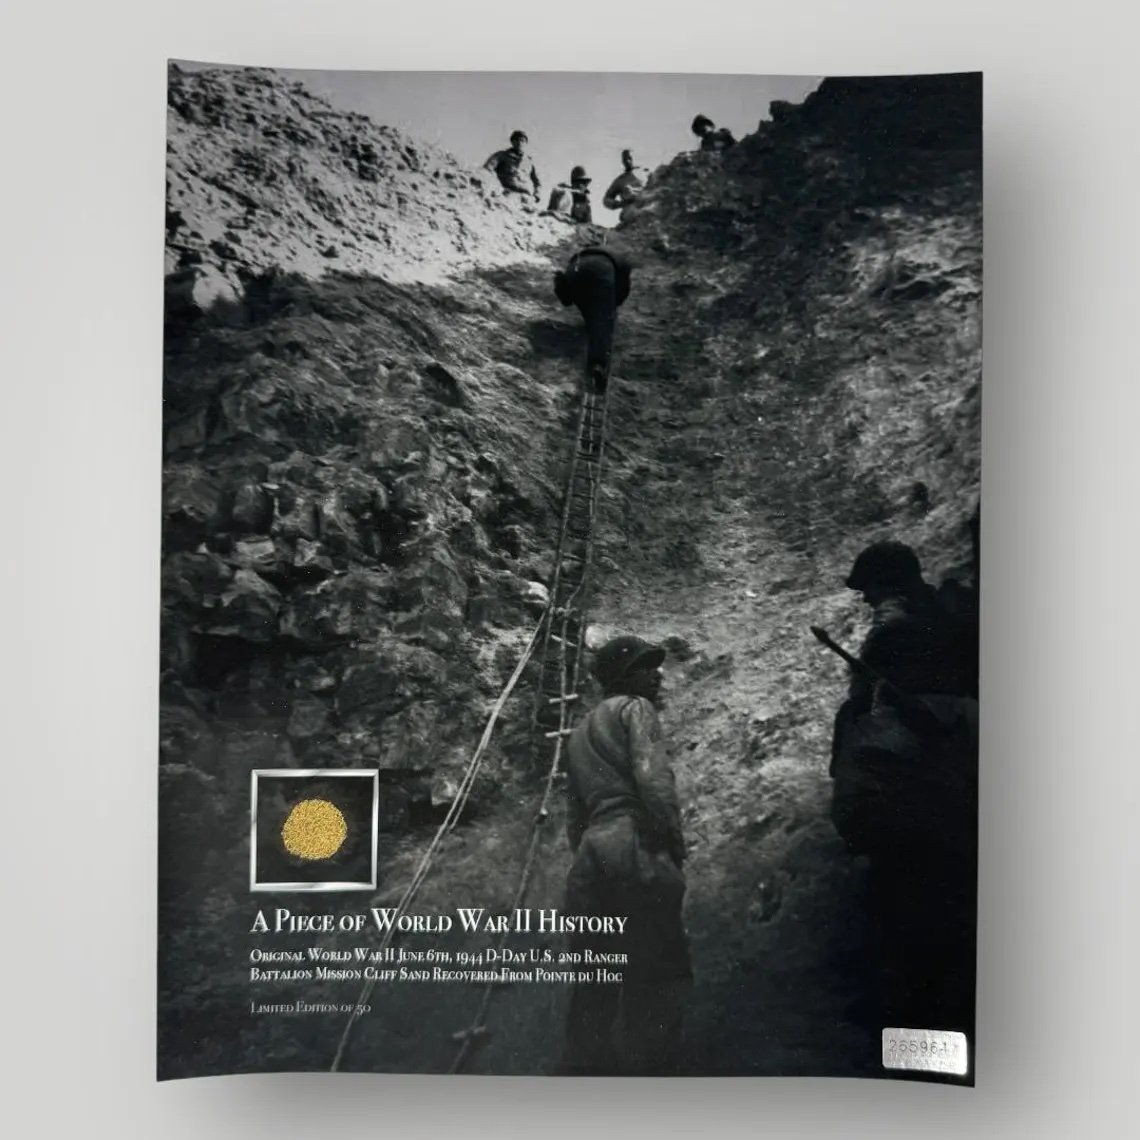
Comes with a hand-signed Certificate of Authenticity and a full historical research write-up.
Print Size: 8 x 10 inches
Paper Type: Museum-Grade Archival Matte Fine Art Paper
From: World War II - ETO
Historical Piece of WWII History Included: Original WWII D-Day Pointe du Hoc cliff sand (preserved during the 50th D-Day anniversary in 1994)
Dated: June 6th, 1944
________________________
Each print in this Limited Edition series is truly unique. As part of our "Piece of History Prints" collection, it includes a section of original June 6th, 1944 D-Day Pointe du Hoc cliff sand recovered from the U.S. Ranger mission landing sector. This series is a limited edition of 50 meaning that each is truly one-of-a-kind as every piece is truly one-of-a-kind. This meticulously preserved sand is professionally integrated into the print, and is perfect for framing and displaying, making it an exceptional addition to any WWII, or D-Day collection.
****Included in your purchase is a 100% FREE & COMPLIMENTARY 8x11 hard acrylic display sleeve so that your print and piece of history inclusion are safely protected. This can be used as a permanent display option or until you select the perfect frame.
________________________
#1. Historical Significance:
Located halfway between Omaha Beach and Utah Beach, Pointe du Hoc dominates the sea from its vertical cliff on the D-Day coastline. On D-Day, the U.S. 2nd and 5th Ranger Battalions were given the task of scaling the cliffs of Pointe du Hoc and capturing the strong point. The Operation Overlord D-Day Ranger mission of Pointe du Hoc is referenced as the single most important and most dangerous mission of the entire operation.
#2. Why This Print is Special:
Our "Piece of History Print" transforms this storied piece of WWII history into a stunning and meaningful piece of the past perfect for any history enthusiast or anyone with an interest in history. Let this limited edition print be a conversation starter, a source of inspiration, and a tribute to the legacy of the U.S. Rangers during WWII.
🇺🇸 It truly is an honor for us to be able to preserve these pieces of history for famous museums and private collections like yours...for this specific sale, 50% of all sales for this "Piece of History" print will be donated to the non-profit Honor Flight Network. Honor Flight is dedicated to transporting as many United States military veterans as possible to see the memorials of the respective war they participated, in Washington, DC, at no cost to the veterans. Thank you for helping us preserve history and remembering our nation's heroes. 🇺🇸
This piece would make an extraordinary addition to any WWII, D-Day, or U.S. Ranger history collection. For further details or inquiries, please don’t hesitate to reach out.
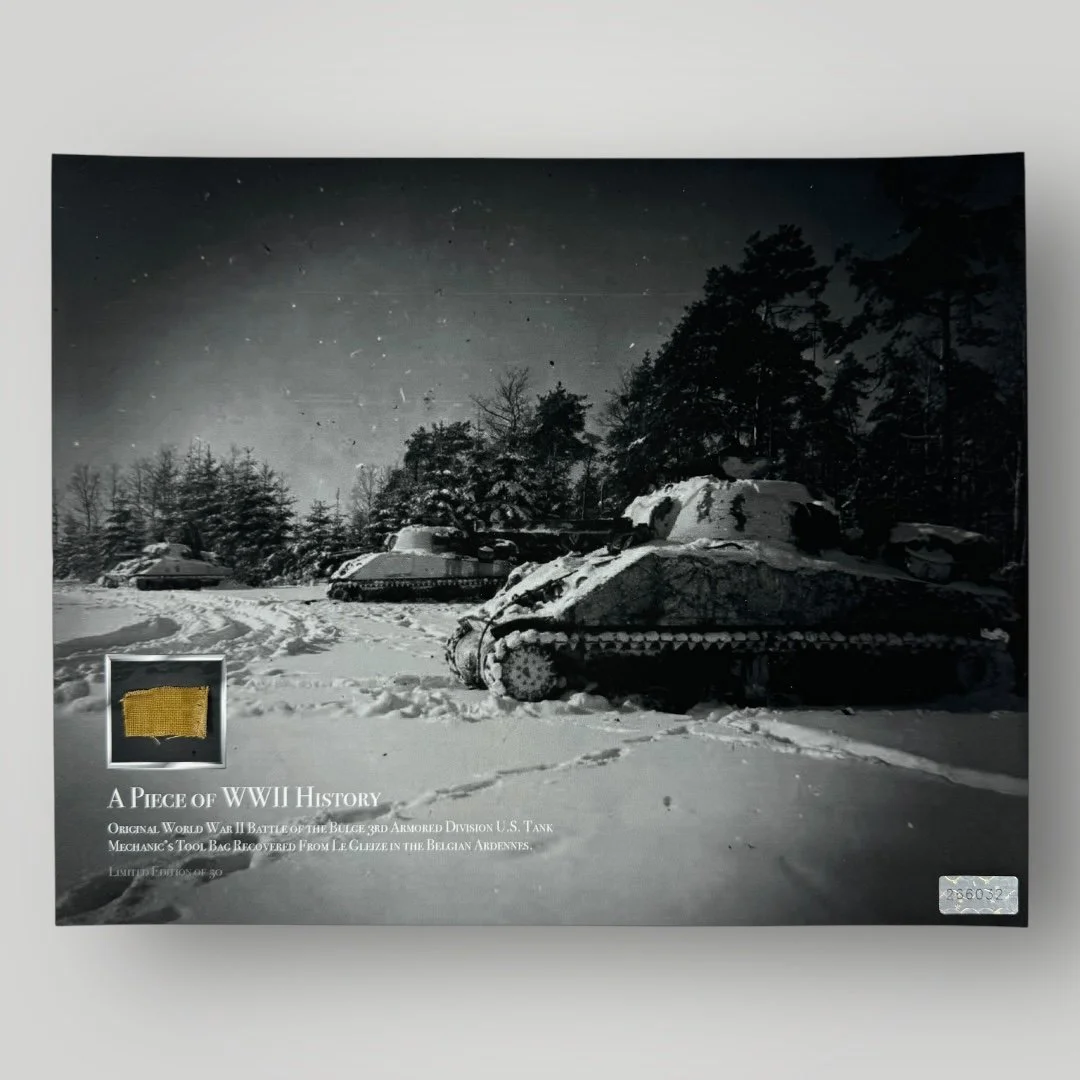
Comes with a hand-signed Certificate of Authenticity and a full historical research write-up.
Print Size: 8 x 10 inches
Paper Type: Museum-Grade Archival Matte Fine Art Paper
From: World War II - ETO - Ardennes Campaign
Historical Piece of WWII History Included: Original WWII Battle of the Bugle 3rd Armored Division U.S. Tank Mechanic’s Tool Bag Recovered From Le Gleize In The Belgian Ardennes.
Dated: December 16, 1944, to January 25, 1945
________________________
Each print in this Limited Edition series is truly unique. As part of our "Piece of History Prints" collection, it includes a fragment of an original Battle of the Bugle 3rd Armored Division U.S. tank mechanic’s tool bag recovered from Le Gleize in the Belgian Ardennes. This series is a limited edition of 50 meaning that each is truly one-of-a-kind as every piece is truly one-of-a-kind. This meticulously preserved fragment is professionally integrated into the print, and is perfect for framing and displaying, making it an exceptional addition to any WWII, or Battle of the Bulge collection.
****Included in your purchase is a 100% FREE & COMPLIMENTARY 8x11 hard acrylic display sleeve so that your print and piece of history inclusion are safely protected. This can be used as a permanent display option or until you select the perfect frame.
________________________
#1. Historical Significance:
The Battle of the Bulge, fought from December 16, 1944, to January 25, 1945, was Germany’s last major offensive campaign on the Western Front during World War II, aiming to split Allied forces, capture the vital port city of Antwerp, and encircle and destroy four Allied armies. In the chaos of the surprise Ardennes assault, the 3rd Armored Division—nicknamed the "Spearhead Division"—played a crucial role in halting the German advance, particularly during the fierce engagements near the Belgian town of Le Gleize. As elements of the elite German Kampfgruppe Peiper, part of the 1st SS Panzer Division Leibstandarte Adolf Hitler, pushed forward in a brutal thrust, they left behind a trail of destruction and war crimes, but their momentum began to falter under heavy resistance and logistical challenges. Near Le Gleize, the 3rd Armored Division, reinforced by units from the 30th Infantry Division and supported by artillery and air strikes, faced off against the best of Hitler’s armored forces in one of the most intense clashes of the Ardennes campaign. The narrow roads, dense forests, and bitter winter conditions made combat exceptionally difficult, with tanks bogged down in snow and infantry forced into savage house-to-house fighting. Le Gleize became a focal point of resistance, where American forces stubbornly blocked Peiper’s advance, ultimately cutting off his retreat. As fuel ran out and Allied counterattacks intensified, Kampfgruppe Peiper was encircled, and Peiper was forced to abandon his vehicles—including powerful Tiger II tanks—and escape on foot with a fraction of his men. The 3rd Armored Division's relentless pressure and tactical resilience in the Le Gleize area were instrumental in neutralizing one of the most dangerous armored thrusts of the Bulge, helping to turn the tide of the battle in favor of the Allies and cementing the division’s legacy as a pivotal force in the final defeat of Germany.
#2. Why This Print is Special:
Our "Piece of History Print" transforms this storied piece of WWII history into a stunning and meaningful piece of the past perfect for any history enthusiast or anyone with an interest in history. Let this limited edition print be a conversation starter, a source of inspiration, and a tribute to the legacy of the U.S. Airborne during WWII.
🇺🇸 It truly is an honor for us to be able to preserve these pieces of history for famous museums and private collections like yours...for this specific sale, 50% of all sales for this "Piece of History" print will be donated to the non-profit Honor Flight Network. Honor Flight is dedicated to transporting as many United States military veterans as possible to see the memorials of the respective war they participated, in Washington, DC, at no cost to the veterans. Thank you for helping us preserve history and remembering our nation's heroes. 🇺🇸
This piece would make an extraordinary addition to any WWII history collection.
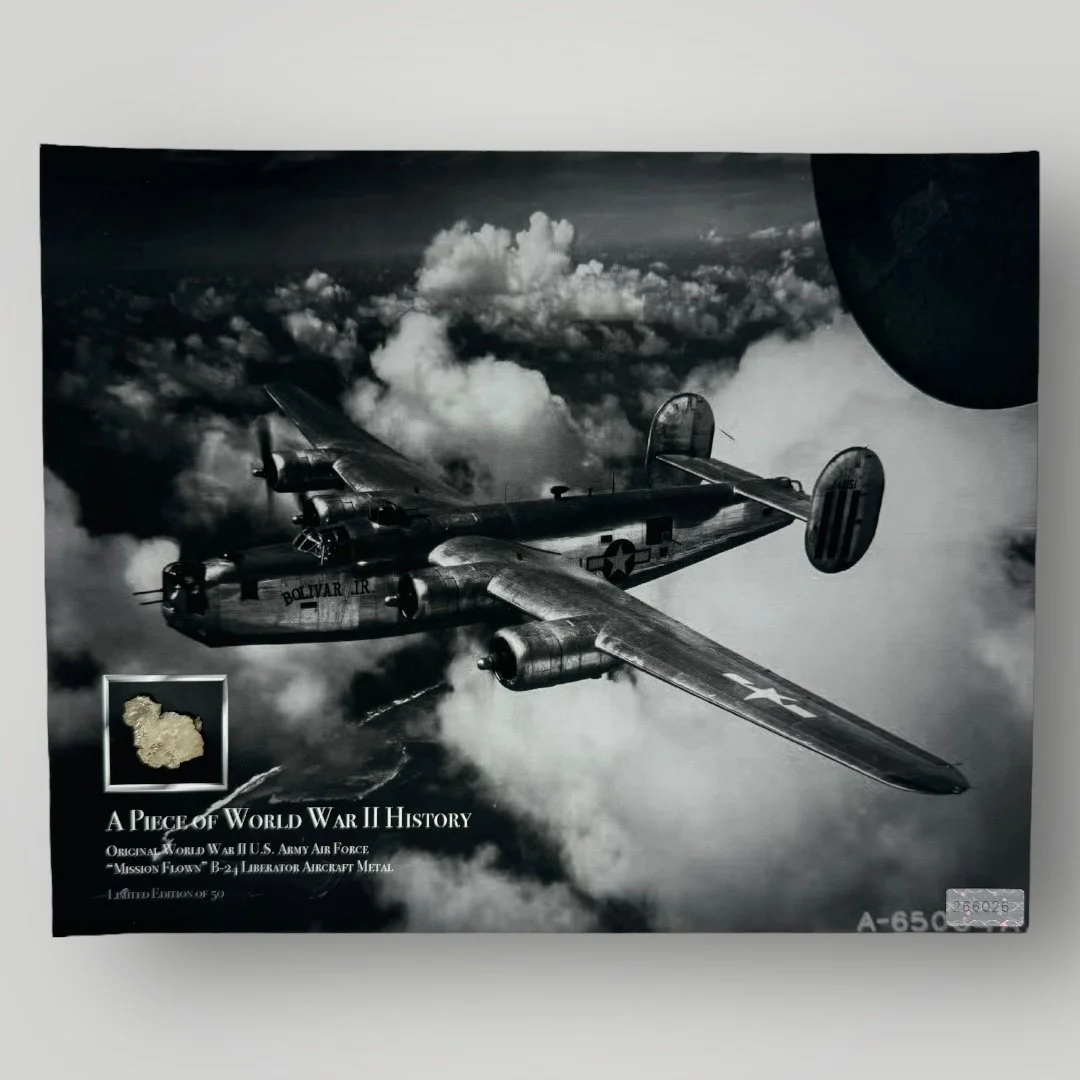
Comes with a hand-signed Certificate of Authenticity and a full historical research write-up.
Print Size: 8 x 10 inches
Paper Type: Museum-Grade Archival Matte Fine Art Paper
From: World War II - ETO
Historical Piece of WWII History Included: Original WWII U.S. Army Air Force “Mission Flown” B-24 Liberator Aircraft Metal
Dated: 1941-1945
________________________
Each print in this Limited Edition series is truly unique. As part of our "Piece of History Prints" collection, it includes a metal aircraft skin fragment of an original WWII B-24 Liberator. This series is a limited edition of 50 meaning that each is truly one-of-a-kind as every piece is truly one-of-a-kind. This meticulously preserved fragment is professionally integrated into the print, and is perfect for framing and displaying, making it an exceptional addition to any WWII, or USAAF collection.
****Included in your purchase is a 100% FREE & COMPLIMENTARY 8x11 hard acrylic display sleeve so that your print and piece of history inclusion are safely protected. This can be used as a permanent display option or until you select the perfect frame.
________________________
#1. Historical Significance:
The B-24 Liberator played a vital role in both the Pacific Theater of Operations (PTO) and the European Theater of Operations (ETO) during World War II, adapting to the distinct demands of each front. In the PTO, the B-24’s long range made it especially valuable for covering the vast distances between island targets, naval convoys, and Japanese strongholds. It was frequently used in anti-shipping missions, maritime patrols, and strategic bombing runs against enemy bases, airfields, and infrastructure spread across the Pacific islands. In the ETO, the B-24 was a workhorse of the Allied strategic bombing campaign, flying countless missions over heavily defended German territory. There, it was used to target industrial centers, oil refineries, transportation networks, and military installations—contributing significantly to the crippling of the German war machine. B-24 groups also supported the D-Day invasion and other major offensives by softening enemy defenses from the air. Despite harsh conditions and formidable enemy resistance in both theaters, the B-24’s versatility and reach made it a cornerstone of Allied air power.
#2. Why This Print is Special:
Our "Piece of History Print" transforms this storied piece of WWII history into a stunning and meaningful piece of the past perfect for any history enthusiast or anyone with an interest in history. Let this limited edition print be a conversation starter, a source of inspiration, and a tribute to the legacy of the U.S. Army during WWII.
🇺🇸 It truly is an honor for us to be able to preserve these pieces of history for famous museums and private collections like yours...for this specific sale, 50% of all sales for this "Piece of History" print will be donated to the non-profit Honor Flight Network. Honor Flight is dedicated to transporting as many United States military veterans as possible to see the memorials of the respective war they participated, in Washington, DC, at no cost to the veterans. Thank you for helping us preserve history and remembering our nation's heroes. 🇺🇸
This piece would make an extraordinary addition to any WWII, D-Day, or U.S. Army history collection. For further details or inquiries, please don’t hesitate to reach out.
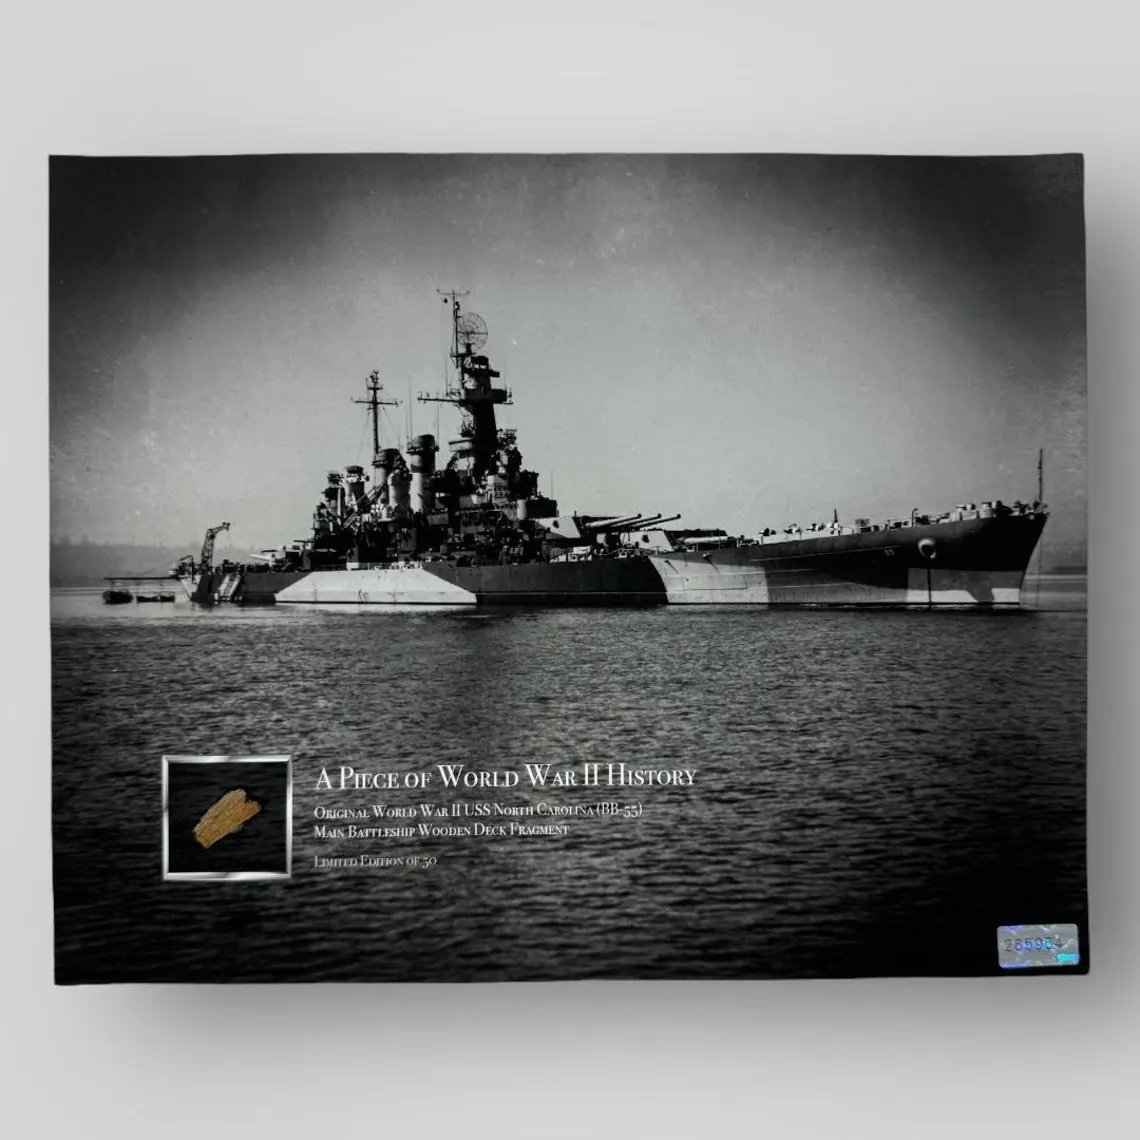
Comes with a hand-signed Certificate of Authenticity and a full historical research write-up.
Print Size: 8 x 10 inches
Paper Type: Museum-Grade Archival Matte Fine Art Paper
From: World War II
Historical Piece of WWII History Included: Original USS North Carolina BB-55 Wooden Main Deck Fragment
Dated: 1941-1945
________________________
Each print in this Limited Edition series is truly unique. As part of our "Piece of History Prints" collection, it includes a section of an original fragment of WWII USS North Carolina BB-55 wood decking. This series is a limited edition of 50 meaning that each is truly one-of-a-kind as every piece is truly one-of-a-kind. This meticulously preserved sand is professionally integrated into the print, and is perfect for framing and displaying, making it an exceptional addition to any WWII, or U.S. Navy collection.
****Included in your purchase is a 100% FREE & COMPLIMENTARY 8x11 hard acrylic display sleeve so that your print and piece of history inclusion are safely protected. This can be used as a permanent display option or until you select the perfect frame.
________________________
#1. Historical Significance:
This incredibly rare and historic print contains an original piece of a main wood deck fragment from the WWII battleship USS North Carolina (BB-55), which served with distinction as one of the most decorated U.S. Navy ships of WWII. The USS North Carolina BB-55 was a highly regarded American battleship that played a pivotal role during World War II. Known as "The Showboat," it was the first of the 10 fast battleships built by the United States Navy that saw extensive action in both the ETO and PTO. Throughout its service, the USS North Carolina participated in every major naval campaign in the Pacific, providing crucial support during key campaigns such as Guadalcanal, the Philippine Sea, and Leyte Gulf. The ship earned 15 battle stars for its WWII service, making it one of the most decorated American battleships of WWII. This wood deck fragment is a tangible connection to the ship's illustrious history, allowing collectors to own a piece of the legacy of one of the most iconic U.S. Navy ships of the 20th century.
#2. Why This Print is Special:
Our "Piece of History Print" transforms this storied piece of WWII USN history into a stunning and meaningful piece of the past perfect for any history enthusiast or anyone with an interest in history. Let this limited edition print be a conversation starter, a source of inspiration, and a tribute to the legacy of the U.S. Navy during WWII.
🇺🇸 It truly is an honor for us to be able to preserve these pieces of history for famous museums and private collections like yours...for this specific sale, 50% of all sales for this "Piece of History" print will be donated to the non-profit Honor Flight Network. Honor Flight is dedicated to transporting as many United States military veterans as possible to see the memorials of the respective war they participated, in Washington, DC, at no cost to the veterans. Thank you for helping us preserve history and remembering our nation's heroes. 🇺🇸
This piece would make an extraordinary addition to any WWII, U.S. Navy, or military history collection. For further details or inquiries, please don’t hesitate to reach out.

Comes with a hand-signed Certificate of Authenticity and a full historical research write-up.
Print Size: 8 x 10 inches
Paper Type: Museum-Grade Archival Matte Fine Art Paper
From: World War II - ETO
Historical Piece of WWII History Included: Original WWII Eighth Air Force 379th Bomb Group “Mission Flown” B-17 Flying Fortress Aircraft Metal
Dated: 1944-1945
________________________
Each print in this Limited Edition series is truly unique. As part of our "Piece of History Prints" collection, it includes a metal aircraft skin fragment of an original WWII 8th Air Force 379th Bomb Group “Mission Flown” B-17 Flying Fortress. This series is a limited edition of 50 meaning that each is truly one-of-a-kind as every piece is truly one-of-a-kind. This meticulously preserved fragment is professionally integrated into the print, and is perfect for framing and displaying, making it an exceptional addition to any WWII, or U.S. Air Force collection.
****Included in your purchase is a 100% FREE & COMPLIMENTARY 8x11 hard acrylic display sleeve so that your print and piece of history inclusion are safely protected. This can be used as a permanent display option or until you select the perfect frame.
________________________
#1. Historical Significance:
This print features an original WWII mission flown aircraft metal from an 8th Air Force 379th Bomb Group B-17 Flying Fortress. The Eighth Air Force 379th Bomb Group, known as the "Grand Slam Group," was one of the most decorated and effective heavy bombardment groups in the European Theater during World War II, flying the iconic Boeing B-17 Flying Fortress. Activated on November 3, 1942, and stationed at RAF Kimbolton in Cambridgeshire, England, the 379th was part of the First Bombardment Division of the Eighth Air Force. The group flew the B-17G Flying Fortress, a rugged, four-engine strategic bomber famed for its durability and ability to return home despite heavy damage. The 379th BG began combat operations in May 1943 and quickly established a reputation for discipline, precision, and extraordinary effectiveness in its bombing missions. Over the course of the war, the 379th flew 330 combat missions, more than any other B-17 group in the Eighth Air Force—a staggering testament to their operational intensity and resilience.
The 379th earned two Distinguished Unit Citations (DUCs): the first for a mission on January 11, 1944, when it bombed an aircraft factory at Oschersleben, Germany, without fighter escort, facing intense opposition from enemy fighters and flak. The second was awarded for sustained excellence and mission effectiveness over time. Among their most famous missions was"Big Week"in February 1944, during which they played a critical role in targeting German aircraft production facilities. The 379th was also heavily involved in bombing missions before and during the D-Day invasion in June 1944, supporting the Allied breakout at Normandy by targeting enemy transportation hubs, supply lines, and fortified positions. Later missions included strikes duringOperation Market Garden, theBattle of the Bulge, and extensive bombing campaigns against oil refineries and rail yards in Germany, contributing significantly to the degradation of the Nazi war machine.
Nicknamed "The Grand Slam Group" due to its consistent ability to deliver maximum bomb loads with exceptional accuracy, the 379th dropped more bomb tonnage than any other group in the Eighth Air Force—26,459 tons in total. The unit maintained one of the lowest abort rates and highest bombing accuracy ratings of any group. Their legacy is immortalized not only by the numbers but also by the aircraft that carried them through history, such as the famed"Swamp Fire", the first B-17 in the Eighth Air Force to complete 100 combat missions. With over 40,000 combat sorties flown and a place in both the USAF Museum and National WWII Museum exhibits, the 379th Bomb Group remains a powerful symbol of American airpower, courage, and sacrifice during World War II.
#2. Why This Print is Special:
Our "Piece of History Print" transforms this storied piece of WWII history into a stunning and meaningful piece of the past perfect for any history enthusiast or anyone with an interest in history. Let this limited edition print be a conversation starter, a source of inspiration, and a tribute to the legacy of the B-17 Flying Fortress during WWII.
🇺🇸 It truly is an honor for us to be able to preserve these pieces of history for famous museums and private collections like yours...for this specific sale, 50% of all sales for this "Piece of History" print will be donated to the non-profit Honor Flight Network. Honor Flight is dedicated to transporting as many United States military veterans as possible to see the memorials of the respective war they participated, in Washington, DC, at no cost to the veterans. Thank you for helping us preserve history and remembering our nation's heroes. 🇺🇸
This piece would make an extraordinary addition to any WWII history collection. For further details or inquiries, please don’t hesitate to reach out.
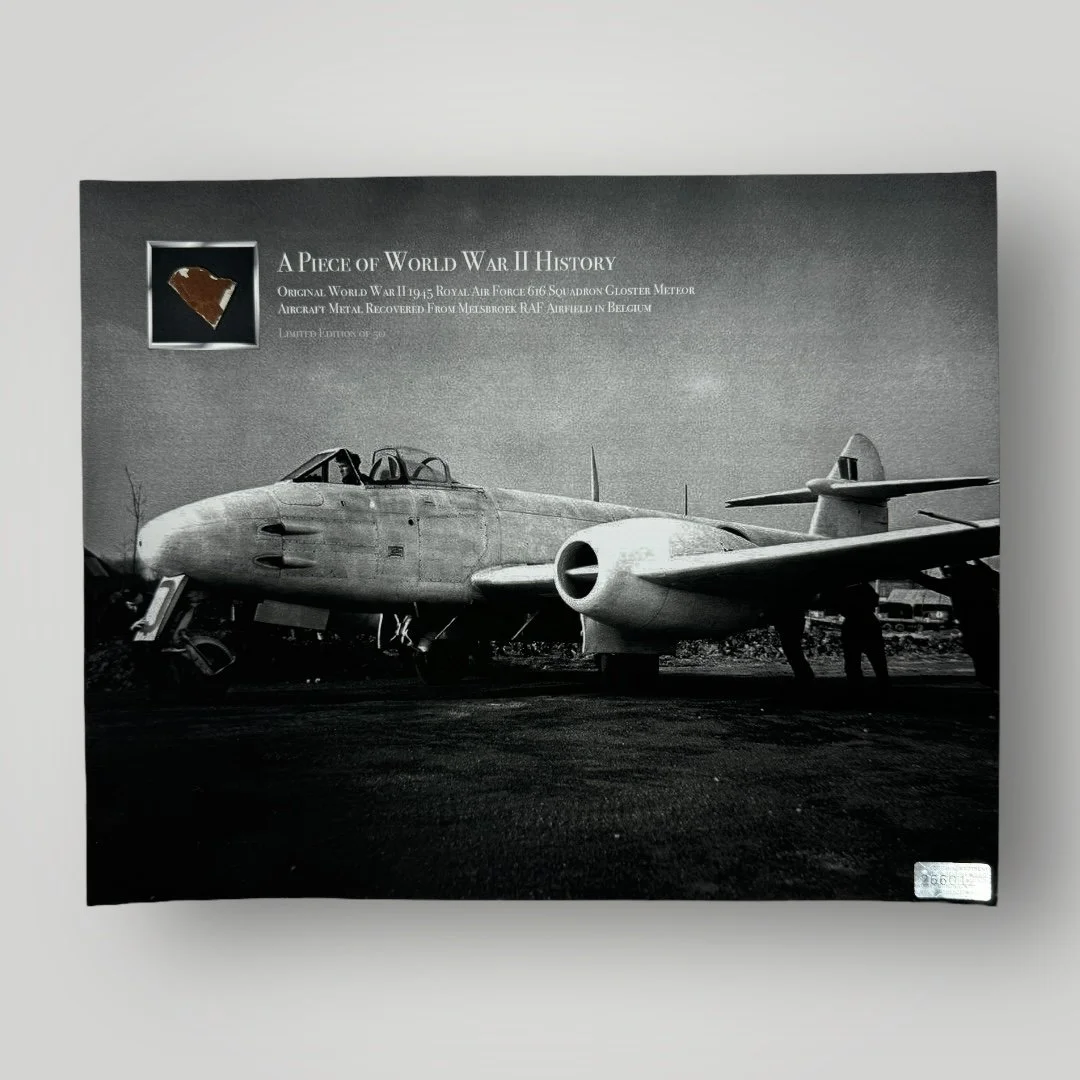
Comes with a hand-signed Certificate of Authenticity and a full historical research write-up.
Print Size: 8 x 10 inches
Paper Type: Museum-Grade Archival Matte Fine Art Paper
From: World War II - ETO
Historical Piece of WWII History Included: Original WWII Royal Air Force 616 Squadron “Mission Flown Gloster Meteor Aircraft Metal Recovered from RAF Melsbroek Airfield in Belgium.
Dated: 1945
________________________
Each print in this Limited Edition series is truly unique. As part of our "Piece of History Prints" collection, it includes a metal aircraft skin fragment of an original WWII Gloster Meteor from the RAF 616 Squadron. This series is a limited edition of 50 meaning that each is truly one-of-a-kind as every piece is truly one-of-a-kind. This meticulously preserved fragment is professionally integrated into the print, and is perfect for framing and displaying, making it an exceptional addition to any WWII, or Royal Air Force collection.
****Included in your purchase is a 100% FREE & COMPLIMENTARY 8x11 hard acrylic display sleeve so that your print and piece of history inclusion are safely protected. This can be used as a permanent display option or until you select the perfect frame.
________________________
#1. Historical Significance:
The Royal Air Force’s 616 Squadron holds a unique place in military aviation history as the first operational unit to fly jet-powered aircraft in combat during the Second World War. Formed in 1938 as part of the Auxiliary Air Force, the squadron initially flew Spitfires in the early years of the war, but it was in 1944 that they were selected to pioneer Britain’s first operational jet fighter, the Gloster Meteor. This revolutionary aircraft, powered by twin Rolls-Royce Welland turbojets, was a response to the growing threat posed by German jet technology, particularly the Messerschmitt Me 262. From these ETO airfields, the RAF 616 Squadron undertook a series of historic missions over occupied territory, primarily targeting German V-1 flying bomb launch sites, transport infrastructure, and enemy aircraft in defensive interception roles. The Meteor's speed and climb rate made it a formidable opponent against the dwindling Luftwaffe presence, although it was often held back from deep penetration missions to prevent the aircraft from falling into enemy hands. Missions flown in the early months of 1945 were both defensive and offensive in nature—protecting key logistical hubs as Allied forces advanced through Belgium and into Germany, while also sweeping for last-ditch German air activity. Despite initial limitations in range and armament compared to piston-engine contemporaries, the Gloster Meteor represented a monumental shift in air warfare, with 616 Squadron at the forefront of this transition. Their operations symbolized not only the technological evolution of the RAF but also the coordinated push toward final victory in Europe.
#2. Why This Print is Special:
Our "Piece of History Print" transforms this storied piece of WWII history into a stunning and meaningful piece of the past perfect for any history enthusiast or anyone with an interest in history. Let this limited edition print be a conversation starter, a source of inspiration, and a tribute to the legacy of the U.S. Army during WWII.
🇺🇸 It truly is an honor for us to be able to preserve these pieces of history for famous museums and private collections like yours...for this specific sale, 50% of all sales for this "Piece of History" print will be donated to the non-profit Honor Flight Network. Honor Flight is dedicated to transporting as many United States military veterans as possible to see the memorials of the respective war they participated, in Washington, DC, at no cost to the veterans. Thank you for helping us preserve history and remembering our nation's heroes. 🇺🇸
This piece would make an extraordinary addition to any WWII, of RAF history collection. For further details or inquiries, please don’t hesitate to reach out.

Comes with a hand-signed Certificate of Authenticity and a full historical research write-up.
Print Size: 8 x 10 inches
Paper Type: Museum-Grade Archival Matte Fine Art Paper
From: World War II - ETO
Historical Piece of WWII History Included: Original D-Day landing craft lifebelt worn by a U.S. soldier who landed on Omaha Beach on June 6th, 1944 and was recovered from the sands on the Omaha Beach landing areas from Vierville sur-Mer to Port-en-Bessin which includes the landing zones of CHARLIE, DOG GREEN, DOG WHITE, DOG RED, EASY GREEN, EASY RED, FOX GREEN, & FOX RED.
Dated: June 6th, 1944
________________________
Each print in this Limited Edition series is truly unique. As part of our "Piece of History Prints" collection, it includes a section of an original June 6th, 1944 D-Day U.S. soldier lifebelt recovered from the Omaha Beach landing sector. This series is a limited edition of 50 meaning that each is truly one-of-a-kind as every piece is truly one-of-a-kind. This meticulously preserved sand is professionally integrated into the print, and is perfect for framing and displaying, making it an exceptional addition to any WWII or D-Day collection.
****Included in your purchase is a 100% FREE & COMPLIMENTARY 8x11 hard acrylic display sleeve so that your print and piece of history inclusion are safely protected. This can be used as a permanent display option or until you select the perfect frame.
________________________
#1. Historical Significance:
On the morning of June 6, 1944, the 1st and 29th Infantry Divisions of the United States Army landed on Omaha Beach, one of the five designated landing areas for the historic D-Day operation. Positioned as the second beach from the west, Omaha held immense strategic importance for the success of the Allied efforts. As the sun rose over the coast of Normandy, these dedicated servicemen stepped off their landing craft and made their way onto the sandy shores, carrying not only their gear but the weight of a mission that would help shape the course of history. With determination and courage, they began the challenging task of advancing inland, navigating a landscape marked by natural obstacles and unfamiliar terrain.
#2. Why This Print is Special:
Our "Piece of History Print" transforms this storied piece of WWII D-Day history into a stunning and meaningful piece of the past perfect for any history enthusiast or anyone with an interest in history. Let this limited edition print be a conversation starter, a source of inspiration, and a tribute to the legacy of the U.S. soldiers during WWII.
🇺🇸 It truly is an honor for us to be able to preserve these pieces of history for famous museums and private collections like yours...for this specific sale, 50% of all sales for this "Piece of History" print will be donated to the non-profit Honor Flight Network. Honor Flight is dedicated to transporting as many United States military veterans as possible to see the memorials of the respective war they participated, in Washington, DC, at no cost to the veterans. Thank you for helping us preserve history and remembering our nation's heroes. 🇺🇸
This piece would make an extraordinary addition to any WWII, D-Day, or military history collection. For further details or inquiries, please don’t hesitate to reach out.
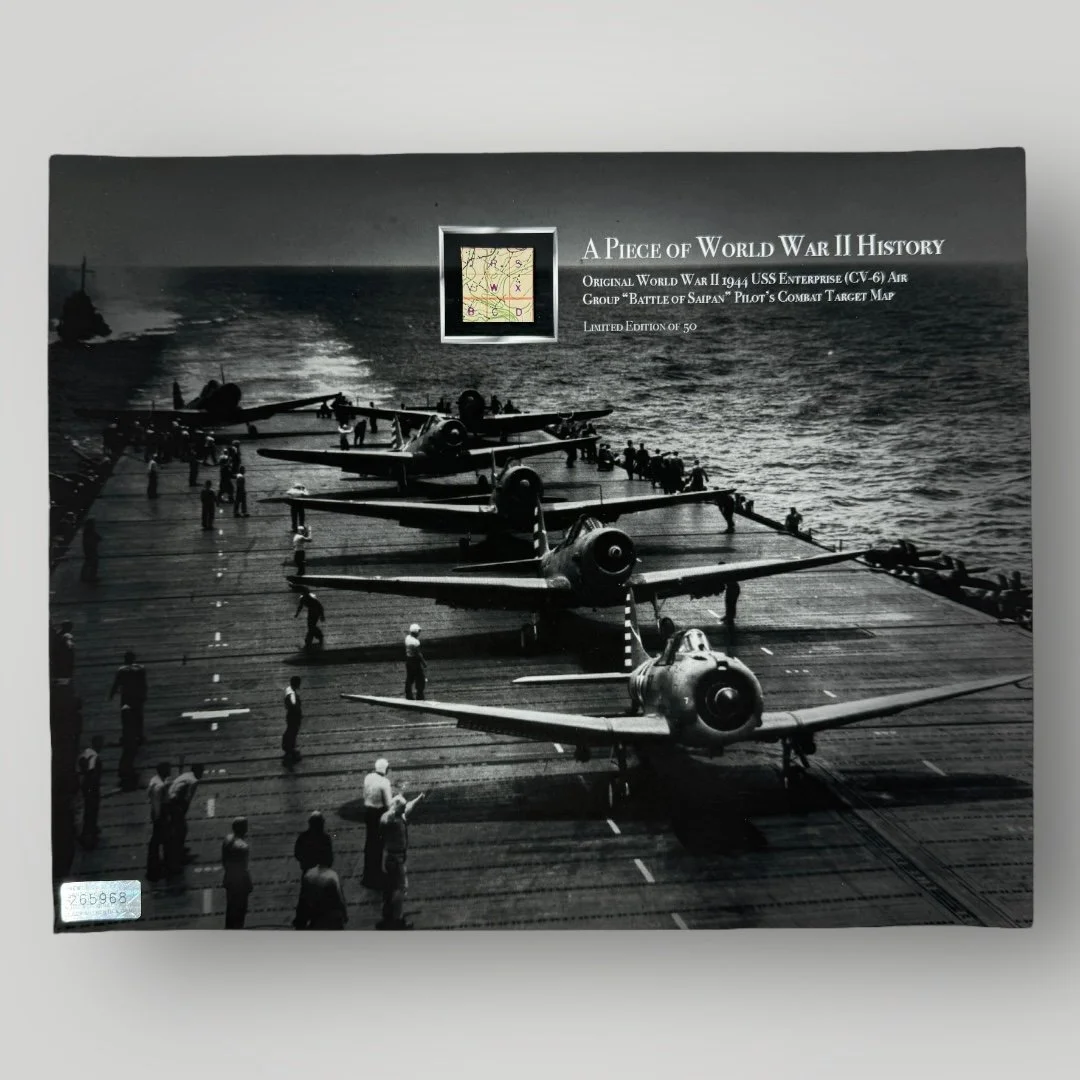
Comes with a hand-signed Certificate of Authenticity and a full historical research write-up.
Print Size: 8 x 10 inches
Paper Type: Museum-Grade Archival Matte Fine Art Paper
From: World War II - PTO
Historical Piece of WWII History Included: Original USS Enterprise (CV-6) Air Group Lt. Moore aircraft carrier pilot map that was carried by Lt. Moore in his aircraft during missions in the Pacific.
Dated: 1944
________________________
Each print in this Limited Edition series is truly unique. As part of our "Piece of History Prints" collection, it includes a fragment of an original USS Enterprise (CV-6) Air Group Lt. Moore pilot map that was carried by Lt. Moore in his aircraft during missions in the Pacific. This series is a limited edition of 50 meaning that each is truly one-of-a-kind as every piece is truly one-of-a-kind. This meticulously preserved fragment is professionally integrated into the print, and is perfect for framing and displaying, making it an exceptional addition to any WWII, or aviation collection.
****Included in your purchase is a 100% FREE & COMPLIMENTARY 8x11 hard acrylic display sleeve so that your print and piece of history inclusion are safely protected. This can be used as a permanent display option or until you select the perfect frame.
________________________
#1. Historical Significance:
This print features an original WWII mission-used map carried by Lt. Moore, a USS Enterprise (CV-6) Air Group pilot, during aerial missions in the PTO. The USS Enterprise, known as the "Big E," was the most decorated aircraft carrier of WWII. Lt. Moore’s map guided the USS Enterprise aircraft carrier pilots on dozens of USS Enterprise air missions.
Pilots relied on these mission maps for navigation and strategic coordination, making them essential tools in the high-stakes missions of the Pacific. The bravery and precision of Enterprise pilots, supported by such maps, contributed to the carrier’s legendary status.
#2. Why This Print is Special:
Our "Piece of History Print" transforms this storied piece of WWII history into a stunning and meaningful piece of the past perfect for any history enthusiast or anyone with an interest in history. Let this limited edition print be a conversation starter, a source of inspiration, and a tribute to the legacy of the USS Enterprise and its pilots during WWII.
This piece would make an extraordinary addition to any WWII, USN, or aviation history collection.
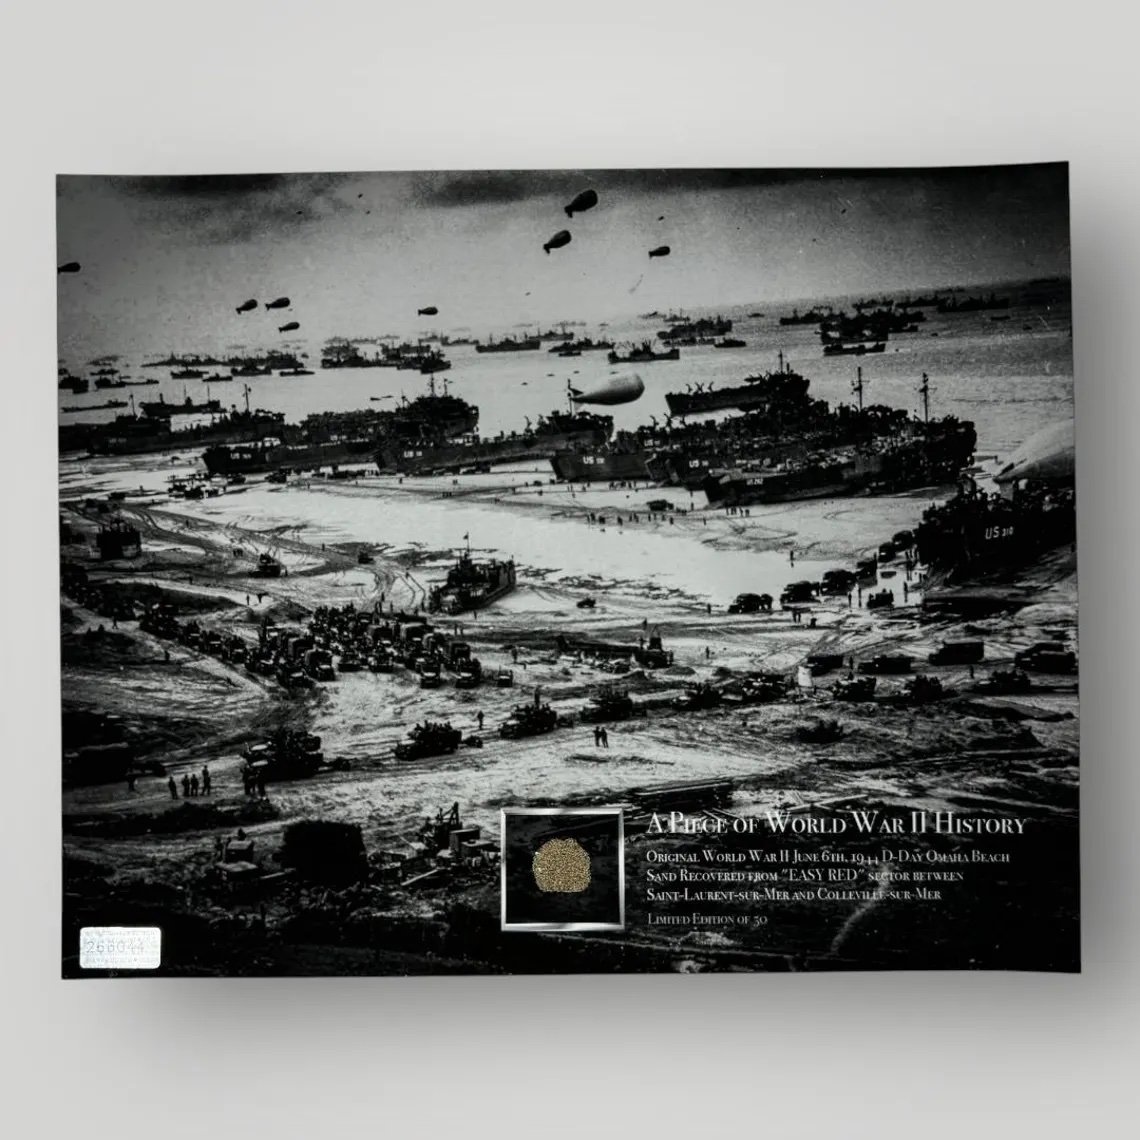
Comes with a hand-signed Certificate of Authenticity and a full historical research write-up.
Print Size: 8 x 10 inches
Paper Type: Museum-Grade Archival Matte Fine Art Paper
From: World War II - ETO
Historical Piece of WWII History Included: Original WWII D-Day Omaha Beach sand from "EASY RED" beach sector located between the Normandy towns of Saint-Laurent-sur-Mer and Colleville-sur-Mer
Dated: June 6th, 1944
________________________
Each print in this Limited Edition series is truly unique. As part of our "Piece of History Prints" collection, it includes a section of original June 6th, 1944 D-Day Omaha Beach sand. This series is a limited edition of 50 meaning that each is truly one-of-a-kind as every piece is truly one-of-a-kind. This meticulously preserved sand is professionally integrated into the print, and is perfect for framing and displaying, making it an exceptional addition to any WWII, or D-Day collection.
****Included in your purchase is a 100% FREE & COMPLIMENTARY 8x11 hard acrylic display sleeve so that your print and piece of history inclusion are safely protected. This can be used as a permanent display option or until you select the perfect frame.
________________________
#1. Historical Significance:
The Normandy landings were the landing operations and associated airborne operations on Tuesday, June 6th, 1944 of the Allied invasion of Normandy in Operation Overlord during World War II. Codenamed Operation Neptune and often referred to as D-Day, it was the largest seaborne invasion in history. The operation began the liberation of France (and later western Europe) and laid the foundations of the Allied victory on the Western Front. On the morning of June 6, 1944, two U.S. infantry divisions, the 1st and the 29th, landed at Omaha Beach, the second to the west of the five landing beaches of D-Day. This incredible and very rare piece of Omaha Beach D-Day history was preserved during a professional preservation of Omaha Beach in Normandy during the 50th Invasion Anniversary in 1994.
#2. Why This Print is Special:
Our "Piece of History Print" transforms this storied piece of WWII history into a stunning and meaningful piece of the past perfect for any history enthusiast or anyone with an interest in history. Let this limited edition print be a conversation starter, a source of inspiration, and a tribute to the legacy of the U.S. Rangers during WWII.
🇺🇸 It truly is an honor for us to be able to preserve these pieces of history for famous museums and private collections like yours...for this specific sale, 50% of all sales for this "Piece of History" print will be donated to the non-profit Honor Flight Network. Honor Flight is dedicated to transporting as many United States military veterans as possible to see the memorials of the respective war they participated, in Washington, DC, at no cost to the veterans. Thank you for helping us preserve history and remembering our nation's heroes. 🇺🇸
This piece would make an extraordinary addition to any WWII, D-Day, or military history collection. For further details or inquiries, please don’t hesitate to reach out.
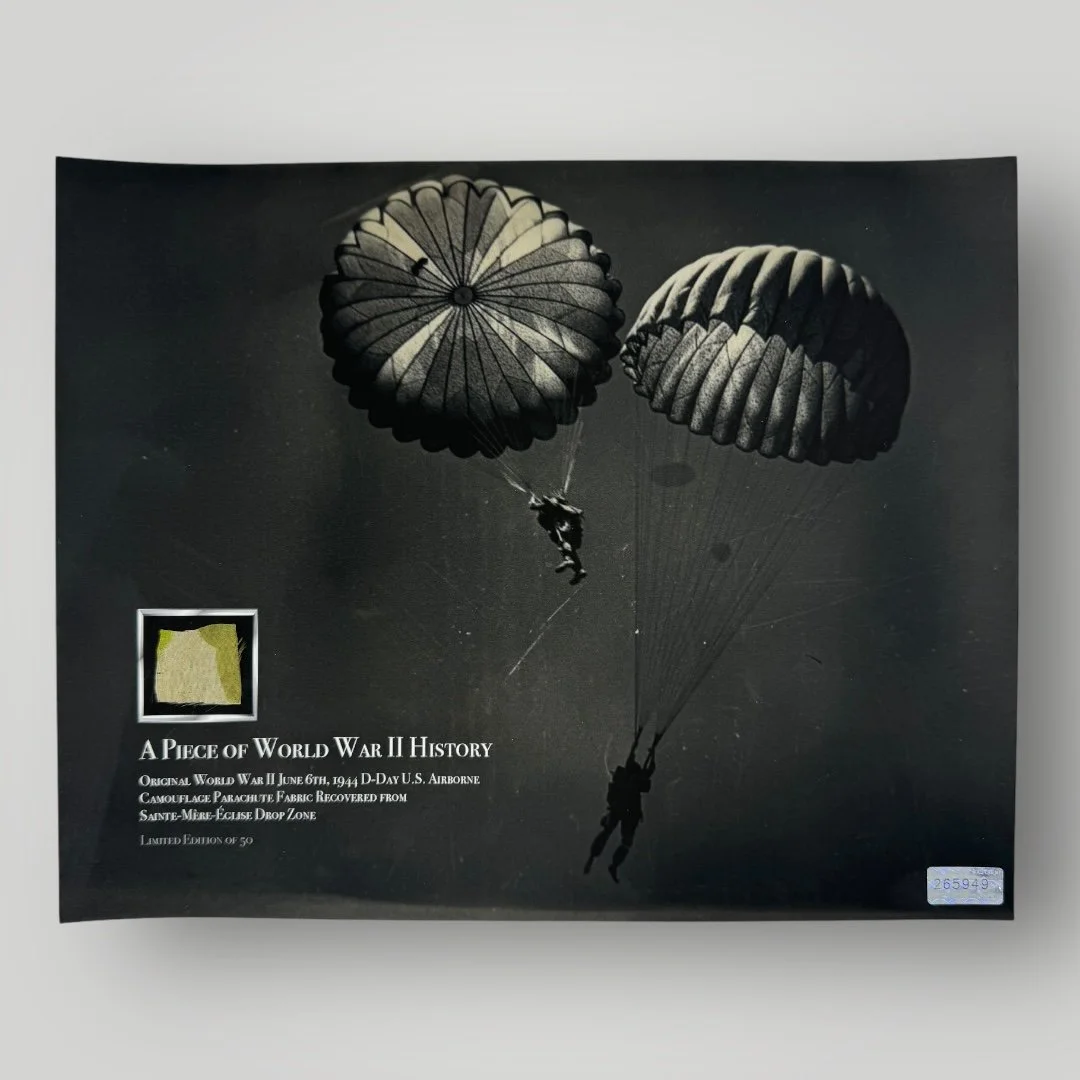
Comes with a hand-signed Certificate of Authenticity and a full historical research write-up.
Print Size: 8 x 10 inches
Paper Type: Museum-Grade Archival Matte Fine Art Paper
From: World War II - ETO
Historical Piece of WWII History Included: Original WWII D-Day U.S. Airborne camouflage parachute fabric recovered from the infamous Sainte-Mère-Église Normandy drop zone.
Dated: June 6th, 1944
________________________
Each print in this Limited Edition series is truly unique. As part of our "Piece of History Prints" collection, it includes a fragment of an original WWII D-Day U.S. Airborne camouflage parachute fabric recovered from the infamous Sainte-Mère-Église Normandy drop zone. This series is a limited edition of 50 meaning that each is truly one-of-a-kind as every piece is truly one-of-a-kind. This meticulously preserved fragment is professionally integrated into the print, and is perfect for framing and displaying, making it an exceptional addition to any WWII, or D-Day collection.
****Included in your purchase is a 100% FREE & COMPLIMENTARY 8x11 hard acrylic display sleeve so that your print and piece of history inclusion are safely protected. This can be used as a permanent display option or until you select the perfect frame.
________________________
#1. Historical Significance:
This print features an original WWII D-Day U.S. Airborne camouflage parachute fabric recovered from the historic drop zones near Sainte-Mère-Église, Normandy. On June 6, 1944, paratroopers of the 82nd and 101st Airborne Divisions descended into Normandy, France under the cover of darkness, with their camouflage parachutes helping to conceal their landings. Sainte-Mère-Église soon became one of the most famous towns part of Operation Overlord. These parachutes carried the U.S. paratroopers who played a crucial role during D-Day and ensured the success of the Allied efforts on the beaches.
#2. Why This Print is Special:
Our "Piece of History Print" transforms this storied piece of WWII history into a stunning and meaningful piece of the past perfect for any history enthusiast or anyone with an interest in history. Let this limited edition print be a conversation starter, a source of inspiration, and a tribute to the legacy of the U.S. Airborne during WWII.
🇺🇸 It truly is an honor for us to be able to preserve these pieces of history for famous museums and private collections like yours...for this specific sale, 50% of all sales for this "Piece of History" print will be donated to the non-profit Honor Flight Network. Honor Flight is dedicated to transporting as many United States military veterans as possible to see the memorials of the respective war they participated, in Washington, DC, at no cost to the veterans. Thank you for helping us preserve history and remembering our nation's heroes. 🇺🇸
This piece would make an extraordinary addition to any WWII, D-Day, or Airborne history collection.
Real Time History
Comes with C.O.A.
Size: 8 x 9.5 inches
Comes with C.O.A.
This is an incredible unreleased and unseenJICPOA (Joint Intelligence Center Pacific Ocean Area) photograph taken by a U.S. military JICPOA photographer during U.S. operations on Iwo Jima.
*This is the original developed photograph, making this the original 1 of 1 and very rare Iwo Jima historical artifact. The condition is remarkable and is truly a museum grade artifact. When framed, this would be the prized piece for any USMC, WWII, or Iwo Jima collection.
Marked ‘RESTRICTED’ this very rare photograph shows the absolute true destruction of war and was never meant to be released to the public. The job to take these photographs were extremely dangerous as they were taken during the operation and often times very much near the front lines. These were then sent and developed by JICPOA where they were used for future military intelligence and future planings of operations in the Pacific Theater.
Joint intelligence production extended to theater level as well. Each JICA, for instance, produced limited theater intelligence, conducting studies when other means were unavailable. The most significant theater production effort, however, occurred in the central Pacific, with the Joint Intelligence Center Pacific Ocean Area (JICPOA). This activity was established in September 1943 to collect, collate, evaluate, and disseminate strategic and tactical intelligence for the commander in chief, Pacific Ocean Areas. Truly joint, it fully integrated representatives from all the services. By 1945, it had 1,800 personnel assigned to its facility in Hawaii as well as hundreds at its Advanced Intelligence Center (AIC) on Guam and at other locations. JICPOA became an intelligence factory, producing various area handbooks, maps, and intelligence summaries aimed at supporting theater combat operations. The products were used by operational planners and commanders in drafting plans for operations from Galvanic (Tarawa) to Downfall (the invasion of Japan).
Iwo Jima:
On February 19, 1945, U.S. Marines made an amphibious landing on Iwo Jima and were met immediately with unforeseen challenges. First and foremost, the beaches of the island were made up of steep dunes of soft, gray volcanic ash, which made getting sturdy footing and passage for vehicles difficult.
As the Marines struggled forward, the Japanese laid in wait. The Americans assumed the pre-attack bombardment had been effective, and had crippled the enemy’s defenses on the island.
However, the lack of immediate response was simply part of Kuribayashi’s plan.
With the Americans struggling to get a foothold on the beaches of Iwo Jima—literally and figuratively—Kuribayashi’s artillery positions in the mountains above opened fire, stalling the advancing Marines and inflicting significant casualties.
Despite a banzai charge by dozens of Japanese soldiers as dusk fell, however, the Marines were eventually able to move in past the beach and seize part of one Iwo Jima’s airfields—the stated mission of the invasion.
Within days, some 70,000 U.S. Marines landed on Iwo Jima. Although they significantly outnumbered their Japanese enemies on the island (by a more than three-to-one margin), many Americans were wounded or killed over the five weeks of fighting, with some estimates suggesting more than 25,000 casualties, including nearly 7,000 deaths.
The Japanese, meanwhile, were also suffering major losses, and were running low on supplies—namely, weapons and food. Under Kuribayashi’s leadership, they mounted most of their defenses via attacks under the cover of darkness.
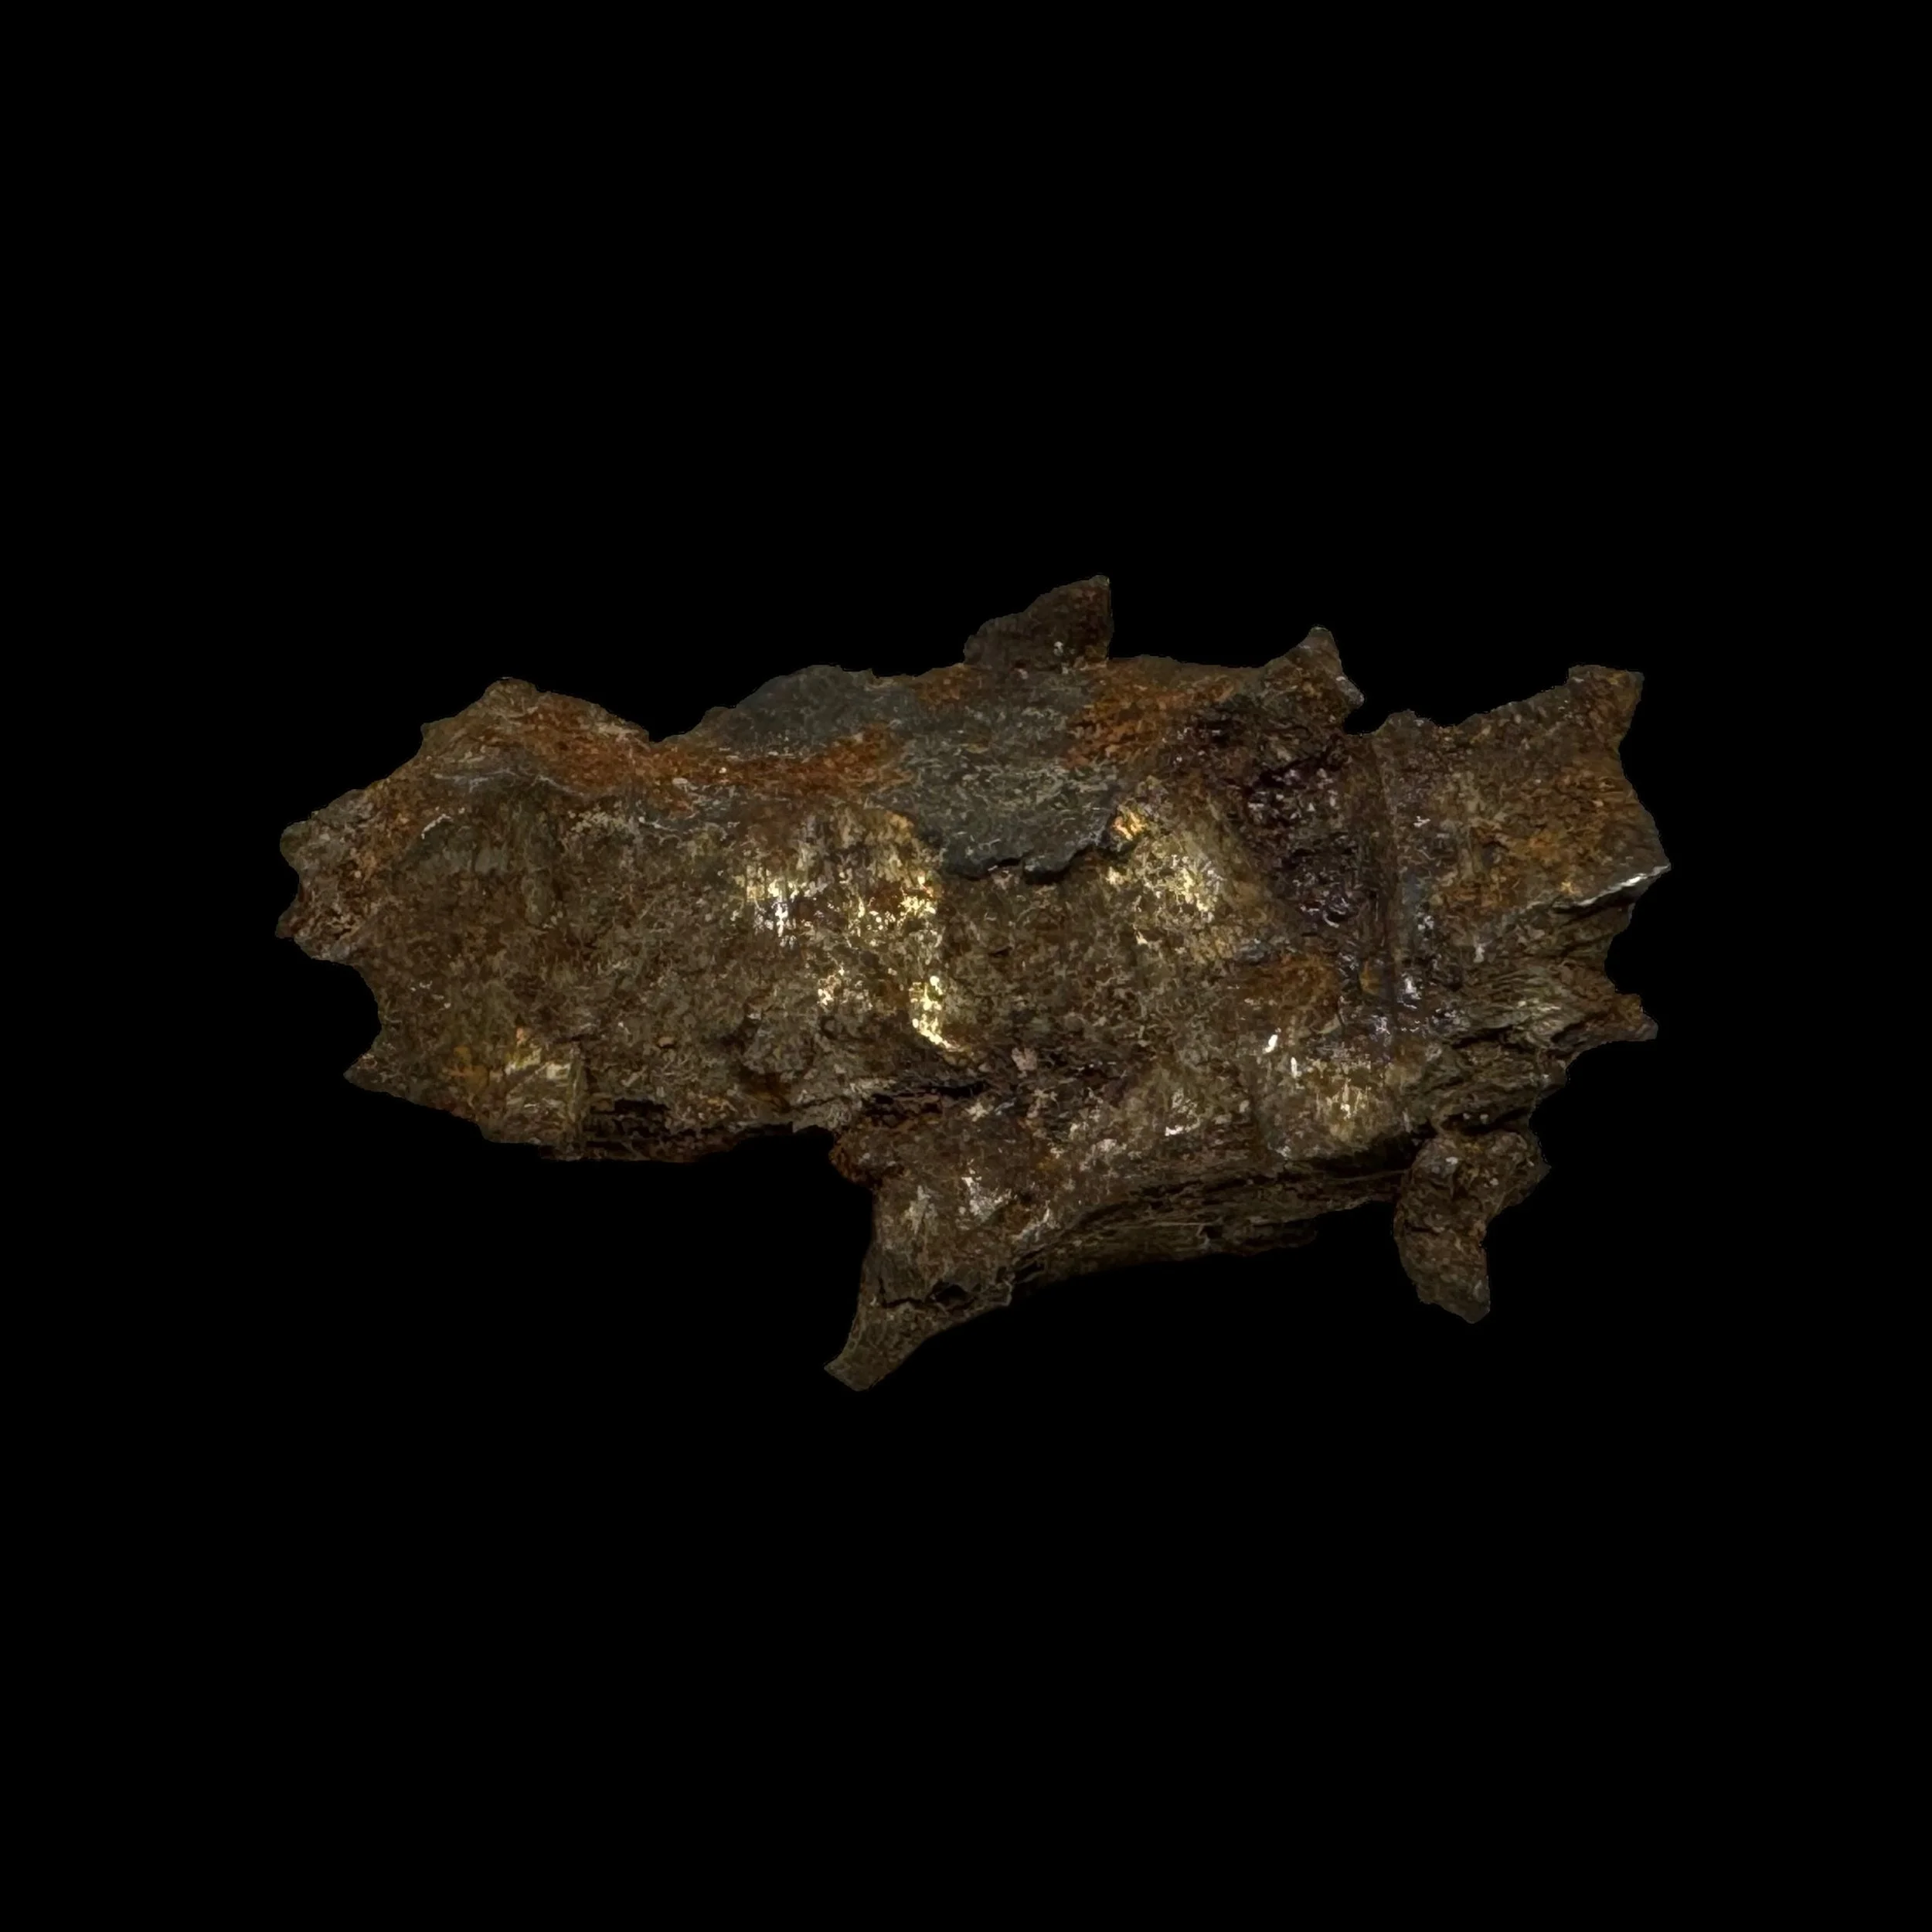
Comes with a hand-signed C.O.A.
*THIS IS A ONCE-IN-A-LIFETIME ARTIFACT FROM THE BATTLE OF IWO JIMA. PRESERVED ARTIFACTS FROM THE BATTLE OF IWO JIMA ARE EXTREMELY RARE AND RARELY MAKE IT TO THE PUBLIC SECTOR. WE ARE IN THE PROCESS OF CURATING THESE PRESERVED RELICS FOR BOTH PUBLIC COLLECTIONS AND PRIVATE MUSEUMS.
Size: 1.25 inches
Please Note: Exploded shrapnel fragments were the leading cause of death of soldiers (75% KIA from shrapnel wounds) in both the Pacific Theater and European Theater during WWII. This single shrapnel fragment is still very sharp from when it exploded and was a deadly projectile fired at Japanese targets. Care must be taken when handling this artifact.
This original and museum-grade World War II artifact is an extremely rare exploded American shrapnel fragment preserved from the Battle of Iwo Jima (1945).
The Battle of Iwo Jima, also referred to as Operation Detachment, was an one of the bloodiest military campaigns of the Pacific Theater between U.S. Marines and the Imperial Army of Japan in early 1945. Located 750 miles off the coast of Japan, the island of Iwo Jima had three airfields that could serve as a staging facility for a potential invasion of mainland Japan. American forces invaded the island on February 19, 1945, and the ensuing Battle of Iwo Jima lasted for five weeks. In some of the bloodiest fighting of World War II, it’s believed that all but 200 or so of the 21,000 Japanese forces on the island were killed, as were almost 7,000 Marines.
The Japanese Army positions on the island were heavily fortified, with a dense network of bunkers, hidden artillery positions, and 18 km (11 mi) of tunnels. The American ground forces were supported by extensive naval artillery and had complete air supremacy provided by U.S. Navy and Marine Corps aviators throughout the battle. This Iwo Jima exploded “deadly” shrapnel was professionally preserved from the 1950’s-1970s by the U.S. airmen of the U.S. Loran Station located on Iwo Jima. This shrapnel was preserved and left uncleaned or altered in any way since it was uncovered from some of the most famous Iwo Jima battlefield areas such as Airfield No. 1, Airfield No. 2, Hill 382, Mount Suribachi, and the D-Day black sand beaches landed on by the U.S. Marines.
The Battle of Iwo Jima:
Iwo Jima is eight square miles in area and shaped like a pork chop, its widest part oriented toward the northeast. The island’s narrow southwestern tip is dominated by a small mountain, Mount Suribachi, which is a dormant volcano vent. Two completed airfields and one under construction were located respectively from the southwest toward the northeast on Iwo Jima’s centerline. Kuribayashi had divided the island into five defensive sectors with central reserve areas. U.S. planners had designated landing beaches along both southern and northern shorelines between Suribachi and the wider part of the island, but only the southern beaches (from southwest to northeast: Green, Red, Yellow, Blue) were used in the assault.
Bombing raids and occasional naval bombardment had been carried out against Japanese facilities on Iwo Jima since June 1944 and this bombing intensified in the weeks leading up to D-day. Although the air raids damaged some Japanese fortifications, Navy underwater demolition teams landed for a beach reconnaissance overestimated the bombing missions’ impact and did not note the full extent of the Japanese underground fortifications.
V Amphibious Corps requested a concentrated shore bombardment for 10 days prior to the landings. However, citing ammunition supply issues, Task Force 52, the amphibious support force providing fire support, only provided three. Adverse weather curtailed bombardment operations on 16 February, the first day. Ultimately, only 13 hours of effective bombardment were carried out over the three-day period. Fifth Fleet also began minesweeping operations around the island, specifically of the approaches to the designated landing beaches. Prior to the operation, Spruance had detached Task Force 58, his fast carriers (which also carried eight Marine Corps fighter squadrons), to strike strategic targets on Honshu in wide-ranging support of the Iwo Jima landings. The Marines, already unhappy with the shortened duration of naval gunfire support and believing continuous close air support of the ground forces should take priority, hardly welcomed this decision.
Almost precisely at H-hour, 0900 on 19 February, the first assault wave, with 5th Marine Division units on the left and 4th Marine Division units to the right, landed on the assigned beach sectors. The Japanese held their fore until 1000, after the Marines’ first wave was on the beaches and the covering naval gunfire had momentarily eased. The sudden, unexpected volume and accuracy of artillery and mortars clearly indicated that bombing and naval bombardment had not markedly affected the enemy. This had a devastating effect on the buildup on the beaches. All of the sectors suffered casualties, although Green and Red beaches, flanked by Japanese positions on Mount Suribachi, and the Blue beaches, fronted by enemy emplaced in the cliffs of a rock quarry, were perhaps hardest hit. Further handicapping the Marines was the instable beach, composed of steep terraces of constantly shifting black sand, volcanic cinders, and ash. This made digging in very difficult and bogged down wheeled and even tracked vehicles, causing pile-ups of men, amphibious tractors, tanks, and supplies at the waterline. These were subjected to constant Japanese artillery, mortar, and machine-gun fire. The steep beach gradient also caused a violent surf zone with which landing craft and tractors had to contend.
These difficulties notwithstanding, the landings were successfully executed and, under cover of a rolling naval gunfire barrage and close air support mainly provided by Fifth Fleet’s escort carriers, the Marines began moving off the beaches. The 5th Marine Division pushed to the northwestern shore in order to isolate Mount Suribachi, and accomplished this task within ninety minutes of the initial landings. The 4th Marine Division’s progress was much slower, however, as it proceeded toward the airfields. One of these lay directly in front of the Marines, but the second, more centrally located field, required a wheeling movement toward the northeast, which brought most of this division into a bowl-like area completely exposed to heavy Japanese fire.
By the end of D-day, nearly 30,000 personnel had been landed on Iwo Jima despite rapidly deteriorating weather conditions, the difficult terrain, and stubborn, well-coordinated Japanese resistance. Although the Marines had managed to cross the island at its narrow width and had cut off Mount Suribachi, the day’s planned phase line had not been reached while casualties mounted at an alarming rate. The beachhead remained concentrated in a triangular area roughly 4,000 yards long, and from 700 to 1,100 yards wide from north to south.
D+1 saw the landing of 3rd Marine Division, the corps reserve, and later taking up battle space between the two previously committed Marine divisions. Meanwhile, the 5th Division’s 28th Marine Regiment began its assault of Mount Suribachi, which was garrisoned by 2,000 Japanese troops and extensively honeycombed with defensive positions and tunnels, one of them seven levels deep. Bolstered by reinforcements from 3rd Marine Division, other 5th Marine Division units and the 4th Marine Division slowly continued to force their way northwest and northeast. Navy destroyers, many assigned to specific Marine units, provided direct gunfire support. Although frequently the targets of Japanese guns, Marine tanks, amphtracs and artillery did the same, providing mobile firepower to the engaged infantry units. Fifth Fleet aircraft continued to fly close-support missions, often dropping napalm on the deeply dug-in enemy.
Ultimately, however, small teams of Marines—or even individuals—armed with flame throwers, satchel charges and hand grenades (“blow torches and corkscrews”) were those who were instrumental in destroying Japanese strongpoints. The cost was commensurate: By the end of D+1, many Marine rifle companies had lost up to 50 percent of their pre-assault strength in killed and wounded. Operational momentum remained extremely slow and progress was measured in yards of ground taken.
From 21 February (D+2) into March, despite Japanese tenacity and ingenuity, U.S. forces were gradually able to make significant advances. During the night of 21–22 February, ships on the outer periphery of the amphibious landing area were subjected to the only kamikaze attack experienced during the operation. The escort carrier Bismarck Sea (CVE-95) was lost and fleet carrier Saratoga (CV-3) was so badly damaged that she had to return Stateside for repair and never returned to combat. Ashore, while the Marines reached the summit of Mount Suribachi on the morning of 23 February soon after the initial landing, the rest of the battle for the island would take the month that followed in heavy fighting. Despite the iconic and certainly morale-boosting flag raising, hidden pockets of enemy continued their resistance on the mountain—a blow to Kuribayashi’s defences. Airfield No. 1, the southernmost air facility, was captured after hard fighting by D+1 while the Marines continued to move northward, aided by an armored task force of several Marine tank companies.
As they advanced, they encountered well-coordinated and -led counterattacks by the Japanese—a surprise to those U.S. service members who had experienced chaotic enemy banzai charges in the past. Tanks were put out of action by mines, suicide squads or well-camouflaged antitank guns, and the Marine rifle companies were subjected to constant artillery, mortar, and small-arms fire. To the frustration of the ground forces, many Japanese positions proved impervious to close air support bombing and strafing and had to be taken by direct ground assault or by sealing off entrances. After nine days, the drive north had progressed 4,000 yards at a cost of 7,000 U.S. casualties but by 4 March, Airfield No. 2 had been secured after hard fighting and the Marines had degraded General Kuribyashi’s defenses to the point at which many Japanese heavy weapons were out of action. Also on 4 March, the 9th Bomb Group B-29 “Dinah” made an emergency landing on Airfield No. 1. It refueled and departed, demonstrating the potential use of the island by XXI Bomber Command. On 14 March, the island’s occupation was officially announced, although fighting continued for two further weeks. Finally, on 26 March Iwo Jima was declared “secure.”
Aftermath
Of the roughly 21,000 Japanese defenders, 216 survived the battle to be taken prisoner, and an estimated 3,000 went into hiding during the U.S. occupation of the island. By August 1945, Most of these had either been killed, captured, or had surrendered, but one group did not lay down its arms until 1949. Having done his utmost to forestall the inevitable, General Kuribayashi committed suicide in his command post on 23 March 1945.
The perceived strategic position and utility of the island were not immediately apparent to its occupiers. The Japanese radar station, the American operators soon learned, had actually been incapable of providing necessary early warning data to Japanese Home Island air defenses. For their part, prior to Operation Detachment, the Japanese had effectively written off the island’s airfield for any significant operational employment. As a way station for U.S. Army Air Forces aircraft, Iwo Jima again appeared to offer little advantage. Utilizing Iwo Jima’s airfields for U.S. escort fighters in the end proved to be logistically difficult and very hard on the P-51 pilots, who faced a 1,500–nautical mile round trip. The fields’ capacity, moreover, was limited—about the same as that provided by one Navy fleet carrier. Far fewer B-29s than anticipated actually made use of the island as an emergency landing or refueling site. The airfields did host an active search-and-rescue operation, but the number of downed U.S. aviators picked up by aircraft from Iwo Jima (57) seems insignificant in comparison to the number of lives lost in the island’s capture.
Operation Detachment cost U.S. forces 6,871 killed and 19,217 wounded. Medals of Honor were awarded to 22 Marines and five Sailors, 14 of them posthumously (13 Marines, one Sailor). As Admiral Chester W. Nimitz, commander of Pacific Fleet and Pacific Ocean Areas, noted after the battle, “uncommon valor was a common virtue.”

Comes with hand-signed C.O.A.
*Original aerial reconnaissance photographs of Iwo Jima dating to the period of the invasion are very rare on the market. For example, a search of RareBookHub shows dozens of variations of Joe Rosenthal’s iconic photograph of the flag raising on Mount Suribachi having been offered for sale, but not a single reconnaissance photo.
This incredibly rare and museum-grade TYPE ONE WWII Iwo Jima D-Day aerial photograph is only a small handful of original TYPE ONE “CINCAP” (Commander in Chief Pacific Fleet Headquarters) photographs of Mount Suribachi taken during the Battle of Iwo Jima know to still exist in the public sector.
“On 23 Feb. 1945, the Marines took control of Mount Suribachi. Onlookers cheered as the assault platoon fought to the summit and raised a small flag. Later that day, different troops raised a larger flag while others respectfully lowered the original. Several combat photographers captured these stirring events on film, but Joe Rosenthal’s snapshot of the men struggling to raise the second flag in a stiff wind became an enduring symbol of American resolve.”
This original aerial reconnaissance photograph shows the Mount Suribachi sector of Airfield No. 1 (South Japanese Air Field) as well as the D-Day SOUTHEASTERN” amphibious landing beaches of GREEN, RED, YELLOW, and BLUE. South Field was significant to the overall Battle of Iwo Jima. It was during the fight to secure this airfield that Medal of Honor recipient Gunnery Sergeant John Basilone was also killed.
Three Marine divisions, more than 80,000 men, were assigned the task of taking the island, which was barely 10 square miles in area and dominated by 556 foot Mount Suribachi. The assault began on 19 Feb. 1945 following a terrific naval bombardment which Japanese LtGen Kuribayashi described as “far beyond description.” The first wave of Marines had more trouble with the terrain than enemy fire, but the Japanese responded quickly from their dug in positions and swept the beaches with concentrated fire. Iwo Jima would be a very tough fight.
The battle for control of Iwo Jima lasted 36 days. The final death toll among Marines was 5,931 killed in action, died of wounds or missing in action and presumed dead — more than twice as many Marines than had been killed in all of World War One. An additional 209 deaths occurred among the Navy corpsmen and surgeons assigned to the Marines. The Fifth Fleet and participating U.S. Army and Army Air Corps units suffered other fatalities during the battle. In all, more than 800 Americans gave their lives for every square mile of Iwo Jima’s black volcanic sand.
Pre-Invasion Bombardment:
Initial carrier raids against Iwo Jima began in June 1944. Prior to the invasion, the 8-square-mile island would suffer the longest, most intensive shelling of any Pacific island during the war. The 7th Air Force, working out of the Marianas, supplied the B-24 heavy bombers for the campaign.
In addition to the air assaults on Iwo, the Marines requested 10 days of pre-invasion naval bombardment. Due to other operational commitments and the fact that a prolonged air assault had been waged on Iwo Jima, Navy planners authorized only three days of naval bombardment. Unfavorable weather conditions further hampered its effects. Despite this, VADM Turner decided to keep the invasion date, 19 February 1945, as planned, and the Marines prepared for D-day.
D-day:
More than 450 ships massed off Iwo as the H-hour bombardment pounded the island. Shortly after 9:00am, Marines of the 4th and 5th Divisions hit beaches Green, Red, Yellow and Blue abreast, initially finding little enemy resistance. Coarse volcanic sand hampered the movement of men and machines as they struggled to move up the beach. As the protective naval gunfire subsided to allow for the Marine advance, the Japanese emerged from their fortified underground positions to begin a heavy barrage of fire against the invading force.
The 4th Marine Division pushed forward against heavy opposition to take the Quarry, a Japanese stronghold. The 5th Marine Division’s 28th Marines had the mission of isolating Mount Suribachi. Both tasks were accomplished that day.
The Battle Continues:
On 20 February, one day after the landing, the 28th Marines secured the southern end of Iwo and moved to take the summit of Suribachi. By day’s end, one third of the island and Motoyama Airfield No. 1 was controlled by the Marines. By 23 February, the 28th Marines would reach the top of Mount Suribachi and raise the U.S. flag.
The 3d Marine Division joined the fighting on the fifth day of the battle. These Marines immediately began the mission of securing the center sector of the island. Each division fought hard to gain ground against a determined Japanese defender. The Japanese leaders knew with the fall of Suribachi and the capture of the airfields that the Marine advance on the island could not be stopped; however, they would make the Marines fight for every inch of land they won.
Lieutenant General Tadamishi Kuribayashi, commander of the Japanese ground forces on Iwo Jima, concentrated his energies and his forces in the central and northern sections of the island. Miles of interlocking caves, concrete blockhouses and pillboxes proved to be some of the most impenetrable defenses encountered by the Marines in the Pacific.
The Marines worked together to drive the enemy from the high ground. Their goal was to capture the area that appropriately became known as the “Meat Grinder.” This section of the island included three distinct terrain features: Hill 382, the highest point on the northern portion of the island; an elevation known as “Turkey Knob,” which had been reinforced with concrete and was home to a large enemy communications center; and the “Amphitheater,” a southeastern extension of Hill 382.
The 3d Marine Division encountered the most heavily fortified portion of the island in their move to take Airfield No. 2. As with most of the fighting on Iwo Jima, frontal assault was the method used to gain each inch of ground. By nightfall on 9 March, the 3d Marine Division reached the island’s northeastern beach, cutting the enemy defenses in two.
On the left of the 3d Marine Division, the 5th Marine Division pushed up the western coast of Iwo Jima from the central airfield to the island’s northern tip. Moving to seize and hold the eastern portion of the island, the 4th Marine Division encountered a “mini banzai” attack from the final members of the Japanese Navy serving on Iwo. This attack resulted in the death of nearly 700 Japanese and ended the centralized resistances of enemy forces in the 4th Marine Division’s sector. The 4th Marine Division would join forces with the 3d and 5th Marine Divisions at the coast on 10 March.
Operations entered the final phases 11 March. Enemy resistance was no longer centralized and individual pockets of resistance were taken one by one. Finally on 26 March, following a banzai attack against troops and air corps personnel near the beaches, the island was declared secure. The U.S. Army’s 147th Infantry Regiment assumed ground control of the island on 4 April, relieving the largest body of Marines committed in combat to any one operation during World War II.
Background: The invasion of Iwo Jima:
Iwo Jima, whose name translates as “Sulfur Island,” was an important midway point between South Pacific bomber bases that were already in the hands of the Allies and the Japanese home islands. 700 miles from Tokyo and 350 from the nearest U.S. airbase, with a central plain suitable for large runways, American planners viewed it as a valuable target. Following months of bombardment, the 4th and 5th Marine Divisions began landing on the island on February 19, 1945.
Despite the sophistication of the American intelligence effort and the overwhelming force brought to bear, the invasion was extraordinarily costly. American planners failed to understand the defensive strategy of Japanese General Kurabayashi or the complexity and extent of the Japanese fortifications, which included a huge network of linked underground bunkers, well-hidden and -protected artillery positions, interlocking fields of fire, and some 11 miles of tunnels. They also vastly overestimated the impact of the months-long pre-invasion bombardment, which left these fortifications largely intact on the day of the invasion. Indeed, one recent writer quotes Admiral Chester Nimitz, American Commander-in-Chief, Pacific, as having said “Well, this will be easy. The Japanese will surrender Iwo Jima without a fight.” (Derrick Wright, The Battle for Iwo Jima, p. 51)
The battle for the island was among the bloodiest of the Pacific Theater of the Second World War. In total, more than 6,800 U.S. Marines lost their lives and more than 19,000 were wounded, while a staggering 18,000 of the roughly 20,000 Japanese defenders were killed. In light of these terrible losses, there was, and still is, dispute about whether the invasion had been merited.
In all, a rare photographic artifact from one of the great battles of the Second World War.
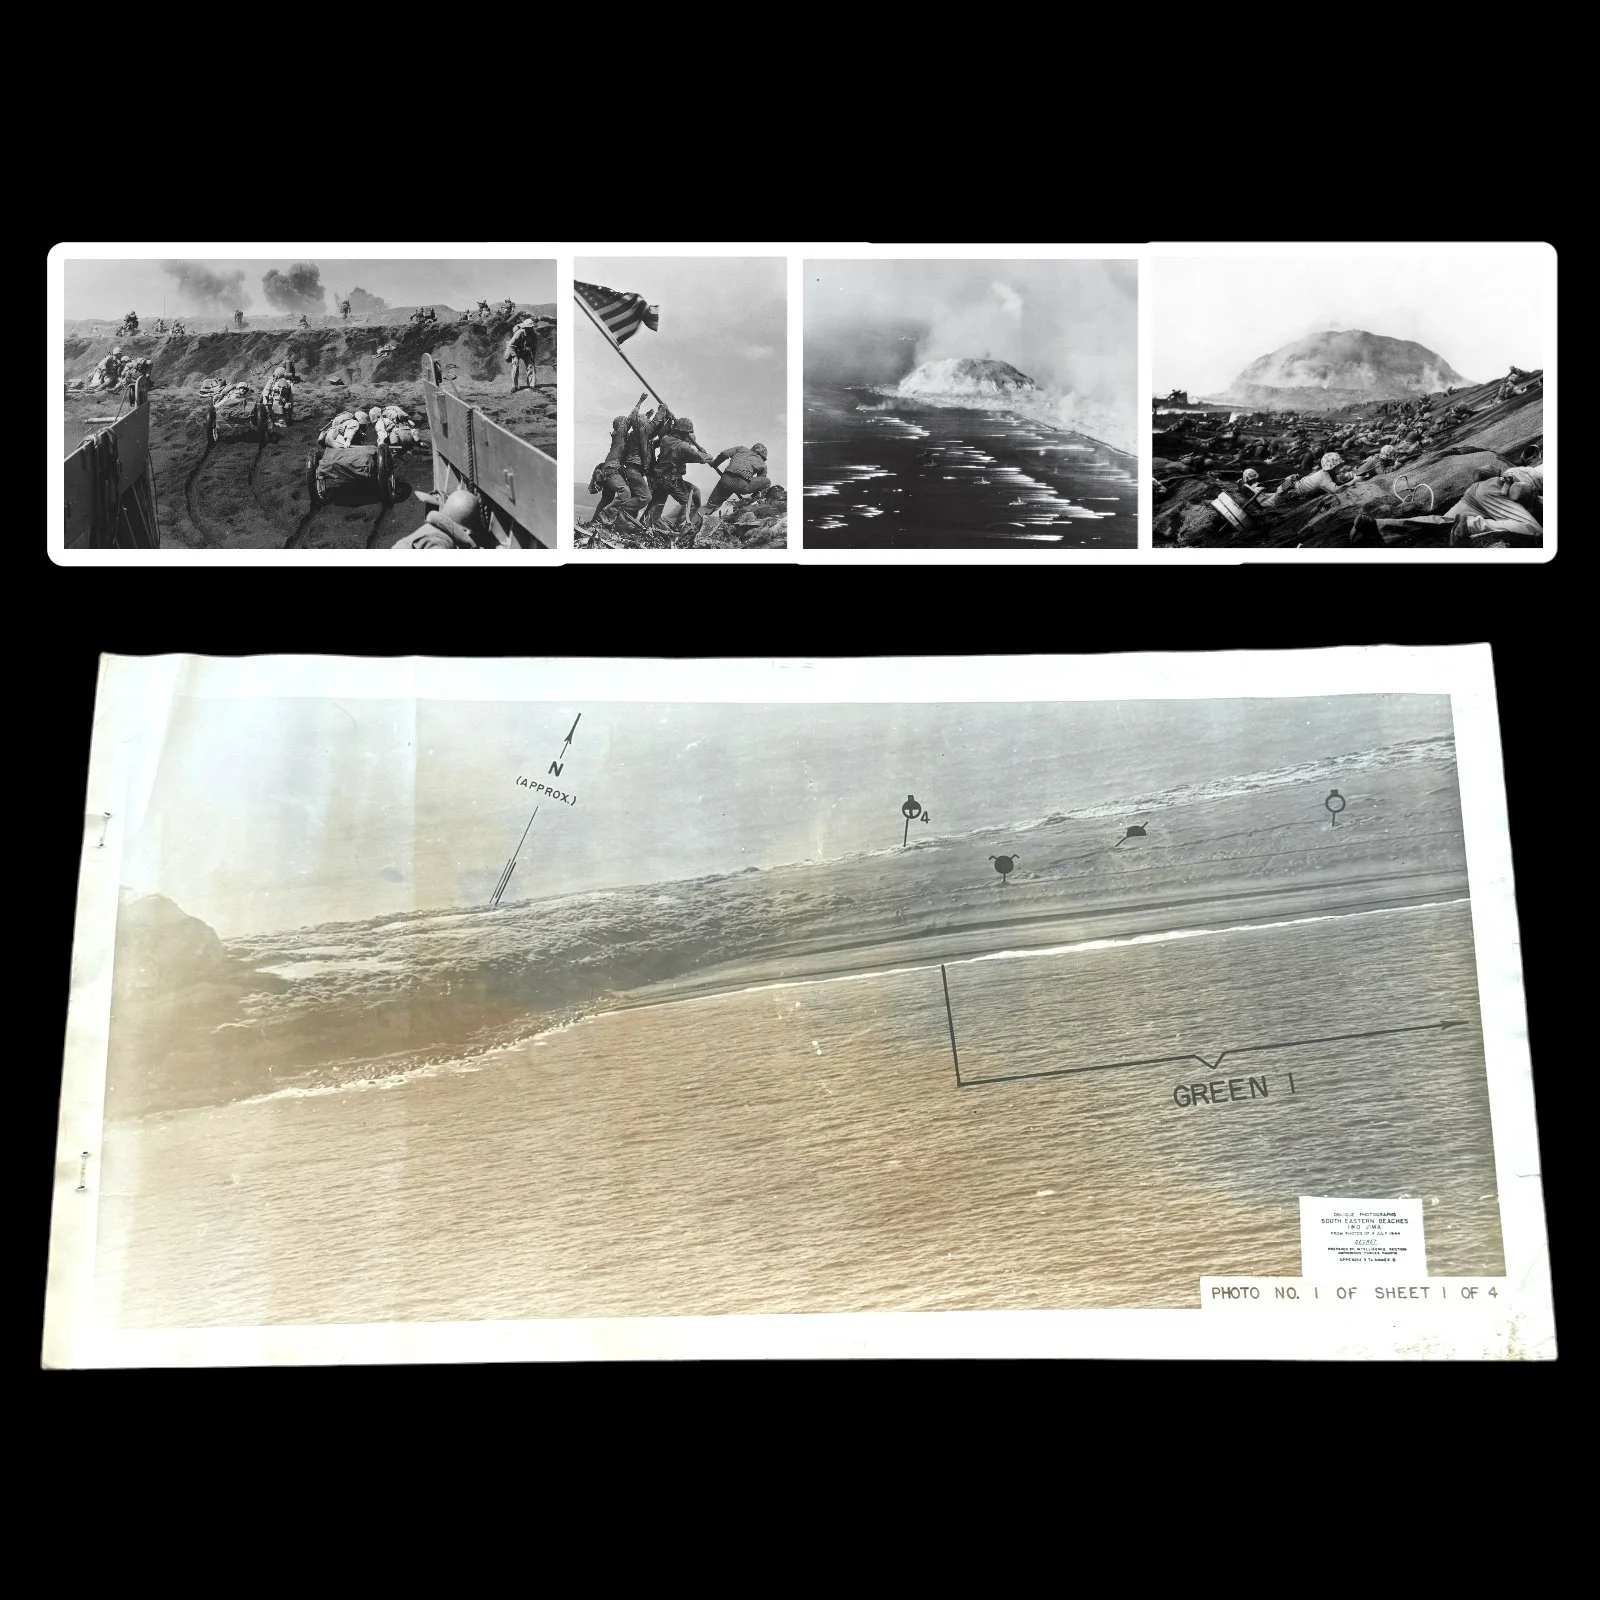
Comes with a hand-signed C.O.A.
*Rarity: Due to the SECRET marking on this D-Day Iwo Jima invasion chart only a very limited number were produced before the invasion with only a small handful still believed to exist today with most being in high-end private museum collections. This Iwo Jima invasion beach chart is as rare and sought after as the TOP SECRET D-Day invasion of Normandy BIGOT maps and the SECRET Iwo Jima Beach Diagram maps. Two of the Iwo Jima diagrams were featured in an episode of the TV show Pawn Stars. Rick Harrison, the host of the show, wrote that he had sold one of the two views for $10,000.
Size: 10 x 19.75 inches
Green Beach (Green 1)
Location: The Green Beach zone was located on the extreme left (southwestern end) of the landing area, right at the base of Mount Suribachi.
Assigned Units: The 28th Marine Regiment, 5th Marine Division, was assigned to land on Green Beach.
Objective: The primary objective for the Marines landing on Green Beach was to isolate Mount Suribachi from the rest of the island by cutting off the narrow neck of land connecting it to the central part of Iwo Jima. This was crucial to preventing Japanese forces on the mountain from reinforcing other parts of the island.
Challenges: Green Beach was heavily defended by Japanese artillery and machine-gun positions on Mount Suribachi. The black volcanic sand made movement difficult, and the steep incline toward the mountain posed additional challenges.
This extremely rare and museum-grade "SECRET" marked WWII Battle of Iwo Jima D-Day amphibious beach diagram vividly illustrates the intensive planning and operational accuracy that went behind Operation Detachment. Titled "Oblique Photographs - South Eastern Beaches Iwo Jima" this original SECRET Iwo Jima D-Day beach diagram was prepared by the Intelligence Section Amphibious Forces Pacific only a few months before the D-Day invasion of Iwo Jima in February 1945. These Iwo Jima invasion beach diagrams were studied and used by Captains of Landing Craft Infantry (LCI) and the initial waves of U.S. Marines set to land on their designated black sand beachheads. These invasion maps were vital to the initial landing success as they not only showed the visual views for the designated beachheads, but they also noted all of the updated Japanese defenses on Iwo Jima near that designated landed sector.
This SECRET Iwo Jima D-Day amphibious beach diagram was the original intelligence document used to make the infamous SECRET Iwo Jima invasion map. These were the Iwo Jima invasion intelligence documents used to make that exact map.
It shows little in the way of manmade impediments to amphibious invasion, belying the extensive Japanese fortifications and the dogged resistance that the Marines would face from the roughly 20,000 defenders. Eschewing Japanese doctrine, which called for him to contest every inch of the landing beaches, the commanding Lieutenant General Tadamichi Kuribayashi instead instructed his soldiers to allow the American forces to land en masse, before springing traps to kill as many newly-landed troops as possible.
American planners also misunderstood the nature of the volcanic sand and terrain of the beaches, most of which was thought to be perfectly suitable for disembarking and traversing. In these diagrams, little mention is made of the softness of this sand, and few obstacles are listed. In reality, the ash was very difficult to traverse, and equally difficult to dig into, greatly complicating the unloading of equipment and vehicles and the excavation of foxholes and trenches.
These errors were symptomatic of a general lack of accurate pre-invasion intelligence, which ultimately cost hundreds, even thousands of American lives.
The Role of Oblique Photograph Secret Invasion Beach Diagram Maps:
In preparation for the invasion of Iwo Jima, the U.S. military recognized the need for detailed and accurate intelligence about the island's topography and Japanese defenses. Traditional vertical aerial photographs, while useful, were insufficient for the task at hand due to the unique challenges posed by the island's terrain. Instead, the U.S. military employed oblique aerial photography, which involved taking photographs from an angle, rather than directly overhead. These oblique photographs provided a more realistic and three-dimensional view of the terrain, revealing details that would be obscured in vertical images.
The oblique photographs were used to create secret invasion beach diagram maps, which were crucial for planning the amphibious assault. These maps provided a detailed view of the landing beaches, the terrain beyond, and the Japanese defenses. They allowed the planners to identify potential obstacles, such as sandbars, reefs, and cliffs, as well as the locations of enemy fortifications. This intelligence was vital for selecting the best landing sites and determining the sequence and timing of the assault waves.
One of the most critical aspects of the oblique photograph maps was their ability to reveal the positions of Japanese bunkers, pillboxes, and artillery emplacements. The Japanese had gone to great lengths to conceal their defenses, camouflaging them and integrating them into the natural terrain. The oblique photographs, however, exposed subtle variations in the landscape that indicated the presence of these hidden fortifications. This information allowed the U.S. forces to target these positions with pre-invasion bombardments and to plan the movement of assault troops to avoid the most heavily defended areas.
The Invasion of Iwo Jima:
On February 19, 1945, the invasion of Iwo Jima commenced with one of the most intense pre-assault bombardments of the war. Naval and aerial bombardments targeted the island for several days, focusing on known Japanese positions identified through the oblique photograph maps. Despite this bombardment, many Japanese defenses remained intact, as they were deeply embedded in the island's volcanic rock.
The first wave of U.S. Marines landed on the southeastern beaches of Iwo Jima at 8:59 AM on February 19. The black volcanic sand made movement difficult, and the Marines quickly found themselves bogged down under heavy fire from Japanese artillery, machine guns, and mortars. The Japanese had allowed the initial waves to land almost unopposed, waiting until the beaches were crowded with men and equipment before unleashing a devastating counterattack.
The oblique photograph maps proved invaluable during this chaotic phase of the battle. Marine commanders used these maps to coordinate their movements, directing their forces toward less heavily defended areas and avoiding known kill zones. The maps also helped in directing naval gunfire and airstrikes against Japanese strongpoints that were holding up the advance.
As the battle progressed, the Marines faced the daunting task of advancing inland through a maze of bunkers, tunnels, and pillboxes. The oblique photograph maps continued to serve as a critical tool for identifying enemy positions and planning attacks. The detailed topographical information provided by the maps allowed the Marines to devise tactics for assaulting the Japanese defenses, such as using flamethrowers and demolition charges to clear bunkers and using tanks to provide direct fire support.
The fighting on Iwo Jima was brutal and relentless, with both sides suffering heavy casualties. The Japanese, true to their strategy, fought tenaciously from their fortified positions, inflicting severe losses on the Americans. The U.S. forces, however, continued to press forward, using their superior numbers, firepower, and intelligence to gradually overcome the Japanese defenses.
The iconic moment of the battle came on February 23, 1945, when a group of Marines from the 2nd Battalion, 28th Marines, raised the American flag atop Mount Suribachi. This moment, captured in the famous photograph by Joe Rosenthal, symbolized the eventual victory of the U.S. forces, but the battle was far from over. The fighting continued for several more weeks, as the Marines methodically cleared the remaining Japanese positions in the northern part of the island.
The Battle of Iwo Jima was one of the most grueling and costly battles of World War II, resulting in the deaths of nearly 7,000 U.S. Marines and the almost complete annihilation of the Japanese garrison. The victory, however, was of immense strategic importance, providing the U.S. with a critical base for air operations against Japan and marking a significant step toward the eventual defeat of the Japanese Empire.
The use of oblique photograph secret invasion beach diagram maps was a key factor in the success of the invasion. These maps provided the U.S. forces with the detailed and accurate intelligence needed to overcome the formidable defenses of Iwo Jima. They allowed the planners to devise a strategy that minimized casualties and maximized the effectiveness of the assault, ultimately contributing to the hard-won victory. The Battle of Iwo Jima, and the innovative use of intelligence and technology that characterized it, remains a powerful example of the complexity and the human cost of war.
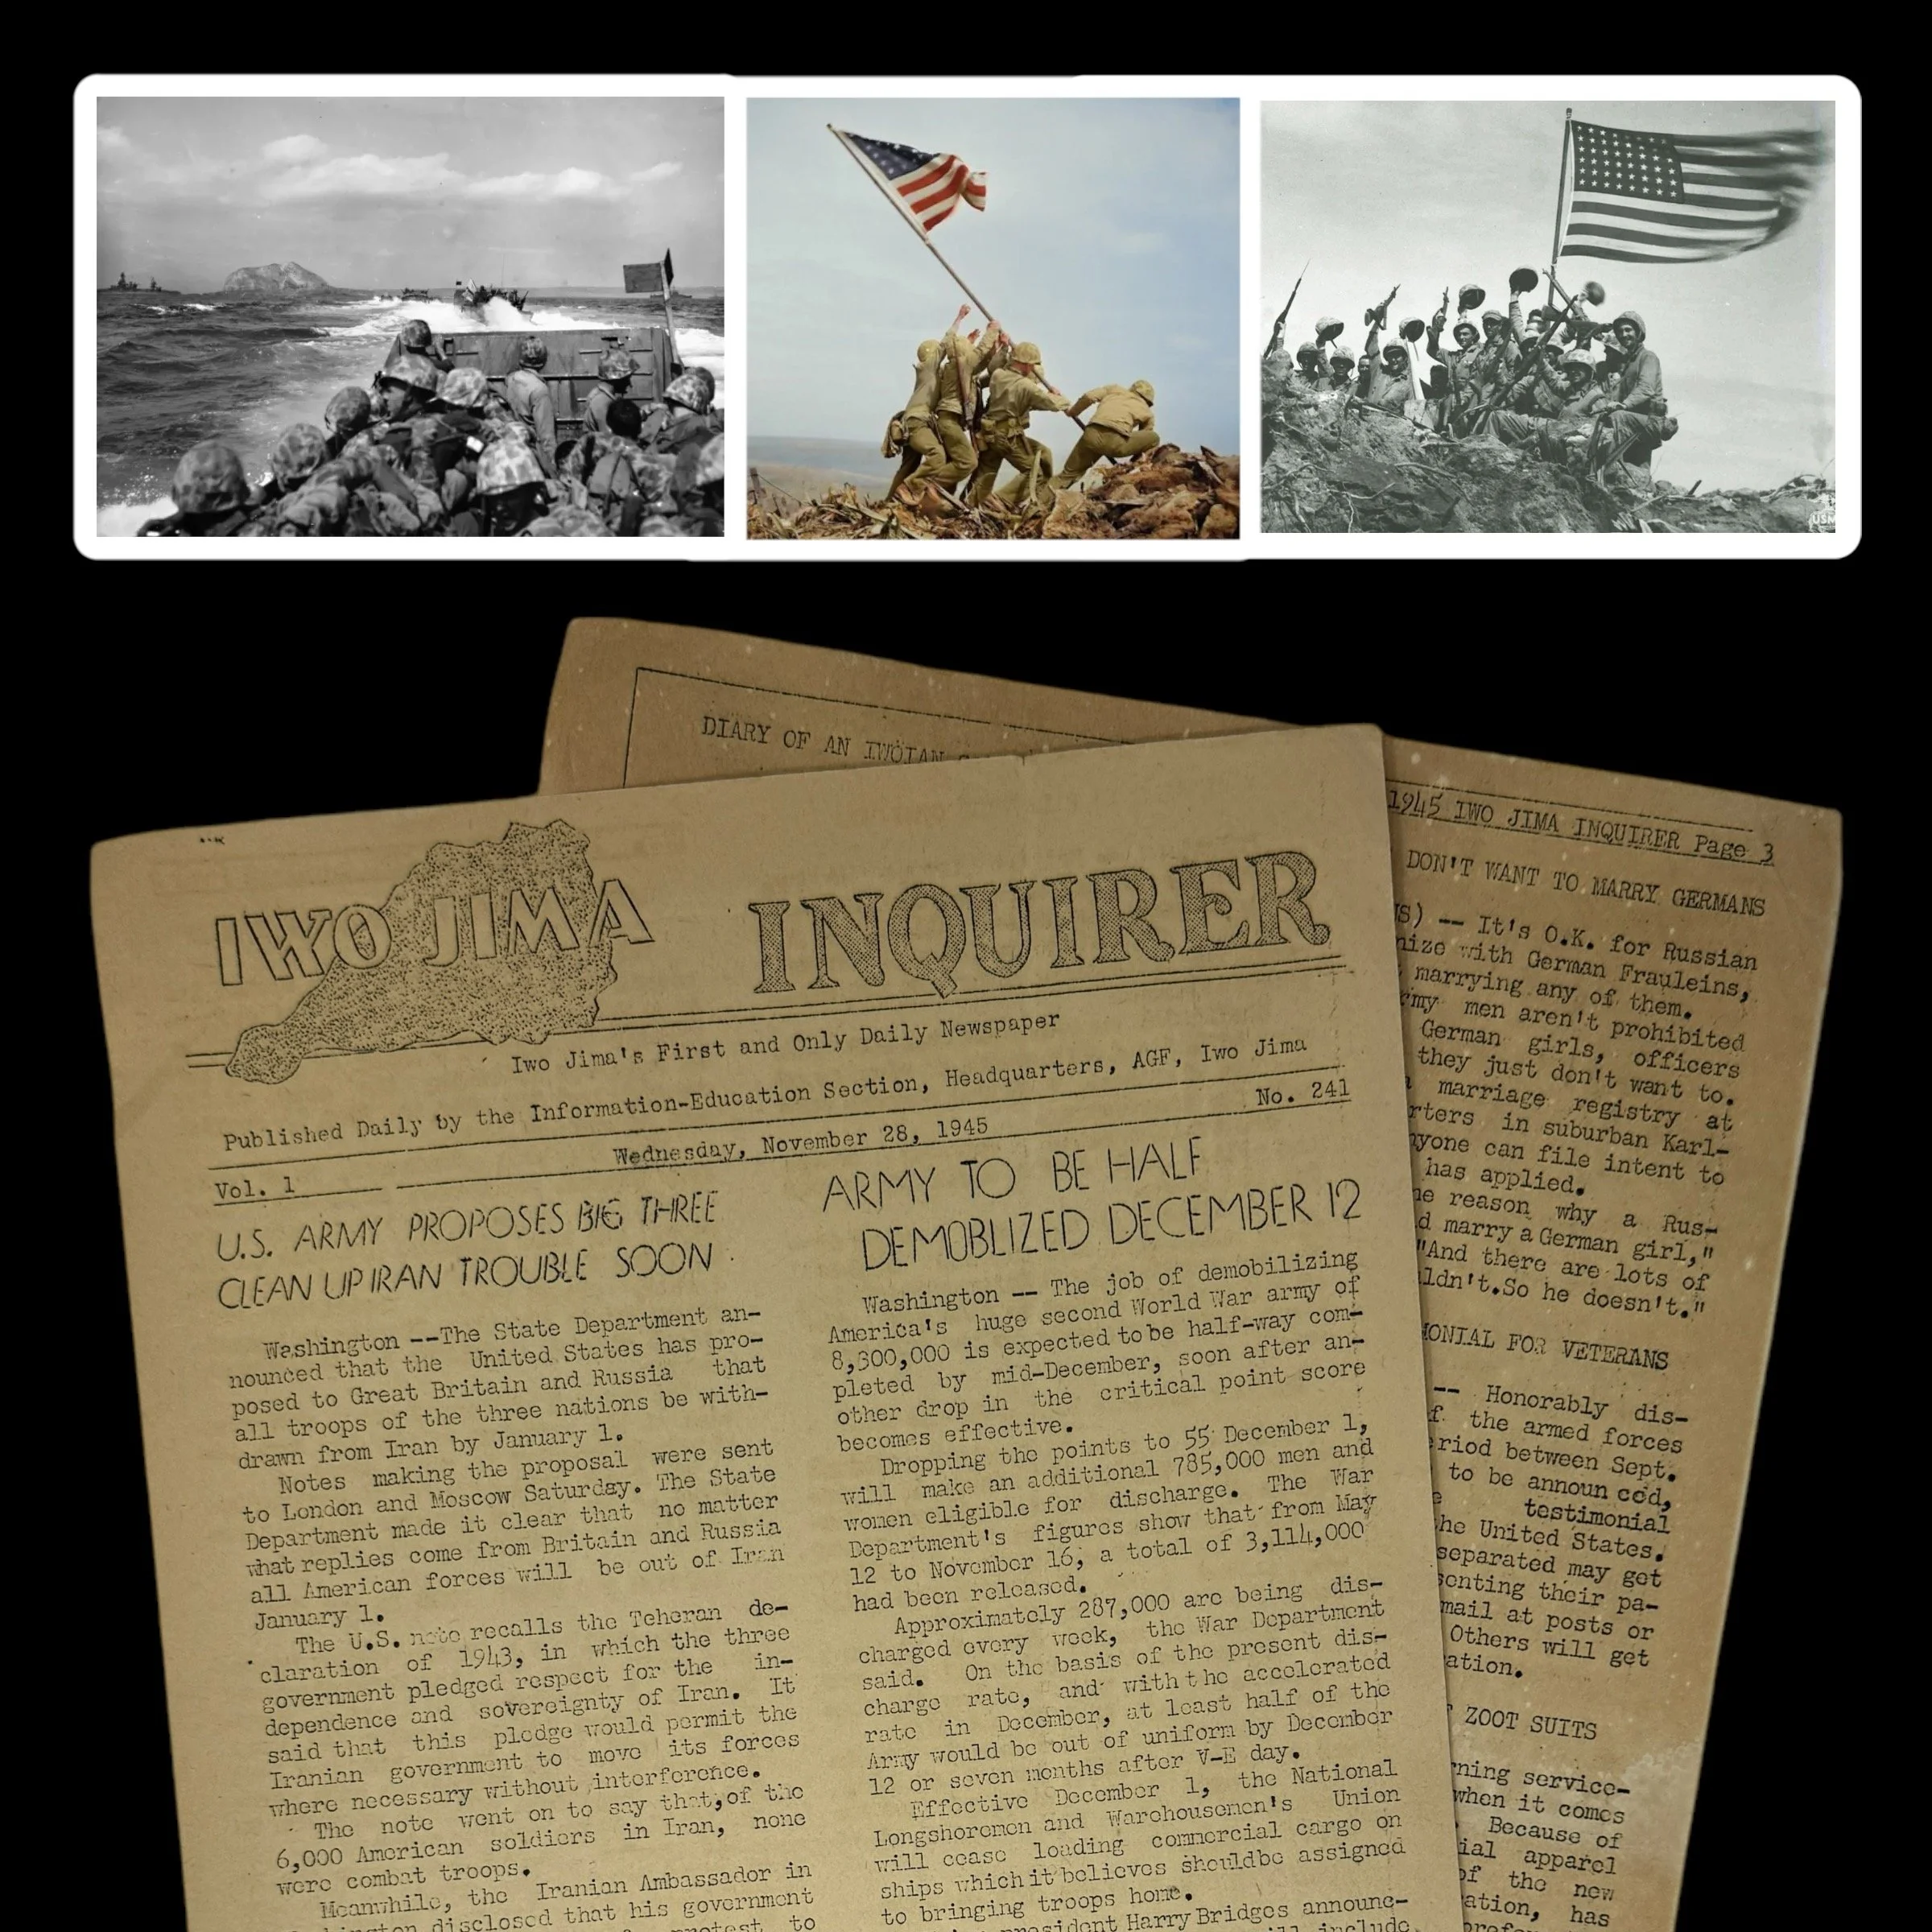
Comes with a hand-signed C.O.A.
*Proudly deemed "IWO JIMA'S FIRST & ONLY DAILY NEWSPAPER" the 1945 Iwo Jima Inquirer is considered a highly sought-after relic of both journalistic and military history. Due to the harsh conditions under which this battlefield newspaper was printed on Iwo Jima, few copies survived the war. Those that remain are held by high-end museums archives.
Size: 8 x 13 inches
This exceptionally rare, museum-grade WWII artifact is an original 1945 "Iwo Jima Inquirer" battlefield-printed newspaper. Dated November 28th, 1945, this unique publication is a remarkable testament to the grit and resilience of the Marines and military journalists stationed on Iwo Jima. It stands as a symbol of the determination to maintain communication and morale amidst one of the most brutal and pivotal battles of the Pacific Theater.
Publishing a newspaper in a battle zone was a near-impossible task. Equipment was scarce, paper supplies were limited, and the constant threat of enemy fire meant that the editorial team often had to move their operations to avoid danger. Yet, despite these overwhelming challenges, the dedicated Marines, military journalists, and press corps on the island succeeded in producing the Iwo Jima Inquirer. This battlefield-printed newspaper was created, written, and distributed entirely on the island, making it an unprecedented and singular piece of military press history.
While modest in appearance, the importance of the Iwo Jima Inquirer far exceeded its physical form. Produced on rudimentary printing presses, often under perilous conditions, the newspaper delivered vital news and updates to the soldiers stationed on the island. More than just a source of information, it became a lifeline, connecting the troops to the broader war effort and, crucially, to the world they had left behind. In an environment of chaos and uncertainty, the paper provided a sense of normalcy, giving the soldiers a brief respite from the horrors of battle.
The Battle of Iwo Jima, which lasted from February 19 to March 26, 1945, was one of the fiercest confrontations between U.S. forces and Imperial Japan. The U.S. Marines faced brutal resistance as they fought to secure the small, strategic island, which was critical for providing a base for air support and future operations against Japan. The intense combat resulted in approximately 26,000 American casualties, including nearly 7,000 deaths. After the battle, Iwo Jima became a key military outpost, with its airfields used by Allied forces for bombing raids on the Japanese mainland until the end of the war.
Despite the cessation of active combat on the island, life on Iwo Jima after the battle was far from peaceful. The island remained a critical airbase, where U.S. forces continued operations until Japan’s surrender in September 1945. Soldiers stationed on Iwo Jima faced isolation, the ongoing threat of booby traps left by Japanese forces, and the psychological toll of having fought in one of the war’s bloodiest battles. Amid this atmosphere of uncertainty, the Iwo Jima Inquirer served as a vital outlet, providing news, updates, and, most importantly, a connection to the outside world.
The Iwo Jima Inquirer, though small and short-lived, was a symbol of resilience and hope for the soldiers who read it. The fact that it was printed at all, amidst the rubble of war, is a testament to the unyielding human spirit. The paper embodied the belief that even in the direst of circumstances, information and communication were essential for survival. It also underscored the military’s commitment to maintaining morale, even on the most remote and war-torn battlefields.
Today, the Iwo Jima Inquirer is considered a highly sought-after relic of both journalistic and military history. Due to the harsh conditions under which it was printed, few copies survived the war. Those that remain are held by museums, collectors, and archives as precious artifacts, offering a rare glimpse into the lives of the soldiers who fought on Iwo Jima. These newspapers are not only valuable for their historical context but also for the poignant story they tell—of soldiers seeking connection, comfort, and hope during one of the most harrowing experiences of World War II.
This original 1945 Iwo Jima Inquirer is a piece of history that continues to resonate, symbolizing the indomitable will of those who fought and served during the war. It stands as a rare, tangible link to the battlefield, a testament to the importance of communication, and a tribute to the extraordinary efforts of those who kept the spirit of humanity alive in the most difficult of times.

Comes with a hand-signed C.O.A.
*THIS IS A ONCE-IN-A-LIFETIME ARTIFACT FROM THE BATTLE OF IWO JIMA. PRESERVED ARTIFACTS FROM THE BATTLE OF IWO JIMA ARE EXTREMELY RARE AND RARELY MAKE IT TO THE PUBLIC SECTOR. WE ARE IN THE PROCESS OF CURATING THESE PRESERVED RELICS FOR BOTH PUBLIC COLLECTIONS AND PRIVATE MUSEUMS.
Size: 1.25 inches
Please Note: Exploded shrapnel fragments were the leading cause of death of soldiers (75% KIA from shrapnel wounds) in both the Pacific Theater and European Theater during WWII. This single shrapnel fragment is still very sharp from when it exploded and was a deadly projectile fired at Japanese targets. Care must be taken when handling this artifact.
This original and museum-grade World War II artifact is an extremely rare exploded American shrapnel fragment preserved from the Battle of Iwo Jima (1945).
The Battle of Iwo Jima, also referred to as Operation Detachment, was an one of the bloodiest military campaigns of the Pacific Theater between U.S. Marines and the Imperial Army of Japan in early 1945. Located 750 miles off the coast of Japan, the island of Iwo Jima had three airfields that could serve as a staging facility for a potential invasion of mainland Japan. American forces invaded the island on February 19, 1945, and the ensuing Battle of Iwo Jima lasted for five weeks. In some of the bloodiest fighting of World War II, it’s believed that all but 200 or so of the 21,000 Japanese forces on the island were killed, as were almost 7,000 Marines.
The Japanese Army positions on the island were heavily fortified, with a dense network of bunkers, hidden artillery positions, and 18 km (11 mi) of tunnels. The American ground forces were supported by extensive naval artillery and had complete air supremacy provided by U.S. Navy and Marine Corps aviators throughout the battle. This Iwo Jima exploded “deadly” shrapnel was professionally preserved from the 1950’s-1970s by the U.S. airmen of the U.S. Loran Station located on Iwo Jima. This shrapnel was preserved and left uncleaned or altered in any way since it was uncovered from some of the most famous Iwo Jima battlefield areas such as Airfield No. 1, Airfield No. 2, Hill 382, Mount Suribachi, and the D-Day black sand beaches landed on by the U.S. Marines.
The Battle of Iwo Jima:
Iwo Jima is eight square miles in area and shaped like a pork chop, its widest part oriented toward the northeast. The island’s narrow southwestern tip is dominated by a small mountain, Mount Suribachi, which is a dormant volcano vent. Two completed airfields and one under construction were located respectively from the southwest toward the northeast on Iwo Jima’s centerline. Kuribayashi had divided the island into five defensive sectors with central reserve areas. U.S. planners had designated landing beaches along both southern and northern shorelines between Suribachi and the wider part of the island, but only the southern beaches (from southwest to northeast: Green, Red, Yellow, Blue) were used in the assault.
Bombing raids and occasional naval bombardment had been carried out against Japanese facilities on Iwo Jima since June 1944 and this bombing intensified in the weeks leading up to D-day. Although the air raids damaged some Japanese fortifications, Navy underwater demolition teams landed for a beach reconnaissance overestimated the bombing missions’ impact and did not note the full extent of the Japanese underground fortifications.
V Amphibious Corps requested a concentrated shore bombardment for 10 days prior to the landings. However, citing ammunition supply issues, Task Force 52, the amphibious support force providing fire support, only provided three. Adverse weather curtailed bombardment operations on 16 February, the first day. Ultimately, only 13 hours of effective bombardment were carried out over the three-day period. Fifth Fleet also began minesweeping operations around the island, specifically of the approaches to the designated landing beaches. Prior to the operation, Spruance had detached Task Force 58, his fast carriers (which also carried eight Marine Corps fighter squadrons), to strike strategic targets on Honshu in wide-ranging support of the Iwo Jima landings. The Marines, already unhappy with the shortened duration of naval gunfire support and believing continuous close air support of the ground forces should take priority, hardly welcomed this decision.
Almost precisely at H-hour, 0900 on 19 February, the first assault wave, with 5th Marine Division units on the left and 4th Marine Division units to the right, landed on the assigned beach sectors. The Japanese held their fore until 1000, after the Marines’ first wave was on the beaches and the covering naval gunfire had momentarily eased. The sudden, unexpected volume and accuracy of artillery and mortars clearly indicated that bombing and naval bombardment had not markedly affected the enemy. This had a devastating effect on the buildup on the beaches. All of the sectors suffered casualties, although Green and Red beaches, flanked by Japanese positions on Mount Suribachi, and the Blue beaches, fronted by enemy emplaced in the cliffs of a rock quarry, were perhaps hardest hit. Further handicapping the Marines was the instable beach, composed of steep terraces of constantly shifting black sand, volcanic cinders, and ash. This made digging in very difficult and bogged down wheeled and even tracked vehicles, causing pile-ups of men, amphibious tractors, tanks, and supplies at the waterline. These were subjected to constant Japanese artillery, mortar, and machine-gun fire. The steep beach gradient also caused a violent surf zone with which landing craft and tractors had to contend.
These difficulties notwithstanding, the landings were successfully executed and, under cover of a rolling naval gunfire barrage and close air support mainly provided by Fifth Fleet’s escort carriers, the Marines began moving off the beaches. The 5th Marine Division pushed to the northwestern shore in order to isolate Mount Suribachi, and accomplished this task within ninety minutes of the initial landings. The 4th Marine Division’s progress was much slower, however, as it proceeded toward the airfields. One of these lay directly in front of the Marines, but the second, more centrally located field, required a wheeling movement toward the northeast, which brought most of this division into a bowl-like area completely exposed to heavy Japanese fire.
By the end of D-day, nearly 30,000 personnel had been landed on Iwo Jima despite rapidly deteriorating weather conditions, the difficult terrain, and stubborn, well-coordinated Japanese resistance. Although the Marines had managed to cross the island at its narrow width and had cut off Mount Suribachi, the day’s planned phase line had not been reached while casualties mounted at an alarming rate. The beachhead remained concentrated in a triangular area roughly 4,000 yards long, and from 700 to 1,100 yards wide from north to south.
D+1 saw the landing of 3rd Marine Division, the corps reserve, and later taking up battle space between the two previously committed Marine divisions. Meanwhile, the 5th Division’s 28th Marine Regiment began its assault of Mount Suribachi, which was garrisoned by 2,000 Japanese troops and extensively honeycombed with defensive positions and tunnels, one of them seven levels deep. Bolstered by reinforcements from 3rd Marine Division, other 5th Marine Division units and the 4th Marine Division slowly continued to force their way northwest and northeast. Navy destroyers, many assigned to specific Marine units, provided direct gunfire support. Although frequently the targets of Japanese guns, Marine tanks, amphtracs and artillery did the same, providing mobile firepower to the engaged infantry units. Fifth Fleet aircraft continued to fly close-support missions, often dropping napalm on the deeply dug-in enemy.
Ultimately, however, small teams of Marines—or even individuals—armed with flame throwers, satchel charges and hand grenades (“blow torches and corkscrews”) were those who were instrumental in destroying Japanese strongpoints. The cost was commensurate: By the end of D+1, many Marine rifle companies had lost up to 50 percent of their pre-assault strength in killed and wounded. Operational momentum remained extremely slow and progress was measured in yards of ground taken.
From 21 February (D+2) into March, despite Japanese tenacity and ingenuity, U.S. forces were gradually able to make significant advances. During the night of 21–22 February, ships on the outer periphery of the amphibious landing area were subjected to the only kamikaze attack experienced during the operation. The escort carrier Bismarck Sea (CVE-95) was lost and fleet carrier Saratoga (CV-3) was so badly damaged that she had to return Stateside for repair and never returned to combat. Ashore, while the Marines reached the summit of Mount Suribachi on the morning of 23 February soon after the initial landing, the rest of the battle for the island would take the month that followed in heavy fighting. Despite the iconic and certainly morale-boosting flag raising, hidden pockets of enemy continued their resistance on the mountain—a blow to Kuribayashi’s defences. Airfield No. 1, the southernmost air facility, was captured after hard fighting by D+1 while the Marines continued to move northward, aided by an armored task force of several Marine tank companies.
As they advanced, they encountered well-coordinated and -led counterattacks by the Japanese—a surprise to those U.S. service members who had experienced chaotic enemy banzai charges in the past. Tanks were put out of action by mines, suicide squads or well-camouflaged antitank guns, and the Marine rifle companies were subjected to constant artillery, mortar, and small-arms fire. To the frustration of the ground forces, many Japanese positions proved impervious to close air support bombing and strafing and had to be taken by direct ground assault or by sealing off entrances. After nine days, the drive north had progressed 4,000 yards at a cost of 7,000 U.S. casualties but by 4 March, Airfield No. 2 had been secured after hard fighting and the Marines had degraded General Kuribyashi’s defenses to the point at which many Japanese heavy weapons were out of action. Also on 4 March, the 9th Bomb Group B-29 “Dinah” made an emergency landing on Airfield No. 1. It refueled and departed, demonstrating the potential use of the island by XXI Bomber Command. On 14 March, the island’s occupation was officially announced, although fighting continued for two further weeks. Finally, on 26 March Iwo Jima was declared “secure.”
Aftermath
Of the roughly 21,000 Japanese defenders, 216 survived the battle to be taken prisoner, and an estimated 3,000 went into hiding during the U.S. occupation of the island. By August 1945, Most of these had either been killed, captured, or had surrendered, but one group did not lay down its arms until 1949. Having done his utmost to forestall the inevitable, General Kuribayashi committed suicide in his command post on 23 March 1945.
The perceived strategic position and utility of the island were not immediately apparent to its occupiers. The Japanese radar station, the American operators soon learned, had actually been incapable of providing necessary early warning data to Japanese Home Island air defenses. For their part, prior to Operation Detachment, the Japanese had effectively written off the island’s airfield for any significant operational employment. As a way station for U.S. Army Air Forces aircraft, Iwo Jima again appeared to offer little advantage. Utilizing Iwo Jima’s airfields for U.S. escort fighters in the end proved to be logistically difficult and very hard on the P-51 pilots, who faced a 1,500–nautical mile round trip. The fields’ capacity, moreover, was limited—about the same as that provided by one Navy fleet carrier. Far fewer B-29s than anticipated actually made use of the island as an emergency landing or refueling site. The airfields did host an active search-and-rescue operation, but the number of downed U.S. aviators picked up by aircraft from Iwo Jima (57) seems insignificant in comparison to the number of lives lost in the island’s capture.
Operation Detachment cost U.S. forces 6,871 killed and 19,217 wounded. Medals of Honor were awarded to 22 Marines and five Sailors, 14 of them posthumously (13 Marines, one Sailor). As Admiral Chester W. Nimitz, commander of Pacific Fleet and Pacific Ocean Areas, noted after the battle, “uncommon valor was a common virtue.”
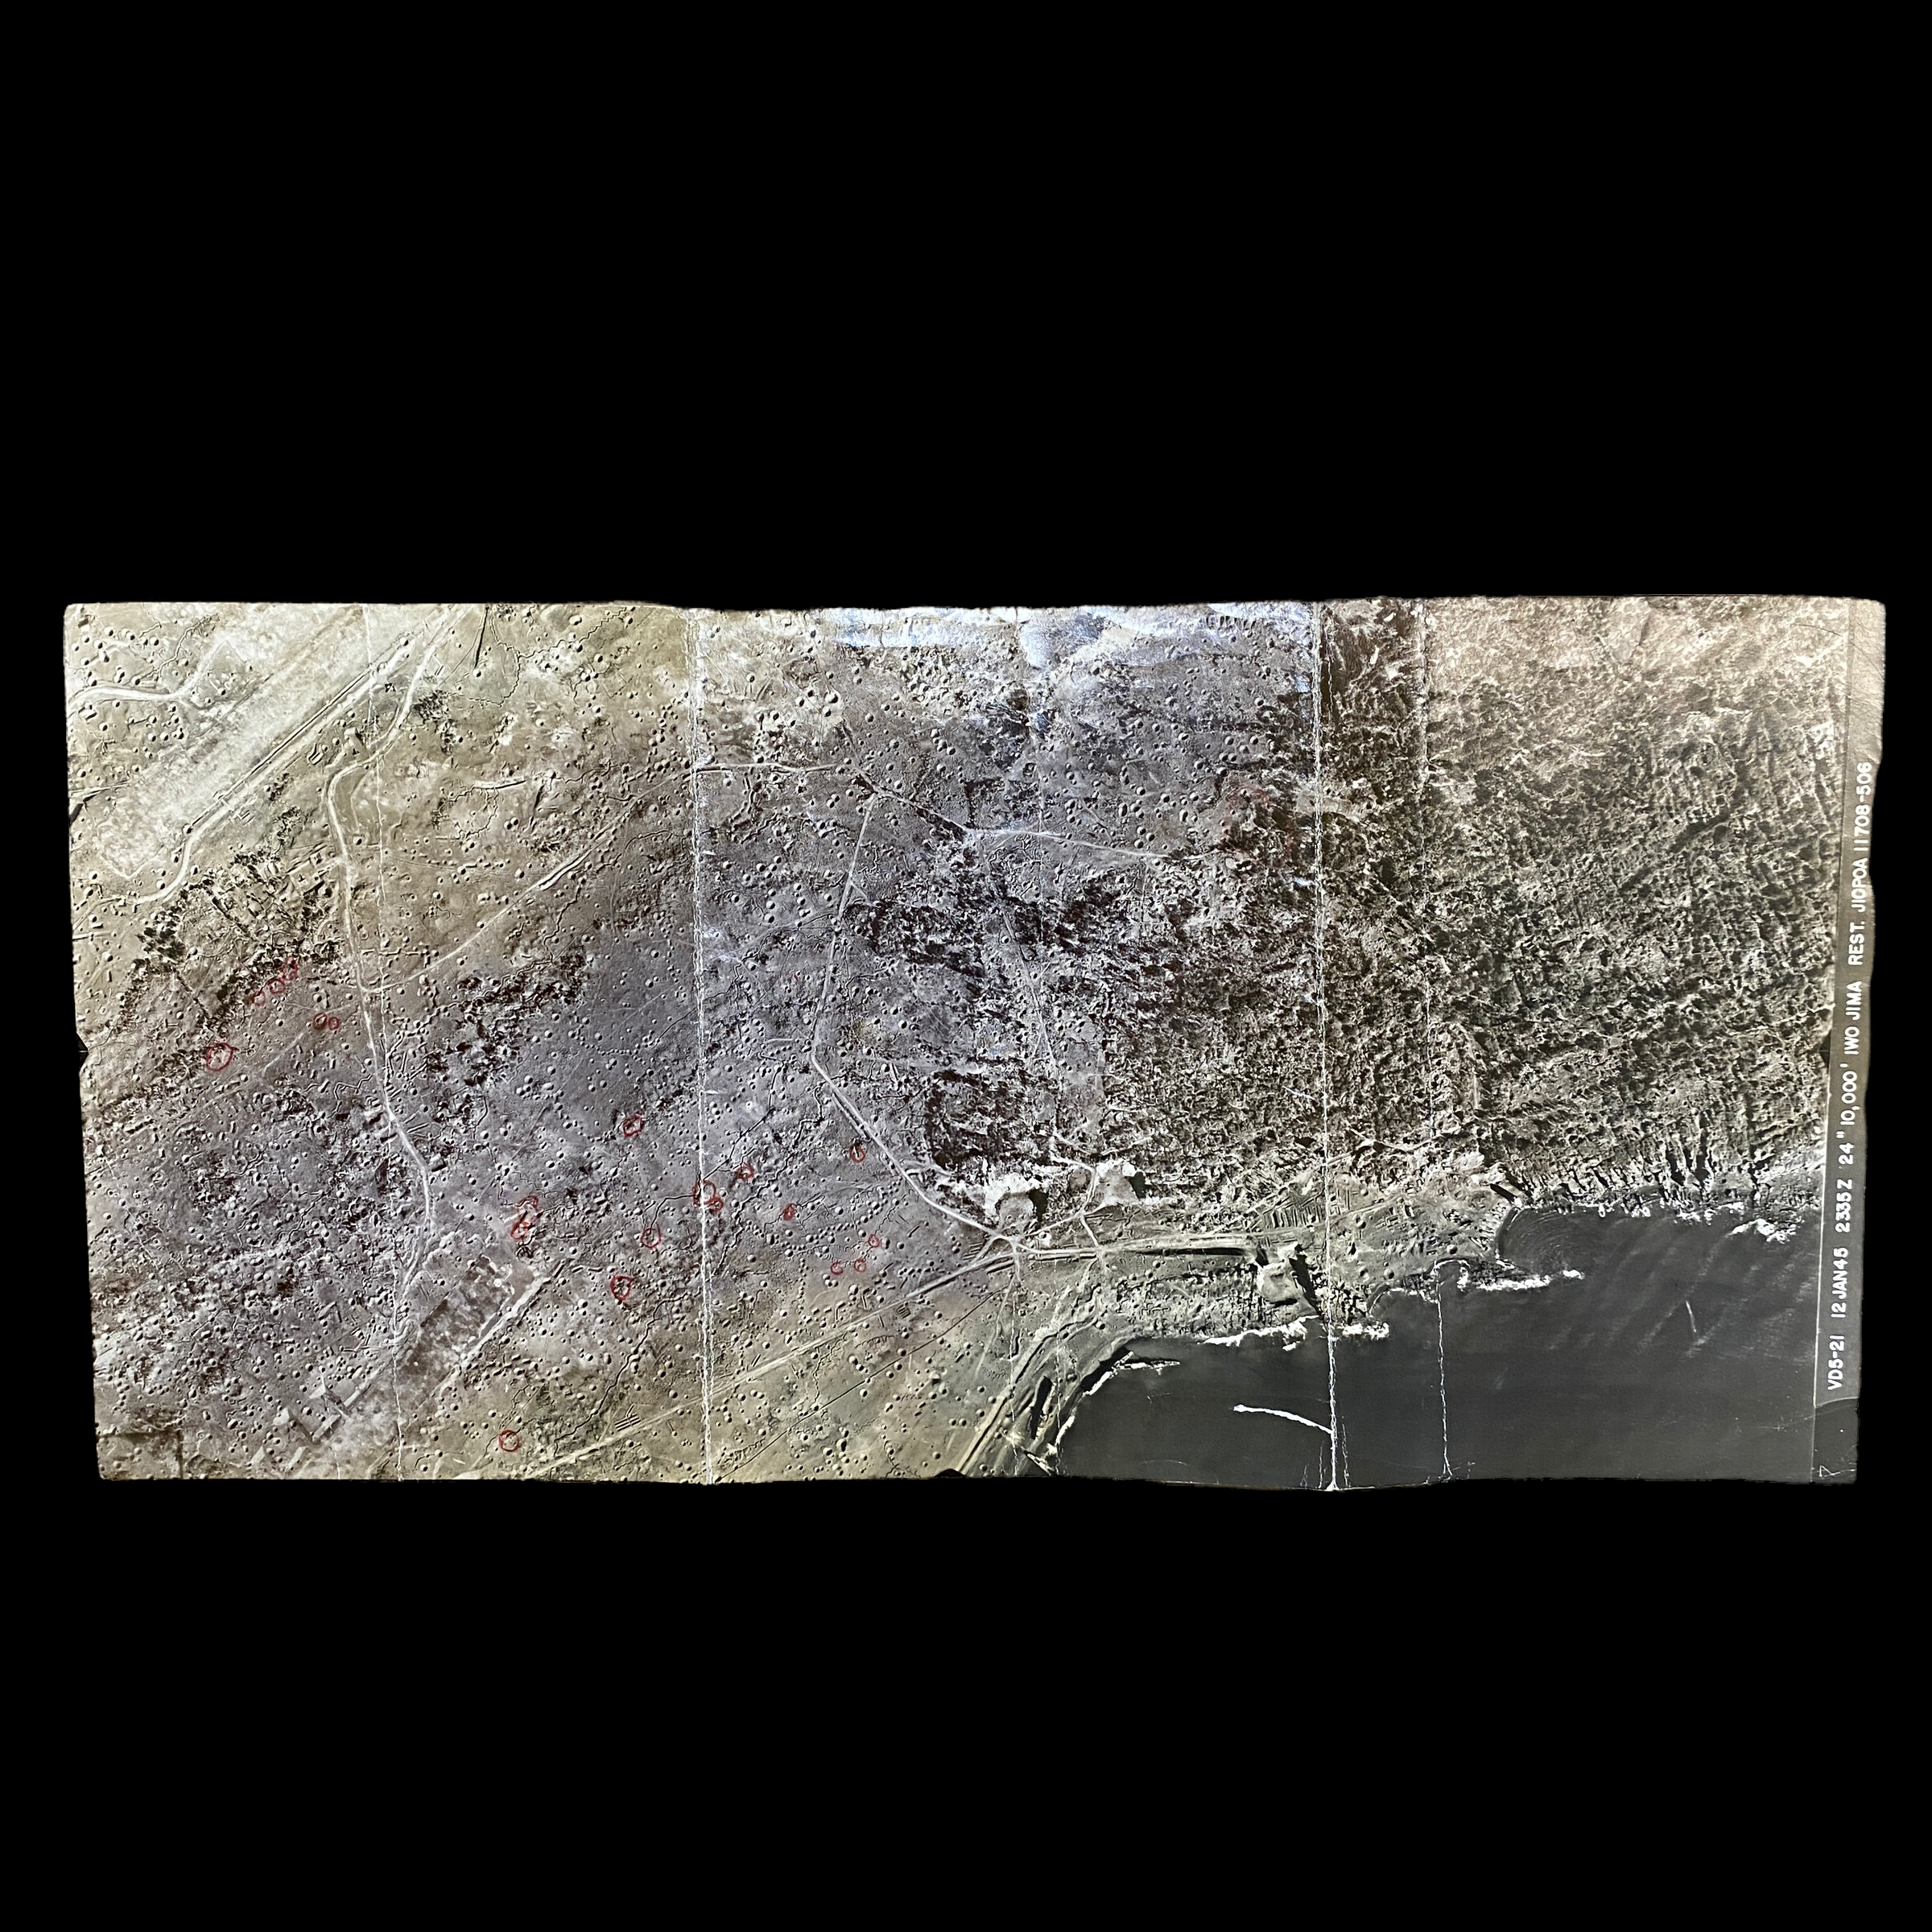
Comes with hand-signed C.O.A.
This large, incredibly rare, and museum-grade WWII Iwo Jima pre-invasion aerial intelligence photograph was taken on January 12th, 1945 (one month before to the amphibious D-Day assault of Iwo Jima in February 1945).
Pre-invasion photographs like this of the Iwo Jima invasion are extremely rare. This intelligence photograph is also heavily marked with hand annotation markings for what appear to be Japanese pillboxes and hidden defensive fortifications. This was used to update the SECRET, CLASSIFIED, and RESTRICTED Iwo Jima invasion maps and pre-invasion battle plans. The area shown in this large aerial intelligence photograph shows intensive air and naval bombardments.
Operation Detachment, the amphibious assault on Iwo Jima, had its genesis in the 29 September–1 October 1944. Bombing raids and occasional naval bombardment had been carried out against Japanese facilities on Iwo Jima since June 1944 and this bombing intensified in the weeks leading up to D-day. Although the air raids damaged some Japanese fortifications, Navy underwater demolition teams landed for a beach reconnaissance overestimated the bombing missions’ impact and did not note the full extent of the Japanese underground fortifications.
V Amphibious Corps requested a concentrated shore bombardment for 10 days prior to the landings. However, citing ammunition supply issues, Task Force 52, the amphibious support force providing fire support, only provided three. Adverse weather curtailed bombardment operations on 16 February, the first day. Ultimately, only 13 hours of effective bombardment were carried out over the three-day period. Fifth Fleet also began minesweeping operations around the island, specifically of the approaches to the designated landing beaches. Prior to the operation, Spruance had detached Task Force 58, his fast carriers (which also carried eight Marine Corps fighter squadrons), to strike strategic targets on Honshu in wide-ranging support of the Iwo Jima landings. The Marines, already unhappy with the shortened duration of naval gunfire support and believing continuous close air support of the ground forces should take priority, hardly welcomed this decision.
Battle of Iwo Jima:
The Battle of Iwo Jima was an epic military campaign between U.S. Marines and the Imperial Army of Japan in early 1945. Located 750 miles off the coast of Japan, the island of Iwo Jima had three airfields that could serve as a staging facility for a potential invasion of mainland Japan. American forces invaded the island on February 19, 1945, and the ensuing Battle of Iwo Jima lasted for five weeks. In some of the bloodiest fighting of World War II, it’s believed that all but 200 or so of the 21,000 Japanese forces on the island were killed, as were almost 7,000 Marines. But once the fighting was over, the strategic value of Iwo Jima was called into question.

Comes with a hand-signed C.O.A.
*THIS IS A ONCE-IN-A-LIFETIME ARTIFACT FROM THE BATTLE OF IWO JIMA. PRESERVED ARTIFACTS FROM THE BATTLE OF IWO JIMA ARE EXTREMELY RARE AND RARELY MAKE IT TO THE PUBLIC SECTOR. WE ARE IN THE PROCESS OF CURATING THESE PRESERVED RELICS FOR BOTH PUBLIC COLLECTIONS AND PRIVATE MUSEUMS.
Size: 2.0 inches
Please Note: Exploded shrapnel fragments were the leading cause of death of soldiers (75% KIA from shrapnel wounds) in both the Pacific Theater and European Theater during WWII. This single shrapnel fragment is still very sharp from when it exploded and was a deadly projectile fired at Japanese targets. Care must be taken when handling this artifact.
This original and museum-grade World War II artifact is an extremely rare exploded American shrapnel fragment preserved from the Battle of Iwo Jima (1945).
The Battle of Iwo Jima, also referred to as Operation Detachment, was an one of the bloodiest military campaigns of the Pacific Theater between U.S. Marines and the Imperial Army of Japan in early 1945. Located 750 miles off the coast of Japan, the island of Iwo Jima had three airfields that could serve as a staging facility for a potential invasion of mainland Japan. American forces invaded the island on February 19, 1945, and the ensuing Battle of Iwo Jima lasted for five weeks. In some of the bloodiest fighting of World War II, it’s believed that all but 200 or so of the 21,000 Japanese forces on the island were killed, as were almost 7,000 Marines.
The Japanese Army positions on the island were heavily fortified, with a dense network of bunkers, hidden artillery positions, and 18 km (11 mi) of tunnels. The American ground forces were supported by extensive naval artillery and had complete air supremacy provided by U.S. Navy and Marine Corps aviators throughout the battle. This Iwo Jima exploded “deadly” shrapnel was professionally preserved from the 1950’s-1970s by the U.S. airmen of the U.S. Loran Station located on Iwo Jima. This shrapnel was preserved and left uncleaned or altered in any way since it was uncovered from some of the most famous Iwo Jima battlefield areas such as Airfield No. 1, Airfield No. 2, Hill 382, Mount Suribachi, and the D-Day black sand beaches landed on by the U.S. Marines.
The Battle of Iwo Jima:
Iwo Jima is eight square miles in area and shaped like a pork chop, its widest part oriented toward the northeast. The island’s narrow southwestern tip is dominated by a small mountain, Mount Suribachi, which is a dormant volcano vent. Two completed airfields and one under construction were located respectively from the southwest toward the northeast on Iwo Jima’s centerline. Kuribayashi had divided the island into five defensive sectors with central reserve areas. U.S. planners had designated landing beaches along both southern and northern shorelines between Suribachi and the wider part of the island, but only the southern beaches (from southwest to northeast: Green, Red, Yellow, Blue) were used in the assault.
Bombing raids and occasional naval bombardment had been carried out against Japanese facilities on Iwo Jima since June 1944 and this bombing intensified in the weeks leading up to D-day. Although the air raids damaged some Japanese fortifications, Navy underwater demolition teams landed for a beach reconnaissance overestimated the bombing missions’ impact and did not note the full extent of the Japanese underground fortifications.
V Amphibious Corps requested a concentrated shore bombardment for 10 days prior to the landings. However, citing ammunition supply issues, Task Force 52, the amphibious support force providing fire support, only provided three. Adverse weather curtailed bombardment operations on 16 February, the first day. Ultimately, only 13 hours of effective bombardment were carried out over the three-day period. Fifth Fleet also began minesweeping operations around the island, specifically of the approaches to the designated landing beaches. Prior to the operation, Spruance had detached Task Force 58, his fast carriers (which also carried eight Marine Corps fighter squadrons), to strike strategic targets on Honshu in wide-ranging support of the Iwo Jima landings. The Marines, already unhappy with the shortened duration of naval gunfire support and believing continuous close air support of the ground forces should take priority, hardly welcomed this decision.
Almost precisely at H-hour, 0900 on 19 February, the first assault wave, with 5th Marine Division units on the left and 4th Marine Division units to the right, landed on the assigned beach sectors. The Japanese held their fore until 1000, after the Marines’ first wave was on the beaches and the covering naval gunfire had momentarily eased. The sudden, unexpected volume and accuracy of artillery and mortars clearly indicated that bombing and naval bombardment had not markedly affected the enemy. This had a devastating effect on the buildup on the beaches. All of the sectors suffered casualties, although Green and Red beaches, flanked by Japanese positions on Mount Suribachi, and the Blue beaches, fronted by enemy emplaced in the cliffs of a rock quarry, were perhaps hardest hit. Further handicapping the Marines was the instable beach, composed of steep terraces of constantly shifting black sand, volcanic cinders, and ash. This made digging in very difficult and bogged down wheeled and even tracked vehicles, causing pile-ups of men, amphibious tractors, tanks, and supplies at the waterline. These were subjected to constant Japanese artillery, mortar, and machine-gun fire. The steep beach gradient also caused a violent surf zone with which landing craft and tractors had to contend.
These difficulties notwithstanding, the landings were successfully executed and, under cover of a rolling naval gunfire barrage and close air support mainly provided by Fifth Fleet’s escort carriers, the Marines began moving off the beaches. The 5th Marine Division pushed to the northwestern shore in order to isolate Mount Suribachi, and accomplished this task within ninety minutes of the initial landings. The 4th Marine Division’s progress was much slower, however, as it proceeded toward the airfields. One of these lay directly in front of the Marines, but the second, more centrally located field, required a wheeling movement toward the northeast, which brought most of this division into a bowl-like area completely exposed to heavy Japanese fire.
By the end of D-day, nearly 30,000 personnel had been landed on Iwo Jima despite rapidly deteriorating weather conditions, the difficult terrain, and stubborn, well-coordinated Japanese resistance. Although the Marines had managed to cross the island at its narrow width and had cut off Mount Suribachi, the day’s planned phase line had not been reached while casualties mounted at an alarming rate. The beachhead remained concentrated in a triangular area roughly 4,000 yards long, and from 700 to 1,100 yards wide from north to south.
D+1 saw the landing of 3rd Marine Division, the corps reserve, and later taking up battle space between the two previously committed Marine divisions. Meanwhile, the 5th Division’s 28th Marine Regiment began its assault of Mount Suribachi, which was garrisoned by 2,000 Japanese troops and extensively honeycombed with defensive positions and tunnels, one of them seven levels deep. Bolstered by reinforcements from 3rd Marine Division, other 5th Marine Division units and the 4th Marine Division slowly continued to force their way northwest and northeast. Navy destroyers, many assigned to specific Marine units, provided direct gunfire support. Although frequently the targets of Japanese guns, Marine tanks, amphtracs and artillery did the same, providing mobile firepower to the engaged infantry units. Fifth Fleet aircraft continued to fly close-support missions, often dropping napalm on the deeply dug-in enemy.
Ultimately, however, small teams of Marines—or even individuals—armed with flame throwers, satchel charges and hand grenades (“blow torches and corkscrews”) were those who were instrumental in destroying Japanese strongpoints. The cost was commensurate: By the end of D+1, many Marine rifle companies had lost up to 50 percent of their pre-assault strength in killed and wounded. Operational momentum remained extremely slow and progress was measured in yards of ground taken.
From 21 February (D+2) into March, despite Japanese tenacity and ingenuity, U.S. forces were gradually able to make significant advances. During the night of 21–22 February, ships on the outer periphery of the amphibious landing area were subjected to the only kamikaze attack experienced during the operation. The escort carrier Bismarck Sea (CVE-95) was lost and fleet carrier Saratoga (CV-3) was so badly damaged that she had to return Stateside for repair and never returned to combat. Ashore, while the Marines reached the summit of Mount Suribachi on the morning of 23 February soon after the initial landing, the rest of the battle for the island would take the month that followed in heavy fighting. Despite the iconic and certainly morale-boosting flag raising, hidden pockets of enemy continued their resistance on the mountain—a blow to Kuribayashi’s defences. Airfield No. 1, the southernmost air facility, was captured after hard fighting by D+1 while the Marines continued to move northward, aided by an armored task force of several Marine tank companies.
As they advanced, they encountered well-coordinated and -led counterattacks by the Japanese—a surprise to those U.S. service members who had experienced chaotic enemy banzai charges in the past. Tanks were put out of action by mines, suicide squads or well-camouflaged antitank guns, and the Marine rifle companies were subjected to constant artillery, mortar, and small-arms fire. To the frustration of the ground forces, many Japanese positions proved impervious to close air support bombing and strafing and had to be taken by direct ground assault or by sealing off entrances. After nine days, the drive north had progressed 4,000 yards at a cost of 7,000 U.S. casualties but by 4 March, Airfield No. 2 had been secured after hard fighting and the Marines had degraded General Kuribyashi’s defenses to the point at which many Japanese heavy weapons were out of action. Also on 4 March, the 9th Bomb Group B-29 “Dinah” made an emergency landing on Airfield No. 1. It refueled and departed, demonstrating the potential use of the island by XXI Bomber Command. On 14 March, the island’s occupation was officially announced, although fighting continued for two further weeks. Finally, on 26 March Iwo Jima was declared “secure.”
Aftermath
Of the roughly 21,000 Japanese defenders, 216 survived the battle to be taken prisoner, and an estimated 3,000 went into hiding during the U.S. occupation of the island. By August 1945, Most of these had either been killed, captured, or had surrendered, but one group did not lay down its arms until 1949. Having done his utmost to forestall the inevitable, General Kuribayashi committed suicide in his command post on 23 March 1945.
The perceived strategic position and utility of the island were not immediately apparent to its occupiers. The Japanese radar station, the American operators soon learned, had actually been incapable of providing necessary early warning data to Japanese Home Island air defenses. For their part, prior to Operation Detachment, the Japanese had effectively written off the island’s airfield for any significant operational employment. As a way station for U.S. Army Air Forces aircraft, Iwo Jima again appeared to offer little advantage. Utilizing Iwo Jima’s airfields for U.S. escort fighters in the end proved to be logistically difficult and very hard on the P-51 pilots, who faced a 1,500–nautical mile round trip. The fields’ capacity, moreover, was limited—about the same as that provided by one Navy fleet carrier. Far fewer B-29s than anticipated actually made use of the island as an emergency landing or refueling site. The airfields did host an active search-and-rescue operation, but the number of downed U.S. aviators picked up by aircraft from Iwo Jima (57) seems insignificant in comparison to the number of lives lost in the island’s capture.
Operation Detachment cost U.S. forces 6,871 killed and 19,217 wounded. Medals of Honor were awarded to 22 Marines and five Sailors, 14 of them posthumously (13 Marines, one Sailor). As Admiral Chester W. Nimitz, commander of Pacific Fleet and Pacific Ocean Areas, noted after the battle, “uncommon valor was a common virtue.”

Comes with a hand-signed C.O.A.
*THIS IS A ONCE-IN-A-LIFETIME ARTIFACT FROM THE BATTLE OF IWO JIMA. PRESERVED ARTIFACTS FROM THE BATTLE OF IWO JIMA ARE EXTREMELY RARE AND RARELY MAKE IT TO THE PUBLIC SECTOR. WE ARE IN THE PROCESS OF CURATING THESE PRESERVED RELICS FOR BOTH PUBLIC COLLECTIONS AND PRIVATE MUSEUMS.
Size: 3.0 inches
Please Note: Exploded shrapnel fragments were the leading cause of death of soldiers (75% KIA from shrapnel wounds) in both the Pacific Theater and European Theater during WWII. This single shrapnel fragment is still very sharp from when it exploded and was a deadly projectile fired at Japanese targets. Care must be taken when handling this artifact.
This original and museum-grade World War II artifact is an extremely rare exploded American shrapnel fragment preserved from the Battle of Iwo Jima (1945).
The Battle of Iwo Jima, also referred to as Operation Detachment, was an one of the bloodiest military campaigns of the Pacific Theater between U.S. Marines and the Imperial Army of Japan in early 1945. Located 750 miles off the coast of Japan, the island of Iwo Jima had three airfields that could serve as a staging facility for a potential invasion of mainland Japan. American forces invaded the island on February 19, 1945, and the ensuing Battle of Iwo Jima lasted for five weeks. In some of the bloodiest fighting of World War II, it’s believed that all but 200 or so of the 21,000 Japanese forces on the island were killed, as were almost 7,000 Marines.
The Japanese Army positions on the island were heavily fortified, with a dense network of bunkers, hidden artillery positions, and 18 km (11 mi) of tunnels. The American ground forces were supported by extensive naval artillery and had complete air supremacy provided by U.S. Navy and Marine Corps aviators throughout the battle. This Iwo Jima exploded “deadly” shrapnel was professionally preserved from the 1950’s-1970s by the U.S. airmen of the U.S. Loran Station located on Iwo Jima. This shrapnel was preserved and left uncleaned or altered in any way since it was uncovered from some of the most famous Iwo Jima battlefield areas such as Airfield No. 1, Airfield No. 2, Hill 382, Mount Suribachi, and the D-Day black sand beaches landed on by the U.S. Marines.
The Battle of Iwo Jima:
Iwo Jima is eight square miles in area and shaped like a pork chop, its widest part oriented toward the northeast. The island’s narrow southwestern tip is dominated by a small mountain, Mount Suribachi, which is a dormant volcano vent. Two completed airfields and one under construction were located respectively from the southwest toward the northeast on Iwo Jima’s centerline. Kuribayashi had divided the island into five defensive sectors with central reserve areas. U.S. planners had designated landing beaches along both southern and northern shorelines between Suribachi and the wider part of the island, but only the southern beaches (from southwest to northeast: Green, Red, Yellow, Blue) were used in the assault.
Bombing raids and occasional naval bombardment had been carried out against Japanese facilities on Iwo Jima since June 1944 and this bombing intensified in the weeks leading up to D-day. Although the air raids damaged some Japanese fortifications, Navy underwater demolition teams landed for a beach reconnaissance overestimated the bombing missions’ impact and did not note the full extent of the Japanese underground fortifications.
V Amphibious Corps requested a concentrated shore bombardment for 10 days prior to the landings. However, citing ammunition supply issues, Task Force 52, the amphibious support force providing fire support, only provided three. Adverse weather curtailed bombardment operations on 16 February, the first day. Ultimately, only 13 hours of effective bombardment were carried out over the three-day period. Fifth Fleet also began minesweeping operations around the island, specifically of the approaches to the designated landing beaches. Prior to the operation, Spruance had detached Task Force 58, his fast carriers (which also carried eight Marine Corps fighter squadrons), to strike strategic targets on Honshu in wide-ranging support of the Iwo Jima landings. The Marines, already unhappy with the shortened duration of naval gunfire support and believing continuous close air support of the ground forces should take priority, hardly welcomed this decision.
Almost precisely at H-hour, 0900 on 19 February, the first assault wave, with 5th Marine Division units on the left and 4th Marine Division units to the right, landed on the assigned beach sectors. The Japanese held their fore until 1000, after the Marines’ first wave was on the beaches and the covering naval gunfire had momentarily eased. The sudden, unexpected volume and accuracy of artillery and mortars clearly indicated that bombing and naval bombardment had not markedly affected the enemy. This had a devastating effect on the buildup on the beaches. All of the sectors suffered casualties, although Green and Red beaches, flanked by Japanese positions on Mount Suribachi, and the Blue beaches, fronted by enemy emplaced in the cliffs of a rock quarry, were perhaps hardest hit. Further handicapping the Marines was the instable beach, composed of steep terraces of constantly shifting black sand, volcanic cinders, and ash. This made digging in very difficult and bogged down wheeled and even tracked vehicles, causing pile-ups of men, amphibious tractors, tanks, and supplies at the waterline. These were subjected to constant Japanese artillery, mortar, and machine-gun fire. The steep beach gradient also caused a violent surf zone with which landing craft and tractors had to contend.
These difficulties notwithstanding, the landings were successfully executed and, under cover of a rolling naval gunfire barrage and close air support mainly provided by Fifth Fleet’s escort carriers, the Marines began moving off the beaches. The 5th Marine Division pushed to the northwestern shore in order to isolate Mount Suribachi, and accomplished this task within ninety minutes of the initial landings. The 4th Marine Division’s progress was much slower, however, as it proceeded toward the airfields. One of these lay directly in front of the Marines, but the second, more centrally located field, required a wheeling movement toward the northeast, which brought most of this division into a bowl-like area completely exposed to heavy Japanese fire.
By the end of D-day, nearly 30,000 personnel had been landed on Iwo Jima despite rapidly deteriorating weather conditions, the difficult terrain, and stubborn, well-coordinated Japanese resistance. Although the Marines had managed to cross the island at its narrow width and had cut off Mount Suribachi, the day’s planned phase line had not been reached while casualties mounted at an alarming rate. The beachhead remained concentrated in a triangular area roughly 4,000 yards long, and from 700 to 1,100 yards wide from north to south.
D+1 saw the landing of 3rd Marine Division, the corps reserve, and later taking up battle space between the two previously committed Marine divisions. Meanwhile, the 5th Division’s 28th Marine Regiment began its assault of Mount Suribachi, which was garrisoned by 2,000 Japanese troops and extensively honeycombed with defensive positions and tunnels, one of them seven levels deep. Bolstered by reinforcements from 3rd Marine Division, other 5th Marine Division units and the 4th Marine Division slowly continued to force their way northwest and northeast. Navy destroyers, many assigned to specific Marine units, provided direct gunfire support. Although frequently the targets of Japanese guns, Marine tanks, amphtracs and artillery did the same, providing mobile firepower to the engaged infantry units. Fifth Fleet aircraft continued to fly close-support missions, often dropping napalm on the deeply dug-in enemy.
Ultimately, however, small teams of Marines—or even individuals—armed with flame throwers, satchel charges and hand grenades (“blow torches and corkscrews”) were those who were instrumental in destroying Japanese strongpoints. The cost was commensurate: By the end of D+1, many Marine rifle companies had lost up to 50 percent of their pre-assault strength in killed and wounded. Operational momentum remained extremely slow and progress was measured in yards of ground taken.
From 21 February (D+2) into March, despite Japanese tenacity and ingenuity, U.S. forces were gradually able to make significant advances. During the night of 21–22 February, ships on the outer periphery of the amphibious landing area were subjected to the only kamikaze attack experienced during the operation. The escort carrier Bismarck Sea (CVE-95) was lost and fleet carrier Saratoga (CV-3) was so badly damaged that she had to return Stateside for repair and never returned to combat. Ashore, while the Marines reached the summit of Mount Suribachi on the morning of 23 February soon after the initial landing, the rest of the battle for the island would take the month that followed in heavy fighting. Despite the iconic and certainly morale-boosting flag raising, hidden pockets of enemy continued their resistance on the mountain—a blow to Kuribayashi’s defences. Airfield No. 1, the southernmost air facility, was captured after hard fighting by D+1 while the Marines continued to move northward, aided by an armored task force of several Marine tank companies.
As they advanced, they encountered well-coordinated and -led counterattacks by the Japanese—a surprise to those U.S. service members who had experienced chaotic enemy banzai charges in the past. Tanks were put out of action by mines, suicide squads or well-camouflaged antitank guns, and the Marine rifle companies were subjected to constant artillery, mortar, and small-arms fire. To the frustration of the ground forces, many Japanese positions proved impervious to close air support bombing and strafing and had to be taken by direct ground assault or by sealing off entrances. After nine days, the drive north had progressed 4,000 yards at a cost of 7,000 U.S. casualties but by 4 March, Airfield No. 2 had been secured after hard fighting and the Marines had degraded General Kuribyashi’s defenses to the point at which many Japanese heavy weapons were out of action. Also on 4 March, the 9th Bomb Group B-29 “Dinah” made an emergency landing on Airfield No. 1. It refueled and departed, demonstrating the potential use of the island by XXI Bomber Command. On 14 March, the island’s occupation was officially announced, although fighting continued for two further weeks. Finally, on 26 March Iwo Jima was declared “secure.”
Aftermath
Of the roughly 21,000 Japanese defenders, 216 survived the battle to be taken prisoner, and an estimated 3,000 went into hiding during the U.S. occupation of the island. By August 1945, Most of these had either been killed, captured, or had surrendered, but one group did not lay down its arms until 1949. Having done his utmost to forestall the inevitable, General Kuribayashi committed suicide in his command post on 23 March 1945.
The perceived strategic position and utility of the island were not immediately apparent to its occupiers. The Japanese radar station, the American operators soon learned, had actually been incapable of providing necessary early warning data to Japanese Home Island air defenses. For their part, prior to Operation Detachment, the Japanese had effectively written off the island’s airfield for any significant operational employment. As a way station for U.S. Army Air Forces aircraft, Iwo Jima again appeared to offer little advantage. Utilizing Iwo Jima’s airfields for U.S. escort fighters in the end proved to be logistically difficult and very hard on the P-51 pilots, who faced a 1,500–nautical mile round trip. The fields’ capacity, moreover, was limited—about the same as that provided by one Navy fleet carrier. Far fewer B-29s than anticipated actually made use of the island as an emergency landing or refueling site. The airfields did host an active search-and-rescue operation, but the number of downed U.S. aviators picked up by aircraft from Iwo Jima (57) seems insignificant in comparison to the number of lives lost in the island’s capture.
Operation Detachment cost U.S. forces 6,871 killed and 19,217 wounded. Medals of Honor were awarded to 22 Marines and five Sailors, 14 of them posthumously (13 Marines, one Sailor). As Admiral Chester W. Nimitz, commander of Pacific Fleet and Pacific Ocean Areas, noted after the battle, “uncommon valor was a common virtue.”
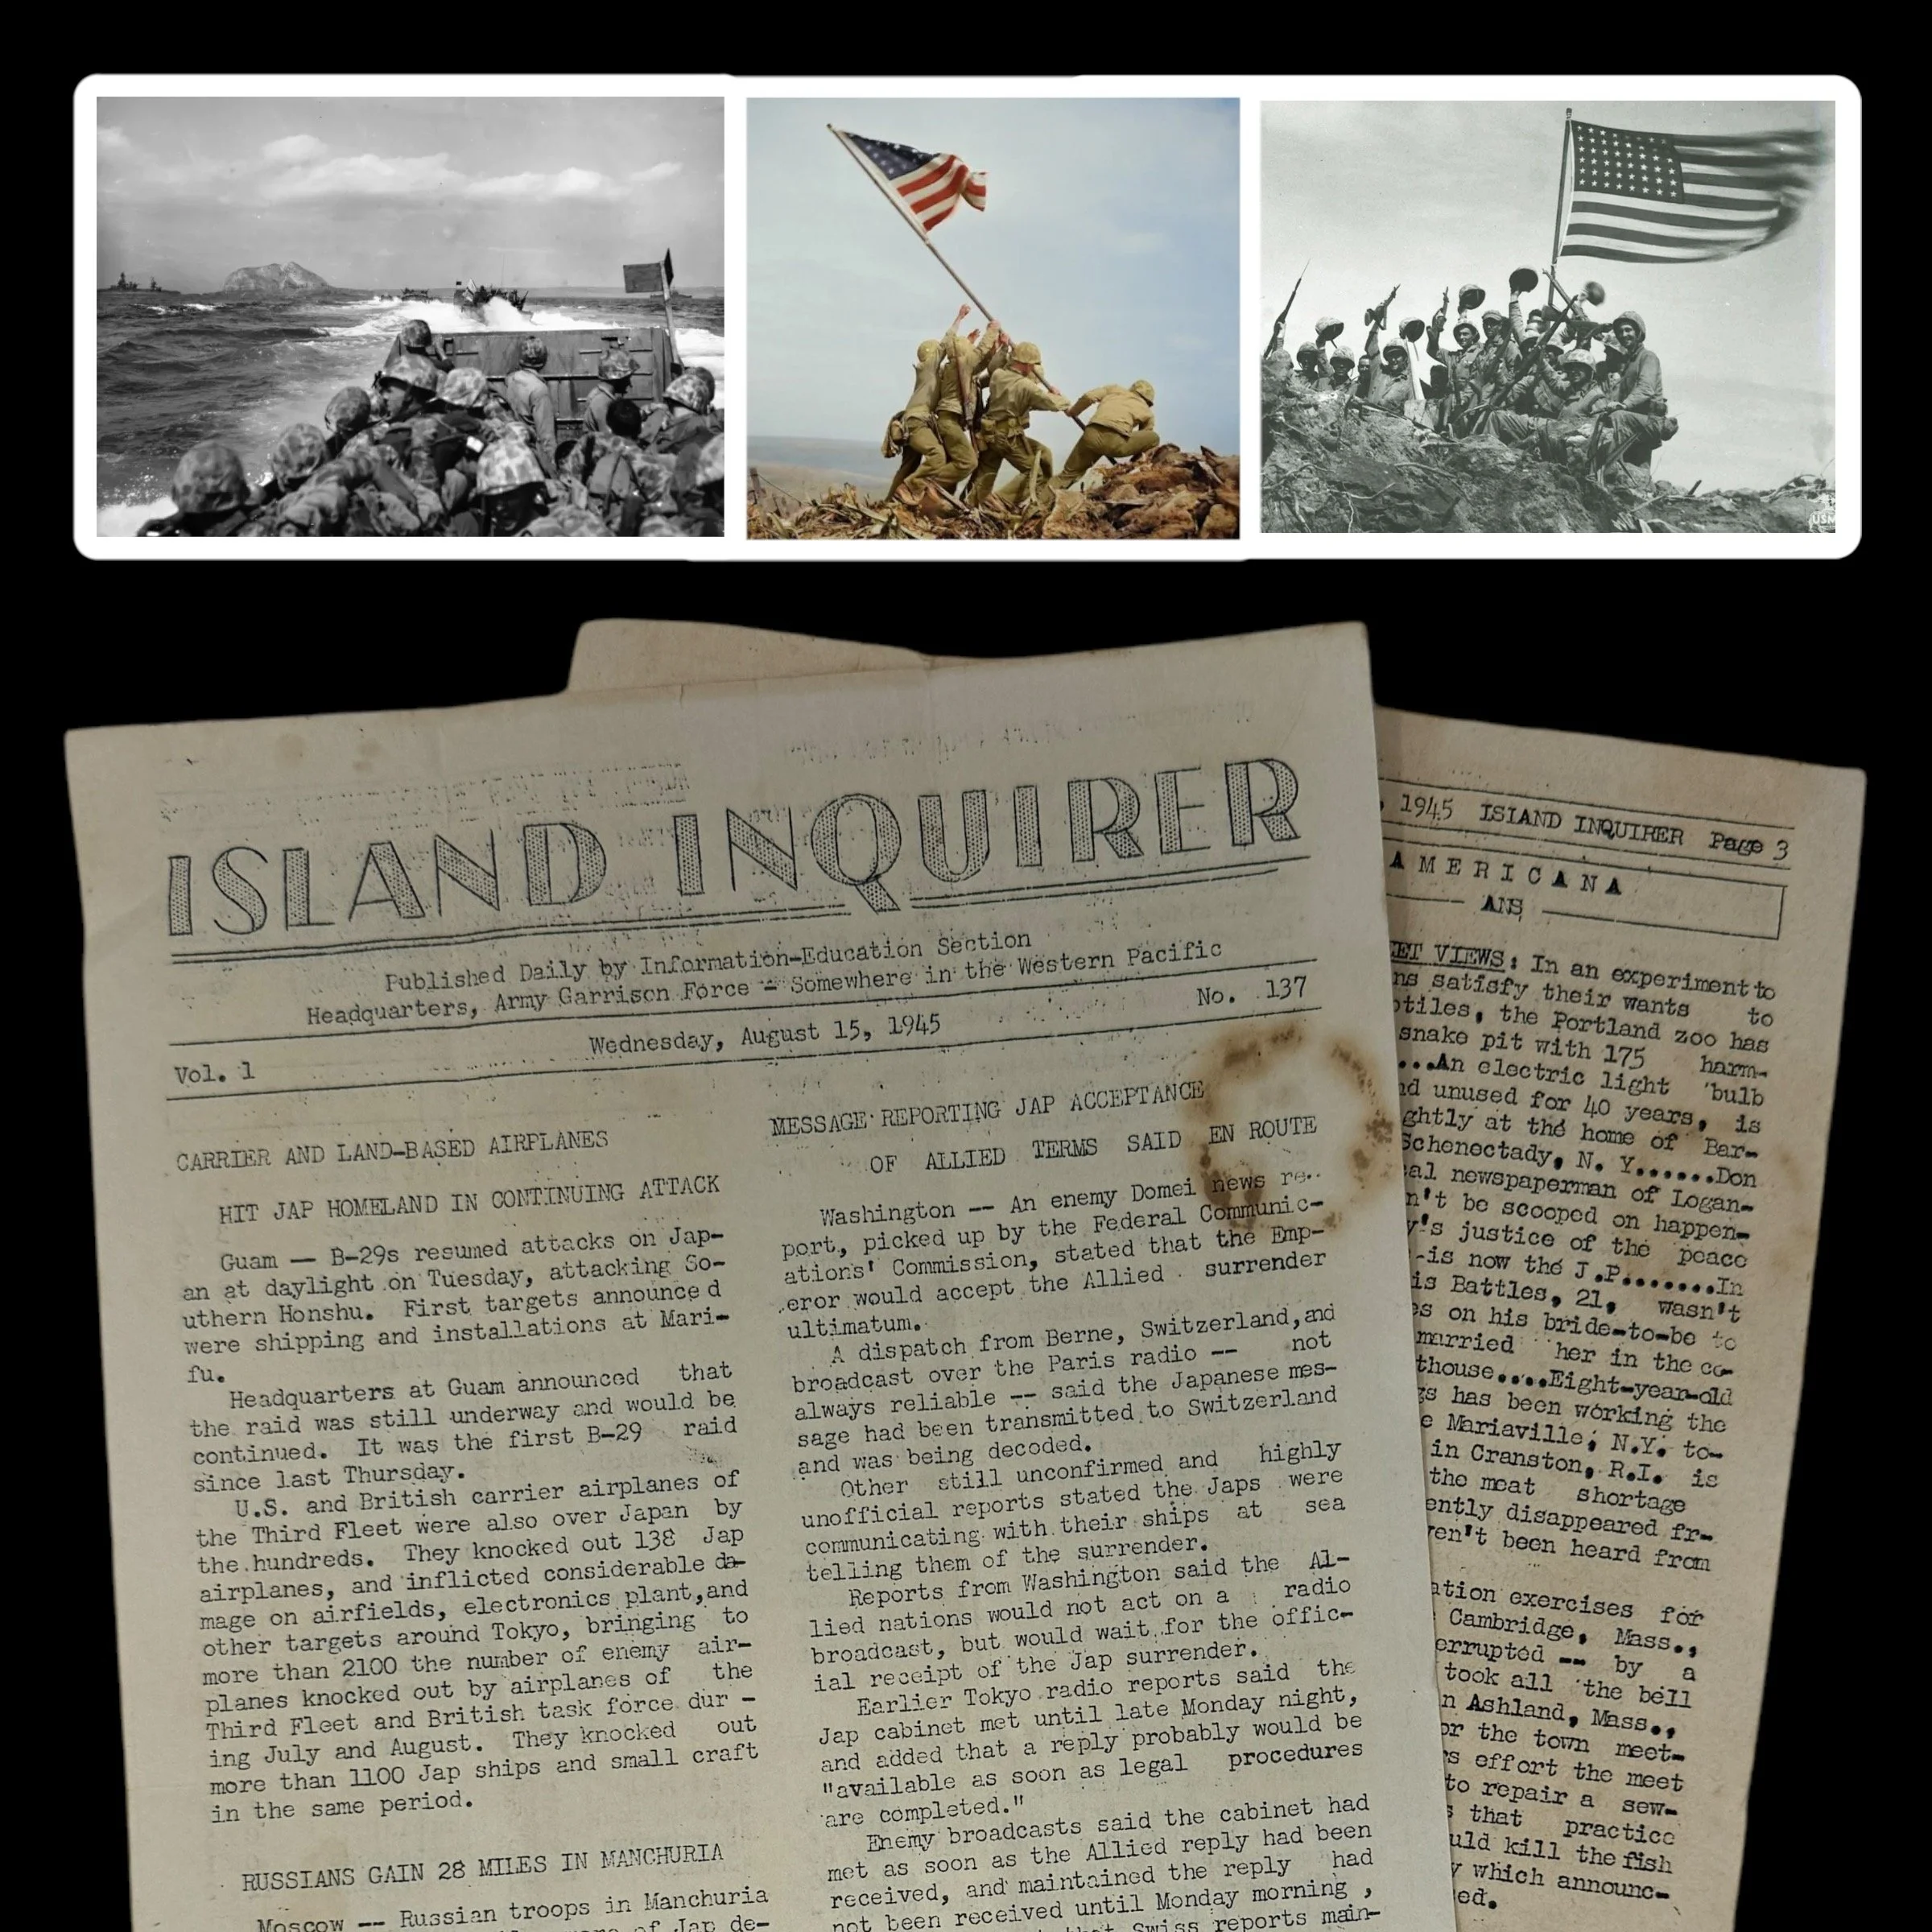
Comes with a hand-signed C.O.A.
*Proudly deemed "IWO JIMA'S FIRST & ONLY DAILY NEWSPAPER" the 1945 the Island Inquirer (later changed to "Iwo Jima Inquirer" in late August 1945) is considered a highly sought-after relic of both journalistic and military history. Due to the harsh conditions under which this battlefield newspaper was printed on Iwo Jima, few copies survived the war. Those that remain are held by high-end museums archives.
Size: 8 x 13 inches
This exceptionally rare, museum-grade WWII artifact is an original 1945 "Island Inquirer" battlefield-printed newspaper. What makes this Iwo Jima battlefield-printed press newspaper even more rare is that this is one of the infamous Iwo Jima Inquirer was first called the Island Inquirer prior to getting censorship approval by the U.S. military. The Island Inquirer was the first name of the Iwo Jima newspaper as it was still active wartime and needed to remain censored as to its exact location.
Dated August 15th, 1945, this unique publication is a remarkable testament to the grit and resilience of the Marines and military journalists stationed on Iwo Jima. It stands as a symbol of the determination to maintain communication and morale amidst one of the most brutal and pivotal battles of the Pacific Theater.
Publishing a newspaper in a battle zone was a near-impossible task. Equipment was scarce, paper supplies were limited, and the constant threat of enemy fire meant that the editorial team often had to move their operations to avoid danger. Yet, despite these overwhelming challenges, the dedicated Marines, military journalists, and press corps on the island succeeded in producing the Iwo Jima Inquirer. This battlefield-printed newspaper was created, written, and distributed entirely on the island, making it an unprecedented and singular piece of military press history.
While modest in appearance, the importance of the Iwo Jima Inquirer far exceeded its physical form. Produced on rudimentary printing presses, often under perilous conditions, the newspaper delivered vital news and updates to the soldiers stationed on the island. More than just a source of information, it became a lifeline, connecting the troops to the broader war effort and, crucially, to the world they had left behind. In an environment of chaos and uncertainty, the paper provided a sense of normalcy, giving the soldiers a brief respite from the horrors of battle.
The Battle of Iwo Jima, which lasted from February 19 to March 26, 1945, was one of the fiercest confrontations between U.S. forces and Imperial Japan. The U.S. Marines faced brutal resistance as they fought to secure the small, strategic island, which was critical for providing a base for air support and future operations against Japan. The intense combat resulted in approximately 26,000 American casualties, including nearly 7,000 deaths. After the battle, Iwo Jima became a key military outpost, with its airfields used by Allied forces for bombing raids on the Japanese mainland until the end of the war.
Despite the cessation of active combat on the island, life on Iwo Jima after the battle was far from peaceful. The island remained a critical airbase, where U.S. forces continued operations until Japan’s surrender in September 1945. Soldiers stationed on Iwo Jima faced isolation, the ongoing threat of booby traps left by Japanese forces, and the psychological toll of having fought in one of the war’s bloodiest battles. Amid this atmosphere of uncertainty, the Iwo Jima Inquirer served as a vital outlet, providing news, updates, and, most importantly, a connection to the outside world.
The Iwo Jima Inquirer, though small and short-lived, was a symbol of resilience and hope for the soldiers who read it. The fact that it was printed at all, amidst the rubble of war, is a testament to the unyielding human spirit. The paper embodied the belief that even in the direst of circumstances, information and communication were essential for survival. It also underscored the military’s commitment to maintaining morale, even on the most remote and war-torn battlefields.
Today, the Iwo Jima Inquirer is considered a highly sought-after relic of both journalistic and military history. Due to the harsh conditions under which it was printed, few copies survived the war. Those that remain are held by museums, collectors, and archives as precious artifacts, offering a rare glimpse into the lives of the soldiers who fought on Iwo Jima. These newspapers are not only valuable for their historical context but also for the poignant story they tell—of soldiers seeking connection, comfort, and hope during one of the most harrowing experiences of World War II.
This original 1945 Iwo Jima Inquirer is a piece of history that continues to resonate, symbolizing the indomitable will of those who fought and served during the war. It stands as a rare, tangible link to the battlefield, a testament to the importance of communication, and a tribute to the extraordinary efforts of those who kept the spirit of humanity alive in the most difficult of times.
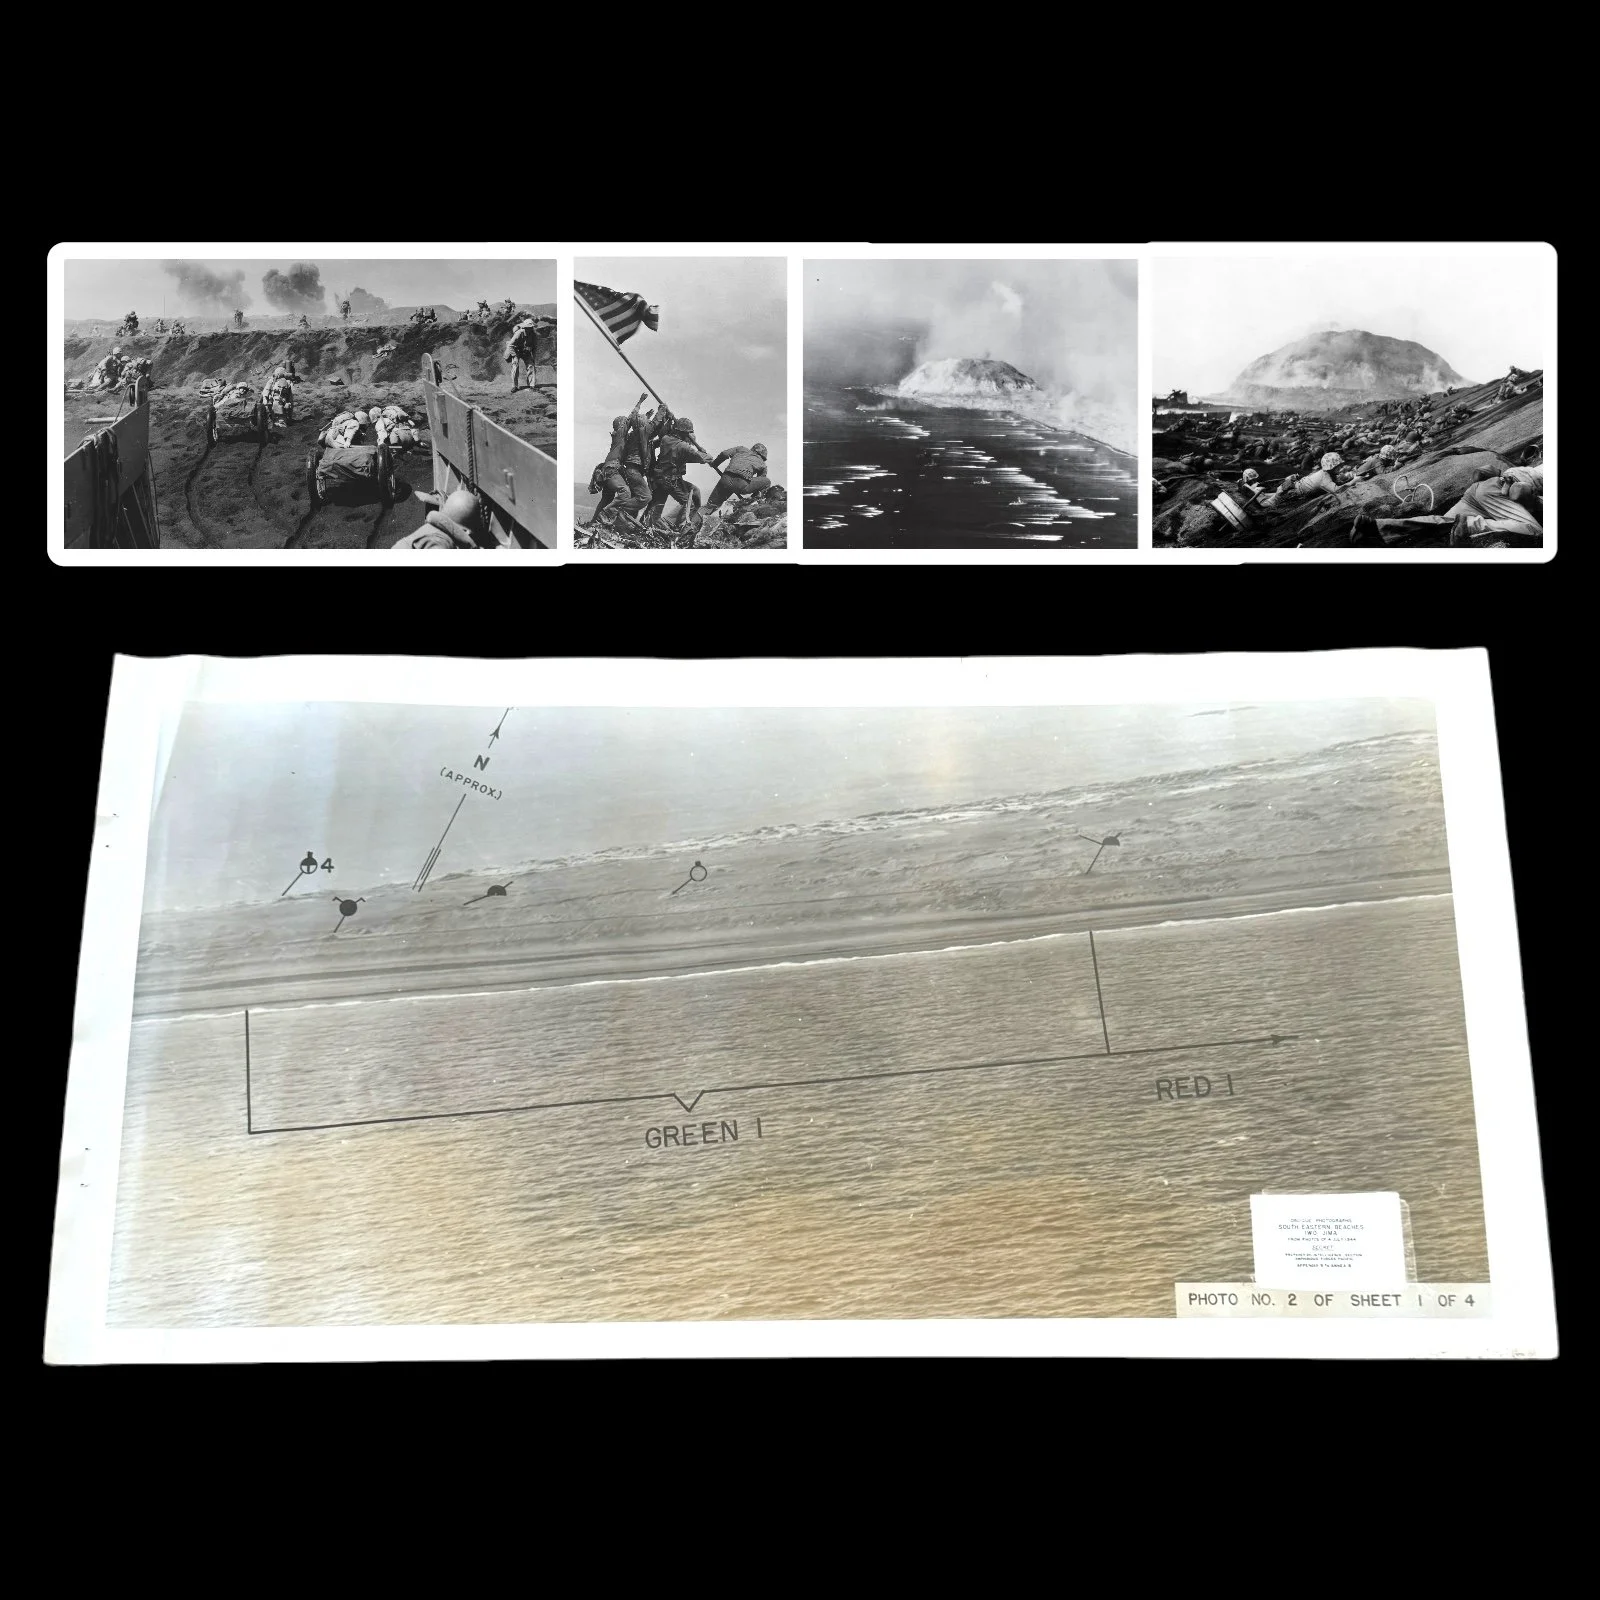
Comes with a hand-signed C.O.A.
*Rarity: Due to the SECRET marking on this D-Day Iwo Jima invasion chart only a very limited number were produced before the invasion with only a small handful still believed to exist today with most being in high-end private museum collections. This Iwo Jima invasion beach chart is as rare and sought after as the TOP SECRET D-Day invasion of Normandy BIGOT maps and the SECRET Iwo Jima Beach Diagram maps. Two of the Iwo Jima diagrams were featured in an episode of the TV show Pawn Stars. Rick Harrison, the host of the show, wrote that he had sold one of the two views for $10,000.
Size: 10 x 19.75 inches
Green Beach (Green 1)
Location: The Green Beach zone was located on the extreme left (southwestern end) of the landing area, right at the base of Mount Suribachi.
Assigned Units: The 28th Marine Regiment, 5th Marine Division, was assigned to land on Green Beach.
Objective: The primary objective for the Marines landing on Green Beach was to isolate Mount Suribachi from the rest of the island by cutting off the narrow neck of land connecting it to the central part of Iwo Jima. This was crucial to preventing Japanese forces on the mountain from reinforcing other parts of the island.
Challenges: Green Beach was heavily defended by Japanese artillery and machine-gun positions on Mount Suribachi. The black volcanic sand made movement difficult, and the steep incline toward the mountain posed additional challenges.
Red Beach (Red 1 and Red 2)
Location: Red Beach was divided into two zones, Red 1 and Red 2, and covered the central portion of the landing area, just north of Green Beach. These zones were located in front of the heavily fortified area known as the “Meat Grinder.”
Assigned Units: The 27th Marine Regiment, 5th Marine Division, was assigned to land on Red 1 and Red 2.
Objective: The objective for the units landing on Red Beach was to advance inland to capture the Japanese airfield number 1 and push toward the island's central plateau. Securing this area would provide a staging ground for further advances toward the northern part of the island.
Challenges: The beaches in this zone were subjected to intense Japanese artillery and machine-gun fire from multiple directions, including Mount Suribachi to the south and fortified positions in the "Meat Grinder" to the north. The Marines also faced heavy resistance from Japanese defenders entrenched in bunkers and pillboxes.
This extremely rare and museum-grade "SECRET" marked WWII Battle of Iwo Jima D-Day amphibious beach diagram vividly illustrates the intensive planning and operational accuracy that went behind Operation Detachment. Titled "Oblique Photographs - South Eastern Beaches Iwo Jima" this original SECRET Iwo Jima D-Day beach diagram was prepared by the Intelligence Section Amphibious Forces Pacific only a few months before the D-Day invasion of Iwo Jima in February 1945. These Iwo Jima invasion beach diagrams were studied and used by Captains of Landing Craft Infantry (LCI) and the initial waves of U.S. Marines set to land on their designated black sand beachheads. These invasion maps were vital to the initial landing success as they not only showed the visual views for the designated beachheads, but they also noted all of the updated Japanese defenses on Iwo Jima near that designated landed sector.
This SECRET Iwo Jima D-Day amphibious beach diagram was the original intelligence document used to make the infamous SECRET Iwo Jima invasion map. These were the Iwo Jima invasion intelligence documents used to make that exact map.
It shows little in the way of manmade impediments to amphibious invasion, belying the extensive Japanese fortifications and the dogged resistance that the Marines would face from the roughly 20,000 defenders. Eschewing Japanese doctrine, which called for him to contest every inch of the landing beaches, the commanding Lieutenant General Tadamichi Kuribayashi instead instructed his soldiers to allow the American forces to land en masse, before springing traps to kill as many newly-landed troops as possible.
American planners also misunderstood the nature of the volcanic sand and terrain of the beaches, most of which was thought to be perfectly suitable for disembarking and traversing. In these diagrams, little mention is made of the softness of this sand, and few obstacles are listed. In reality, the ash was very difficult to traverse, and equally difficult to dig into, greatly complicating the unloading of equipment and vehicles and the excavation of foxholes and trenches.
These errors were symptomatic of a general lack of accurate pre-invasion intelligence, which ultimately cost hundreds, even thousands of American lives.
The Role of Oblique Photograph Secret Invasion Beach Diagram Maps:
In preparation for the invasion of Iwo Jima, the U.S. military recognized the need for detailed and accurate intelligence about the island's topography and Japanese defenses. Traditional vertical aerial photographs, while useful, were insufficient for the task at hand due to the unique challenges posed by the island's terrain. Instead, the U.S. military employed oblique aerial photography, which involved taking photographs from an angle, rather than directly overhead. These oblique photographs provided a more realistic and three-dimensional view of the terrain, revealing details that would be obscured in vertical images.
The oblique photographs were used to create secret invasion beach diagram maps, which were crucial for planning the amphibious assault. These maps provided a detailed view of the landing beaches, the terrain beyond, and the Japanese defenses. They allowed the planners to identify potential obstacles, such as sandbars, reefs, and cliffs, as well as the locations of enemy fortifications. This intelligence was vital for selecting the best landing sites and determining the sequence and timing of the assault waves.
One of the most critical aspects of the oblique photograph maps was their ability to reveal the positions of Japanese bunkers, pillboxes, and artillery emplacements. The Japanese had gone to great lengths to conceal their defenses, camouflaging them and integrating them into the natural terrain. The oblique photographs, however, exposed subtle variations in the landscape that indicated the presence of these hidden fortifications. This information allowed the U.S. forces to target these positions with pre-invasion bombardments and to plan the movement of assault troops to avoid the most heavily defended areas.
The Invasion of Iwo Jima:
On February 19, 1945, the invasion of Iwo Jima commenced with one of the most intense pre-assault bombardments of the war. Naval and aerial bombardments targeted the island for several days, focusing on known Japanese positions identified through the oblique photograph maps. Despite this bombardment, many Japanese defenses remained intact, as they were deeply embedded in the island's volcanic rock.
The first wave of U.S. Marines landed on the southeastern beaches of Iwo Jima at 8:59 AM on February 19. The black volcanic sand made movement difficult, and the Marines quickly found themselves bogged down under heavy fire from Japanese artillery, machine guns, and mortars. The Japanese had allowed the initial waves to land almost unopposed, waiting until the beaches were crowded with men and equipment before unleashing a devastating counterattack.
The oblique photograph maps proved invaluable during this chaotic phase of the battle. Marine commanders used these maps to coordinate their movements, directing their forces toward less heavily defended areas and avoiding known kill zones. The maps also helped in directing naval gunfire and airstrikes against Japanese strongpoints that were holding up the advance.
As the battle progressed, the Marines faced the daunting task of advancing inland through a maze of bunkers, tunnels, and pillboxes. The oblique photograph maps continued to serve as a critical tool for identifying enemy positions and planning attacks. The detailed topographical information provided by the maps allowed the Marines to devise tactics for assaulting the Japanese defenses, such as using flamethrowers and demolition charges to clear bunkers and using tanks to provide direct fire support.
The fighting on Iwo Jima was brutal and relentless, with both sides suffering heavy casualties. The Japanese, true to their strategy, fought tenaciously from their fortified positions, inflicting severe losses on the Americans. The U.S. forces, however, continued to press forward, using their superior numbers, firepower, and intelligence to gradually overcome the Japanese defenses.
The iconic moment of the battle came on February 23, 1945, when a group of Marines from the 2nd Battalion, 28th Marines, raised the American flag atop Mount Suribachi. This moment, captured in the famous photograph by Joe Rosenthal, symbolized the eventual victory of the U.S. forces, but the battle was far from over. The fighting continued for several more weeks, as the Marines methodically cleared the remaining Japanese positions in the northern part of the island.
The Battle of Iwo Jima was one of the most grueling and costly battles of World War II, resulting in the deaths of nearly 7,000 U.S. Marines and the almost complete annihilation of the Japanese garrison. The victory, however, was of immense strategic importance, providing the U.S. with a critical base for air operations against Japan and marking a significant step toward the eventual defeat of the Japanese Empire.
The use of oblique photograph secret invasion beach diagram maps was a key factor in the success of the invasion. These maps provided the U.S. forces with the detailed and accurate intelligence needed to overcome the formidable defenses of Iwo Jima. They allowed the planners to devise a strategy that minimized casualties and maximized the effectiveness of the assault, ultimately contributing to the hard-won victory. The Battle of Iwo Jima, and the innovative use of intelligence and technology that characterized it, remains a powerful example of the complexity and the human cost of war.

Comes with a hand-signed C.O.A.
*THIS IS A ONCE-IN-A-LIFETIME ARTIFACT FROM THE BATTLE OF IWO JIMA. PRESERVED ARTIFACTS FROM THE BATTLE OF IWO JIMA ARE EXTREMELY RARE AND RARELY MAKE IT TO THE PUBLIC SECTOR. WE ARE IN THE PROCESS OF CURATING THESE PRESERVED RELICS FOR BOTH PUBLIC COLLECTIONS AND PRIVATE MUSEUMS.
Size: 1.75 inches
Please Note: Exploded shrapnel fragments were the leading cause of death of soldiers (75% KIA from shrapnel wounds) in both the Pacific Theater and European Theater during WWII. This single shrapnel fragment is still very sharp from when it exploded and was a deadly projectile fired at Japanese targets. Care must be taken when handling this artifact.
This original and museum-grade World War II artifact is an extremely rare exploded American shrapnel fragment preserved from the Battle of Iwo Jima (1945).
The Battle of Iwo Jima, also referred to as Operation Detachment, was an one of the bloodiest military campaigns of the Pacific Theater between U.S. Marines and the Imperial Army of Japan in early 1945. Located 750 miles off the coast of Japan, the island of Iwo Jima had three airfields that could serve as a staging facility for a potential invasion of mainland Japan. American forces invaded the island on February 19, 1945, and the ensuing Battle of Iwo Jima lasted for five weeks. In some of the bloodiest fighting of World War II, it’s believed that all but 200 or so of the 21,000 Japanese forces on the island were killed, as were almost 7,000 Marines.
The Japanese Army positions on the island were heavily fortified, with a dense network of bunkers, hidden artillery positions, and 18 km (11 mi) of tunnels. The American ground forces were supported by extensive naval artillery and had complete air supremacy provided by U.S. Navy and Marine Corps aviators throughout the battle. This Iwo Jima exploded “deadly” shrapnel was professionally preserved from the 1950’s-1970s by the U.S. airmen of the U.S. Loran Station located on Iwo Jima. This shrapnel was preserved and left uncleaned or altered in any way since it was uncovered from some of the most famous Iwo Jima battlefield areas such as Airfield No. 1, Airfield No. 2, Hill 382, Mount Suribachi, and the D-Day black sand beaches landed on by the U.S. Marines.
The Battle of Iwo Jima:
Iwo Jima is eight square miles in area and shaped like a pork chop, its widest part oriented toward the northeast. The island’s narrow southwestern tip is dominated by a small mountain, Mount Suribachi, which is a dormant volcano vent. Two completed airfields and one under construction were located respectively from the southwest toward the northeast on Iwo Jima’s centerline. Kuribayashi had divided the island into five defensive sectors with central reserve areas. U.S. planners had designated landing beaches along both southern and northern shorelines between Suribachi and the wider part of the island, but only the southern beaches (from southwest to northeast: Green, Red, Yellow, Blue) were used in the assault.
Bombing raids and occasional naval bombardment had been carried out against Japanese facilities on Iwo Jima since June 1944 and this bombing intensified in the weeks leading up to D-day. Although the air raids damaged some Japanese fortifications, Navy underwater demolition teams landed for a beach reconnaissance overestimated the bombing missions’ impact and did not note the full extent of the Japanese underground fortifications.
V Amphibious Corps requested a concentrated shore bombardment for 10 days prior to the landings. However, citing ammunition supply issues, Task Force 52, the amphibious support force providing fire support, only provided three. Adverse weather curtailed bombardment operations on 16 February, the first day. Ultimately, only 13 hours of effective bombardment were carried out over the three-day period. Fifth Fleet also began minesweeping operations around the island, specifically of the approaches to the designated landing beaches. Prior to the operation, Spruance had detached Task Force 58, his fast carriers (which also carried eight Marine Corps fighter squadrons), to strike strategic targets on Honshu in wide-ranging support of the Iwo Jima landings. The Marines, already unhappy with the shortened duration of naval gunfire support and believing continuous close air support of the ground forces should take priority, hardly welcomed this decision.
Almost precisely at H-hour, 0900 on 19 February, the first assault wave, with 5th Marine Division units on the left and 4th Marine Division units to the right, landed on the assigned beach sectors. The Japanese held their fore until 1000, after the Marines’ first wave was on the beaches and the covering naval gunfire had momentarily eased. The sudden, unexpected volume and accuracy of artillery and mortars clearly indicated that bombing and naval bombardment had not markedly affected the enemy. This had a devastating effect on the buildup on the beaches. All of the sectors suffered casualties, although Green and Red beaches, flanked by Japanese positions on Mount Suribachi, and the Blue beaches, fronted by enemy emplaced in the cliffs of a rock quarry, were perhaps hardest hit. Further handicapping the Marines was the instable beach, composed of steep terraces of constantly shifting black sand, volcanic cinders, and ash. This made digging in very difficult and bogged down wheeled and even tracked vehicles, causing pile-ups of men, amphibious tractors, tanks, and supplies at the waterline. These were subjected to constant Japanese artillery, mortar, and machine-gun fire. The steep beach gradient also caused a violent surf zone with which landing craft and tractors had to contend.
These difficulties notwithstanding, the landings were successfully executed and, under cover of a rolling naval gunfire barrage and close air support mainly provided by Fifth Fleet’s escort carriers, the Marines began moving off the beaches. The 5th Marine Division pushed to the northwestern shore in order to isolate Mount Suribachi, and accomplished this task within ninety minutes of the initial landings. The 4th Marine Division’s progress was much slower, however, as it proceeded toward the airfields. One of these lay directly in front of the Marines, but the second, more centrally located field, required a wheeling movement toward the northeast, which brought most of this division into a bowl-like area completely exposed to heavy Japanese fire.
By the end of D-day, nearly 30,000 personnel had been landed on Iwo Jima despite rapidly deteriorating weather conditions, the difficult terrain, and stubborn, well-coordinated Japanese resistance. Although the Marines had managed to cross the island at its narrow width and had cut off Mount Suribachi, the day’s planned phase line had not been reached while casualties mounted at an alarming rate. The beachhead remained concentrated in a triangular area roughly 4,000 yards long, and from 700 to 1,100 yards wide from north to south.
D+1 saw the landing of 3rd Marine Division, the corps reserve, and later taking up battle space between the two previously committed Marine divisions. Meanwhile, the 5th Division’s 28th Marine Regiment began its assault of Mount Suribachi, which was garrisoned by 2,000 Japanese troops and extensively honeycombed with defensive positions and tunnels, one of them seven levels deep. Bolstered by reinforcements from 3rd Marine Division, other 5th Marine Division units and the 4th Marine Division slowly continued to force their way northwest and northeast. Navy destroyers, many assigned to specific Marine units, provided direct gunfire support. Although frequently the targets of Japanese guns, Marine tanks, amphtracs and artillery did the same, providing mobile firepower to the engaged infantry units. Fifth Fleet aircraft continued to fly close-support missions, often dropping napalm on the deeply dug-in enemy.
Ultimately, however, small teams of Marines—or even individuals—armed with flame throwers, satchel charges and hand grenades (“blow torches and corkscrews”) were those who were instrumental in destroying Japanese strongpoints. The cost was commensurate: By the end of D+1, many Marine rifle companies had lost up to 50 percent of their pre-assault strength in killed and wounded. Operational momentum remained extremely slow and progress was measured in yards of ground taken.
From 21 February (D+2) into March, despite Japanese tenacity and ingenuity, U.S. forces were gradually able to make significant advances. During the night of 21–22 February, ships on the outer periphery of the amphibious landing area were subjected to the only kamikaze attack experienced during the operation. The escort carrier Bismarck Sea (CVE-95) was lost and fleet carrier Saratoga (CV-3) was so badly damaged that she had to return Stateside for repair and never returned to combat. Ashore, while the Marines reached the summit of Mount Suribachi on the morning of 23 February soon after the initial landing, the rest of the battle for the island would take the month that followed in heavy fighting. Despite the iconic and certainly morale-boosting flag raising, hidden pockets of enemy continued their resistance on the mountain—a blow to Kuribayashi’s defences. Airfield No. 1, the southernmost air facility, was captured after hard fighting by D+1 while the Marines continued to move northward, aided by an armored task force of several Marine tank companies.
As they advanced, they encountered well-coordinated and -led counterattacks by the Japanese—a surprise to those U.S. service members who had experienced chaotic enemy banzai charges in the past. Tanks were put out of action by mines, suicide squads or well-camouflaged antitank guns, and the Marine rifle companies were subjected to constant artillery, mortar, and small-arms fire. To the frustration of the ground forces, many Japanese positions proved impervious to close air support bombing and strafing and had to be taken by direct ground assault or by sealing off entrances. After nine days, the drive north had progressed 4,000 yards at a cost of 7,000 U.S. casualties but by 4 March, Airfield No. 2 had been secured after hard fighting and the Marines had degraded General Kuribyashi’s defenses to the point at which many Japanese heavy weapons were out of action. Also on 4 March, the 9th Bomb Group B-29 “Dinah” made an emergency landing on Airfield No. 1. It refueled and departed, demonstrating the potential use of the island by XXI Bomber Command. On 14 March, the island’s occupation was officially announced, although fighting continued for two further weeks. Finally, on 26 March Iwo Jima was declared “secure.”
Aftermath
Of the roughly 21,000 Japanese defenders, 216 survived the battle to be taken prisoner, and an estimated 3,000 went into hiding during the U.S. occupation of the island. By August 1945, Most of these had either been killed, captured, or had surrendered, but one group did not lay down its arms until 1949. Having done his utmost to forestall the inevitable, General Kuribayashi committed suicide in his command post on 23 March 1945.
The perceived strategic position and utility of the island were not immediately apparent to its occupiers. The Japanese radar station, the American operators soon learned, had actually been incapable of providing necessary early warning data to Japanese Home Island air defenses. For their part, prior to Operation Detachment, the Japanese had effectively written off the island’s airfield for any significant operational employment. As a way station for U.S. Army Air Forces aircraft, Iwo Jima again appeared to offer little advantage. Utilizing Iwo Jima’s airfields for U.S. escort fighters in the end proved to be logistically difficult and very hard on the P-51 pilots, who faced a 1,500–nautical mile round trip. The fields’ capacity, moreover, was limited—about the same as that provided by one Navy fleet carrier. Far fewer B-29s than anticipated actually made use of the island as an emergency landing or refueling site. The airfields did host an active search-and-rescue operation, but the number of downed U.S. aviators picked up by aircraft from Iwo Jima (57) seems insignificant in comparison to the number of lives lost in the island’s capture.
Operation Detachment cost U.S. forces 6,871 killed and 19,217 wounded. Medals of Honor were awarded to 22 Marines and five Sailors, 14 of them posthumously (13 Marines, one Sailor). As Admiral Chester W. Nimitz, commander of Pacific Fleet and Pacific Ocean Areas, noted after the battle, “uncommon valor was a common virtue.”

Comes with a hand-signed C.O.A.
*THIS IS A ONCE-IN-A-LIFETIME ARTIFACT FROM THE BATTLE OF IWO JIMA. PRESERVED ARTIFACTS FROM THE BATTLE OF IWO JIMA ARE EXTREMELY RARE AND RARELY MAKE IT TO THE PUBLIC SECTOR. WE ARE IN THE PROCESS OF CURATING THESE PRESERVED RELICS FOR BOTH PUBLIC COLLECTIONS AND PRIVATE MUSEUMS.
Size: 1.5 inches
Please Note: Exploded shrapnel fragments were the leading cause of death of soldiers (75% KIA from shrapnel wounds) in both the Pacific Theater and European Theater during WWII. This single shrapnel fragment is still very sharp from when it exploded and was a deadly projectile fired at Japanese targets. Care must be taken when handling this artifact.
This original and museum-grade World War II artifact is an extremely rare exploded American shrapnel fragment preserved from the Battle of Iwo Jima (1945).
The Battle of Iwo Jima, also referred to as Operation Detachment, was an one of the bloodiest military campaigns of the Pacific Theater between U.S. Marines and the Imperial Army of Japan in early 1945. Located 750 miles off the coast of Japan, the island of Iwo Jima had three airfields that could serve as a staging facility for a potential invasion of mainland Japan. American forces invaded the island on February 19, 1945, and the ensuing Battle of Iwo Jima lasted for five weeks. In some of the bloodiest fighting of World War II, it’s believed that all but 200 or so of the 21,000 Japanese forces on the island were killed, as were almost 7,000 Marines.
The Japanese Army positions on the island were heavily fortified, with a dense network of bunkers, hidden artillery positions, and 18 km (11 mi) of tunnels. The American ground forces were supported by extensive naval artillery and had complete air supremacy provided by U.S. Navy and Marine Corps aviators throughout the battle. This Iwo Jima exploded “deadly” shrapnel was professionally preserved from the 1950’s-1970s by the U.S. airmen of the U.S. Loran Station located on Iwo Jima. This shrapnel was preserved and left uncleaned or altered in any way since it was uncovered from some of the most famous Iwo Jima battlefield areas such as Airfield No. 1, Airfield No. 2, Hill 382, Mount Suribachi, and the D-Day black sand beaches landed on by the U.S. Marines.
The Battle of Iwo Jima:
Iwo Jima is eight square miles in area and shaped like a pork chop, its widest part oriented toward the northeast. The island’s narrow southwestern tip is dominated by a small mountain, Mount Suribachi, which is a dormant volcano vent. Two completed airfields and one under construction were located respectively from the southwest toward the northeast on Iwo Jima’s centerline. Kuribayashi had divided the island into five defensive sectors with central reserve areas. U.S. planners had designated landing beaches along both southern and northern shorelines between Suribachi and the wider part of the island, but only the southern beaches (from southwest to northeast: Green, Red, Yellow, Blue) were used in the assault.
Bombing raids and occasional naval bombardment had been carried out against Japanese facilities on Iwo Jima since June 1944 and this bombing intensified in the weeks leading up to D-day. Although the air raids damaged some Japanese fortifications, Navy underwater demolition teams landed for a beach reconnaissance overestimated the bombing missions’ impact and did not note the full extent of the Japanese underground fortifications.
V Amphibious Corps requested a concentrated shore bombardment for 10 days prior to the landings. However, citing ammunition supply issues, Task Force 52, the amphibious support force providing fire support, only provided three. Adverse weather curtailed bombardment operations on 16 February, the first day. Ultimately, only 13 hours of effective bombardment were carried out over the three-day period. Fifth Fleet also began minesweeping operations around the island, specifically of the approaches to the designated landing beaches. Prior to the operation, Spruance had detached Task Force 58, his fast carriers (which also carried eight Marine Corps fighter squadrons), to strike strategic targets on Honshu in wide-ranging support of the Iwo Jima landings. The Marines, already unhappy with the shortened duration of naval gunfire support and believing continuous close air support of the ground forces should take priority, hardly welcomed this decision.
Almost precisely at H-hour, 0900 on 19 February, the first assault wave, with 5th Marine Division units on the left and 4th Marine Division units to the right, landed on the assigned beach sectors. The Japanese held their fore until 1000, after the Marines’ first wave was on the beaches and the covering naval gunfire had momentarily eased. The sudden, unexpected volume and accuracy of artillery and mortars clearly indicated that bombing and naval bombardment had not markedly affected the enemy. This had a devastating effect on the buildup on the beaches. All of the sectors suffered casualties, although Green and Red beaches, flanked by Japanese positions on Mount Suribachi, and the Blue beaches, fronted by enemy emplaced in the cliffs of a rock quarry, were perhaps hardest hit. Further handicapping the Marines was the instable beach, composed of steep terraces of constantly shifting black sand, volcanic cinders, and ash. This made digging in very difficult and bogged down wheeled and even tracked vehicles, causing pile-ups of men, amphibious tractors, tanks, and supplies at the waterline. These were subjected to constant Japanese artillery, mortar, and machine-gun fire. The steep beach gradient also caused a violent surf zone with which landing craft and tractors had to contend.
These difficulties notwithstanding, the landings were successfully executed and, under cover of a rolling naval gunfire barrage and close air support mainly provided by Fifth Fleet’s escort carriers, the Marines began moving off the beaches. The 5th Marine Division pushed to the northwestern shore in order to isolate Mount Suribachi, and accomplished this task within ninety minutes of the initial landings. The 4th Marine Division’s progress was much slower, however, as it proceeded toward the airfields. One of these lay directly in front of the Marines, but the second, more centrally located field, required a wheeling movement toward the northeast, which brought most of this division into a bowl-like area completely exposed to heavy Japanese fire.
By the end of D-day, nearly 30,000 personnel had been landed on Iwo Jima despite rapidly deteriorating weather conditions, the difficult terrain, and stubborn, well-coordinated Japanese resistance. Although the Marines had managed to cross the island at its narrow width and had cut off Mount Suribachi, the day’s planned phase line had not been reached while casualties mounted at an alarming rate. The beachhead remained concentrated in a triangular area roughly 4,000 yards long, and from 700 to 1,100 yards wide from north to south.
D+1 saw the landing of 3rd Marine Division, the corps reserve, and later taking up battle space between the two previously committed Marine divisions. Meanwhile, the 5th Division’s 28th Marine Regiment began its assault of Mount Suribachi, which was garrisoned by 2,000 Japanese troops and extensively honeycombed with defensive positions and tunnels, one of them seven levels deep. Bolstered by reinforcements from 3rd Marine Division, other 5th Marine Division units and the 4th Marine Division slowly continued to force their way northwest and northeast. Navy destroyers, many assigned to specific Marine units, provided direct gunfire support. Although frequently the targets of Japanese guns, Marine tanks, amphtracs and artillery did the same, providing mobile firepower to the engaged infantry units. Fifth Fleet aircraft continued to fly close-support missions, often dropping napalm on the deeply dug-in enemy.
Ultimately, however, small teams of Marines—or even individuals—armed with flame throwers, satchel charges and hand grenades (“blow torches and corkscrews”) were those who were instrumental in destroying Japanese strongpoints. The cost was commensurate: By the end of D+1, many Marine rifle companies had lost up to 50 percent of their pre-assault strength in killed and wounded. Operational momentum remained extremely slow and progress was measured in yards of ground taken.
From 21 February (D+2) into March, despite Japanese tenacity and ingenuity, U.S. forces were gradually able to make significant advances. During the night of 21–22 February, ships on the outer periphery of the amphibious landing area were subjected to the only kamikaze attack experienced during the operation. The escort carrier Bismarck Sea (CVE-95) was lost and fleet carrier Saratoga (CV-3) was so badly damaged that she had to return Stateside for repair and never returned to combat. Ashore, while the Marines reached the summit of Mount Suribachi on the morning of 23 February soon after the initial landing, the rest of the battle for the island would take the month that followed in heavy fighting. Despite the iconic and certainly morale-boosting flag raising, hidden pockets of enemy continued their resistance on the mountain—a blow to Kuribayashi’s defences. Airfield No. 1, the southernmost air facility, was captured after hard fighting by D+1 while the Marines continued to move northward, aided by an armored task force of several Marine tank companies.
As they advanced, they encountered well-coordinated and -led counterattacks by the Japanese—a surprise to those U.S. service members who had experienced chaotic enemy banzai charges in the past. Tanks were put out of action by mines, suicide squads or well-camouflaged antitank guns, and the Marine rifle companies were subjected to constant artillery, mortar, and small-arms fire. To the frustration of the ground forces, many Japanese positions proved impervious to close air support bombing and strafing and had to be taken by direct ground assault or by sealing off entrances. After nine days, the drive north had progressed 4,000 yards at a cost of 7,000 U.S. casualties but by 4 March, Airfield No. 2 had been secured after hard fighting and the Marines had degraded General Kuribyashi’s defenses to the point at which many Japanese heavy weapons were out of action. Also on 4 March, the 9th Bomb Group B-29 “Dinah” made an emergency landing on Airfield No. 1. It refueled and departed, demonstrating the potential use of the island by XXI Bomber Command. On 14 March, the island’s occupation was officially announced, although fighting continued for two further weeks. Finally, on 26 March Iwo Jima was declared “secure.”
Aftermath
Of the roughly 21,000 Japanese defenders, 216 survived the battle to be taken prisoner, and an estimated 3,000 went into hiding during the U.S. occupation of the island. By August 1945, Most of these had either been killed, captured, or had surrendered, but one group did not lay down its arms until 1949. Having done his utmost to forestall the inevitable, General Kuribayashi committed suicide in his command post on 23 March 1945.
The perceived strategic position and utility of the island were not immediately apparent to its occupiers. The Japanese radar station, the American operators soon learned, had actually been incapable of providing necessary early warning data to Japanese Home Island air defenses. For their part, prior to Operation Detachment, the Japanese had effectively written off the island’s airfield for any significant operational employment. As a way station for U.S. Army Air Forces aircraft, Iwo Jima again appeared to offer little advantage. Utilizing Iwo Jima’s airfields for U.S. escort fighters in the end proved to be logistically difficult and very hard on the P-51 pilots, who faced a 1,500–nautical mile round trip. The fields’ capacity, moreover, was limited—about the same as that provided by one Navy fleet carrier. Far fewer B-29s than anticipated actually made use of the island as an emergency landing or refueling site. The airfields did host an active search-and-rescue operation, but the number of downed U.S. aviators picked up by aircraft from Iwo Jima (57) seems insignificant in comparison to the number of lives lost in the island’s capture.
Operation Detachment cost U.S. forces 6,871 killed and 19,217 wounded. Medals of Honor were awarded to 22 Marines and five Sailors, 14 of them posthumously (13 Marines, one Sailor). As Admiral Chester W. Nimitz, commander of Pacific Fleet and Pacific Ocean Areas, noted after the battle, “uncommon valor was a common virtue.”

Comes with a hand-signed C.O.A.
*THIS IS A ONCE-IN-A-LIFETIME ARTIFACT FROM THE BATTLE OF IWO JIMA. PRESERVED ARTIFACTS FROM THE BATTLE OF IWO JIMA ARE EXTREMELY RARE AND RARELY MAKE IT TO THE PUBLIC SECTOR. WE ARE IN THE PROCESS OF CURATING THESE PRESERVED RELICS FOR BOTH PUBLIC COLLECTIONS AND PRIVATE MUSEUMS.
Size: 1.5 inches
Please Note: Exploded shrapnel fragments were the leading cause of death of soldiers (75% KIA from shrapnel wounds) in both the Pacific Theater and European Theater during WWII. This single shrapnel fragment is still very sharp from when it exploded and was a deadly projectile fired at Japanese targets. Care must be taken when handling this artifact.
This original and museum-grade World War II artifact is an extremely rare exploded American shrapnel fragment preserved from the Battle of Iwo Jima (1945).
The Battle of Iwo Jima, also referred to as Operation Detachment, was an one of the bloodiest military campaigns of the Pacific Theater between U.S. Marines and the Imperial Army of Japan in early 1945. Located 750 miles off the coast of Japan, the island of Iwo Jima had three airfields that could serve as a staging facility for a potential invasion of mainland Japan. American forces invaded the island on February 19, 1945, and the ensuing Battle of Iwo Jima lasted for five weeks. In some of the bloodiest fighting of World War II, it’s believed that all but 200 or so of the 21,000 Japanese forces on the island were killed, as were almost 7,000 Marines.
The Japanese Army positions on the island were heavily fortified, with a dense network of bunkers, hidden artillery positions, and 18 km (11 mi) of tunnels. The American ground forces were supported by extensive naval artillery and had complete air supremacy provided by U.S. Navy and Marine Corps aviators throughout the battle. This Iwo Jima exploded “deadly” shrapnel was professionally preserved from the 1950’s-1970s by the U.S. airmen of the U.S. Loran Station located on Iwo Jima. This shrapnel was preserved and left uncleaned or altered in any way since it was uncovered from some of the most famous Iwo Jima battlefield areas such as Airfield No. 1, Airfield No. 2, Hill 382, Mount Suribachi, and the D-Day black sand beaches landed on by the U.S. Marines.
The Battle of Iwo Jima:
Iwo Jima is eight square miles in area and shaped like a pork chop, its widest part oriented toward the northeast. The island’s narrow southwestern tip is dominated by a small mountain, Mount Suribachi, which is a dormant volcano vent. Two completed airfields and one under construction were located respectively from the southwest toward the northeast on Iwo Jima’s centerline. Kuribayashi had divided the island into five defensive sectors with central reserve areas. U.S. planners had designated landing beaches along both southern and northern shorelines between Suribachi and the wider part of the island, but only the southern beaches (from southwest to northeast: Green, Red, Yellow, Blue) were used in the assault.
Bombing raids and occasional naval bombardment had been carried out against Japanese facilities on Iwo Jima since June 1944 and this bombing intensified in the weeks leading up to D-day. Although the air raids damaged some Japanese fortifications, Navy underwater demolition teams landed for a beach reconnaissance overestimated the bombing missions’ impact and did not note the full extent of the Japanese underground fortifications.
V Amphibious Corps requested a concentrated shore bombardment for 10 days prior to the landings. However, citing ammunition supply issues, Task Force 52, the amphibious support force providing fire support, only provided three. Adverse weather curtailed bombardment operations on 16 February, the first day. Ultimately, only 13 hours of effective bombardment were carried out over the three-day period. Fifth Fleet also began minesweeping operations around the island, specifically of the approaches to the designated landing beaches. Prior to the operation, Spruance had detached Task Force 58, his fast carriers (which also carried eight Marine Corps fighter squadrons), to strike strategic targets on Honshu in wide-ranging support of the Iwo Jima landings. The Marines, already unhappy with the shortened duration of naval gunfire support and believing continuous close air support of the ground forces should take priority, hardly welcomed this decision.
Almost precisely at H-hour, 0900 on 19 February, the first assault wave, with 5th Marine Division units on the left and 4th Marine Division units to the right, landed on the assigned beach sectors. The Japanese held their fore until 1000, after the Marines’ first wave was on the beaches and the covering naval gunfire had momentarily eased. The sudden, unexpected volume and accuracy of artillery and mortars clearly indicated that bombing and naval bombardment had not markedly affected the enemy. This had a devastating effect on the buildup on the beaches. All of the sectors suffered casualties, although Green and Red beaches, flanked by Japanese positions on Mount Suribachi, and the Blue beaches, fronted by enemy emplaced in the cliffs of a rock quarry, were perhaps hardest hit. Further handicapping the Marines was the instable beach, composed of steep terraces of constantly shifting black sand, volcanic cinders, and ash. This made digging in very difficult and bogged down wheeled and even tracked vehicles, causing pile-ups of men, amphibious tractors, tanks, and supplies at the waterline. These were subjected to constant Japanese artillery, mortar, and machine-gun fire. The steep beach gradient also caused a violent surf zone with which landing craft and tractors had to contend.
These difficulties notwithstanding, the landings were successfully executed and, under cover of a rolling naval gunfire barrage and close air support mainly provided by Fifth Fleet’s escort carriers, the Marines began moving off the beaches. The 5th Marine Division pushed to the northwestern shore in order to isolate Mount Suribachi, and accomplished this task within ninety minutes of the initial landings. The 4th Marine Division’s progress was much slower, however, as it proceeded toward the airfields. One of these lay directly in front of the Marines, but the second, more centrally located field, required a wheeling movement toward the northeast, which brought most of this division into a bowl-like area completely exposed to heavy Japanese fire.
By the end of D-day, nearly 30,000 personnel had been landed on Iwo Jima despite rapidly deteriorating weather conditions, the difficult terrain, and stubborn, well-coordinated Japanese resistance. Although the Marines had managed to cross the island at its narrow width and had cut off Mount Suribachi, the day’s planned phase line had not been reached while casualties mounted at an alarming rate. The beachhead remained concentrated in a triangular area roughly 4,000 yards long, and from 700 to 1,100 yards wide from north to south.
D+1 saw the landing of 3rd Marine Division, the corps reserve, and later taking up battle space between the two previously committed Marine divisions. Meanwhile, the 5th Division’s 28th Marine Regiment began its assault of Mount Suribachi, which was garrisoned by 2,000 Japanese troops and extensively honeycombed with defensive positions and tunnels, one of them seven levels deep. Bolstered by reinforcements from 3rd Marine Division, other 5th Marine Division units and the 4th Marine Division slowly continued to force their way northwest and northeast. Navy destroyers, many assigned to specific Marine units, provided direct gunfire support. Although frequently the targets of Japanese guns, Marine tanks, amphtracs and artillery did the same, providing mobile firepower to the engaged infantry units. Fifth Fleet aircraft continued to fly close-support missions, often dropping napalm on the deeply dug-in enemy.
Ultimately, however, small teams of Marines—or even individuals—armed with flame throwers, satchel charges and hand grenades (“blow torches and corkscrews”) were those who were instrumental in destroying Japanese strongpoints. The cost was commensurate: By the end of D+1, many Marine rifle companies had lost up to 50 percent of their pre-assault strength in killed and wounded. Operational momentum remained extremely slow and progress was measured in yards of ground taken.
From 21 February (D+2) into March, despite Japanese tenacity and ingenuity, U.S. forces were gradually able to make significant advances. During the night of 21–22 February, ships on the outer periphery of the amphibious landing area were subjected to the only kamikaze attack experienced during the operation. The escort carrier Bismarck Sea (CVE-95) was lost and fleet carrier Saratoga (CV-3) was so badly damaged that she had to return Stateside for repair and never returned to combat. Ashore, while the Marines reached the summit of Mount Suribachi on the morning of 23 February soon after the initial landing, the rest of the battle for the island would take the month that followed in heavy fighting. Despite the iconic and certainly morale-boosting flag raising, hidden pockets of enemy continued their resistance on the mountain—a blow to Kuribayashi’s defences. Airfield No. 1, the southernmost air facility, was captured after hard fighting by D+1 while the Marines continued to move northward, aided by an armored task force of several Marine tank companies.
As they advanced, they encountered well-coordinated and -led counterattacks by the Japanese—a surprise to those U.S. service members who had experienced chaotic enemy banzai charges in the past. Tanks were put out of action by mines, suicide squads or well-camouflaged antitank guns, and the Marine rifle companies were subjected to constant artillery, mortar, and small-arms fire. To the frustration of the ground forces, many Japanese positions proved impervious to close air support bombing and strafing and had to be taken by direct ground assault or by sealing off entrances. After nine days, the drive north had progressed 4,000 yards at a cost of 7,000 U.S. casualties but by 4 March, Airfield No. 2 had been secured after hard fighting and the Marines had degraded General Kuribyashi’s defenses to the point at which many Japanese heavy weapons were out of action. Also on 4 March, the 9th Bomb Group B-29 “Dinah” made an emergency landing on Airfield No. 1. It refueled and departed, demonstrating the potential use of the island by XXI Bomber Command. On 14 March, the island’s occupation was officially announced, although fighting continued for two further weeks. Finally, on 26 March Iwo Jima was declared “secure.”
Aftermath
Of the roughly 21,000 Japanese defenders, 216 survived the battle to be taken prisoner, and an estimated 3,000 went into hiding during the U.S. occupation of the island. By August 1945, Most of these had either been killed, captured, or had surrendered, but one group did not lay down its arms until 1949. Having done his utmost to forestall the inevitable, General Kuribayashi committed suicide in his command post on 23 March 1945.
The perceived strategic position and utility of the island were not immediately apparent to its occupiers. The Japanese radar station, the American operators soon learned, had actually been incapable of providing necessary early warning data to Japanese Home Island air defenses. For their part, prior to Operation Detachment, the Japanese had effectively written off the island’s airfield for any significant operational employment. As a way station for U.S. Army Air Forces aircraft, Iwo Jima again appeared to offer little advantage. Utilizing Iwo Jima’s airfields for U.S. escort fighters in the end proved to be logistically difficult and very hard on the P-51 pilots, who faced a 1,500–nautical mile round trip. The fields’ capacity, moreover, was limited—about the same as that provided by one Navy fleet carrier. Far fewer B-29s than anticipated actually made use of the island as an emergency landing or refueling site. The airfields did host an active search-and-rescue operation, but the number of downed U.S. aviators picked up by aircraft from Iwo Jima (57) seems insignificant in comparison to the number of lives lost in the island’s capture.
Operation Detachment cost U.S. forces 6,871 killed and 19,217 wounded. Medals of Honor were awarded to 22 Marines and five Sailors, 14 of them posthumously (13 Marines, one Sailor). As Admiral Chester W. Nimitz, commander of Pacific Fleet and Pacific Ocean Areas, noted after the battle, “uncommon valor was a common virtue.”
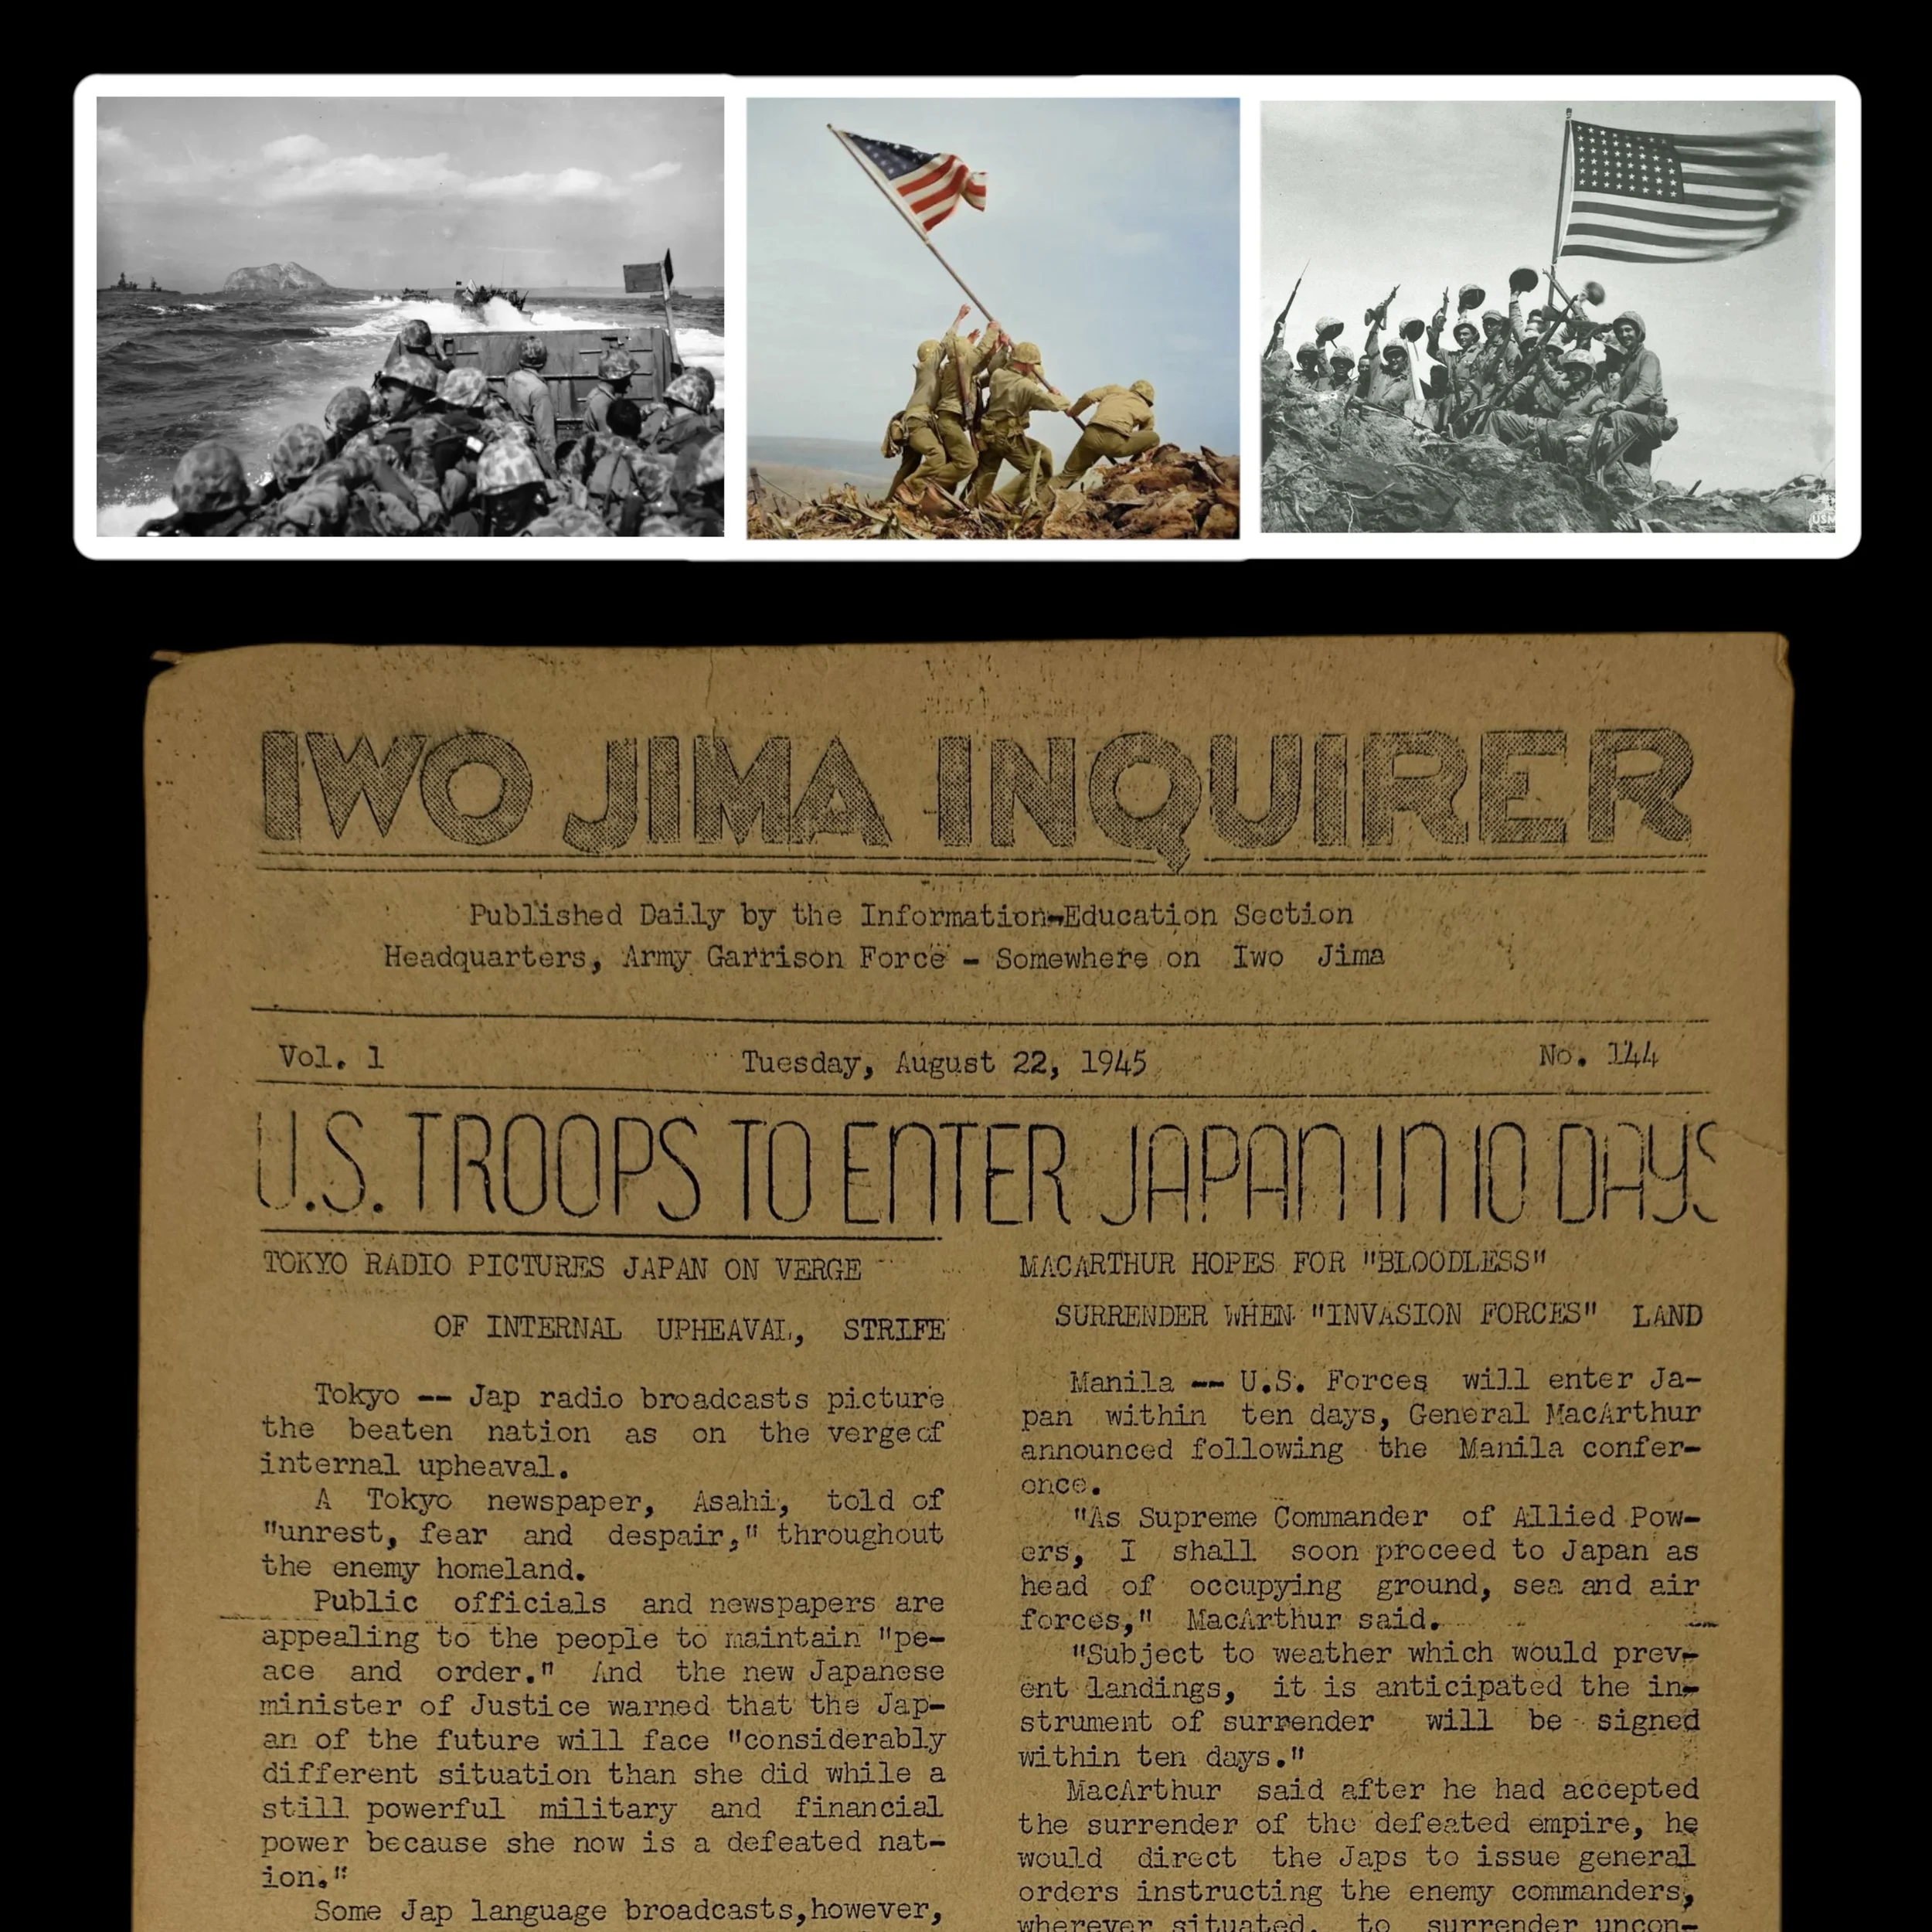
Comes with a hand-signed C.O.A.
*Proudly deemed "IWO JIMA'S FIRST & ONLY DAILY NEWSPAPER" the 1945 Iwo Jima Inquirer is considered a highly sought-after relic of both journalistic and military history. Due to the harsh conditions under which this battlefield newspaper was printed on Iwo Jima, few copies survived the war. Those that remain are held by high-end museums archives.
Size: 8 x 13 inches
This exceptionally rare, museum-grade WWII artifact is an original 1945 "Iwo Jima Inquirer" battlefield-printed newspaper. Dated August 22nd, 1945, this unique publication is a remarkable testament to the grit and resilience of the Marines and military journalists stationed on Iwo Jima. It stands as a symbol of the determination to maintain communication and morale amidst one of the most brutal and pivotal battles of the Pacific Theater.
Publishing a newspaper in a battle zone was a near-impossible task. Equipment was scarce, paper supplies were limited, and the constant threat of enemy fire meant that the editorial team often had to move their operations to avoid danger. Yet, despite these overwhelming challenges, the dedicated Marines, military journalists, and press corps on the island succeeded in producing the Iwo Jima Inquirer. This battlefield-printed newspaper was created, written, and distributed entirely on the island, making it an unprecedented and singular piece of military press history.
While modest in appearance, the importance of the Iwo Jima Inquirer far exceeded its physical form. Produced on rudimentary printing presses, often under perilous conditions, the newspaper delivered vital news and updates to the soldiers stationed on the island. More than just a source of information, it became a lifeline, connecting the troops to the broader war effort and, crucially, to the world they had left behind. In an environment of chaos and uncertainty, the paper provided a sense of normalcy, giving the soldiers a brief respite from the horrors of battle.
The Battle of Iwo Jima, which lasted from February 19 to March 26, 1945, was one of the fiercest confrontations between U.S. forces and Imperial Japan. The U.S. Marines faced brutal resistance as they fought to secure the small, strategic island, which was critical for providing a base for air support and future operations against Japan. The intense combat resulted in approximately 26,000 American casualties, including nearly 7,000 deaths. After the battle, Iwo Jima became a key military outpost, with its airfields used by Allied forces for bombing raids on the Japanese mainland until the end of the war.
Despite the cessation of active combat on the island, life on Iwo Jima after the battle was far from peaceful. The island remained a critical airbase, where U.S. forces continued operations until Japan’s surrender in September 1945. Soldiers stationed on Iwo Jima faced isolation, the ongoing threat of booby traps left by Japanese forces, and the psychological toll of having fought in one of the war’s bloodiest battles. Amid this atmosphere of uncertainty, the Iwo Jima Inquirer served as a vital outlet, providing news, updates, and, most importantly, a connection to the outside world.
The Iwo Jima Inquirer, though small and short-lived, was a symbol of resilience and hope for the soldiers who read it. The fact that it was printed at all, amidst the rubble of war, is a testament to the unyielding human spirit. The paper embodied the belief that even in the direst of circumstances, information and communication were essential for survival. It also underscored the military’s commitment to maintaining morale, even on the most remote and war-torn battlefields.
Today, the Iwo Jima Inquirer is considered a highly sought-after relic of both journalistic and military history. Due to the harsh conditions under which it was printed, few copies survived the war. Those that remain are held by museums, collectors, and archives as precious artifacts, offering a rare glimpse into the lives of the soldiers who fought on Iwo Jima. These newspapers are not only valuable for their historical context but also for the poignant story they tell—of soldiers seeking connection, comfort, and hope during one of the most harrowing experiences of World War II.
This original 1945 Iwo Jima Inquirer is a piece of history that continues to resonate, symbolizing the indomitable will of those who fought and served during the war. It stands as a rare, tangible link to the battlefield, a testament to the importance of communication, and a tribute to the extraordinary efforts of those who kept the spirit of humanity alive in the most difficult of times.
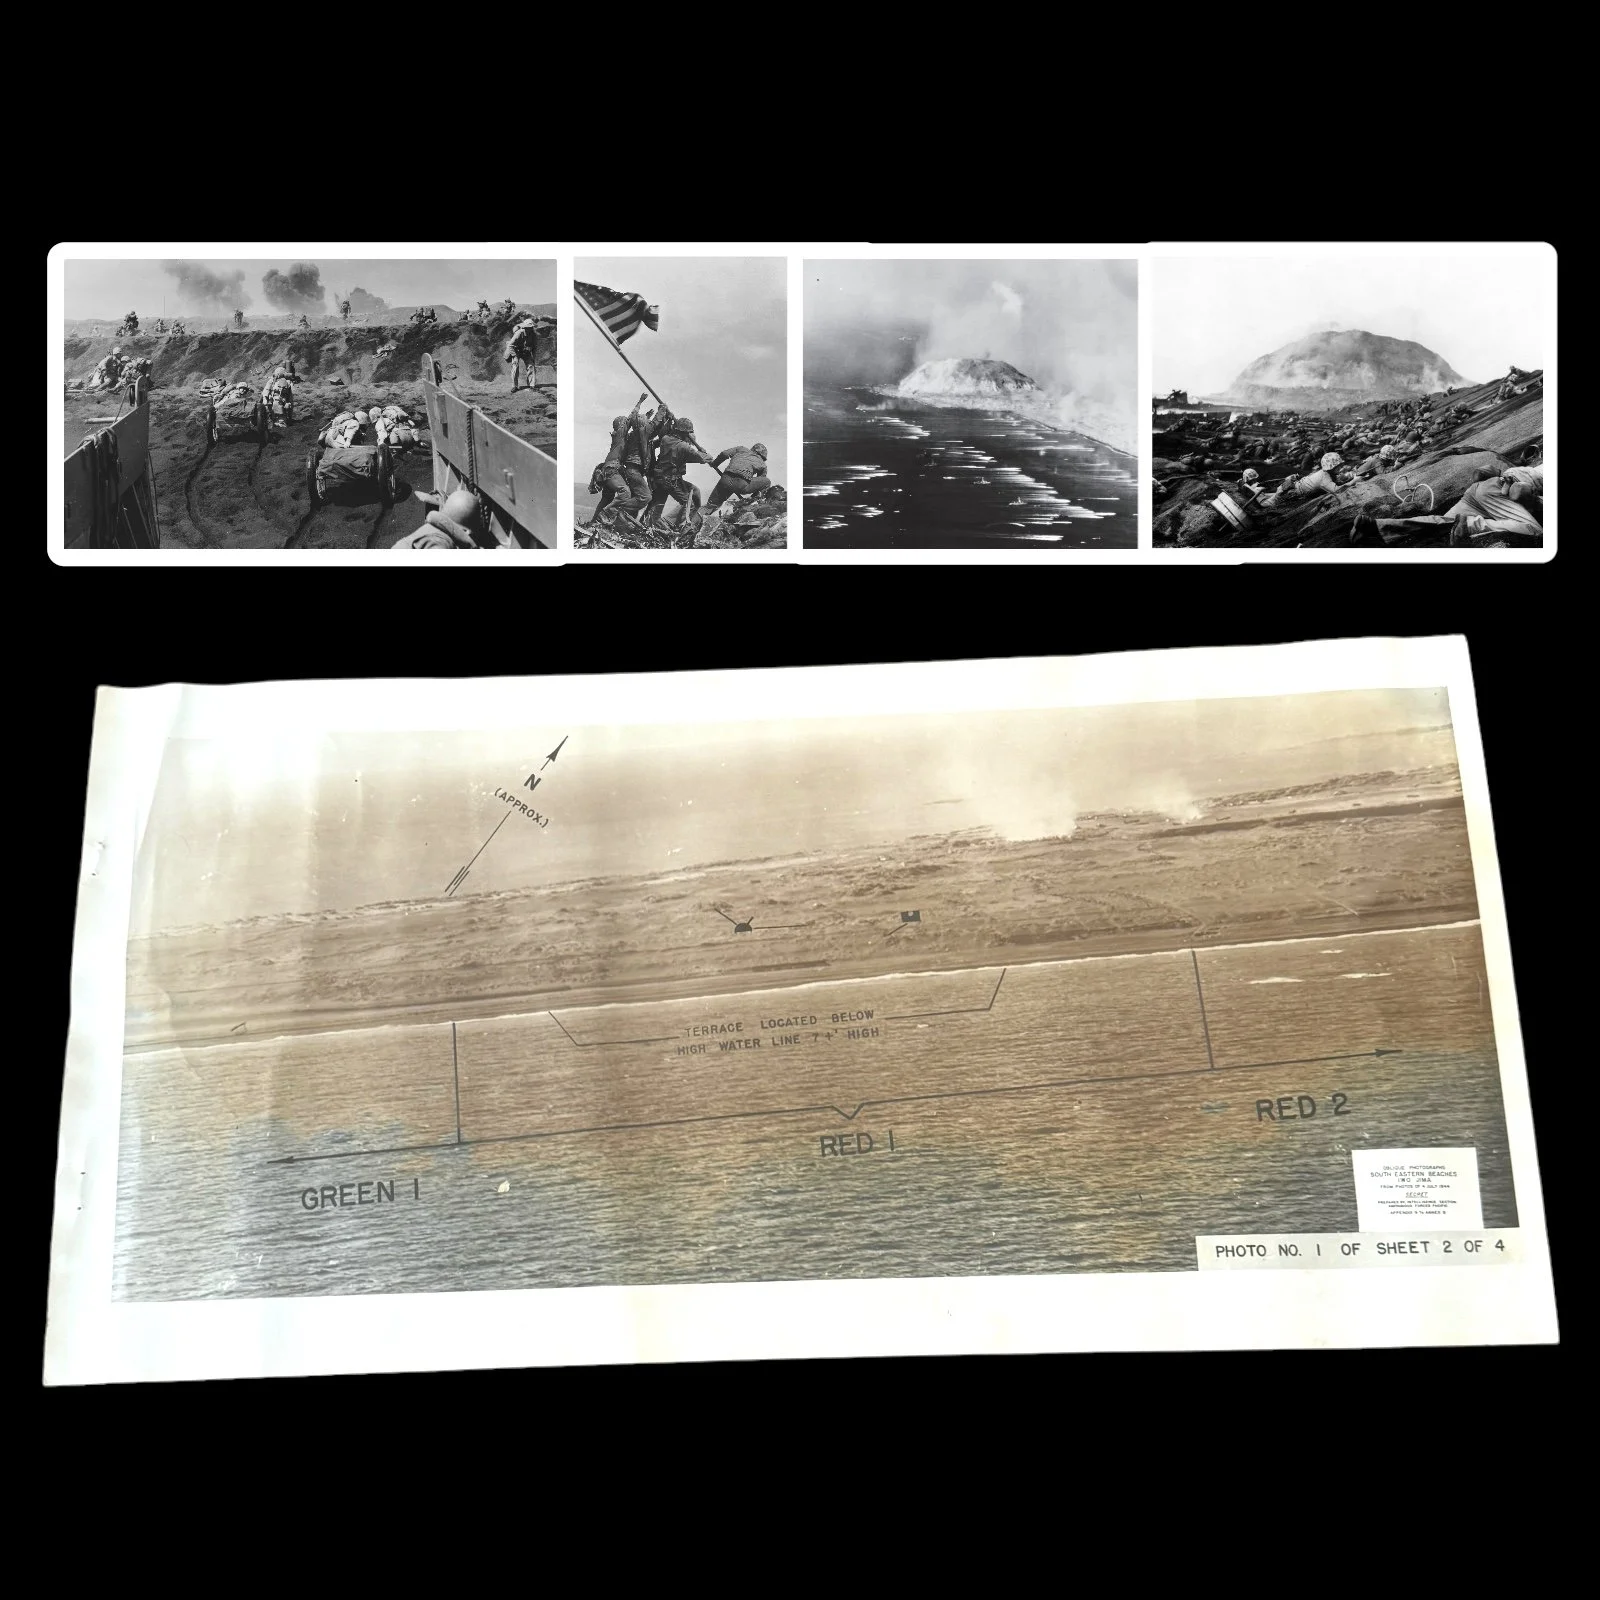
Comes with a hand-signed C.O.A.
*Rarity: Due to the SECRET marking on this D-Day Iwo Jima invasion chart only a very limited number were produced before the invasion with only a small handful still believed to exist today with most being in high-end private museum collections. This Iwo Jima invasion beach chart is as rare and sought after as the TOP SECRET D-Day invasion of Normandy BIGOT maps and the SECRET Iwo Jima Beach Diagram maps. Two of the Iwo Jima diagrams were featured in an episode of the TV show Pawn Stars. Rick Harrison, the host of the show, wrote that he had sold one of the two views for $10,000.
Size: 10 x 19.75 inches
Green Beach (Green 1)
Location: The Green Beach zone was located on the extreme left (southwestern end) of the landing area, right at the base of Mount Suribachi.
Assigned Units: The 28th Marine Regiment, 5th Marine Division, was assigned to land on Green Beach.
Objective: The primary objective for the Marines landing on Green Beach was to isolate Mount Suribachi from the rest of the island by cutting off the narrow neck of land connecting it to the central part of Iwo Jima. This was crucial to preventing Japanese forces on the mountain from reinforcing other parts of the island.
Challenges: Green Beach was heavily defended by Japanese artillery and machine-gun positions on Mount Suribachi. The black volcanic sand made movement difficult, and the steep incline toward the mountain posed additional challenges.
Red Beach (Red 1 and Red 2)
Location: Red Beach was divided into two zones, Red 1 and Red 2, and covered the central portion of the landing area, just north of Green Beach. These zones were located in front of the heavily fortified area known as the “Meat Grinder.”
Assigned Units: The 27th Marine Regiment, 5th Marine Division, was assigned to land on Red 1 and Red 2.
Objective: The objective for the units landing on Red Beach was to advance inland to capture the Japanese airfield number 1 and push toward the island's central plateau. Securing this area would provide a staging ground for further advances toward the northern part of the island.
Challenges: The beaches in this zone were subjected to intense Japanese artillery and machine-gun fire from multiple directions, including Mount Suribachi to the south and fortified positions in the "Meat Grinder" to the north. The Marines also faced heavy resistance from Japanese defenders entrenched in bunkers and pillboxes.
This extremely rare and museum-grade "SECRET" marked WWII Battle of Iwo Jima D-Day amphibious beach diagram vividly illustrates the intensive planning and operational accuracy that went behind Operation Detachment. Titled "Oblique Photographs - South Eastern Beaches Iwo Jima" this original SECRET Iwo Jima D-Day beach diagram was prepared by the Intelligence Section Amphibious Forces Pacific only a few months before the D-Day invasion of Iwo Jima in February 1945. These Iwo Jima invasion beach diagrams were studied and used by Captains of Landing Craft Infantry (LCI) and the initial waves of U.S. Marines set to land on their designated black sand beachheads. These invasion maps were vital to the initial landing success as they not only showed the visual views for the designated beachheads, but they also noted all of the updated Japanese defenses on Iwo Jima near that designated landed sector.
This SECRET Iwo Jima D-Day amphibious beach diagram was the original intelligence document used to make the infamous SECRET Iwo Jima invasion map. These were the Iwo Jima invasion intelligence documents used to make that exact map.
It shows little in the way of manmade impediments to amphibious invasion, belying the extensive Japanese fortifications and the dogged resistance that the Marines would face from the roughly 20,000 defenders. Eschewing Japanese doctrine, which called for him to contest every inch of the landing beaches, the commanding Lieutenant General Tadamichi Kuribayashi instead instructed his soldiers to allow the American forces to land en masse, before springing traps to kill as many newly-landed troops as possible.
American planners also misunderstood the nature of the volcanic sand and terrain of the beaches, most of which was thought to be perfectly suitable for disembarking and traversing. In these diagrams, little mention is made of the softness of this sand, and few obstacles are listed. In reality, the ash was very difficult to traverse, and equally difficult to dig into, greatly complicating the unloading of equipment and vehicles and the excavation of foxholes and trenches.
These errors were symptomatic of a general lack of accurate pre-invasion intelligence, which ultimately cost hundreds, even thousands of American lives.
The Role of Oblique Photograph Secret Invasion Beach Diagram Maps:
In preparation for the invasion of Iwo Jima, the U.S. military recognized the need for detailed and accurate intelligence about the island's topography and Japanese defenses. Traditional vertical aerial photographs, while useful, were insufficient for the task at hand due to the unique challenges posed by the island's terrain. Instead, the U.S. military employed oblique aerial photography, which involved taking photographs from an angle, rather than directly overhead. These oblique photographs provided a more realistic and three-dimensional view of the terrain, revealing details that would be obscured in vertical images.
The oblique photographs were used to create secret invasion beach diagram maps, which were crucial for planning the amphibious assault. These maps provided a detailed view of the landing beaches, the terrain beyond, and the Japanese defenses. They allowed the planners to identify potential obstacles, such as sandbars, reefs, and cliffs, as well as the locations of enemy fortifications. This intelligence was vital for selecting the best landing sites and determining the sequence and timing of the assault waves.
One of the most critical aspects of the oblique photograph maps was their ability to reveal the positions of Japanese bunkers, pillboxes, and artillery emplacements. The Japanese had gone to great lengths to conceal their defenses, camouflaging them and integrating them into the natural terrain. The oblique photographs, however, exposed subtle variations in the landscape that indicated the presence of these hidden fortifications. This information allowed the U.S. forces to target these positions with pre-invasion bombardments and to plan the movement of assault troops to avoid the most heavily defended areas.
The Invasion of Iwo Jima:
On February 19, 1945, the invasion of Iwo Jima commenced with one of the most intense pre-assault bombardments of the war. Naval and aerial bombardments targeted the island for several days, focusing on known Japanese positions identified through the oblique photograph maps. Despite this bombardment, many Japanese defenses remained intact, as they were deeply embedded in the island's volcanic rock.
The first wave of U.S. Marines landed on the southeastern beaches of Iwo Jima at 8:59 AM on February 19. The black volcanic sand made movement difficult, and the Marines quickly found themselves bogged down under heavy fire from Japanese artillery, machine guns, and mortars. The Japanese had allowed the initial waves to land almost unopposed, waiting until the beaches were crowded with men and equipment before unleashing a devastating counterattack.
The oblique photograph maps proved invaluable during this chaotic phase of the battle. Marine commanders used these maps to coordinate their movements, directing their forces toward less heavily defended areas and avoiding known kill zones. The maps also helped in directing naval gunfire and airstrikes against Japanese strongpoints that were holding up the advance.
As the battle progressed, the Marines faced the daunting task of advancing inland through a maze of bunkers, tunnels, and pillboxes. The oblique photograph maps continued to serve as a critical tool for identifying enemy positions and planning attacks. The detailed topographical information provided by the maps allowed the Marines to devise tactics for assaulting the Japanese defenses, such as using flamethrowers and demolition charges to clear bunkers and using tanks to provide direct fire support.
The fighting on Iwo Jima was brutal and relentless, with both sides suffering heavy casualties. The Japanese, true to their strategy, fought tenaciously from their fortified positions, inflicting severe losses on the Americans. The U.S. forces, however, continued to press forward, using their superior numbers, firepower, and intelligence to gradually overcome the Japanese defenses.
The iconic moment of the battle came on February 23, 1945, when a group of Marines from the 2nd Battalion, 28th Marines, raised the American flag atop Mount Suribachi. This moment, captured in the famous photograph by Joe Rosenthal, symbolized the eventual victory of the U.S. forces, but the battle was far from over. The fighting continued for several more weeks, as the Marines methodically cleared the remaining Japanese positions in the northern part of the island.
The Battle of Iwo Jima was one of the most grueling and costly battles of World War II, resulting in the deaths of nearly 7,000 U.S. Marines and the almost complete annihilation of the Japanese garrison. The victory, however, was of immense strategic importance, providing the U.S. with a critical base for air operations against Japan and marking a significant step toward the eventual defeat of the Japanese Empire.
The use of oblique photograph secret invasion beach diagram maps was a key factor in the success of the invasion. These maps provided the U.S. forces with the detailed and accurate intelligence needed to overcome the formidable defenses of Iwo Jima. They allowed the planners to devise a strategy that minimized casualties and maximized the effectiveness of the assault, ultimately contributing to the hard-won victory. The Battle of Iwo Jima, and the innovative use of intelligence and technology that characterized it, remains a powerful example of the complexity and the human cost of war.

Comes with a hand-signed C.O.A.
*Rarity: Due to the SECRET marking on this D-Day Iwo Jima invasion chart only a very limited number were produced before the invasion with only a small handful still believed to exist today with most being in high-end private museum collections. This Iwo Jima invasion beach chart is as rare and sought after as the TOP SECRET D-Day invasion of Normandy BIGOT maps and the SECRET Iwo Jima Beach Diagram maps. Two of the Iwo Jima diagrams were featured in an episode of the TV show Pawn Stars. Rick Harrison, the host of the show, wrote that he had sold one of the two views for $10,000.
Size: 10 x 19.75 inches
Yellow Beach (Yellow 1 and Yellow 2)
Location: Yellow Beach was also divided into two zones, Yellow 1 and Yellow 2, located north of Red Beach and near the middle of the landing area. These zones faced the central and northern sections of the island.
Assigned Units: The 4th Marine Division's 23rd Marine Regiment landed on Yellow 1, while the 24th Marine Regiment landed on Yellow 2.
Objective: The primary objective for the Marines landing on Yellow Beach was to secure the right flank of the invasion force and advance toward the second Japanese airfield (airfield number 2) and the northern part of the island.
Challenges: The Yellow Beach zones were some of the most heavily defended areas, with the Japanese employing a dense network of tunnels, bunkers, and artillery positions. The Marines faced fierce resistance as they attempted to advance from the beaches toward the interior of the island.
Blue Beach (Blue 1 and Blue 2)
Location: Blue Beach was located on the right (northern) flank of the landing area and was also divided into two zones, Blue 1 and Blue 2. These zones were in front of the northernmost sections of the Japanese defenses.
Assigned Units: The 25th Marine Regiment, 4th Marine Division, was tasked with landing on Blue 1 and Blue 2.
Objective: The Marines landing on Blue Beach were tasked with securing the northern flank of the invasion force and advancing toward the second and third Japanese airfields (airfields number 2 and 3). Securing these airfields was critical for controlling the island and preventing Japanese counterattacks.
Challenges: Like the other beaches, Blue Beach was heavily fortified. The Marines landing in this area encountered strong resistance from well-entrenched Japanese forces. The terrain here was rugged, with numerous ravines and rocky outcroppings that provided natural defensive positions for the Japanese.
This extremely rare and museum-grade "SECRET" marked WWII Battle of Iwo Jima D-Day amphibious beach diagram vividly illustrates the intensive planning and operational accuracy that went behind Operation Detachment. Titled "Oblique Photographs - South Eastern Beaches Iwo Jima" this original SECRET Iwo Jima D-Day beach diagram was prepared by the Intelligence Section Amphibious Forces Pacific only a few months before the D-Day invasion of Iwo Jima in February 1945. These Iwo Jima invasion beach diagrams were studied and used by Captains of Landing Craft Infantry (LCI) and the initial waves of U.S. Marines set to land on their designated black sand beachheads. These invasion maps were vital to the initial landing success as they not only showed the visual views for the designated beachheads, but they also noted all of the updated Japanese defenses on Iwo Jima near that designated landed sector.
This SECRET Iwo Jima D-Day amphibious beach diagram was the original intelligence document used to make the infamous SECRET Iwo Jima invasion map. These were the Iwo Jima invasion intelligence documents used to make that exact map.
It shows little in the way of manmade impediments to amphibious invasion, belying the extensive Japanese fortifications and the dogged resistance that the Marines would face from the roughly 20,000 defenders. Eschewing Japanese doctrine, which called for him to contest every inch of the landing beaches, the commanding Lieutenant General Tadamichi Kuribayashi instead instructed his soldiers to allow the American forces to land en masse, before springing traps to kill as many newly-landed troops as possible.
American planners also misunderstood the nature of the volcanic sand and terrain of the beaches, most of which was thought to be perfectly suitable for disembarking and traversing. In these diagrams, little mention is made of the softness of this sand, and few obstacles are listed. In reality, the ash was very difficult to traverse, and equally difficult to dig into, greatly complicating the unloading of equipment and vehicles and the excavation of foxholes and trenches.
These errors were symptomatic of a general lack of accurate pre-invasion intelligence, which ultimately cost hundreds, even thousands of American lives.
The Role of Oblique Photograph Secret Invasion Beach Diagram Maps:
In preparation for the invasion of Iwo Jima, the U.S. military recognized the need for detailed and accurate intelligence about the island's topography and Japanese defenses. Traditional vertical aerial photographs, while useful, were insufficient for the task at hand due to the unique challenges posed by the island's terrain. Instead, the U.S. military employed oblique aerial photography, which involved taking photographs from an angle, rather than directly overhead. These oblique photographs provided a more realistic and three-dimensional view of the terrain, revealing details that would be obscured in vertical images.
The oblique photographs were used to create secret invasion beach diagram maps, which were crucial for planning the amphibious assault. These maps provided a detailed view of the landing beaches, the terrain beyond, and the Japanese defenses. They allowed the planners to identify potential obstacles, such as sandbars, reefs, and cliffs, as well as the locations of enemy fortifications. This intelligence was vital for selecting the best landing sites and determining the sequence and timing of the assault waves.
One of the most critical aspects of the oblique photograph maps was their ability to reveal the positions of Japanese bunkers, pillboxes, and artillery emplacements. The Japanese had gone to great lengths to conceal their defenses, camouflaging them and integrating them into the natural terrain. The oblique photographs, however, exposed subtle variations in the landscape that indicated the presence of these hidden fortifications. This information allowed the U.S. forces to target these positions with pre-invasion bombardments and to plan the movement of assault troops to avoid the most heavily defended areas.
The Invasion of Iwo Jima:
On February 19, 1945, the invasion of Iwo Jima commenced with one of the most intense pre-assault bombardments of the war. Naval and aerial bombardments targeted the island for several days, focusing on known Japanese positions identified through the oblique photograph maps. Despite this bombardment, many Japanese defenses remained intact, as they were deeply embedded in the island's volcanic rock.
The first wave of U.S. Marines landed on the southeastern beaches of Iwo Jima at 8:59 AM on February 19. The black volcanic sand made movement difficult, and the Marines quickly found themselves bogged down under heavy fire from Japanese artillery, machine guns, and mortars. The Japanese had allowed the initial waves to land almost unopposed, waiting until the beaches were crowded with men and equipment before unleashing a devastating counterattack.
The oblique photograph maps proved invaluable during this chaotic phase of the battle. Marine commanders used these maps to coordinate their movements, directing their forces toward less heavily defended areas and avoiding known kill zones. The maps also helped in directing naval gunfire and airstrikes against Japanese strongpoints that were holding up the advance.
As the battle progressed, the Marines faced the daunting task of advancing inland through a maze of bunkers, tunnels, and pillboxes. The oblique photograph maps continued to serve as a critical tool for identifying enemy positions and planning attacks. The detailed topographical information provided by the maps allowed the Marines to devise tactics for assaulting the Japanese defenses, such as using flamethrowers and demolition charges to clear bunkers and using tanks to provide direct fire support.
The fighting on Iwo Jima was brutal and relentless, with both sides suffering heavy casualties. The Japanese, true to their strategy, fought tenaciously from their fortified positions, inflicting severe losses on the Americans. The U.S. forces, however, continued to press forward, using their superior numbers, firepower, and intelligence to gradually overcome the Japanese defenses.
The iconic moment of the battle came on February 23, 1945, when a group of Marines from the 2nd Battalion, 28th Marines, raised the American flag atop Mount Suribachi. This moment, captured in the famous photograph by Joe Rosenthal, symbolized the eventual victory of the U.S. forces, but the battle was far from over. The fighting continued for several more weeks, as the Marines methodically cleared the remaining Japanese positions in the northern part of the island.
The Battle of Iwo Jima was one of the most grueling and costly battles of World War II, resulting in the deaths of nearly 7,000 U.S. Marines and the almost complete annihilation of the Japanese garrison. The victory, however, was of immense strategic importance, providing the U.S. with a critical base for air operations against Japan and marking a significant step toward the eventual defeat of the Japanese Empire.
The use of oblique photograph secret invasion beach diagram maps was a key factor in the success of the invasion. These maps provided the U.S. forces with the detailed and accurate intelligence needed to overcome the formidable defenses of Iwo Jima. They allowed the planners to devise a strategy that minimized casualties and maximized the effectiveness of the assault, ultimately contributing to the hard-won victory. The Battle of Iwo Jima, and the innovative use of intelligence and technology that characterized it, remains a powerful example of the complexity and the human cost of war.

Comes with a hand-signed C.O.A.
*THIS IS A ONCE-IN-A-LIFETIME ARTIFACT FROM THE BATTLE OF IWO JIMA. PRESERVED ARTIFACTS FROM THE BATTLE OF IWO JIMA ARE EXTREMELY RARE AND RARELY MAKE IT TO THE PUBLIC SECTOR. WE ARE IN THE PROCESS OF CURATING THESE PRESERVED RELICS FOR BOTH PUBLIC COLLECTIONS AND PRIVATE MUSEUMS.
Size: 1.75 inches
Please Note: Exploded shrapnel fragments were the leading cause of death of soldiers (75% KIA from shrapnel wounds) in both the Pacific Theater and European Theater during WWII. This single shrapnel fragment is still very sharp from when it exploded and was a deadly projectile fired at Japanese targets. Care must be taken when handling this artifact.
This original and museum-grade World War II artifact is an extremely rare exploded American shrapnel fragment preserved from the Battle of Iwo Jima (1945).
The Battle of Iwo Jima, also referred to as Operation Detachment, was an one of the bloodiest military campaigns of the Pacific Theater between U.S. Marines and the Imperial Army of Japan in early 1945. Located 750 miles off the coast of Japan, the island of Iwo Jima had three airfields that could serve as a staging facility for a potential invasion of mainland Japan. American forces invaded the island on February 19, 1945, and the ensuing Battle of Iwo Jima lasted for five weeks. In some of the bloodiest fighting of World War II, it’s believed that all but 200 or so of the 21,000 Japanese forces on the island were killed, as were almost 7,000 Marines.
The Japanese Army positions on the island were heavily fortified, with a dense network of bunkers, hidden artillery positions, and 18 km (11 mi) of tunnels. The American ground forces were supported by extensive naval artillery and had complete air supremacy provided by U.S. Navy and Marine Corps aviators throughout the battle. This Iwo Jima exploded “deadly” shrapnel was professionally preserved from the 1950’s-1970s by the U.S. airmen of the U.S. Loran Station located on Iwo Jima. This shrapnel was preserved and left uncleaned or altered in any way since it was uncovered from some of the most famous Iwo Jima battlefield areas such as Airfield No. 1, Airfield No. 2, Hill 382, Mount Suribachi, and the D-Day black sand beaches landed on by the U.S. Marines.
The Battle of Iwo Jima:
Iwo Jima is eight square miles in area and shaped like a pork chop, its widest part oriented toward the northeast. The island’s narrow southwestern tip is dominated by a small mountain, Mount Suribachi, which is a dormant volcano vent. Two completed airfields and one under construction were located respectively from the southwest toward the northeast on Iwo Jima’s centerline. Kuribayashi had divided the island into five defensive sectors with central reserve areas. U.S. planners had designated landing beaches along both southern and northern shorelines between Suribachi and the wider part of the island, but only the southern beaches (from southwest to northeast: Green, Red, Yellow, Blue) were used in the assault.
Bombing raids and occasional naval bombardment had been carried out against Japanese facilities on Iwo Jima since June 1944 and this bombing intensified in the weeks leading up to D-day. Although the air raids damaged some Japanese fortifications, Navy underwater demolition teams landed for a beach reconnaissance overestimated the bombing missions’ impact and did not note the full extent of the Japanese underground fortifications.
V Amphibious Corps requested a concentrated shore bombardment for 10 days prior to the landings. However, citing ammunition supply issues, Task Force 52, the amphibious support force providing fire support, only provided three. Adverse weather curtailed bombardment operations on 16 February, the first day. Ultimately, only 13 hours of effective bombardment were carried out over the three-day period. Fifth Fleet also began minesweeping operations around the island, specifically of the approaches to the designated landing beaches. Prior to the operation, Spruance had detached Task Force 58, his fast carriers (which also carried eight Marine Corps fighter squadrons), to strike strategic targets on Honshu in wide-ranging support of the Iwo Jima landings. The Marines, already unhappy with the shortened duration of naval gunfire support and believing continuous close air support of the ground forces should take priority, hardly welcomed this decision.
Almost precisely at H-hour, 0900 on 19 February, the first assault wave, with 5th Marine Division units on the left and 4th Marine Division units to the right, landed on the assigned beach sectors. The Japanese held their fore until 1000, after the Marines’ first wave was on the beaches and the covering naval gunfire had momentarily eased. The sudden, unexpected volume and accuracy of artillery and mortars clearly indicated that bombing and naval bombardment had not markedly affected the enemy. This had a devastating effect on the buildup on the beaches. All of the sectors suffered casualties, although Green and Red beaches, flanked by Japanese positions on Mount Suribachi, and the Blue beaches, fronted by enemy emplaced in the cliffs of a rock quarry, were perhaps hardest hit. Further handicapping the Marines was the instable beach, composed of steep terraces of constantly shifting black sand, volcanic cinders, and ash. This made digging in very difficult and bogged down wheeled and even tracked vehicles, causing pile-ups of men, amphibious tractors, tanks, and supplies at the waterline. These were subjected to constant Japanese artillery, mortar, and machine-gun fire. The steep beach gradient also caused a violent surf zone with which landing craft and tractors had to contend.
These difficulties notwithstanding, the landings were successfully executed and, under cover of a rolling naval gunfire barrage and close air support mainly provided by Fifth Fleet’s escort carriers, the Marines began moving off the beaches. The 5th Marine Division pushed to the northwestern shore in order to isolate Mount Suribachi, and accomplished this task within ninety minutes of the initial landings. The 4th Marine Division’s progress was much slower, however, as it proceeded toward the airfields. One of these lay directly in front of the Marines, but the second, more centrally located field, required a wheeling movement toward the northeast, which brought most of this division into a bowl-like area completely exposed to heavy Japanese fire.
By the end of D-day, nearly 30,000 personnel had been landed on Iwo Jima despite rapidly deteriorating weather conditions, the difficult terrain, and stubborn, well-coordinated Japanese resistance. Although the Marines had managed to cross the island at its narrow width and had cut off Mount Suribachi, the day’s planned phase line had not been reached while casualties mounted at an alarming rate. The beachhead remained concentrated in a triangular area roughly 4,000 yards long, and from 700 to 1,100 yards wide from north to south.
D+1 saw the landing of 3rd Marine Division, the corps reserve, and later taking up battle space between the two previously committed Marine divisions. Meanwhile, the 5th Division’s 28th Marine Regiment began its assault of Mount Suribachi, which was garrisoned by 2,000 Japanese troops and extensively honeycombed with defensive positions and tunnels, one of them seven levels deep. Bolstered by reinforcements from 3rd Marine Division, other 5th Marine Division units and the 4th Marine Division slowly continued to force their way northwest and northeast. Navy destroyers, many assigned to specific Marine units, provided direct gunfire support. Although frequently the targets of Japanese guns, Marine tanks, amphtracs and artillery did the same, providing mobile firepower to the engaged infantry units. Fifth Fleet aircraft continued to fly close-support missions, often dropping napalm on the deeply dug-in enemy.
Ultimately, however, small teams of Marines—or even individuals—armed with flame throwers, satchel charges and hand grenades (“blow torches and corkscrews”) were those who were instrumental in destroying Japanese strongpoints. The cost was commensurate: By the end of D+1, many Marine rifle companies had lost up to 50 percent of their pre-assault strength in killed and wounded. Operational momentum remained extremely slow and progress was measured in yards of ground taken.
From 21 February (D+2) into March, despite Japanese tenacity and ingenuity, U.S. forces were gradually able to make significant advances. During the night of 21–22 February, ships on the outer periphery of the amphibious landing area were subjected to the only kamikaze attack experienced during the operation. The escort carrier Bismarck Sea (CVE-95) was lost and fleet carrier Saratoga (CV-3) was so badly damaged that she had to return Stateside for repair and never returned to combat. Ashore, while the Marines reached the summit of Mount Suribachi on the morning of 23 February soon after the initial landing, the rest of the battle for the island would take the month that followed in heavy fighting. Despite the iconic and certainly morale-boosting flag raising, hidden pockets of enemy continued their resistance on the mountain—a blow to Kuribayashi’s defences. Airfield No. 1, the southernmost air facility, was captured after hard fighting by D+1 while the Marines continued to move northward, aided by an armored task force of several Marine tank companies.
As they advanced, they encountered well-coordinated and -led counterattacks by the Japanese—a surprise to those U.S. service members who had experienced chaotic enemy banzai charges in the past. Tanks were put out of action by mines, suicide squads or well-camouflaged antitank guns, and the Marine rifle companies were subjected to constant artillery, mortar, and small-arms fire. To the frustration of the ground forces, many Japanese positions proved impervious to close air support bombing and strafing and had to be taken by direct ground assault or by sealing off entrances. After nine days, the drive north had progressed 4,000 yards at a cost of 7,000 U.S. casualties but by 4 March, Airfield No. 2 had been secured after hard fighting and the Marines had degraded General Kuribyashi’s defenses to the point at which many Japanese heavy weapons were out of action. Also on 4 March, the 9th Bomb Group B-29 “Dinah” made an emergency landing on Airfield No. 1. It refueled and departed, demonstrating the potential use of the island by XXI Bomber Command. On 14 March, the island’s occupation was officially announced, although fighting continued for two further weeks. Finally, on 26 March Iwo Jima was declared “secure.”
Aftermath
Of the roughly 21,000 Japanese defenders, 216 survived the battle to be taken prisoner, and an estimated 3,000 went into hiding during the U.S. occupation of the island. By August 1945, Most of these had either been killed, captured, or had surrendered, but one group did not lay down its arms until 1949. Having done his utmost to forestall the inevitable, General Kuribayashi committed suicide in his command post on 23 March 1945.
The perceived strategic position and utility of the island were not immediately apparent to its occupiers. The Japanese radar station, the American operators soon learned, had actually been incapable of providing necessary early warning data to Japanese Home Island air defenses. For their part, prior to Operation Detachment, the Japanese had effectively written off the island’s airfield for any significant operational employment. As a way station for U.S. Army Air Forces aircraft, Iwo Jima again appeared to offer little advantage. Utilizing Iwo Jima’s airfields for U.S. escort fighters in the end proved to be logistically difficult and very hard on the P-51 pilots, who faced a 1,500–nautical mile round trip. The fields’ capacity, moreover, was limited—about the same as that provided by one Navy fleet carrier. Far fewer B-29s than anticipated actually made use of the island as an emergency landing or refueling site. The airfields did host an active search-and-rescue operation, but the number of downed U.S. aviators picked up by aircraft from Iwo Jima (57) seems insignificant in comparison to the number of lives lost in the island’s capture.
Operation Detachment cost U.S. forces 6,871 killed and 19,217 wounded. Medals of Honor were awarded to 22 Marines and five Sailors, 14 of them posthumously (13 Marines, one Sailor). As Admiral Chester W. Nimitz, commander of Pacific Fleet and Pacific Ocean Areas, noted after the battle, “uncommon valor was a common virtue.”

Comes with a hand-signed C.O.A.
*Proudly deemed "IWO JIMA'S FIRST & ONLY DAILY NEWSPAPER" the 1945 Iwo Jima Inquirer is considered a highly sought-after relic of both journalistic and military history. Due to the harsh conditions under which this battlefield newspaper was printed on Iwo Jima, few copies survived the war. Those that remain are held by high-end museums archives.
Size: 8 x 13 inches
This exceptionally rare, museum-grade WWII artifact is an original 1945 "Iwo Jima Inquirer" battlefield-printed newspaper. Dated August 11th, 1945 this unique publication is a remarkable testament to the grit and resilience of the Marines and military journalists stationed on Iwo Jima. It stands as a symbol of the determination to maintain communication and morale amidst one of the most brutal and pivotal battles of the Pacific Theater.
Publishing a newspaper in a battle zone was a near-impossible task. Equipment was scarce, paper supplies were limited, and the constant threat of enemy fire meant that the editorial team often had to move their operations to avoid danger. Yet, despite these overwhelming challenges, the dedicated Marines, military journalists, and press corps on the island succeeded in producing the Iwo Jima Inquirer. This battlefield-printed newspaper was created, written, and distributed entirely on the island, making it an unprecedented and singular piece of military press history.
While modest in appearance, the importance of the Iwo Jima Inquirer far exceeded its physical form. Produced on rudimentary printing presses, often under perilous conditions, the newspaper delivered vital news and updates to the soldiers stationed on the island. More than just a source of information, it became a lifeline, connecting the troops to the broader war effort and, crucially, to the world they had left behind. In an environment of chaos and uncertainty, the paper provided a sense of normalcy, giving the soldiers a brief respite from the horrors of battle.
The Battle of Iwo Jima, which lasted from February 19 to March 26, 1945, was one of the fiercest confrontations between U.S. forces and Imperial Japan. The U.S. Marines faced brutal resistance as they fought to secure the small, strategic island, which was critical for providing a base for air support and future operations against Japan. The intense combat resulted in approximately 26,000 American casualties, including nearly 7,000 deaths. After the battle, Iwo Jima became a key military outpost, with its airfields used by Allied forces for bombing raids on the Japanese mainland until the end of the war.
Despite the cessation of active combat on the island, life on Iwo Jima after the battle was far from peaceful. The island remained a critical airbase, where U.S. forces continued operations until Japan’s surrender in September 1945. Soldiers stationed on Iwo Jima faced isolation, the ongoing threat of booby traps left by Japanese forces, and the psychological toll of having fought in one of the war’s bloodiest battles. Amid this atmosphere of uncertainty, the Iwo Jima Inquirer served as a vital outlet, providing news, updates, and, most importantly, a connection to the outside world.
The Iwo Jima Inquirer, though small and short-lived, was a symbol of resilience and hope for the soldiers who read it. The fact that it was printed at all, amidst the rubble of war, is a testament to the unyielding human spirit. The paper embodied the belief that even in the direst of circumstances, information and communication were essential for survival. It also underscored the military’s commitment to maintaining morale, even on the most remote and war-torn battlefields.
Today, the Iwo Jima Inquirer is considered a highly sought-after relic of both journalistic and military history. Due to the harsh conditions under which it was printed, few copies survived the war. Those that remain are held by museums, collectors, and archives as precious artifacts, offering a rare glimpse into the lives of the soldiers who fought on Iwo Jima. These newspapers are not only valuable for their historical context but also for the poignant story they tell—of soldiers seeking connection, comfort, and hope during one of the most harrowing experiences of World War II.
This original 1945 Iwo Jima Inquirer is a piece of history that continues to resonate, symbolizing the indomitable will of those who fought and served during the war. It stands as a rare, tangible link to the battlefield, a testament to the importance of communication, and a tribute to the extraordinary efforts of those who kept the spirit of humanity alive in the most difficult of times.
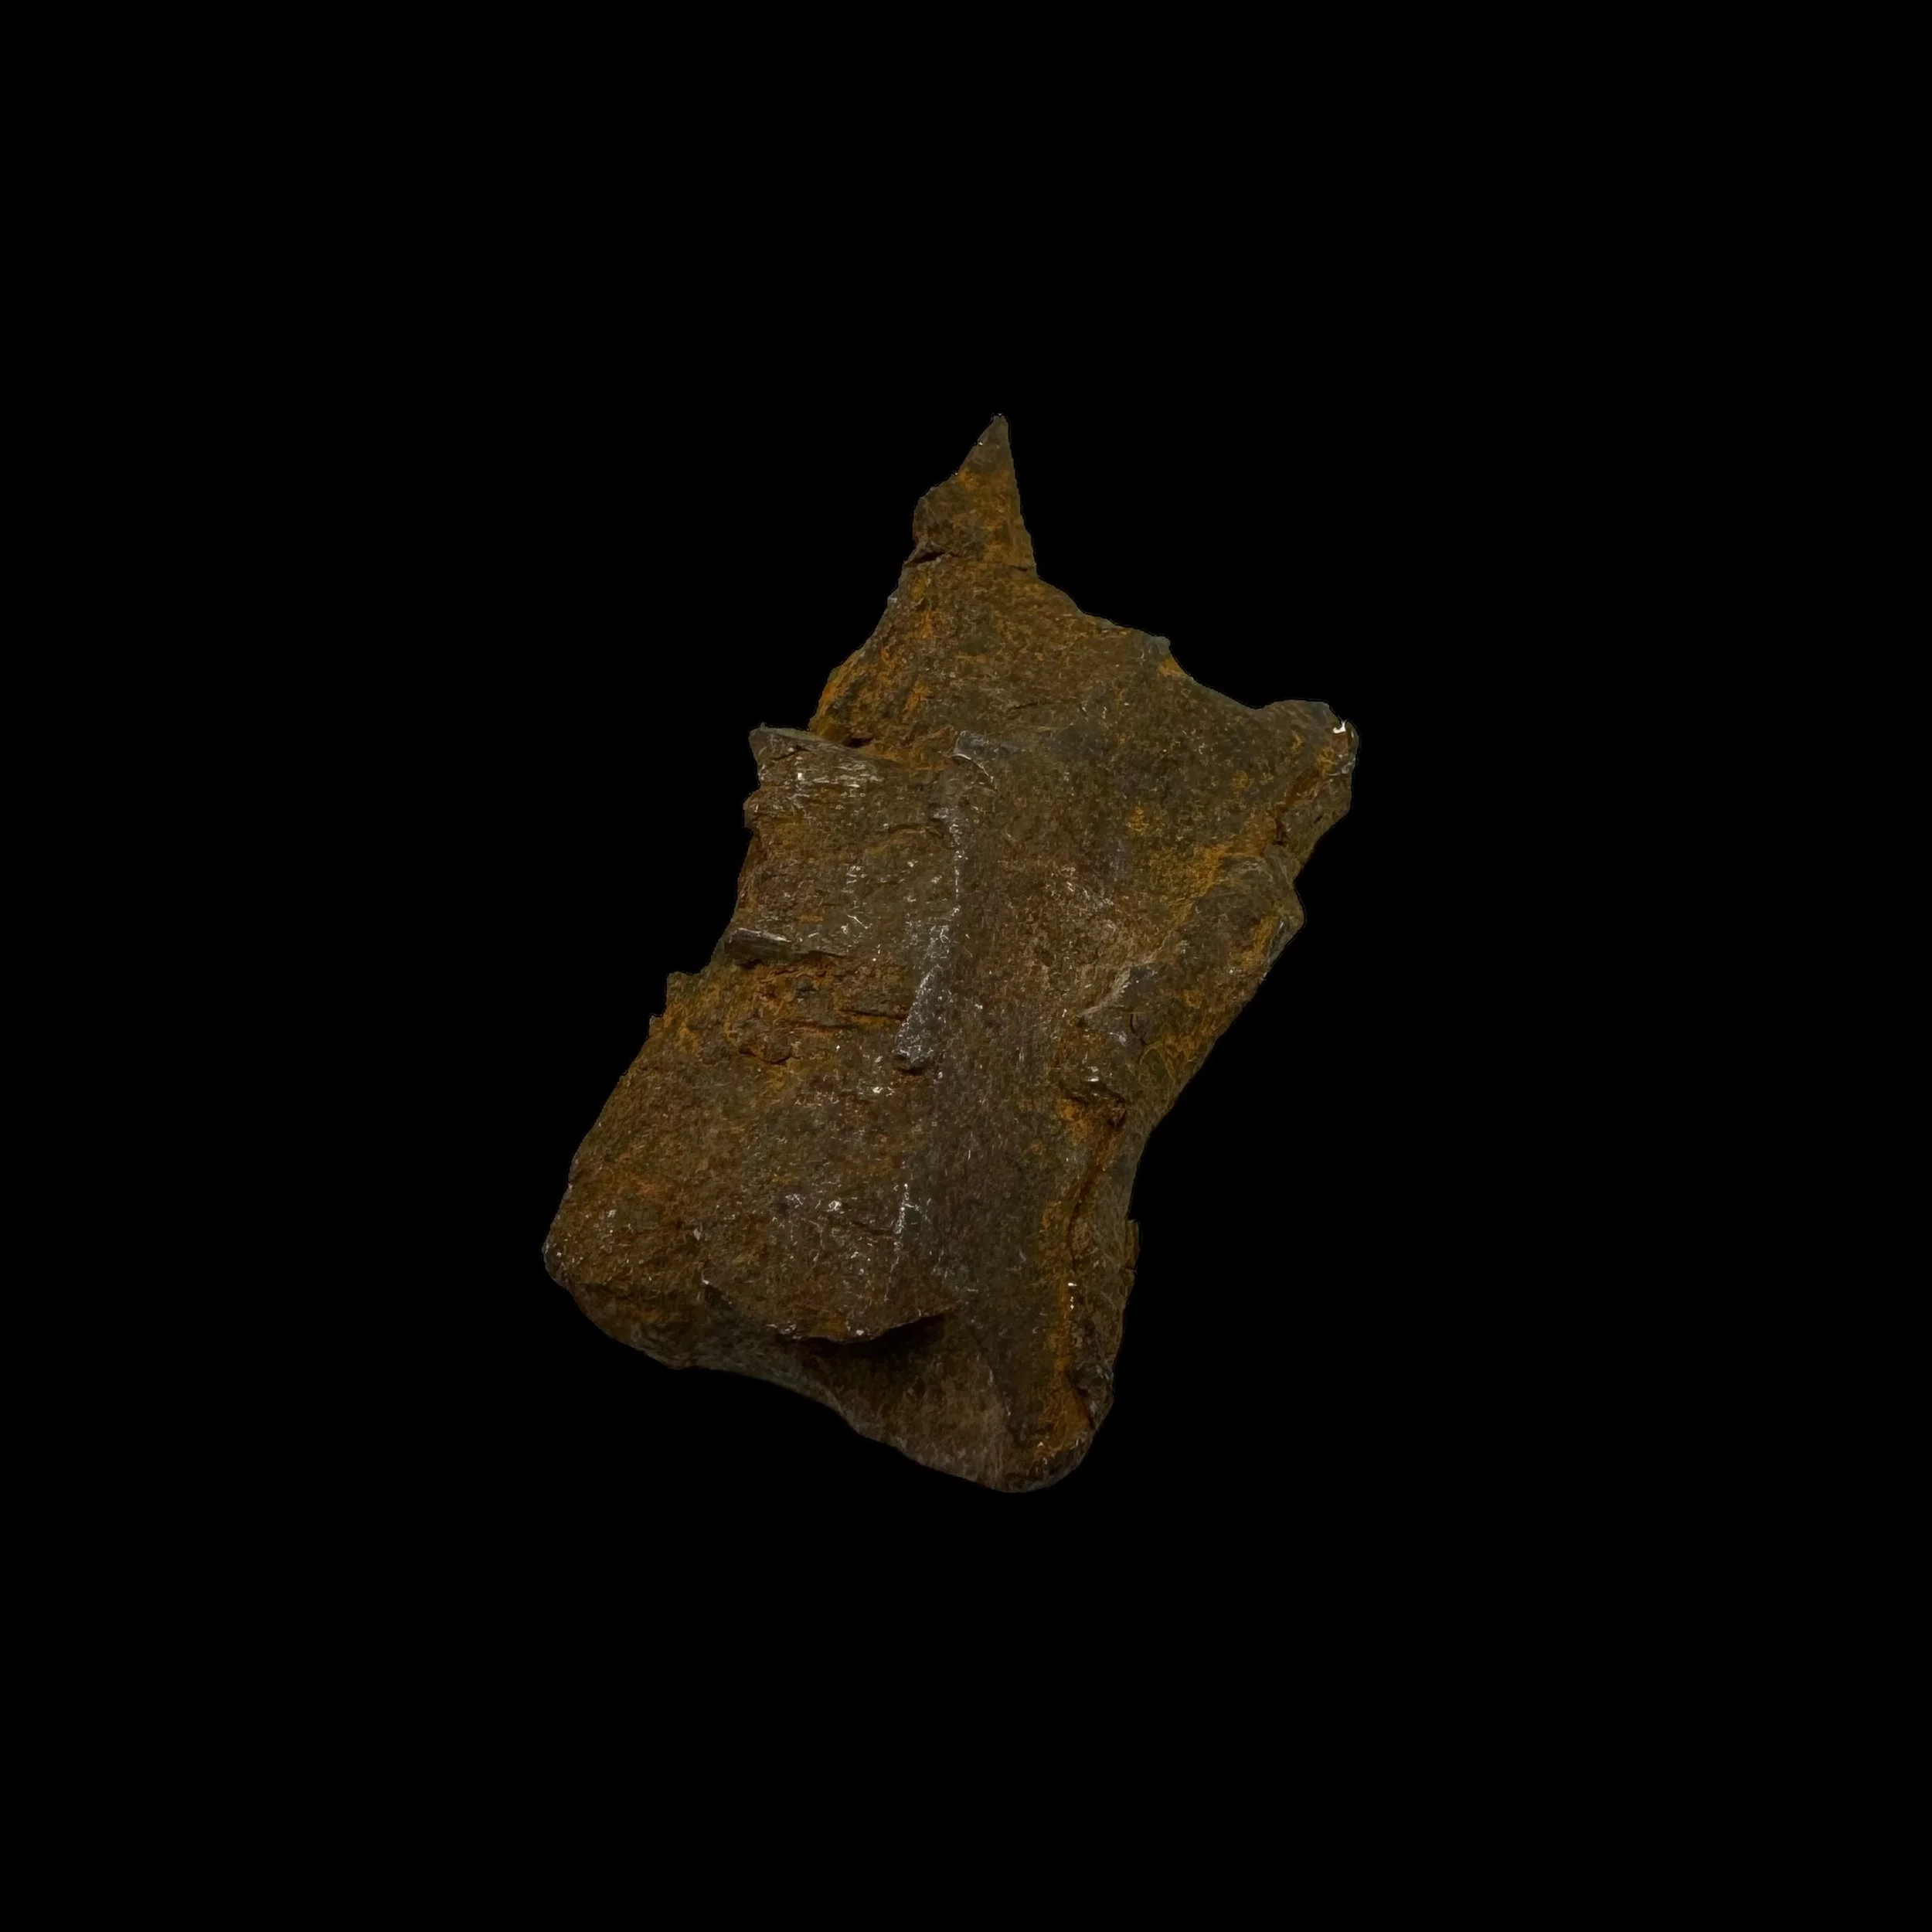
Comes with a hand-signed C.O.A.
*THIS IS A ONCE-IN-A-LIFETIME ARTIFACT FROM THE BATTLE OF IWO JIMA. PRESERVED ARTIFACTS FROM THE BATTLE OF IWO JIMA ARE EXTREMELY RARE AND RARELY MAKE IT TO THE PUBLIC SECTOR. WE ARE IN THE PROCESS OF CURATING THESE PRESERVED RELICS FOR BOTH PUBLIC COLLECTIONS AND PRIVATE MUSEUMS.
Size: 1.5 inches
Please Note: Exploded shrapnel fragments were the leading cause of death of soldiers (75% KIA from shrapnel wounds) in both the Pacific Theater and European Theater during WWII. This single shrapnel fragment is still very sharp from when it exploded and was a deadly projectile fired at Japanese targets. Care must be taken when handling this artifact.
This original and museum-grade World War II artifact is an extremely rare exploded American shrapnel fragment preserved from the Battle of Iwo Jima (1945).
The Battle of Iwo Jima, also referred to as Operation Detachment, was an one of the bloodiest military campaigns of the Pacific Theater between U.S. Marines and the Imperial Army of Japan in early 1945. Located 750 miles off the coast of Japan, the island of Iwo Jima had three airfields that could serve as a staging facility for a potential invasion of mainland Japan. American forces invaded the island on February 19, 1945, and the ensuing Battle of Iwo Jima lasted for five weeks. In some of the bloodiest fighting of World War II, it’s believed that all but 200 or so of the 21,000 Japanese forces on the island were killed, as were almost 7,000 Marines.
The Japanese Army positions on the island were heavily fortified, with a dense network of bunkers, hidden artillery positions, and 18 km (11 mi) of tunnels. The American ground forces were supported by extensive naval artillery and had complete air supremacy provided by U.S. Navy and Marine Corps aviators throughout the battle. This Iwo Jima exploded “deadly” shrapnel was professionally preserved from the 1950’s-1970s by the U.S. airmen of the U.S. Loran Station located on Iwo Jima. This shrapnel was preserved and left uncleaned or altered in any way since it was uncovered from some of the most famous Iwo Jima battlefield areas such as Airfield No. 1, Airfield No. 2, Hill 382, Mount Suribachi, and the D-Day black sand beaches landed on by the U.S. Marines.
The Battle of Iwo Jima:
Iwo Jima is eight square miles in area and shaped like a pork chop, its widest part oriented toward the northeast. The island’s narrow southwestern tip is dominated by a small mountain, Mount Suribachi, which is a dormant volcano vent. Two completed airfields and one under construction were located respectively from the southwest toward the northeast on Iwo Jima’s centerline. Kuribayashi had divided the island into five defensive sectors with central reserve areas. U.S. planners had designated landing beaches along both southern and northern shorelines between Suribachi and the wider part of the island, but only the southern beaches (from southwest to northeast: Green, Red, Yellow, Blue) were used in the assault.
Bombing raids and occasional naval bombardment had been carried out against Japanese facilities on Iwo Jima since June 1944 and this bombing intensified in the weeks leading up to D-day. Although the air raids damaged some Japanese fortifications, Navy underwater demolition teams landed for a beach reconnaissance overestimated the bombing missions’ impact and did not note the full extent of the Japanese underground fortifications.
V Amphibious Corps requested a concentrated shore bombardment for 10 days prior to the landings. However, citing ammunition supply issues, Task Force 52, the amphibious support force providing fire support, only provided three. Adverse weather curtailed bombardment operations on 16 February, the first day. Ultimately, only 13 hours of effective bombardment were carried out over the three-day period. Fifth Fleet also began minesweeping operations around the island, specifically of the approaches to the designated landing beaches. Prior to the operation, Spruance had detached Task Force 58, his fast carriers (which also carried eight Marine Corps fighter squadrons), to strike strategic targets on Honshu in wide-ranging support of the Iwo Jima landings. The Marines, already unhappy with the shortened duration of naval gunfire support and believing continuous close air support of the ground forces should take priority, hardly welcomed this decision.
Almost precisely at H-hour, 0900 on 19 February, the first assault wave, with 5th Marine Division units on the left and 4th Marine Division units to the right, landed on the assigned beach sectors. The Japanese held their fore until 1000, after the Marines’ first wave was on the beaches and the covering naval gunfire had momentarily eased. The sudden, unexpected volume and accuracy of artillery and mortars clearly indicated that bombing and naval bombardment had not markedly affected the enemy. This had a devastating effect on the buildup on the beaches. All of the sectors suffered casualties, although Green and Red beaches, flanked by Japanese positions on Mount Suribachi, and the Blue beaches, fronted by enemy emplaced in the cliffs of a rock quarry, were perhaps hardest hit. Further handicapping the Marines was the instable beach, composed of steep terraces of constantly shifting black sand, volcanic cinders, and ash. This made digging in very difficult and bogged down wheeled and even tracked vehicles, causing pile-ups of men, amphibious tractors, tanks, and supplies at the waterline. These were subjected to constant Japanese artillery, mortar, and machine-gun fire. The steep beach gradient also caused a violent surf zone with which landing craft and tractors had to contend.
These difficulties notwithstanding, the landings were successfully executed and, under cover of a rolling naval gunfire barrage and close air support mainly provided by Fifth Fleet’s escort carriers, the Marines began moving off the beaches. The 5th Marine Division pushed to the northwestern shore in order to isolate Mount Suribachi, and accomplished this task within ninety minutes of the initial landings. The 4th Marine Division’s progress was much slower, however, as it proceeded toward the airfields. One of these lay directly in front of the Marines, but the second, more centrally located field, required a wheeling movement toward the northeast, which brought most of this division into a bowl-like area completely exposed to heavy Japanese fire.
By the end of D-day, nearly 30,000 personnel had been landed on Iwo Jima despite rapidly deteriorating weather conditions, the difficult terrain, and stubborn, well-coordinated Japanese resistance. Although the Marines had managed to cross the island at its narrow width and had cut off Mount Suribachi, the day’s planned phase line had not been reached while casualties mounted at an alarming rate. The beachhead remained concentrated in a triangular area roughly 4,000 yards long, and from 700 to 1,100 yards wide from north to south.
D+1 saw the landing of 3rd Marine Division, the corps reserve, and later taking up battle space between the two previously committed Marine divisions. Meanwhile, the 5th Division’s 28th Marine Regiment began its assault of Mount Suribachi, which was garrisoned by 2,000 Japanese troops and extensively honeycombed with defensive positions and tunnels, one of them seven levels deep. Bolstered by reinforcements from 3rd Marine Division, other 5th Marine Division units and the 4th Marine Division slowly continued to force their way northwest and northeast. Navy destroyers, many assigned to specific Marine units, provided direct gunfire support. Although frequently the targets of Japanese guns, Marine tanks, amphtracs and artillery did the same, providing mobile firepower to the engaged infantry units. Fifth Fleet aircraft continued to fly close-support missions, often dropping napalm on the deeply dug-in enemy.
Ultimately, however, small teams of Marines—or even individuals—armed with flame throwers, satchel charges and hand grenades (“blow torches and corkscrews”) were those who were instrumental in destroying Japanese strongpoints. The cost was commensurate: By the end of D+1, many Marine rifle companies had lost up to 50 percent of their pre-assault strength in killed and wounded. Operational momentum remained extremely slow and progress was measured in yards of ground taken.
From 21 February (D+2) into March, despite Japanese tenacity and ingenuity, U.S. forces were gradually able to make significant advances. During the night of 21–22 February, ships on the outer periphery of the amphibious landing area were subjected to the only kamikaze attack experienced during the operation. The escort carrier Bismarck Sea (CVE-95) was lost and fleet carrier Saratoga (CV-3) was so badly damaged that she had to return Stateside for repair and never returned to combat. Ashore, while the Marines reached the summit of Mount Suribachi on the morning of 23 February soon after the initial landing, the rest of the battle for the island would take the month that followed in heavy fighting. Despite the iconic and certainly morale-boosting flag raising, hidden pockets of enemy continued their resistance on the mountain—a blow to Kuribayashi’s defences. Airfield No. 1, the southernmost air facility, was captured after hard fighting by D+1 while the Marines continued to move northward, aided by an armored task force of several Marine tank companies.
As they advanced, they encountered well-coordinated and -led counterattacks by the Japanese—a surprise to those U.S. service members who had experienced chaotic enemy banzai charges in the past. Tanks were put out of action by mines, suicide squads or well-camouflaged antitank guns, and the Marine rifle companies were subjected to constant artillery, mortar, and small-arms fire. To the frustration of the ground forces, many Japanese positions proved impervious to close air support bombing and strafing and had to be taken by direct ground assault or by sealing off entrances. After nine days, the drive north had progressed 4,000 yards at a cost of 7,000 U.S. casualties but by 4 March, Airfield No. 2 had been secured after hard fighting and the Marines had degraded General Kuribyashi’s defenses to the point at which many Japanese heavy weapons were out of action. Also on 4 March, the 9th Bomb Group B-29 “Dinah” made an emergency landing on Airfield No. 1. It refueled and departed, demonstrating the potential use of the island by XXI Bomber Command. On 14 March, the island’s occupation was officially announced, although fighting continued for two further weeks. Finally, on 26 March Iwo Jima was declared “secure.”
Aftermath
Of the roughly 21,000 Japanese defenders, 216 survived the battle to be taken prisoner, and an estimated 3,000 went into hiding during the U.S. occupation of the island. By August 1945, Most of these had either been killed, captured, or had surrendered, but one group did not lay down its arms until 1949. Having done his utmost to forestall the inevitable, General Kuribayashi committed suicide in his command post on 23 March 1945.
The perceived strategic position and utility of the island were not immediately apparent to its occupiers. The Japanese radar station, the American operators soon learned, had actually been incapable of providing necessary early warning data to Japanese Home Island air defenses. For their part, prior to Operation Detachment, the Japanese had effectively written off the island’s airfield for any significant operational employment. As a way station for U.S. Army Air Forces aircraft, Iwo Jima again appeared to offer little advantage. Utilizing Iwo Jima’s airfields for U.S. escort fighters in the end proved to be logistically difficult and very hard on the P-51 pilots, who faced a 1,500–nautical mile round trip. The fields’ capacity, moreover, was limited—about the same as that provided by one Navy fleet carrier. Far fewer B-29s than anticipated actually made use of the island as an emergency landing or refueling site. The airfields did host an active search-and-rescue operation, but the number of downed U.S. aviators picked up by aircraft from Iwo Jima (57) seems insignificant in comparison to the number of lives lost in the island’s capture.
Operation Detachment cost U.S. forces 6,871 killed and 19,217 wounded. Medals of Honor were awarded to 22 Marines and five Sailors, 14 of them posthumously (13 Marines, one Sailor). As Admiral Chester W. Nimitz, commander of Pacific Fleet and Pacific Ocean Areas, noted after the battle, “uncommon valor was a common virtue.”

Comes with a hand-signed C.O.A.
Size: 6 x 8 inches
This extremely rare and original TYPE ONE World War II press photograph of the Battle of Iwo Jima shows Lieutenant General Holland M. Smith Commander Expeditionary Troops for the assault of Iwo Jima, addressing a press conference aboard a transport at an advanced Pacific base before the assault on the Japanese island of Iwo Jima. At his right, seated is Secretary of the Navy James V. Forrestal and that his left Vice Admiral Richard Kelly Turner, Commander Amphibious Forces Pacific.
World War II stands as one of the most pivotal and devastating conflicts in human history, and within its vast tapestry of battles, the Battle of Iwo Jima holds a significant place. Lieutenant General Holland M. Smith emerged as a key figure in the planning and execution of this pivotal battle, showcasing his strategic acumen and leadership skills.
Lieutenant General Holland M. Smith, a distinguished Marine Corps officer, played a crucial role in the Pacific theater during World War II. As the Commanding General of the Fleet Marine Force Pacific, his responsibilities included planning and executing amphibious operations, making him a central figure in the Battle of Iwo Jima. Smith's military career was marked by a deep commitment to the Marine Corps and a reputation for meticulous planning and leadership.
The Battle of Iwo Jima, fought from February 19 to March 26, 1945, was a pivotal engagement in the Pacific campaign. The small volcanic island of Iwo Jima, located halfway between the Mariana Islands and Japan, held immense strategic importance for the Allied forces. It served as an ideal location for Japanese airfields, providing a critical base for intercepting U.S. bombers on their way to Japan. Recognizing the significance of capturing Iwo Jima, Allied planners, including Lieutenant General Smith, devised a meticulous strategy for the assault.
Lieutenant General Smith's role in the Battle of Iwo Jima was multifaceted. He was responsible for coordinating the various elements of the Marine Corps, Navy, and Army involved in the amphibious assault. Smith worked closely with Vice Admiral Turner, Commander Amphibious Forces Pacific, to ensure a well-coordinated landing and subsequent operations. His strategic vision emphasized the need for thorough intelligence, effective naval and aerial bombardment, and careful coordination of ground forces.
Secretary of the Navy James V. Forrestal also played a vital role in the preparation for the Battle of Iwo Jima. As the civilian head of the Navy, Forrestal worked to ensure that the necessary resources, including ships, aircraft, and manpower, were allocated to support the operation. His collaboration with military leaders like Lieutenant General Smith demonstrated the seamless coordination between civilian and military authorities during this critical phase of the war.
Vice Admiral Richard Kelly Turner, as Commander Amphibious Forces Pacific, was responsible for the naval elements of the Iwo Jima assault. His task included transporting and landing the Marines on the beaches while providing naval gunfire support and protection against Japanese naval and air counterattacks. The success of the amphibious assault hinged on the coordination between Turner's naval forces and Smith's ground forces, emphasizing the importance of joint operations.
The Battle of Iwo Jima was characterized by intense fighting, as U.S. Marines faced formidable Japanese defenses, including an intricate network of tunnels and bunkers. Lieutenant General Smith's leadership was put to the test as the Marines fought doggedly to secure the island. Despite the challenges, the Marines, with support from naval and air forces, managed to capture Iwo Jima. The battle was a costly victory, with both sides suffering heavy casualties, but it marked a crucial step toward the eventual Allied victory in the Pacific.
In conclusion, Lieutenant General Holland M. Smith's role in the Battle of Iwo Jima was instrumental in shaping the outcome of this critical engagement. His strategic planning, coordination with naval forces led by Vice Admiral Turner, and collaboration with Secretary of the Navy Forrestal exemplified the synergy required for successful joint operations. The Battle of Iwo Jima, with its high human cost, highlighted the determination and sacrifice of the U.S. Marines and showcased the effectiveness of Allied planning and execution in the Pacific theater during World War II.

Comes with hand-signed C.O.A.
*Original aerial reconnaissance photographs of Iwo Jima dating to the period of the invasion are very rare on the market. For example, a search of RareBookHub shows dozens of variations of Joe Rosenthal’s iconic photograph of the flag raising on Mount Suribachi having been offered for sale, but not a single reconnaissance photo.
This incredibly rare and museum-grade WWII Iwo Jima pre-invasion aerial reconnaissance bombing mission photograph is only a small handful of original SECRET aerial reconnaissance photographs taken prior to the amphibious D-Day assault of Iwo Jima in February 1945.
Taken on January 12th, 1945 (one month prior to the D-Day invasion of Iwo Jima in February 1945) this aerial bombing raid photograph was taken by the 11th Bomb Group during a pre-invasion “softening up” of the Japanese Iwo Jima airfields.
Pre-Invasion Bombardment:
Initial carrier raids against Iwo Jima began in June 1944. Prior to the invasion, the 8-square-mile island would suffer the longest, most intensive shelling of any Pacific island during the war. The 7th Air Force, working out of the Marianas, supplied the B-24 heavy bombers for the campaign.
In addition to the air assaults on Iwo, the Marines requested 10 days of pre-invasion naval bombardment. Due to other operational commitments and the fact that a prolonged air assault had been waged on Iwo Jima, Navy planners authorized only three days of naval bombardment. Unfavorable weather conditions further hampered its effects. Despite this, VADM Turner decided to keep the invasion date, 19 February 1945, as planned, and the Marines prepared for D-day.
This original aerial reconnaissance bombing raid Iwo Jima mission raid photograph shows what is believed to be Airfield No. 3 and partial of Airfield No. 2.
What makes this even more rare is that it is hand-signed by Air Corps Captain Frederick C. William (Intelligence Officer) 11th Bomb Group (7th Air Force).
D-day:
More than 450 ships massed off Iwo as the H-hour bombardment pounded the island. Shortly after 9:00am, Marines of the 4th and 5th Divisions hit beaches Green, Red, Yellow and Blue abreast, initially finding little enemy resistance. Coarse volcanic sand hampered the movement of men and machines as they struggled to move up the beach. As the protective naval gunfire subsided to allow for the Marine advance, the Japanese emerged from their fortified underground positions to begin a heavy barrage of fire against the invading force.
The 4th Marine Division pushed forward against heavy opposition to take the Quarry, a Japanese stronghold. The 5th Marine Division’s 28th Marines had the mission of isolating Mount Suribachi. Both tasks were accomplished that day.
The Battle Continues:
On 20 February, one day after the landing, the 28th Marines secured the southern end of Iwo and moved to take the summit of Suribachi. By day’s end, one third of the island and Motoyama Airfield No. 1 was controlled by the Marines. By 23 February, the 28th Marines would reach the top of Mount Suribachi and raise the U.S. flag.
The 3d Marine Division joined the fighting on the fifth day of the battle. These Marines immediately began the mission of securing the center sector of the island. Each division fought hard to gain ground against a determined Japanese defender. The Japanese leaders knew with the fall of Suribachi and the capture of the airfields that the Marine advance on the island could not be stopped; however, they would make the Marines fight for every inch of land they won.
Lieutenant General Tadamishi Kuribayashi, commander of the Japanese ground forces on Iwo Jima, concentrated his energies and his forces in the central and northern sections of the island. Miles of interlocking caves, concrete blockhouses and pillboxes proved to be some of the most impenetrable defenses encountered by the Marines in the Pacific.
The Marines worked together to drive the enemy from the high ground. Their goal was to capture the area that appropriately became known as the “Meat Grinder.” This section of the island included three distinct terrain features: Hill 382, the highest point on the northern portion of the island; an elevation known as “Turkey Knob,” which had been reinforced with concrete and was home to a large enemy communications center; and the “Amphitheater,” a southeastern extension of Hill 382.
The 3d Marine Division encountered the most heavily fortified portion of the island in their move to take Airfield No. 2. As with most of the fighting on Iwo Jima, frontal assault was the method used to gain each inch of ground. By nightfall on 9 March, the 3d Marine Division reached the island’s northeastern beach, cutting the enemy defenses in two.
On the left of the 3d Marine Division, the 5th Marine Division pushed up the western coast of Iwo Jima from the central airfield to the island’s northern tip. Moving to seize and hold the eastern portion of the island, the 4th Marine Division encountered a “mini banzai” attack from the final members of the Japanese Navy serving on Iwo. This attack resulted in the death of nearly 700 Japanese and ended the centralized resistances of enemy forces in the 4th Marine Division’s sector. The 4th Marine Division would join forces with the 3d and 5th Marine Divisions at the coast on 10 March.
Operations entered the final phases 11 March. Enemy resistance was no longer centralized and individual pockets of resistance were taken one by one. Finally on 26 March, following a banzai attack against troops and air corps personnel near the beaches, the island was declared secure. The U.S. Army’s 147th Infantry Regiment assumed ground control of the island on 4 April, relieving the largest body of Marines committed in combat to any one operation during World War II.
Background: The invasion of Iwo Jima:
Iwo Jima, whose name translates as “Sulfur Island,” was an important midway point between South Pacific bomber bases that were already in the hands of the Allies and the Japanese home islands. 700 miles from Tokyo and 350 from the nearest U.S. airbase, with a central plain suitable for large runways, American planners viewed it as a valuable target. Following months of bombardment, the 4th and 5th Marine Divisions began landing on the island on February 19, 1945.
Despite the sophistication of the American intelligence effort and the overwhelming force brought to bear, the invasion was extraordinarily costly. American planners failed to understand the defensive strategy of Japanese General Kurabayashi or the complexity and extent of the Japanese fortifications, which included a huge network of linked underground bunkers, well-hidden and -protected artillery positions, interlocking fields of fire, and some 11 miles of tunnels. They also vastly overestimated the impact of the months-long pre-invasion bombardment, which left these fortifications largely intact on the day of the invasion. Indeed, one recent writer quotes Admiral Chester Nimitz, American Commander-in-Chief, Pacific, as having said “Well, this will be easy. The Japanese will surrender Iwo Jima without a fight.” (Derrick Wright, The Battle for Iwo Jima, p. 51)
The battle for the island was among the bloodiest of the Pacific Theater of the Second World War. In total, more than 6,800 U.S. Marines lost their lives and more than 19,000 were wounded, while a staggering 18,000 of the roughly 20,000 Japanese defenders were killed. In light of these terrible losses, there was, and still is, dispute about whether the invasion had been merited.
In all, a rare photographic artifact from one of the great battles of the Second World War.

Comes with hand-signed C.O.A.
*Original aerial reconnaissance photographs of Iwo Jima dating to the period of the invasion are very rare on the market. For example, a search of RareBookHub shows dozens of variations of Joe Rosenthal’s iconic photograph of the flag raising on Mount Suribachi having been offered for sale, but not a single reconnaissance photo.
This incredibly rare and museum-grade WWII Iwo Jima pre-invasion aerial reconnaissance photograph is only a small handful of original SECRET aerial reconnaissance photographs taken prior to the amphibious D-Day assault of Iwo Jima in February 1945. Estimated to have been taken on July 4th, 1944 this WWII Iwo Jima pre-invasion aerial reconnaissance photograph is believed to be one of the main intelligence photographs used in the creation of the infamous Iwo Jima BIGOT Beach Diagrams as prepared by the Intelligence Section, Amphibious Forces Pacific. The diagrams relied on aerial photographs made on July 4, 1944, more than seven months before the invasion. They show little in the way of manmade impediments to amphibious invasion, belying the extensive Japanese fortifications and the dogged resistance that the Marines would face from the roughly 20,000 defenders. Eschewing Japanese doctrine, which called for him to contest every inch of the landing beaches, Lieutenant General Tadamichi Kuribayashi instead instructed his soldiers to allow the American forces to land en masse, before springing traps to kill as many newly-landed troops as possible.
American planners also misunderstood the nature of the volcanic sand and terrain of the beaches, most of which was thought to be perfectly suitable for disembarking and traversing. In these diagrams, particularly the one for the southwestern beaches, the volcanic sand is described as “firm” and “firm enough for movement of vehicles.” In reality, the ash was very difficult to traverse, and equally difficult to dig into, greatly complicating the unloading of equipment and vehicles and the excavation of foxholes and trenches.
These errors were symptomatic of a general lack of accurate pre-invasion intelligence, which ultimately cost hundreds, even thousands of American lives.
A select handful of SECRET pre-invasion aerial reconnaissance missions were flown over Iwo Jima to improve TARGET maps and D-Day invasion maps to brief Marine Divisions on the most updated Japanese defenses and movements. This large pieced together intelligence section shows the EASTERN SECTOR of Iwo Jima.
This original aerial reconnaissance mission photograph shows Airfield No. 3 (under construction), Airfield No. 2, Tachiiwa Point, Quarry, and the possible start of the landing beach BLUE 2.
Pre-Invasion Bombardment:
Initial carrier raids against Iwo Jima began in June 1944. Prior to the invasion, the 8-square-mile island would suffer the longest, most intensive shelling of any Pacific island during the war. The 7th Air Force, working out of the Marianas, supplied the B-24 heavy bombers for the campaign.
In addition to the air assaults on Iwo, the Marines requested 10 days of pre-invasion naval bombardment. Due to other operational commitments and the fact that a prolonged air assault had been waged on Iwo Jima, Navy planners authorized only three days of naval bombardment. Unfavorable weather conditions further hampered its effects. Despite this, VADM Turner decided to keep the invasion date, 19 February 1945, as planned, and the Marines prepared for D-day.
D-day:
More than 450 ships massed off Iwo as the H-hour bombardment pounded the island. Shortly after 9:00am, Marines of the 4th and 5th Divisions hit beaches Green, Red, Yellow and Blue abreast, initially finding little enemy resistance. Coarse volcanic sand hampered the movement of men and machines as they struggled to move up the beach. As the protective naval gunfire subsided to allow for the Marine advance, the Japanese emerged from their fortified underground positions to begin a heavy barrage of fire against the invading force.
The 4th Marine Division pushed forward against heavy opposition to take the Quarry, a Japanese stronghold. The 5th Marine Division’s 28th Marines had the mission of isolating Mount Suribachi. Both tasks were accomplished that day.
The Battle Continues:
On 20 February, one day after the landing, the 28th Marines secured the southern end of Iwo and moved to take the summit of Suribachi. By day’s end, one third of the island and Motoyama Airfield No. 1 was controlled by the Marines. By 23 February, the 28th Marines would reach the top of Mount Suribachi and raise the U.S. flag.
The 3d Marine Division joined the fighting on the fifth day of the battle. These Marines immediately began the mission of securing the center sector of the island. Each division fought hard to gain ground against a determined Japanese defender. The Japanese leaders knew with the fall of Suribachi and the capture of the airfields that the Marine advance on the island could not be stopped; however, they would make the Marines fight for every inch of land they won.
Lieutenant General Tadamishi Kuribayashi, commander of the Japanese ground forces on Iwo Jima, concentrated his energies and his forces in the central and northern sections of the island. Miles of interlocking caves, concrete blockhouses and pillboxes proved to be some of the most impenetrable defenses encountered by the Marines in the Pacific.
The Marines worked together to drive the enemy from the high ground. Their goal was to capture the area that appropriately became known as the “Meat Grinder.” This section of the island included three distinct terrain features: Hill 382, the highest point on the northern portion of the island; an elevation known as “Turkey Knob,” which had been reinforced with concrete and was home to a large enemy communications center; and the “Amphitheater,” a southeastern extension of Hill 382.
The 3d Marine Division encountered the most heavily fortified portion of the island in their move to take Airfield No. 2. As with most of the fighting on Iwo Jima, frontal assault was the method used to gain each inch of ground. By nightfall on 9 March, the 3d Marine Division reached the island’s northeastern beach, cutting the enemy defenses in two.
On the left of the 3d Marine Division, the 5th Marine Division pushed up the western coast of Iwo Jima from the central airfield to the island’s northern tip. Moving to seize and hold the eastern portion of the island, the 4th Marine Division encountered a “mini banzai” attack from the final members of the Japanese Navy serving on Iwo. This attack resulted in the death of nearly 700 Japanese and ended the centralized resistances of enemy forces in the 4th Marine Division’s sector. The 4th Marine Division would join forces with the 3d and 5th Marine Divisions at the coast on 10 March.
Operations entered the final phases 11 March. Enemy resistance was no longer centralized and individual pockets of resistance were taken one by one. Finally on 26 March, following a banzai attack against troops and air corps personnel near the beaches, the island was declared secure. The U.S. Army’s 147th Infantry Regiment assumed ground control of the island on 4 April, relieving the largest body of Marines committed in combat to any one operation during World War II.
Background: The invasion of Iwo Jima:
Iwo Jima, whose name translates as “Sulfur Island,” was an important midway point between South Pacific bomber bases that were already in the hands of the Allies and the Japanese home islands. 700 miles from Tokyo and 350 from the nearest U.S. airbase, with a central plain suitable for large runways, American planners viewed it as a valuable target. Following months of bombardment, the 4th and 5th Marine Divisions began landing on the island on February 19, 1945.
Despite the sophistication of the American intelligence effort and the overwhelming force brought to bear, the invasion was extraordinarily costly. American planners failed to understand the defensive strategy of Japanese General Kurabayashi or the complexity and extent of the Japanese fortifications, which included a huge network of linked underground bunkers, well-hidden and -protected artillery positions, interlocking fields of fire, and some 11 miles of tunnels. They also vastly overestimated the impact of the months-long pre-invasion bombardment, which left these fortifications largely intact on the day of the invasion. Indeed, one recent writer quotes Admiral Chester Nimitz, American Commander-in-Chief, Pacific, as having said “Well, this will be easy. The Japanese will surrender Iwo Jima without a fight.” (Derrick Wright, The Battle for Iwo Jima, p. 51)
The battle for the island was among the bloodiest of the Pacific Theater of the Second World War. In total, more than 6,800 U.S. Marines lost their lives and more than 19,000 were wounded, while a staggering 18,000 of the roughly 20,000 Japanese defenders were killed. In light of these terrible losses, there was, and still is, dispute about whether the invasion had been merited.
In all, a rare photographic artifact from one of the great battles of the Second World War.
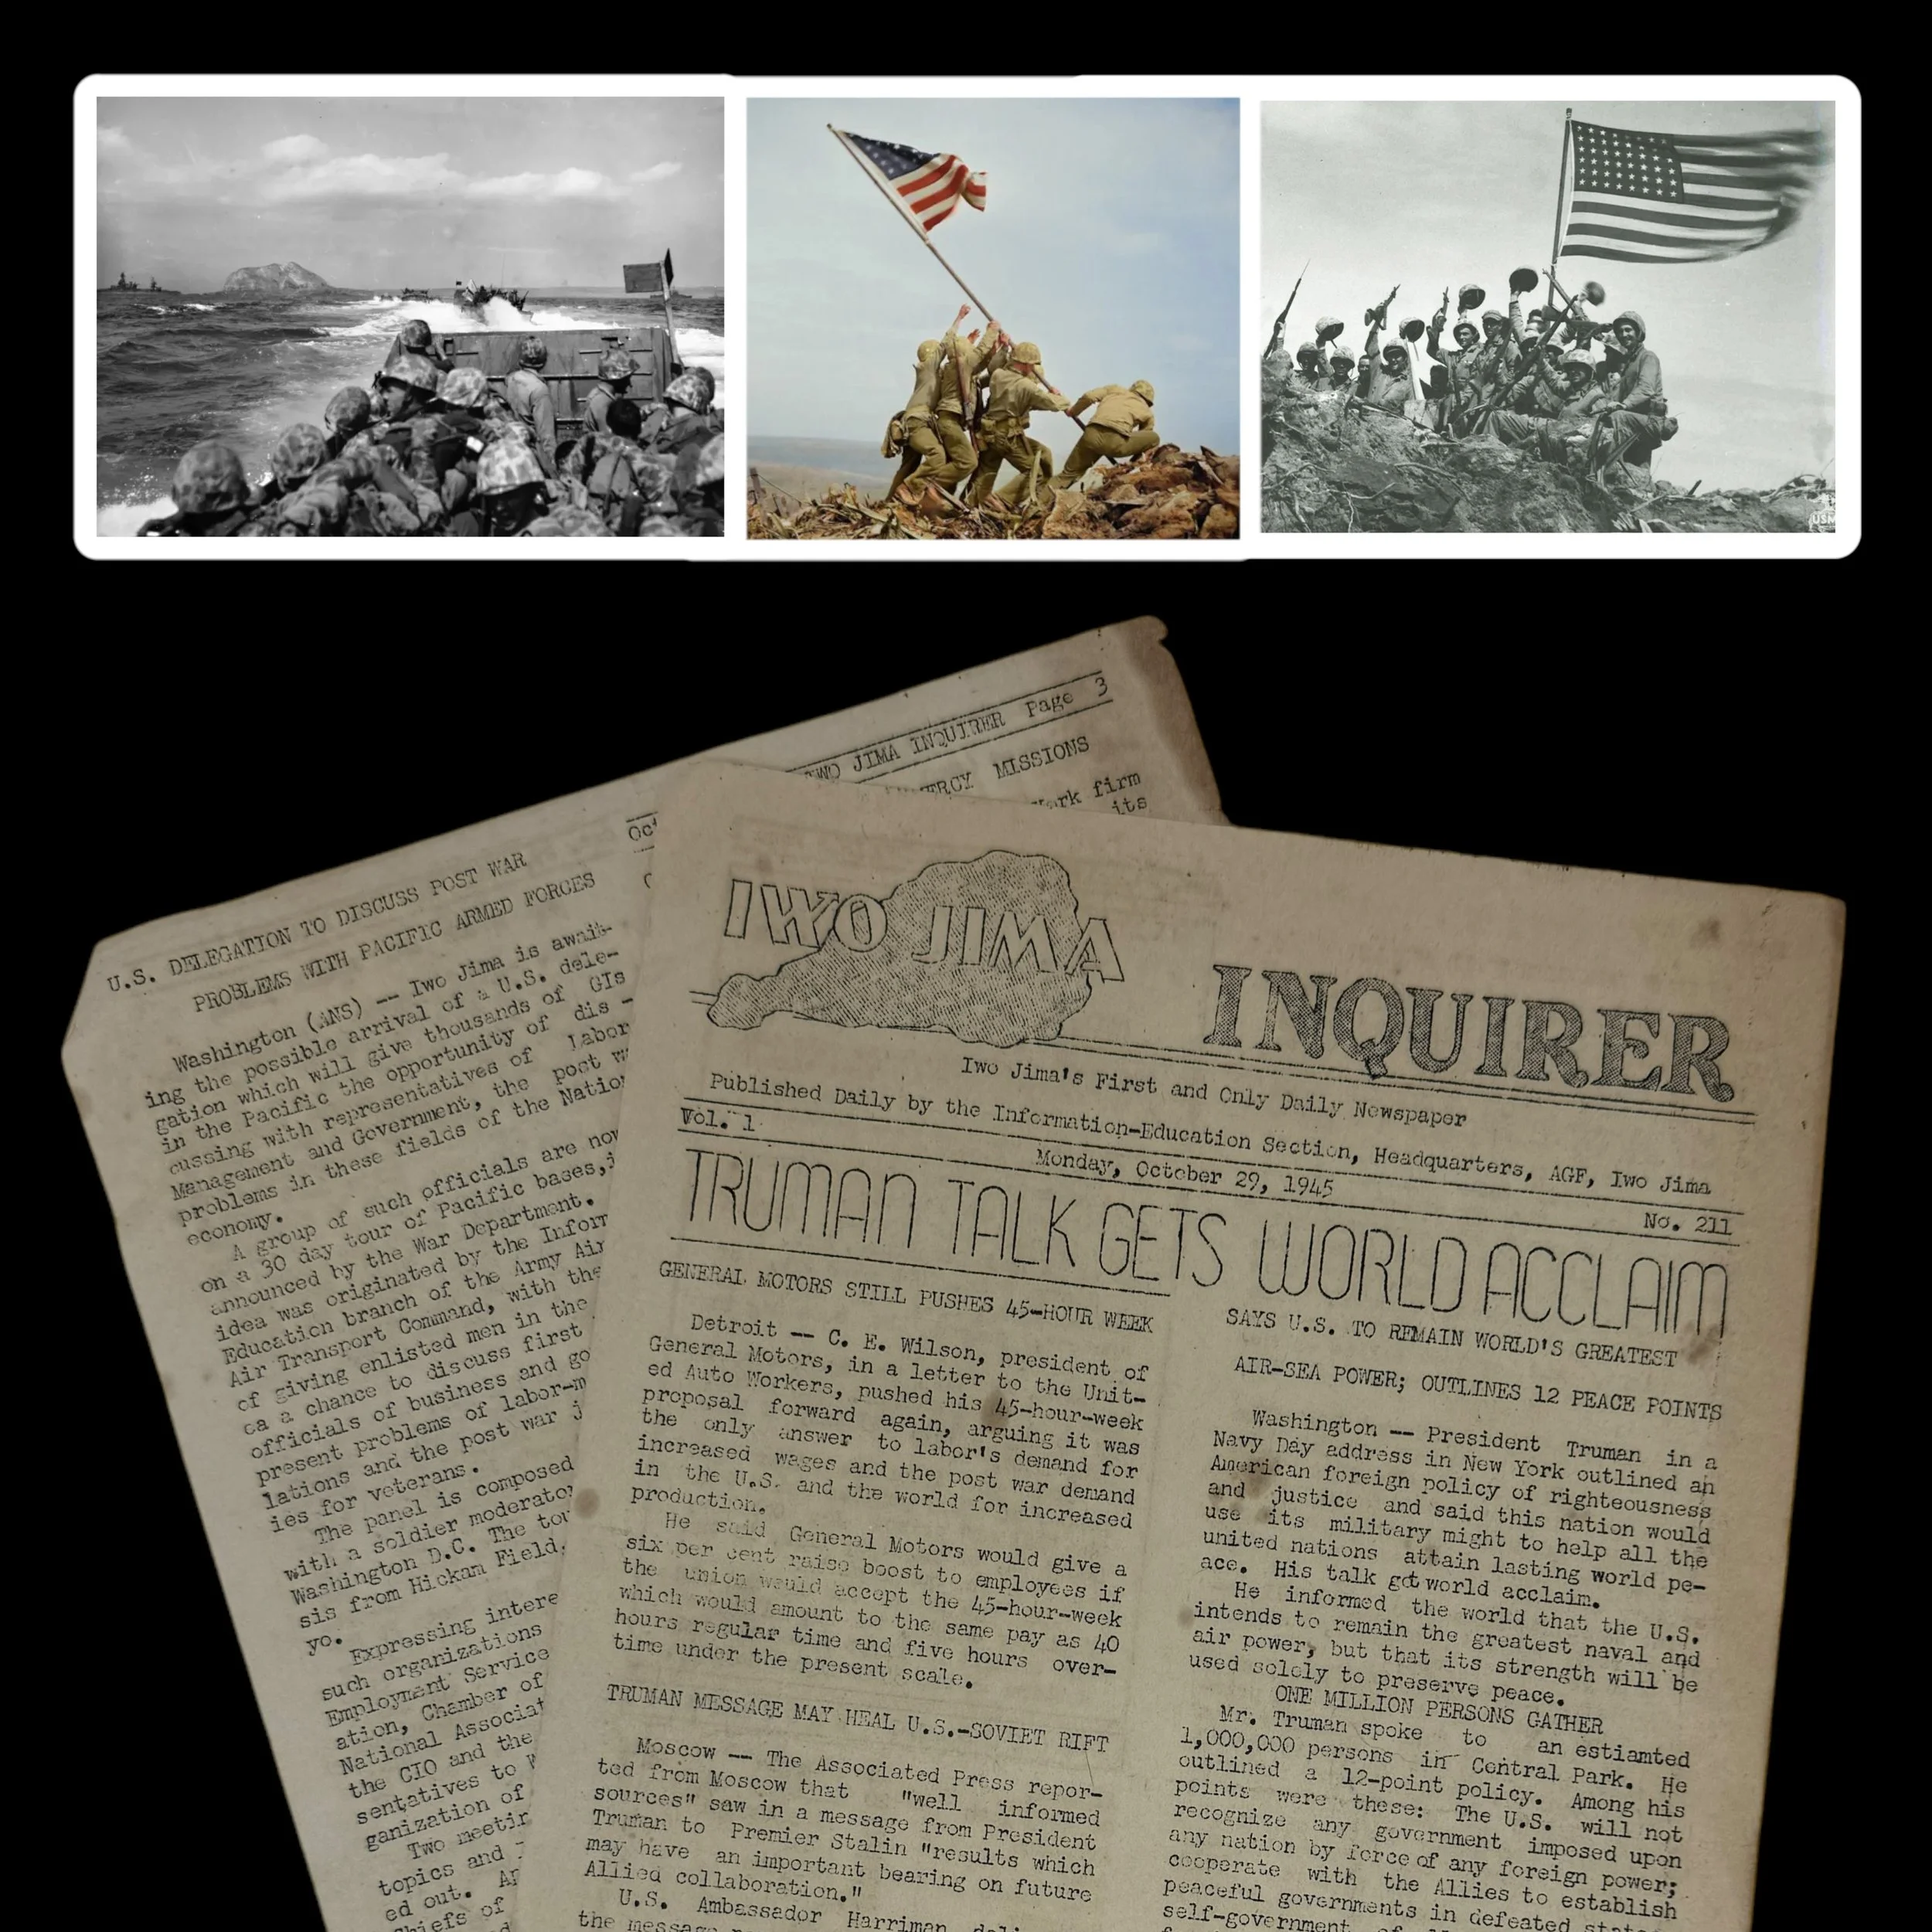
Comes with a hand-signed C.O.A.
*Proudly deemed "IWO JIMA'S FIRST & ONLY DAILY NEWSPAPER" the 1945 Iwo Jima Inquirer is considered a highly sought-after relic of both journalistic and military history. Due to the harsh conditions under which this battlefield newspaper was printed on Iwo Jima, few copies survived the war. Those that remain are held by high-end museums archives.
Size: 8 x 13 inches
This exceptionally rare, museum-grade WWII artifact is an original 1945 "Iwo Jima Inquirer" battlefield-printed newspaper. Dated October 29th, 1945, this unique publication is a remarkable testament to the grit and resilience of the Marines and military journalists stationed on Iwo Jima. It stands as a symbol of the determination to maintain communication and morale amidst one of the most brutal and pivotal battles of the Pacific Theater.
Publishing a newspaper in a battle zone was a near-impossible task. Equipment was scarce, paper supplies were limited, and the constant threat of enemy fire meant that the editorial team often had to move their operations to avoid danger. Yet, despite these overwhelming challenges, the dedicated Marines, military journalists, and press corps on the island succeeded in producing the Iwo Jima Inquirer. This battlefield-printed newspaper was created, written, and distributed entirely on the island, making it an unprecedented and singular piece of military press history.
While modest in appearance, the importance of the Iwo Jima Inquirer far exceeded its physical form. Produced on rudimentary printing presses, often under perilous conditions, the newspaper delivered vital news and updates to the soldiers stationed on the island. More than just a source of information, it became a lifeline, connecting the troops to the broader war effort and, crucially, to the world they had left behind. In an environment of chaos and uncertainty, the paper provided a sense of normalcy, giving the soldiers a brief respite from the horrors of battle.
The Battle of Iwo Jima, which lasted from February 19 to March 26, 1945, was one of the fiercest confrontations between U.S. forces and Imperial Japan. The U.S. Marines faced brutal resistance as they fought to secure the small, strategic island, which was critical for providing a base for air support and future operations against Japan. The intense combat resulted in approximately 26,000 American casualties, including nearly 7,000 deaths. After the battle, Iwo Jima became a key military outpost, with its airfields used by Allied forces for bombing raids on the Japanese mainland until the end of the war.
Despite the cessation of active combat on the island, life on Iwo Jima after the battle was far from peaceful. The island remained a critical airbase, where U.S. forces continued operations until Japan’s surrender in September 1945. Soldiers stationed on Iwo Jima faced isolation, the ongoing threat of booby traps left by Japanese forces, and the psychological toll of having fought in one of the war’s bloodiest battles. Amid this atmosphere of uncertainty, the Iwo Jima Inquirer served as a vital outlet, providing news, updates, and, most importantly, a connection to the outside world.
The Iwo Jima Inquirer, though small and short-lived, was a symbol of resilience and hope for the soldiers who read it. The fact that it was printed at all, amidst the rubble of war, is a testament to the unyielding human spirit. The paper embodied the belief that even in the direst of circumstances, information and communication were essential for survival. It also underscored the military’s commitment to maintaining morale, even on the most remote and war-torn battlefields.
Today, the Iwo Jima Inquirer is considered a highly sought-after relic of both journalistic and military history. Due to the harsh conditions under which it was printed, few copies survived the war. Those that remain are held by museums, collectors, and archives as precious artifacts, offering a rare glimpse into the lives of the soldiers who fought on Iwo Jima. These newspapers are not only valuable for their historical context but also for the poignant story they tell—of soldiers seeking connection, comfort, and hope during one of the most harrowing experiences of World War II.
This original 1945 Iwo Jima Inquirer is a piece of history that continues to resonate, symbolizing the indomitable will of those who fought and served during the war. It stands as a rare, tangible link to the battlefield, a testament to the importance of communication, and a tribute to the extraordinary efforts of those who kept the spirit of humanity alive in the most difficult of times.
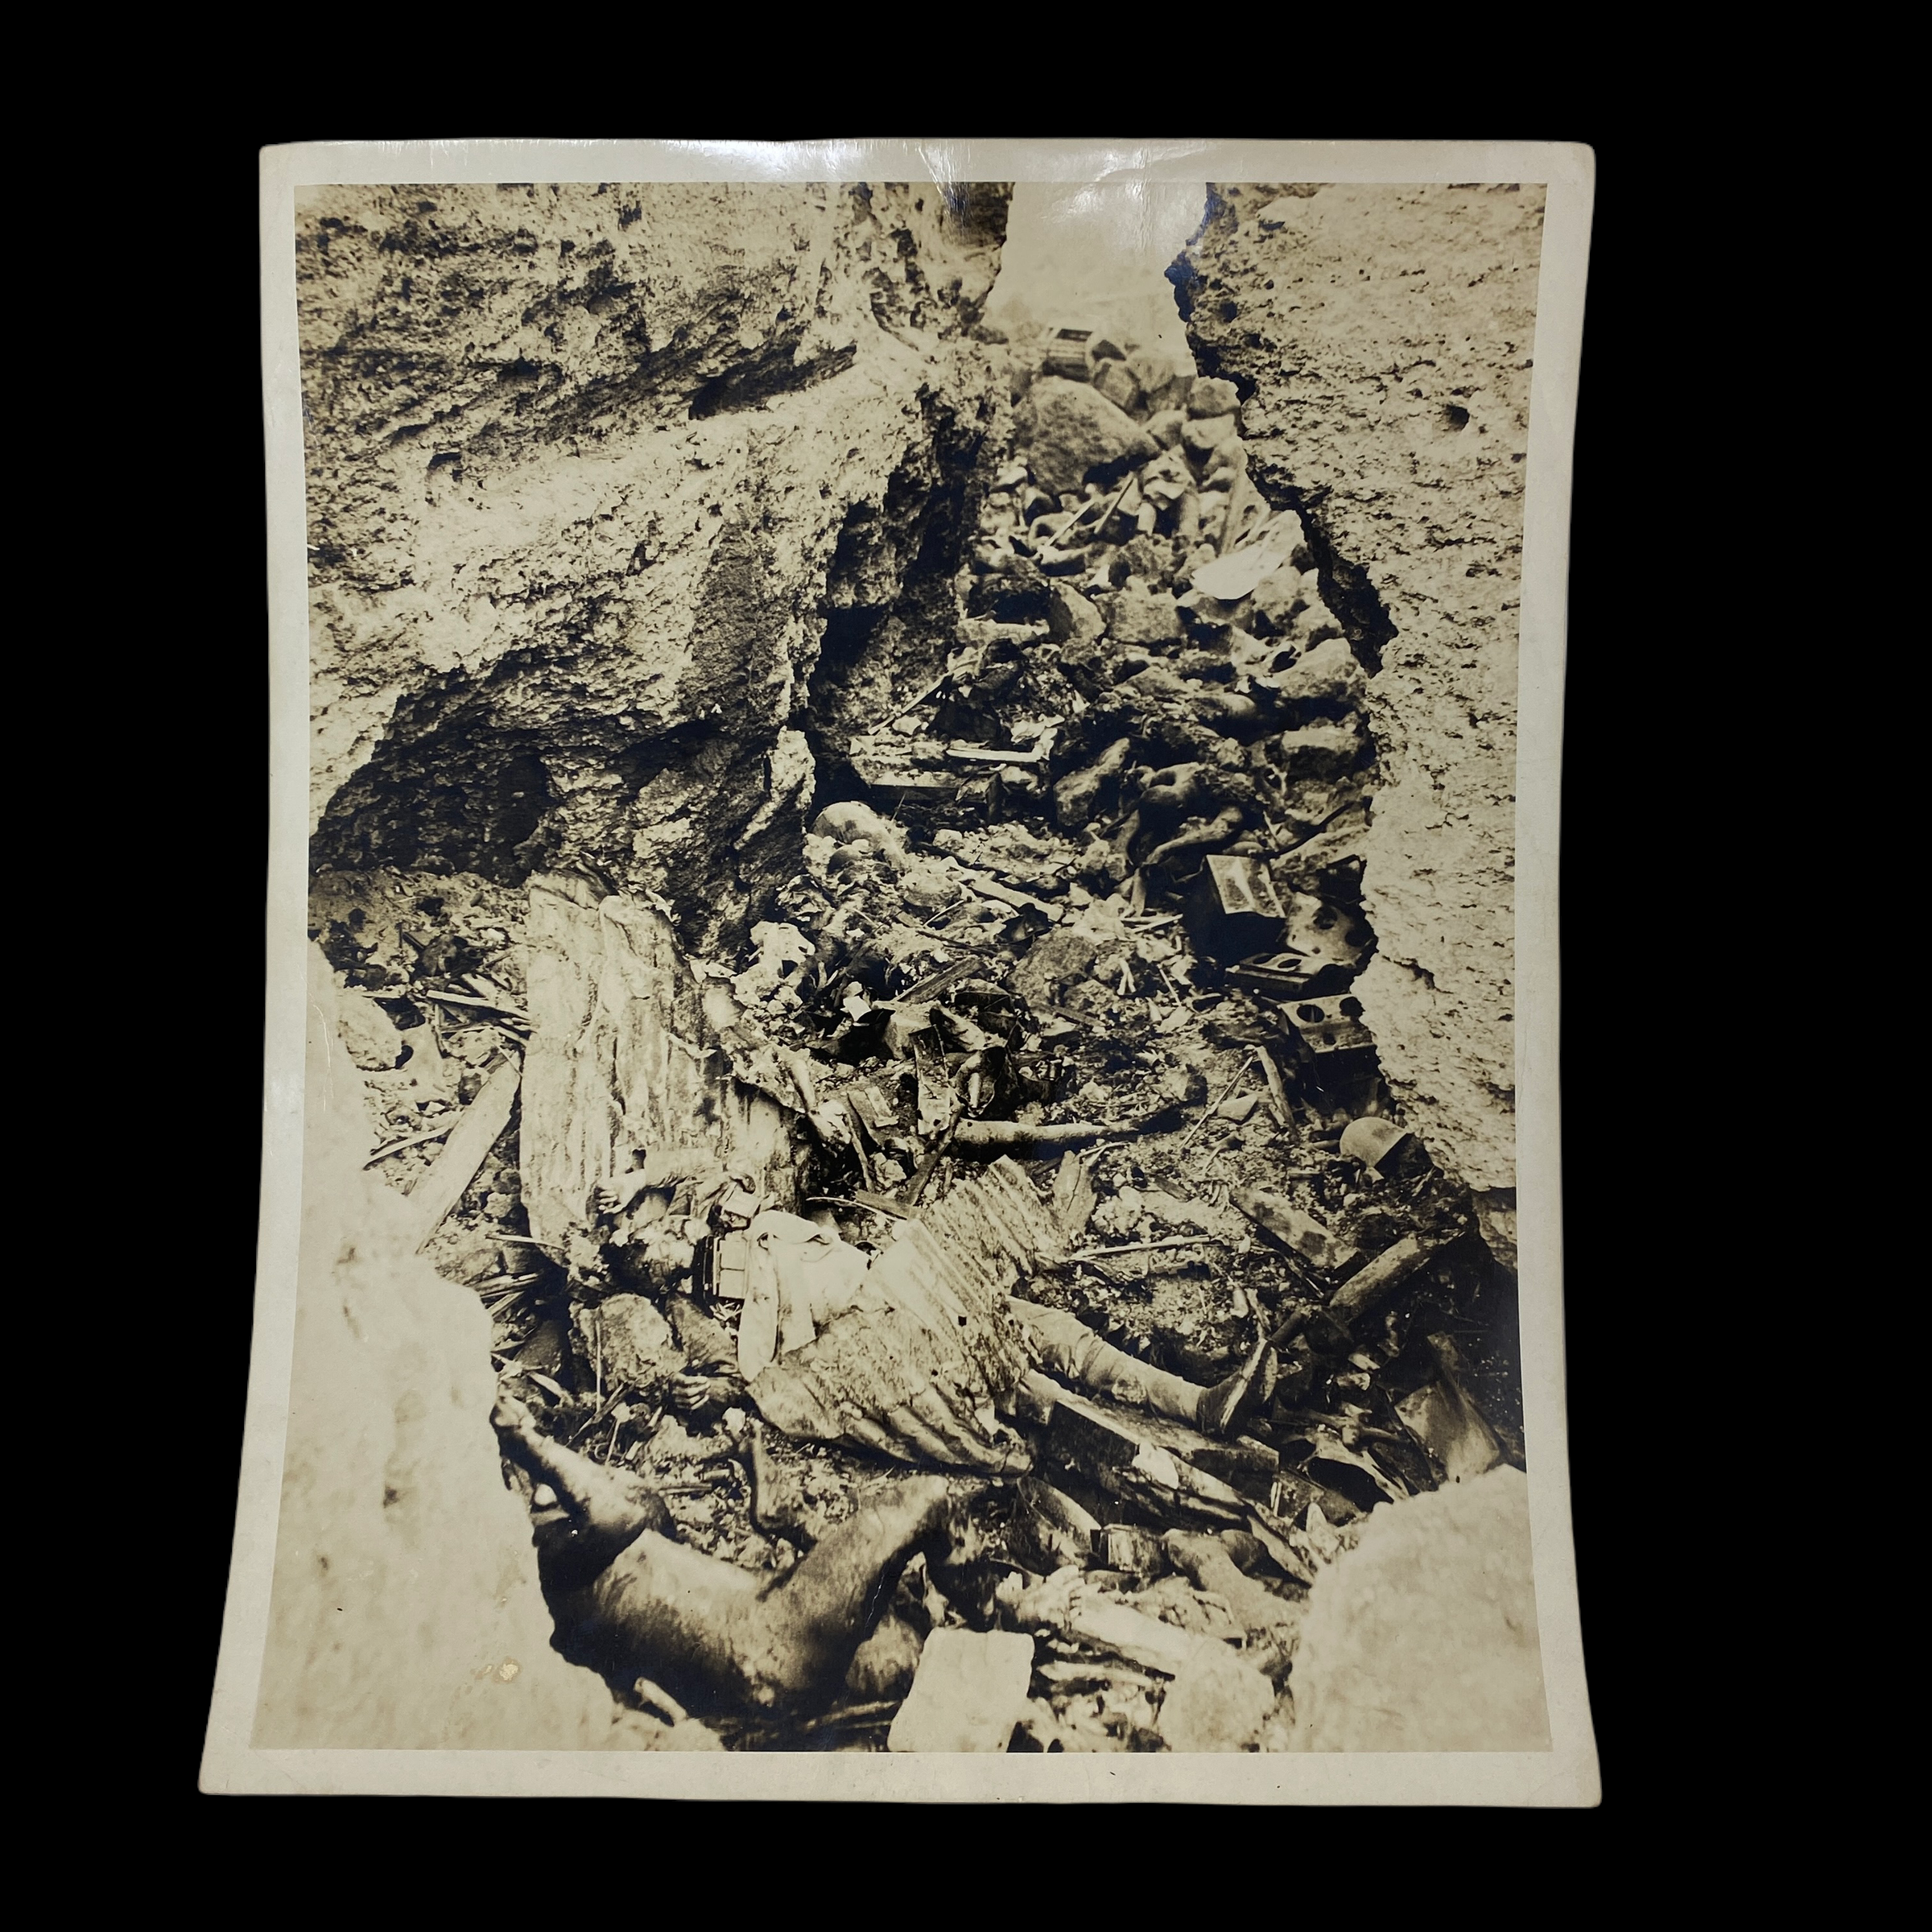
Comes with C.O.A.
Size: 8 x 9.5 inches
This is an incredible unreleased and unseenCOM-PHIB-PAC ("Commander, Amphibious Forces, Pacific Fleet")photograph taken by a U.S. military intelligence photographer during U.S. operations on Iwo Jima. What makes this intelligence photo even more rare is the handinscribe location it was taken “Hill 382 - Iwo Jima”. Hill 382 is very famous in the Battle of Iwo Jima andwas the highest point north of Suribachi. The 4th Marine Division finally seized Hill 382, but continued to take heavy casualties moving through The Amphitheater against Turkey Knob.
*This is the original developed photograph, making this the original 1 of 1 and very rare Iwo Jima historical artifact. The condition is remarkable and is truly a museum grade artifact. When framed, this would be the prized piece for any USMC, WWII, or Iwo Jima collection.
This very rare photograph shows the absolute true destruction of war and was never meant to be released to the public. The job to take these photographs were extremely dangerous as they were taken during the operation and often times very much near the front lines. These were then sent and developed in the Pacific Theater where they were used for future military intelligence and future planning of operations in the Pacific Theater.
Marines on Hill 382:
Marines of 23rd Regiment, 5th Marine Division, take cover from exploding satchel charge thrown into Japanese bunker. The stoutest defenses in the north of Iwo Jima were Hill 382 (which the Japanese called Nidan Iwa), the Amphitheater, Turkey Knob, and the smashed village of Minami. These several closely related positions become known collectively as the "Meat Grinder". Nidan Iwa, 382 feet high, was located 250 yards northeast of the east-west runway of Motoyama airfield #2. The top of the hill, surmounted by the stark remains of a Japanese radar station, was hollowed out and rebuilt to contain field pieces and antitank weapons. Each of these concrete gun housings was in turn protected by as many as ten supporting machine-gun emplacements. The rest of the hill was honeycombed with the same elaborate tunneling that characterized other major installations on the island. In addition, crevices and ridges crisscrossed the entire surrounding area. Light and medium tanks, armed with 57mm and 47mm guns, parked well back in these crevices, commanded the length of the main runway of the airfield and approaches from the southwest. These guns could defeat the armor of the M4 Sherman tank. After a two-day attack starting on February 28, 1945, Company E of the 23rd Marines broke through and captured Hill 382. The 23rd Marines suffered 50 percent casualties since D-Day.
Iwo Jima:
On February 19, 1945, U.S. Marines made an amphibious landing on Iwo Jima and were met immediately with unforeseen challenges. First and foremost, the beaches of the island were made up of steep dunes of soft, gray volcanic ash, which made getting sturdy footing and passage for vehicles difficult.As the Marines struggled forward, the Japanese laid in wait. The Americans assumed the pre-attack bombardment had been effective, and had crippled the enemy’s defenses on the island.However, the lack of immediate response was simply part of Kuribayashi’s plan.With the Americans struggling to get a foothold on the beaches of Iwo Jima—literally and figuratively—Kuribayashi’s artillery positions in the mountains above opened fire, stalling the advancing Marines and inflicting significant casualties.Despite a banzai charge by dozens of Japanese soldiers as dusk fell, however, the Marines were eventually able to move in past the beach and seize part of one Iwo Jima’s airfields—the stated mission of the invasion.Within days, some 70,000 U.S. Marines landed on Iwo Jima. Although they significantly outnumbered their Japanese enemies on the island (by a more than three-to-one margin), many Americans were wounded or killed over the five weeks of fighting, with some estimates suggesting more than 25,000 casualties, including nearly 7,000 deaths. The Japanese, meanwhile, were also suffering major losses, and were running low on supplies—namely, weapons and food. Under Kuribayashi’s leadership, they mounted most of their defenses via attacks under the cover of darkness.
American Veterans Center
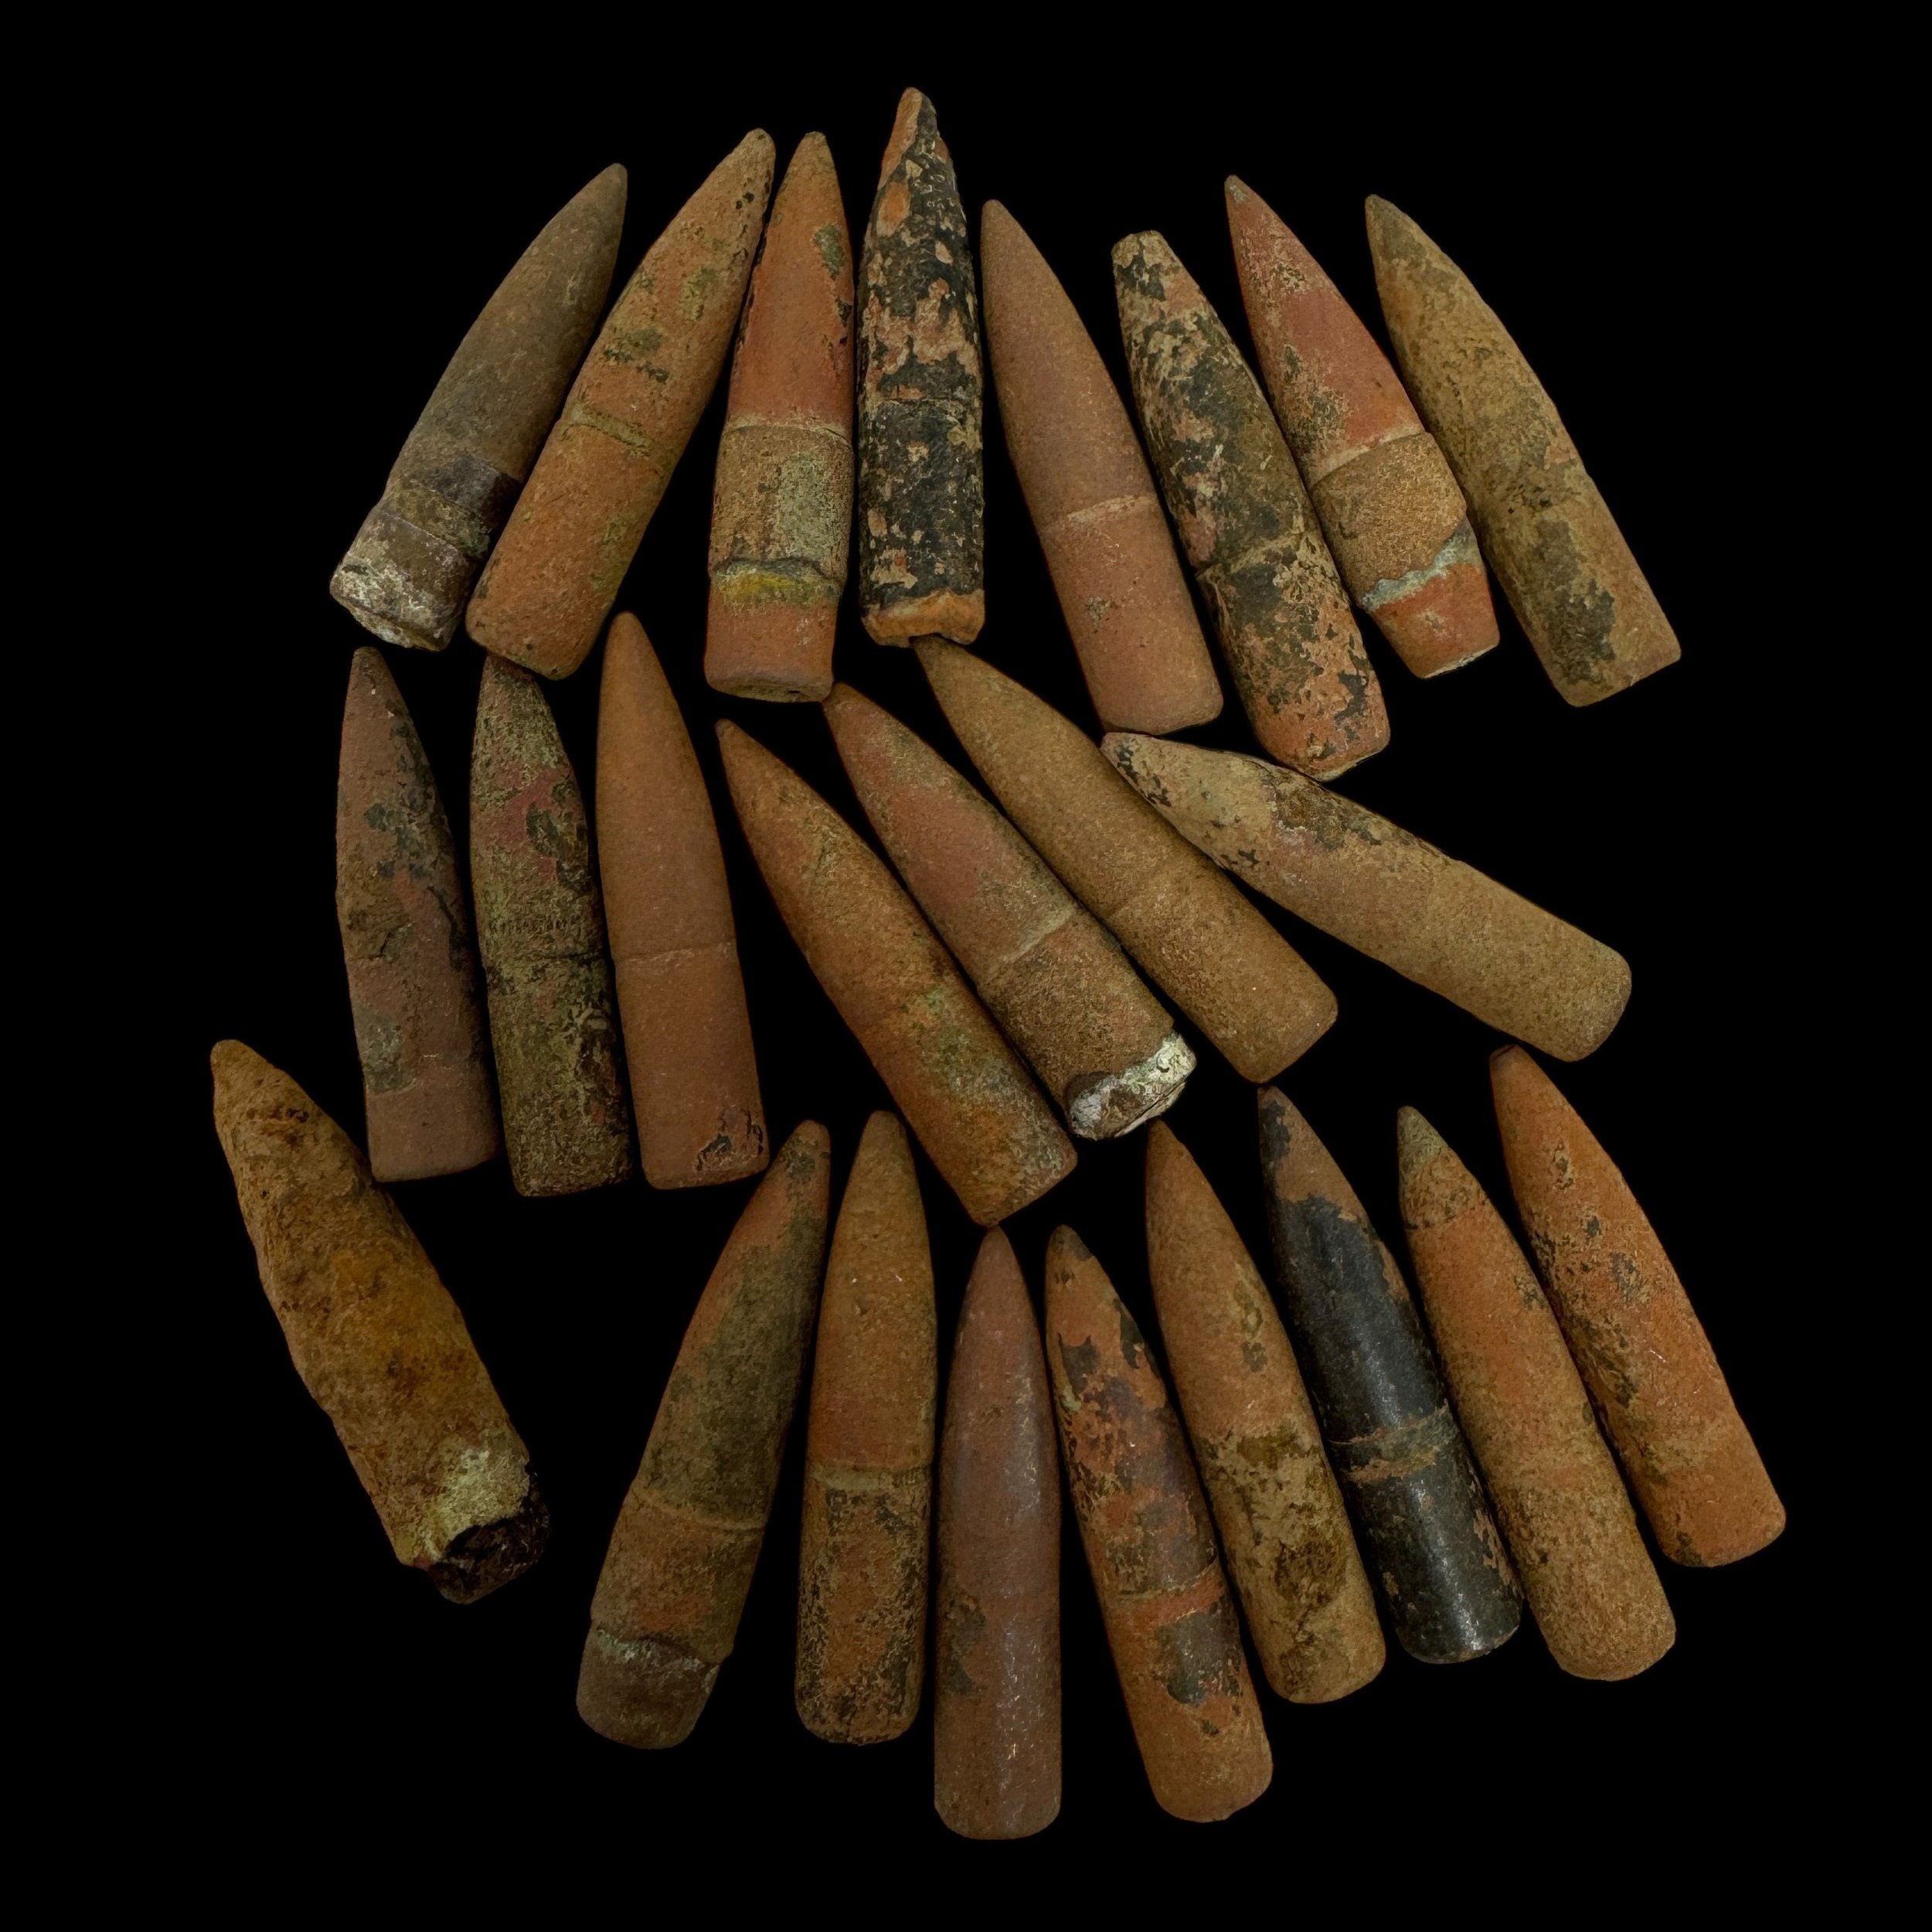
Comes with hand-signed C.O.A. and a full historical write-up
Type: Original World War II “FIRED” Rifle Bullet
Campaign: European Theater
Battle/Operation: Operation Market Garden
Battlefield Recovered: Recovered during a professional excavation from Arnhem to Eindhoven
Date: September 1944
This extraordinary artifact, of exceptional museum-grade quality, is an original fired rifle bullet recovered during a meticulous and professionally conducted excavation of the historic Operation Market Garden battlefield. Unearthed from the very ground where history was written, this casing offers a tangible link to one of World War II’s most daring and costly campaigns.
Recovered from the expansive battlefield stretching from Arnhem to Eindhoven, this artifact tells the story of the Allied forces' ambitious effort to outflank German defenses and secure a series of critical bridges across the Netherlands. Launched in September 1944, Operation Market Garden brought together elite units from the British 1st Airborne Division, the U.S. 101st and 82nd Airborne Divisions, and the Polish 1st Independent Parachute Brigade, supported by ground forces from the British XXX Corps. Facing them were well-trained German units, including elements of the feared SS Panzer Divisions, who fiercely defended their positions with devastating effectiveness.
The operation, intended to be a swift blow to the heart of German defenses, resulted in staggering losses on both sides. Of the 35,000 Allied troops who participated, nearly 17,000 were killed, wounded, or captured. German forces also suffered significant casualties, estimated at around 13,000 dead and wounded. The intense fighting, especially in Arnhem and Nijmegen, left lasting scars on the region and on the soldiers who fought there.
Every detail of this bullet, from its weathered patina to its unique markings, serves as a silent witness to the extraordinary bravery and immense sacrifice of those who fought during this critical campaign. It stands as a testament to the determination of the Allied forces who risked everything to liberate Europe and the fierce resistance mounted by the German defenders in the face of overwhelming odds.
This relic’s profound connection to Operation Market Garden makes it an invaluable piece of history, perfect for any collector, historian, or World War II enthusiast. It is a timeless reminder of the courage, sacrifice, and resilience that defined one of the most pivotal and costly battles of the war.
*When you purchase an original World War II artifact from this exclusive battlefield-recovered bullet collection, you will receive one randomly selected bullet from the remarkable group of relics shown in the photos. Each artifact in this collection was carefully recovered from the historic Operation Market Garden battlefield, and the photos provided represent the exact number of preserved items available. This means the artifact you receive will be one of the very bullets pictured, ensuring its authenticity and direct connection to this iconic WWII event.
Operation Market Garden, launched in September 1944, was one of the most ambitious Allied military operations of World War II. Its goal was to secure key bridges across the rivers of the Netherlands to allow a rapid advance into northern Germany, bypassing the heavily fortified Siegfried Line. The operation combined an airborne assault—Market—and a ground offensive—Garden. However, despite the boldness of its concept, Operation Market Garden failed to achieve its objectives and became a sobering reminder of the complexities of warfare.
The airborne component, Market, was tasked with capturing and holding bridges at Eindhoven, Nijmegen, and Arnhem. These bridges were critical to the success of the operation, as they would provide a corridor for the British XXX Corps, which formed the ground offensive, Garden, to advance northward. The operation involved three airborne divisions: the U.S. 101st Airborne Division near Eindhoven, the U.S. 82nd Airborne Division near Nijmegen, and the British 1st Airborne Division near Arnhem. Each division faced unique challenges, compounded by strong German resistance and logistical hurdles.
The town of Eindhoven was the first major objective. The 101st Airborne Division, under the command of Major General Maxwell D. Taylor, was assigned to capture several bridges around Eindhoven and facilitate the advance of XXX Corps. The paratroopers encountered resistance from German units equipped with the reliable Karabiner 98k bolt-action rifle, the standard-issue weapon for German infantry. The Karabiner 98k, known for its accuracy and durability, was a formidable weapon in the hands of the defending forces. Allied soldiers, armed primarily with M1 Garand rifles, faced a challenging fight. The M1 Garand, a semi-automatic rifle that gave U.S. soldiers a firepower advantage, proved instrumental in the skirmishes. However, the Germans countered with their MG 42 machine guns, known for their high rate of fire, which made crossing open areas perilous. Despite these difficulties, the 101st managed to secure its objectives, enabling the ground forces to link up with them.
Nijmegen was the site of intense and prolonged fighting, primarily involving the U.S. 82nd Airborne Division under Major General James M. Gavin. Their mission was to seize the vital Nijmegen Bridge over the Waal River. The bridge was heavily defended by German troops, including elite SS units armed with a variety of weapons, such as the Sturmgewehr 44 (StG 44), the world’s first assault rifle. The StG 44 combined the firepower of a submachine gun with the range of a rifle, giving the Germans a significant edge in urban combat. The American paratroopers, equipped with their M1 Garands and M1 Carbines, had to contend with the StG 44's superior versatility and firepower. Additionally, the Germans laid down suppressive fire with the MG 34 and MG 42 machine guns, creating a deadly crossfire.
In one of the most dramatic moments of the campaign, the 82nd Airborne conducted a daring river crossing under heavy fire to outflank the defenders. Using small boats and under the cover of smoke, the paratroopers braved intense enemy fire to reach the opposite bank and assault the German positions. Their tenacity eventually allowed the Allies to capture the Nijmegen Bridge, but the delay proved costly for the overall operation.
Arnhem, the final and most ambitious objective, became the focal point of the operation’s failure. The British 1st Airborne Division, under Major General Roy Urquhart, was tasked with capturing the Arnhem Bridge over the Rhine River. Unknown to the Allies, the area around Arnhem was heavily reinforced with German troops, including elements of the 9th and 10th SS Panzer Divisions. These units were well-equipped and battle-hardened, presenting a formidable obstacle to the lightly armed British paratroopers.
The British soldiers carried the Lee-Enfield No. 4 Mk I bolt-action rifle, a reliable and accurate weapon that had served the British Army since the beginning of the war. However, its slower rate of fire compared to semi-automatic weapons placed the British at a disadvantage in close-quarters combat against German forces armed with the StG 44 and supported by MG 42 machine guns. The paratroopers also faced severe shortages of ammunition, food, and medical supplies due to disrupted supply lines and the inability to establish a secure drop zone.
The fighting in Arnhem was brutal and unrelenting. The British managed to secure the northern end of the bridge, but they were quickly isolated and subjected to fierce counterattacks. German snipers armed with Karabiner 98k rifles and machine-gun teams entrenched in strategic positions made movement across the city perilous. Artillery fire further compounded the British plight, and their positions became increasingly untenable. After nine days of heroic resistance, the surviving members of the 1st Airborne Division were forced to withdraw, leaving Arnhem in German hands.
The failure to secure Arnhem meant that Operation Market Garden could not achieve its ultimate objective of crossing the Rhine and outflanking the Siegfried Line. The inability to hold the bridge at Arnhem was due to a combination of factors, including flawed intelligence, underestimated German strength, and logistical challenges. The operation cost the Allies over 17,000 casualties, including killed, wounded, and captured. German casualties were also significant but less decisive in terms of their ability to continue defending the region.
Operation Market Garden highlighted the limitations of airborne warfare and the dangers of overextending supply lines. While the operation demonstrated the bravery and resilience of Allied troops, it also underscored the importance of thorough planning and coordination in complex military campaigns. The rifles and bullets of this operation, from the M1 Garand to the Karabiner 98k and the groundbreaking StG 44, played pivotal roles in the battles at Eindhoven, Nijmegen, and Arnhem, reflecting the technological evolution of warfare and the unforgiving realities of combat during World War II.
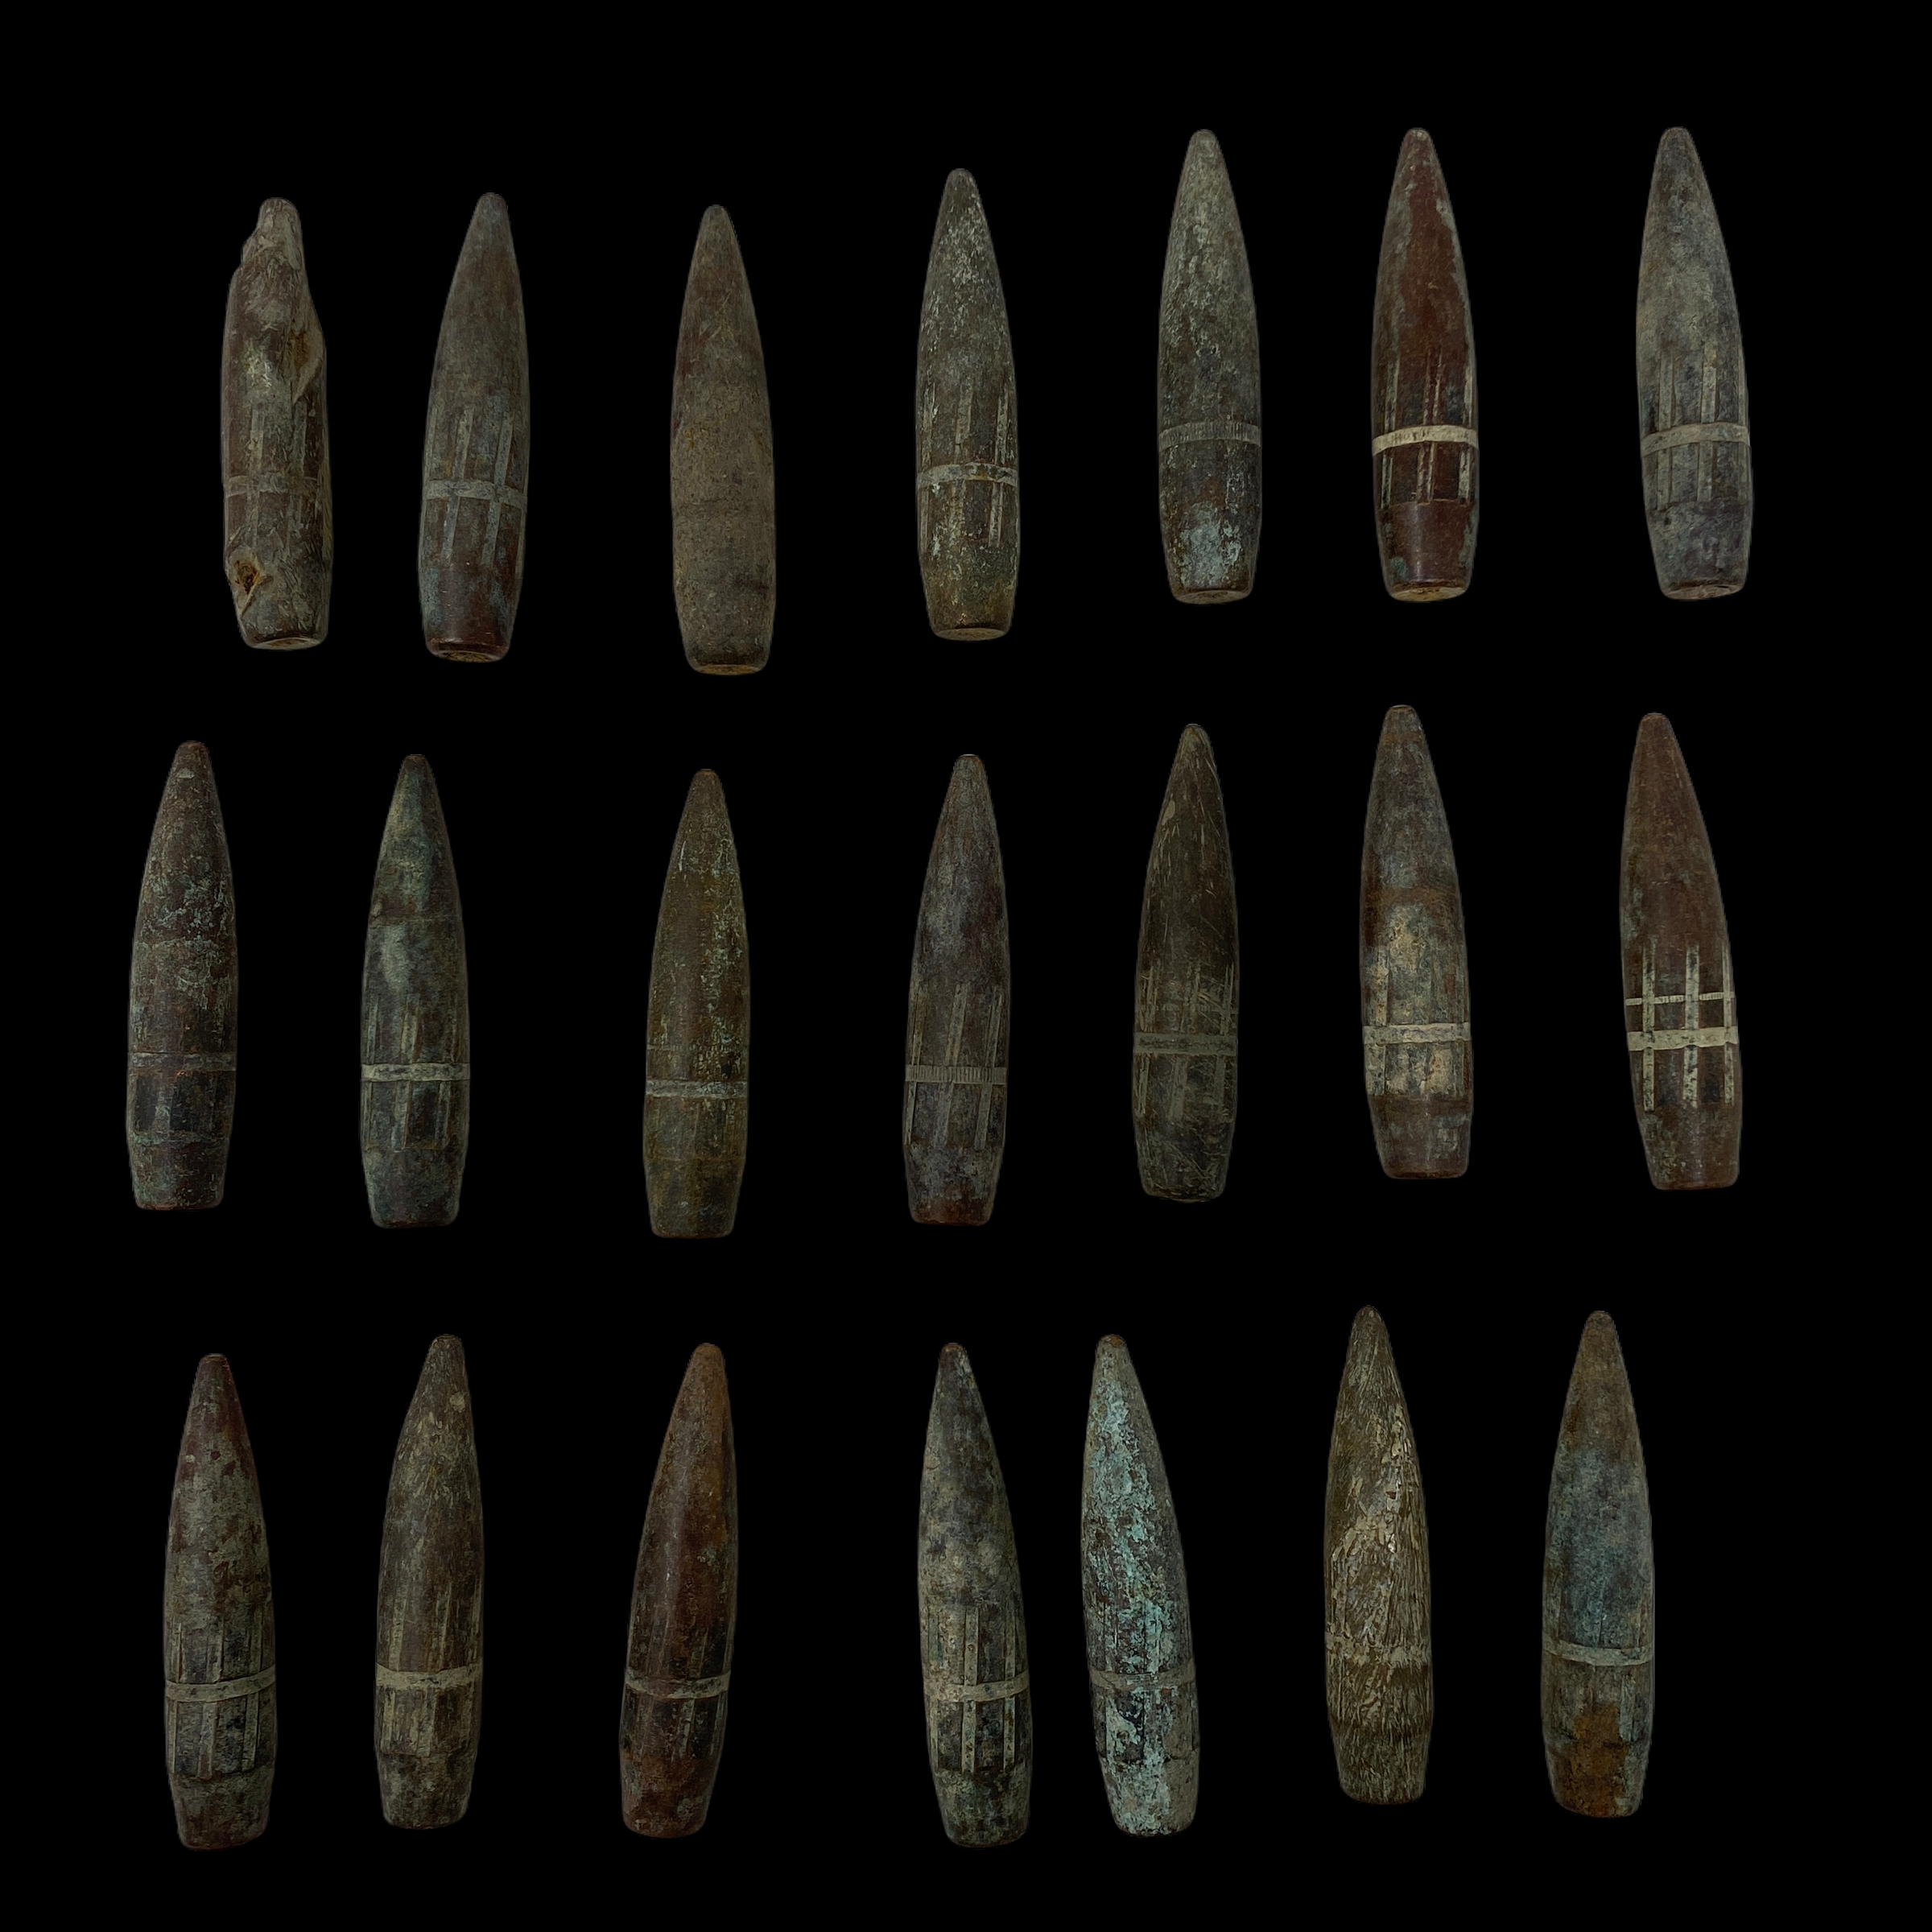
Comes with hand-signed C.O.A. and a full historical write-up
This authentic Battle of the Bulge 101st Airborne Division fired relic was recovered near the infamous city of Bastogne.
When purchasing an artifact from this collection you will receive ONE RANDOMLY SELECTED artifact from the lot (group) of relics you see in the photos. The photo represents the exact quantity that is originally available as well as one of the exact randomly selected relics that you will receive. Meaning that one of the artifacts you purchased and receive is pictured in these exact photos. This would make an AMAZING gift for any WWII or HISTORY collector.
Called “the greatest American battle of the war” by Winston Churchill, the Battle of the Bulge in the Ardennes region of Belgium was Adolf Hitler’s last major offensive in World War II against the Western Front. Hitler’s aim was to split the Allies in their drive toward Germany. The German troops’ failure to divide Britain, France, and America with the Ardennes offensive paved the way to victory for the allies.
This incredibly rare and museum-grade WWII Battle of the Bulge battlefield fired machine gun bullet was recovered directly from the 101st Airborne Division combat assault areas on the Bastogne region of the Battle of the Bulge battlefield. Laying exactly where it was was fired and recovered years later, this U.S. heavy machine gun bullet was fired during the Ardennes Offensive during the Battle of the Bulge. It was here were for six brutal weeks, from December 16, 1944, to January 25, 1945, the assault also called the Battle of the Ardennes, took place during frigid weather conditions, with some 30 German divisions attacking battle-fatigued American troops across 85 miles of the densely wooded Ardennes Forest.
This U.S. machine gun bullet serves as an eerie reminder of those 1 million-plus Allied troops, including some 500,000 Americans, fought in the Battle of the Bulge, with approximately 19,000 soldiers killed in action, 47,500 wounded and 23,000-plus missing. About 100,000 Germans were killed, wounded, or captured.
Detailed History of the Battle of the Bugle (December 16th, 1944 - January 25th, 1945):
In one final, desperate gamble of the war, Hitler enacted his Ardennes Offensive and drove a wedge into the Allied lines towards Antwerp - but little else came from the initiative.
By the end of 1944, the Allied advance across Europe was such that the front was held in check at its ends by two large armies - the Canadians and English to the North and the Americans and General Patton to the south. While the Canadian and English forces succeeded in taking the critical port-city of Antwerp from the Germans, the Americans shored up the battle lines and were now targeting the ever-important Rhone River with German territory just beyond. In between the two concentrated forces lay a thin line of some 80,000 Allied troops.
The reason for this thin grouping of support was largely explained by its location, this in the thick of the seemingly impenetrable Ardennes Forest. It was a long-held belief that the area was ill-suited for any sort of open warfare and the Allies utilized this feeling and the surrounding terrain to concentrate critical forces to the fighting elsewhere along the Front.
However, Hitler had developed other plans when constructing his Ardennes Offensive. The ultimate goal was to reach the post city of Antwerp and disrupt the Allied front and their much- needed supply lines along the way. The hope was to split the Canadian, British and American forces from one another and their logistical means to stay alive, thusly providing Germany with the element of surprise and a foothold to mounting a future assault to drive the enemy back. The selection of enacting the assault during the European Winter would only add to the element of surprise.
The surprise was unveiled on December 16th, 1944 when the German Army opened up in one of their largest displays of artillery bombardment ever. Mechanized forces of the German 5th and 15th Panzer armies, as well as the 6th SS and 7th Army, attacked the US VIII forces in a line between Aachen and Bastogne. The German surprise held up well and the Allies reeled at the advance. However, some contingents such as the US 2nd Division at Elsenborn and 99th Division at Malmedy held their ground. The last German blitzkrieg was underway as a grand total of 200,000 German personnel were mustered into a singular fighting force, encompassing both battle-hardened troops such as those of the Waffen-SS and non-combatants from across the German territories.
Part of the German advance was led by the cold and calculating Colonel Joachim Peiper who saw it fit to order his troops to execute any prisoners they take. Some 100 Americans alone were shot where they stood at Malmedy, this under the direct order of Peiper himself. While this soothed his embittered German troops to an extent, it only served to rile the Americans who, having received word of the atrocities, now produced an unparalleled fighting spirit when facing the Germans.
Both forces inevitably butted heads at the small town of Bastogne. The Germans were held in place by Allied tank destroyers and determination while the Americans dug in for weeks of intense fighting utilizing whatever cover and supplies were made available. American General Omar Bradley ultimately recognized Bastogne to be the battlefield of choice by the Germans and committed elements of General Courtney Hodges' 1st Army and General Patton's 4th Armored Division to the town in an effort head off any further German advance. Allied reserves were called into play and the fabled 101st Airborne ("The Battered Bastards of the 101") was airdropped into Bastogne to aid in its defense - and make military history in the process. The 82nd Airborne took the task at St Vith.
The Allied lines were fractured and independent defenses soon sprung about. Poor weather cover ensured that the Allied would not be counting on air support for the time being. Being that the Germans had lost air superiority by this time, the playing field was more or less leveled. Instead, Allied artillery hammered at the flanks of the German advance where possible and the German thrust was eventually held before reaching Dinant, some 60 miles from the Ardennes Offensive starting point. After holding onto Bastogne for a full week while being encircled by the German Army, the 101st repelled the final german thrust. The very next day, Patton's armor arrived to ensure the town was firmly in Allied hands. In true airborne style, the 101st never admitted to needing any such help from Patton's armored forces.
British General Montgomery's 29th Armored Brigade met up with the American 2nd Armored Division to hold the point of deepest German penetration in check. The Battle of the Bulge - the last major German offensive - was stopped. By mid-February of 1945, all gains by the German Army were undone and the war would be over by the end of April with Hitler dead by his own hand.
The Ardennes Offensive would cost Germany some 88,000 of her soldiers while American paid the hefty toll of losing 77,000 of their own.
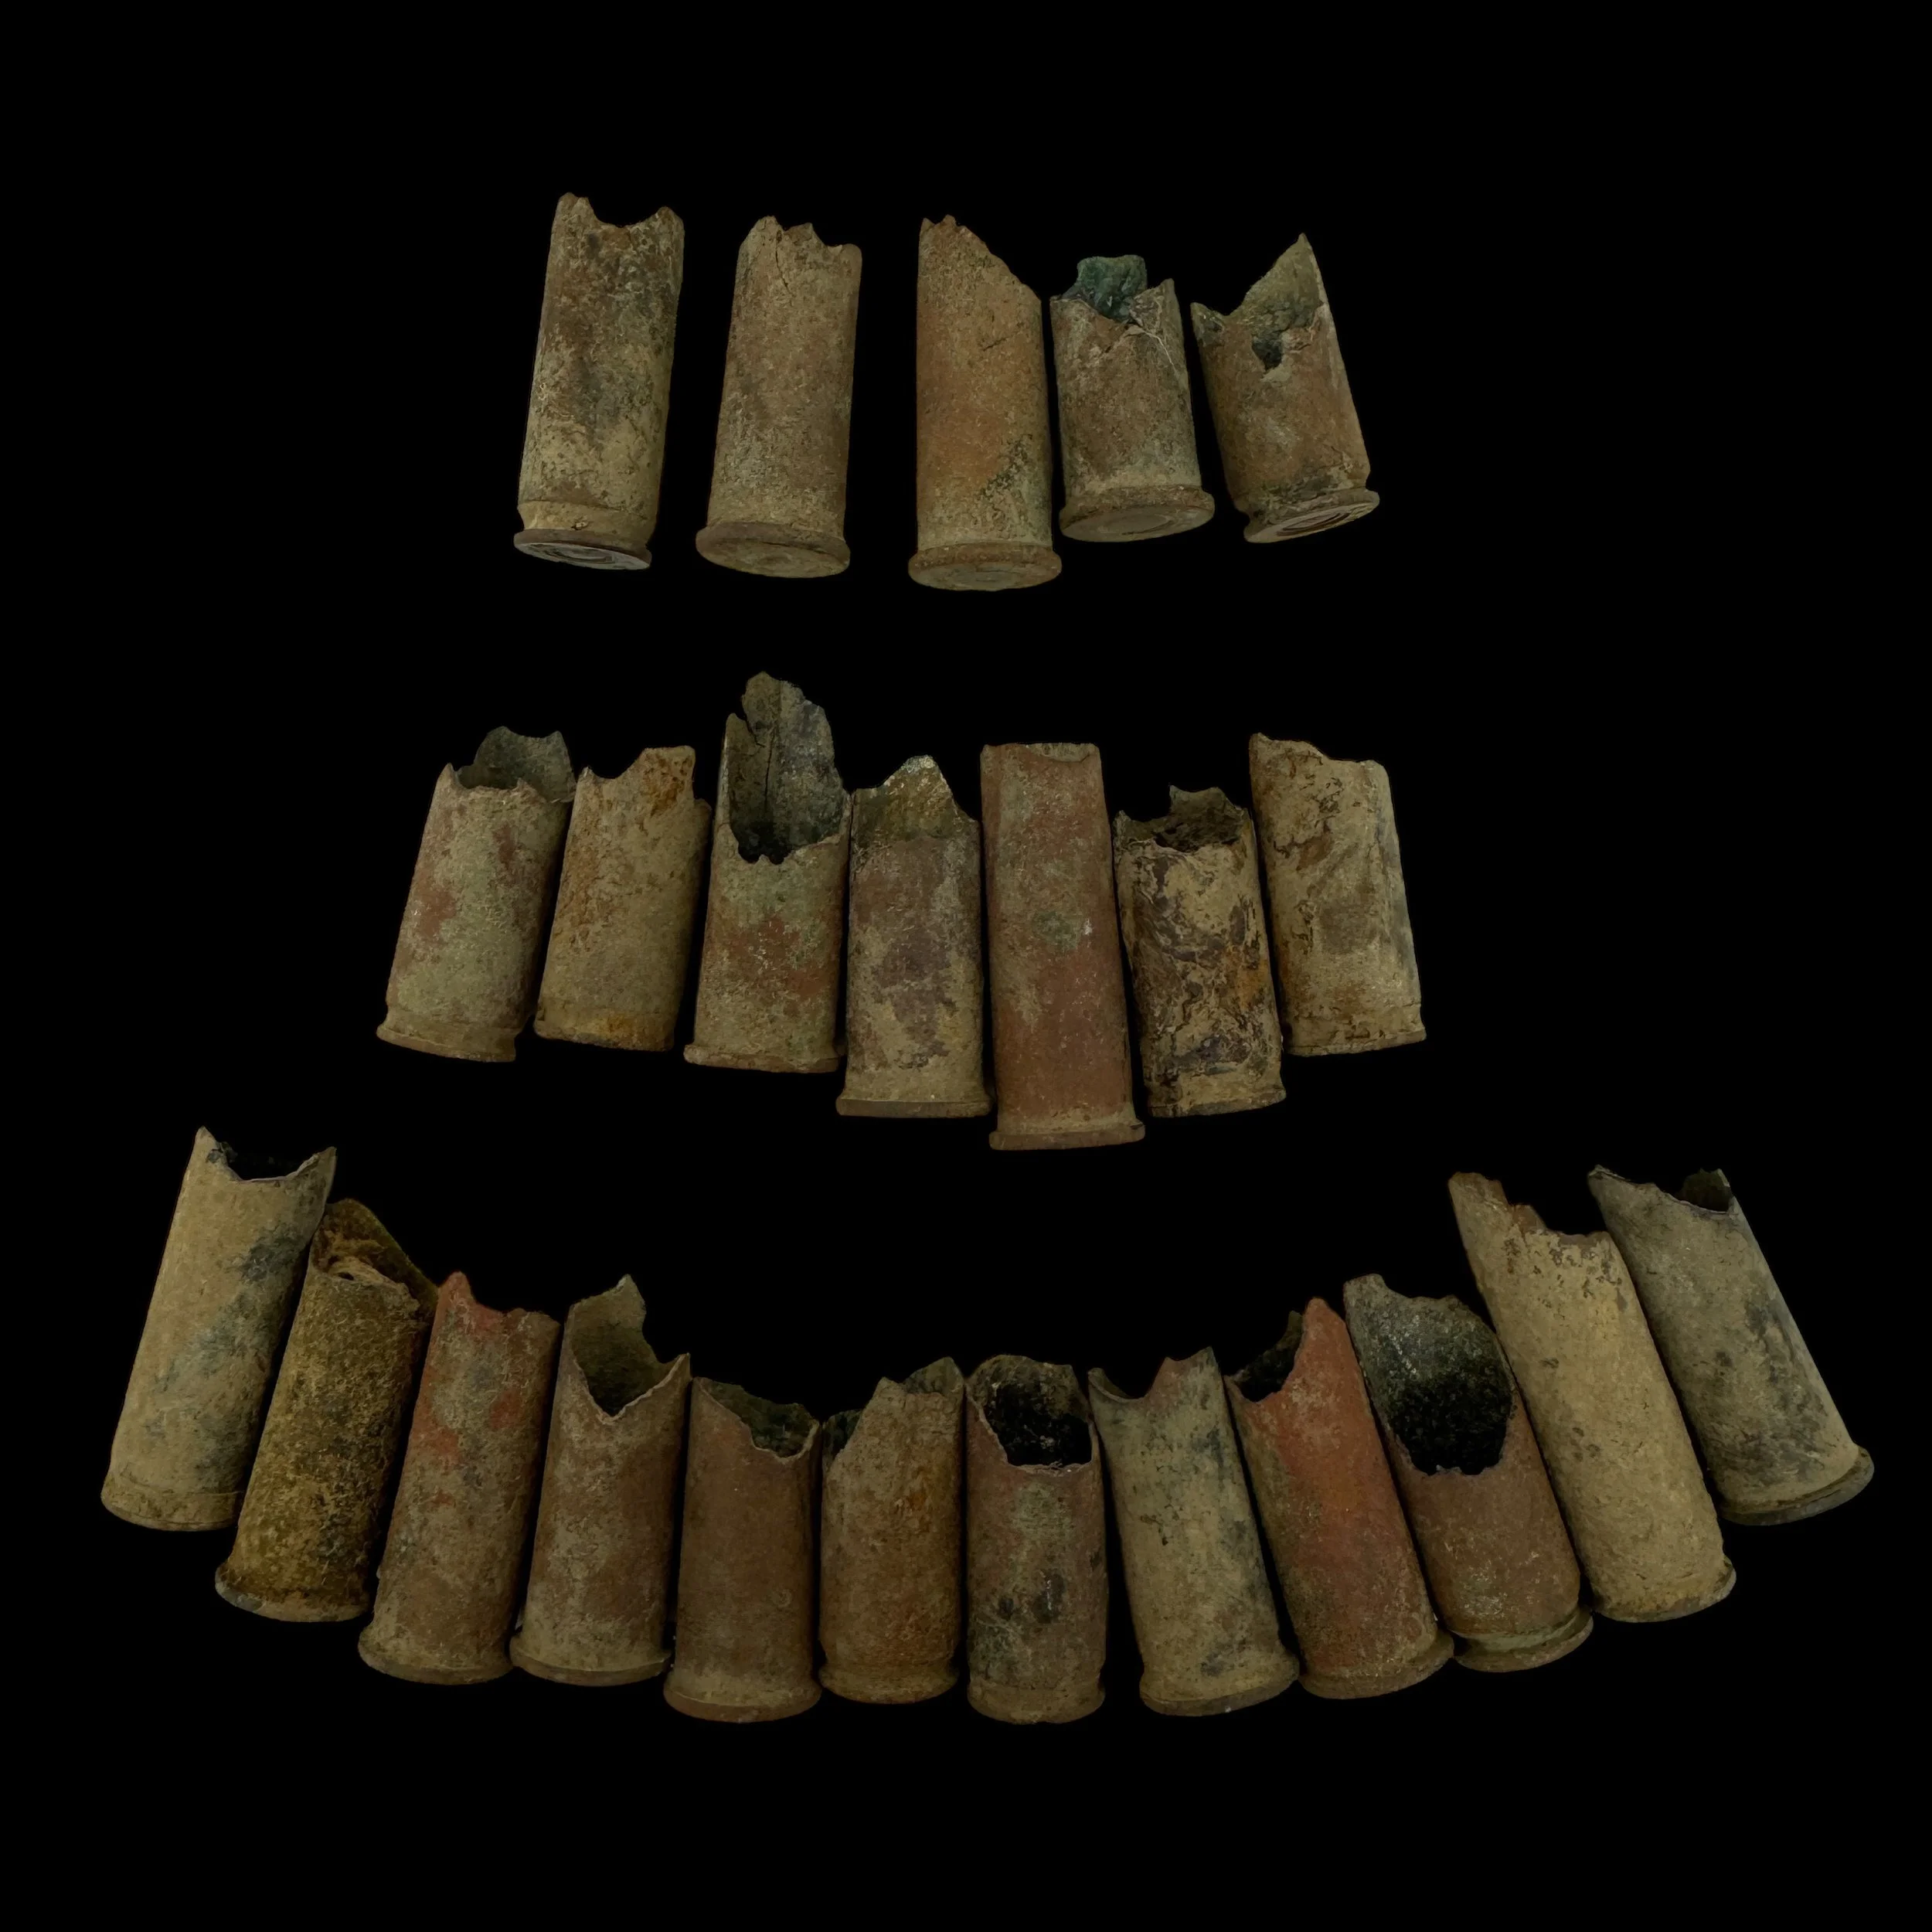
Comes with hand-signed C.O.A. and a full historical write-up
Type: Original World War II “FIRED” Rifle Bullet Casing
Campaign: European Theater
Battle/Operation: Battle of Aachen - Siegfried Line (Germany)
Battlefield Recovered: Recovered during a professional excavation of the Battle of Aachen battlefield
Date: October 1944
This extraordinary artifact, of exceptional museum-grade quality, is an original fired rifle bullet casing recovered during a meticulous and professionally conducted excavation of the historic Battle of Aachen battlefield. Unearthed from the very ground where history was written, this bullet casing offers a tangible link to one of World War II’s most daring and costly battles of the Siegfried Line.
The Battle of Aachen in autumn 1944 was a pivotal clash on the Western Front, marking the first German city captured by the Allies and a breach of the Siegfried Line. Fought fiercely between the American 1st Infantry Division and heavily entrenched German forces, this urban battle epitomized the brutality of modern warfare. Aachen's dense streets turned every corner into a deadly stronghold, with German defenders using MG 42 machine guns, Karabiner 98k rifles, and Panzerfausts to devastating effect. The Americans, armed with M1 Garand rifles and supported by Sherman tanks and heavy artillery, methodically cleared the city through relentless house-to-house combat.
After two weeks of intense fighting, Aachen fell on October 21, 1944, at a cost of over 5,000 American and 5,000 German casualties. The battle shattered the myth of the Siegfried Line's invincibility, paving the way for further Allied advances into Germany.
A remarkable artifact from this historic battle is a fired rifle bullet casing, recovered from the battlefield. Its weathered patina and unique markings serve as a tangible link to the extraordinary bravery and sacrifices made in Aachen. This artifact symbolizes the determination of soldiers who endured relentless fire and harsh conditions, making it an invaluable piece of history that commemorates one of World War II’s most significant campaigns.
*When you purchase an original World War II artifact from this exclusive battlefield-recovered bullet collection, you will receive one randomly selected bullet casing from the remarkable group of relics shown in the photos. Each artifact in this collection was carefully recovered from the historic Operation Market Garden battlefield, and the photos provided represent the exact number of preserved items available. This means the artifact you receive will be one of the very bullet casings pictured, ensuring its authenticity and direct connection to this iconic WWII event.
The Battle of Aachen, fought in October 1944, stands as one of the most significant and brutal engagements of the Allied campaign on the Western Front during World War II. Situated near the heavily fortified Siegfried Line, Aachen was the first major German city targeted by Allied forces. Its capture represented both a symbolic and strategic victory, signifying the Allied forces' breach of Germany’s western defenses and heralding the final phase of the war in Europe. The battle showcased the complexities of urban combat, the resilience of entrenched defenders, and the critical role played by the weapons and ammunition of the era.
The Siegfried Line, or Westwall as the Germans called it, was a formidable defensive network stretching over 390 miles, consisting of concrete bunkers, tank traps, and extensive trench systems. Its purpose was to repel any invasion into Germany’s western territories. Aachen, located on the western edge of the Siegfried Line, was fortified with pillboxes and machine gun nests, integrated into the surrounding hills and urban landscape. These defenses, manned by troops from the 246th Volksgrenadier Division and various ad hoc units, posed a significant challenge to the advancing U.S. 1st Infantry Division, known as "The Big Red One," and supporting elements from the 30th Infantry Division.
The soldiers defending Aachen relied on an array of weapons, notably the Karabiner 98k bolt-action rifle, which was the standard-issue firearm for German infantry. This rifle was celebrated for its accuracy and robustness, qualities that made it highly effective in both defensive and offensive engagements. Its design allowed soldiers to fire with precision from fortified positions, and it remained a staple of German armaments throughout the war. In addition to the Karabiner 98k, the defenders used the fearsome MG 42 machine gun. Known as "Hitler's Buzzsaw," the MG 42 had an extremely high rate of fire, capable of delivering up to 1,200 rounds per minute. This weapon, when deployed in overlapping fields of fire, created deadly kill zones that slowed Allied progress and inflicted heavy casualties.
The attacking American forces brought their own advanced weaponry to bear. The semi-automatic M1 Garand rifle gave U.S. infantrymen a crucial advantage in rate of fire over their German counterparts. Capable of firing eight rounds in rapid succession without needing to manually cycle the bolt, the M1 Garand allowed U.S. soldiers to engage targets more efficiently, particularly in close-quarters combat. The Americans also utilized the M1 Carbine, a lighter and more compact weapon favored for its portability, especially in the confined spaces of urban warfare. For suppressive fire, the Browning Automatic Rifle (BAR) was a key asset, providing mobile firepower that complemented the squad’s rifles.
The battle for Aachen was characterized by intense urban combat, with soldiers fighting street by street and building by building. The Germans made extensive use of their defensive fortifications, positioning snipers with Karabiner 98ks in high vantage points and mounting MG 42s in fortified pillboxes. These weapons, combined with the city's natural and man-made defenses, turned Aachen into a fortress. The Americans, however, were determined to overcome these obstacles. Using coordinated infantry and armor assaults, they deployed Sherman tanks to provide direct fire support, while engineers with flamethrowers and demolition charges worked to neutralize German strongpoints.
One particularly challenging aspect of the battle was the clearing of the Siegfried Line’s concrete bunkers. These structures were designed to withstand artillery fire, requiring direct assaults to eliminate their occupants. American soldiers often had to approach these bunkers under heavy fire, using smoke grenades to obscure their movements. Once at the bunkers, they employed satchel charges to destroy the fortifications or forced the defenders to surrender at gunpoint. The close-range nature of these engagements highlighted the importance of individual firearms like the M1 Garand and the M1 Carbine, which proved invaluable in clearing rooms and trenches.
The ammunition used during the battle played a crucial role in shaping its outcome. German soldiers relied heavily on 7.92×57mm Mauser cartridges, the standard round for both the Karabiner 98k and the MG 42. This ammunition was renowned for its ballistic performance and stopping power, making it deadly in both long-range and close-quarters engagements. On the American side, the .30-06 Springfield cartridge was the standard round for the M1 Garand and BAR. This cartridge offered excellent range and penetration, giving American soldiers a reliable tool to counter the well-fortified German positions.
Artillery and air support were also critical components of the battle. American forces used heavy artillery to pound German defensive positions, softening resistance before infantry assaults. The Germans responded with their own artillery, as well as mortars, which were particularly effective in the urban environment. The relentless shelling from both sides turned much of Aachen into rubble, further complicating the battlefield and intensifying the close-quarters nature of the fighting.
By October 21, 1944, after nearly two weeks of relentless combat, the battle for Aachen ended with the surrender of the remaining German forces. The city was left in ruins, and the cost of victory was high. American casualties exceeded 5,000, while German losses included over 5,000 killed or wounded and an additional 5,600 captured. Despite the heavy toll, the capture of Aachen marked a significant strategic victory, breaking the Siegfried Line and opening the door for further Allied advances into Germany.
The Battle of Aachen demonstrated the determination and resilience of both sides, as well as the critical importance of weaponry and ammunition in shaping the outcome of the conflict. The Karabiner 98k, M1 Garand, MG 42, and other firearms were not just tools of war; they were instruments through which soldiers waged their desperate struggles in the streets and bunkers of Aachen. The bullets fired during these engagements, whether embedded in the walls of the city or buried in the battlefield’s soil, remain silent witnesses to the courage and sacrifice of those who fought. The legacy of Aachen is a testament to the human cost of war and the indomitable will of those who sought to bring it to an end.
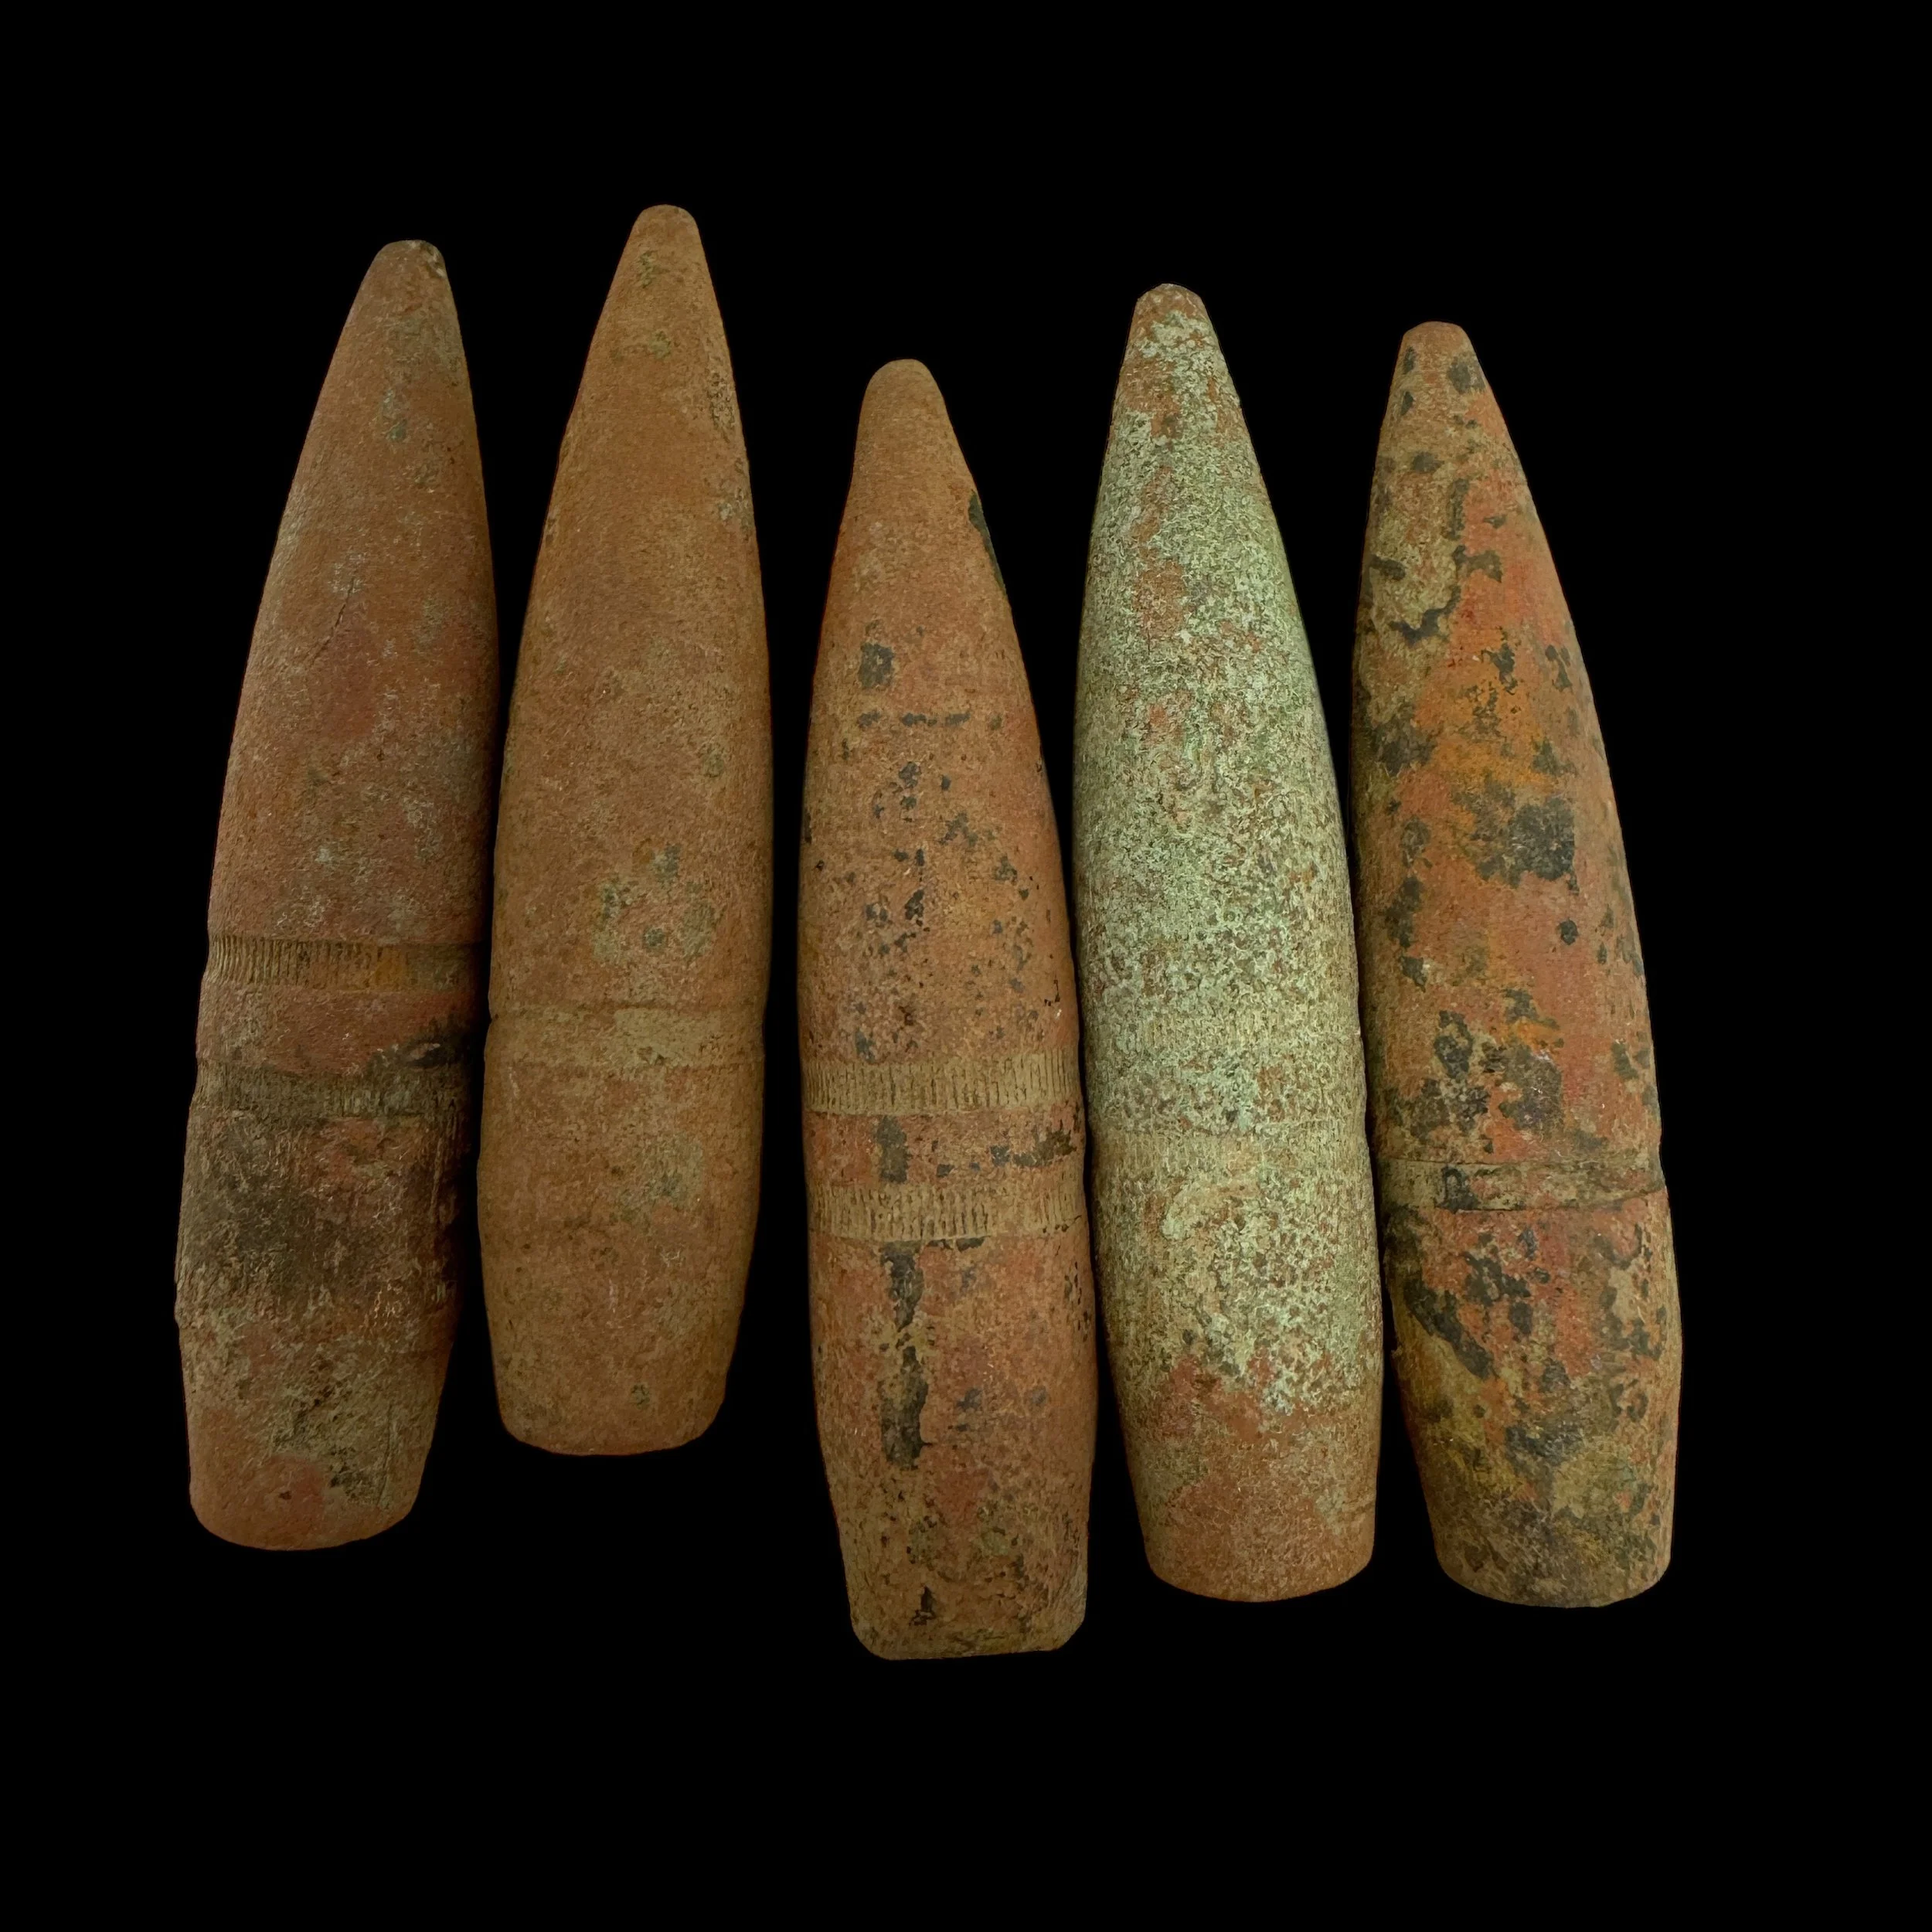
Comes with hand-signed C.O.A. and a full historical write-up
Type: Original World War II “FIRED” Large .50 Caliber Machine Gun Bullet
Campaign: European Theater
Battle/Operation: Operation Market Garden
Battlefield Recovered: Recovered between the 101st Airborne DROP ZONE of Eindhoven and the 82nd Airborne DROP ZONE of Nijmegen
Date: September 1944
This extraordinary artifact, of rare museum-grade quality, is an original fired .50 caliber machine gun bullet recovered during a meticulous and professionally conducted excavation of the historic Operation Market Garden battlefield. Unearthed from the very ground where pivotal events unfolded, this artifact provides a profound and tangible connection to one of World War II's most daring and high-stakes operations.
Recovered from the battlefield stretching between the 101st Airborne's drop zone near Eindhoven and the 82nd Airborne's drop zone near Nijmegen, this bullet bears silent witness to the heroism and sacrifice of the Allied forces. Operation Market Garden, launched in September 1944, was a bold Allied attempt to secure a swift path into Nazi-occupied Germany by capturing key bridges across the Netherlands. The operation involved more than 41,000 paratroopers from the U.S. 101st and 82nd Airborne Divisions, the British 1st Airborne Division, and the Polish 1st Independent Parachute Brigade, with critical support from British XXX Corps and other Allied ground forces.
Facing them were formidable German units, including the SS Panzer Corps and battle-hardened infantry divisions. These German forces mounted a fierce resistance, turning towns and bridges into fortified strongholds. The battles were intense and costly, particularly in Arnhem, Nijmegen, and Eindhoven. The operation saw nearly 17,000 Allied soldiers killed, wounded, or captured, while German casualties were estimated at over 13,000. Despite their incredible efforts, the Allies fell short of their objectives, making Operation Market Garden both a testament to bravery and a sobering reminder of the costs of war.
Each detail of this bullet, from its aged patina to its unique markings, tells a story of the relentless combat that shaped the course of history during those critical days. This relic symbolizes the courage of paratroopers who jumped into enemy territory under fire and the resilience of ground forces who fought to support their mission.
This bullet’s connection to the legendary events of Operation Market Garden makes it an invaluable addition to any collection. Whether for a dedicated historian, museum, or World War II enthusiast, it serves as a poignant reminder of the bravery, sacrifice, and determination that defined one of the war's most significant and challenging operations.
*When you purchase an original World War II artifact from this exclusive battlefield-recovered bullet collection, you will receiveone randomly selected bulletfrom the remarkable group of relics shown in the photos. Each artifact in this collection was carefully recovered from the historic Operation Market Garden battlefield, and the photos provided represent the exact number of preserved items available. This means the artifact you receive will be one of the very bullets pictured, ensuring its authenticity and direct connection to this iconic WWII event.
Operation Market Garden, launched in September 1944, stands as one of the most daring and ambitious Allied operations of World War II. Designed by British Field Marshal Bernard Montgomery, it aimed to break through German defenses by seizing key bridges in the Netherlands, creating a corridor for Allied forces to outflank the Siegfried Line and push into Germany’s industrial heartland. The plan combined the largest airborne assault in history with a ground offensive, but its execution faced numerous challenges. Central to the operation were the efforts of the 101st and 82nd Airborne Divisions, whose missions centered on the critical bridges at Eindhoven and Nijmegen. The ferocity of these battles and the significance of weapons like the .50 caliber machine gun underscore the intensity of the fighting along the corridor between these two cities.
The 101st Airborne Division, known as the "Screaming Eagles," was tasked with capturing key bridges in and around Eindhoven, a vital city for the advance of British XXX Corps. On September 17, 1944, paratroopers dropped into the Eindhoven area, encountering stiff resistance from well-entrenched German forces. The landings themselves were chaotic, with paratroopers under fire from anti-aircraft batteries as they descended. Once on the ground, the troopers regrouped and pushed toward their objectives, relying heavily on their arsenal, including the .50 caliber Browning M2 machine gun.
The Browning M2, with its long range, high rate of fire, and devastating stopping power, was crucial in suppressing German defenses. Its ability to penetrate fortifications and neutralize vehicles allowed the paratroopers to clear pathways and secure critical crossings. At several points, German engineers attempted to destroy bridges to halt the Allied advance, but the swift action of the 101st, supported by the overwhelming firepower of the .50 caliber machine gun, ensured that many of the bridges remained intact. Intense urban fighting raged in Eindhoven, as German troops launched counterattacks to regain control. However, the tenacity of the airborne forces prevailed, and Eindhoven was liberated, marking an early success in the operation.
Meanwhile, the 82nd Airborne Division, the "All Americans," was tasked with capturing the Waal River bridge at Nijmegen, one of the most strategically significant objectives of the operation. The drop zones for the 82nd were west of the city, requiring them to fight through heavily fortified German positions to reach their targets. German forces, anticipating the attack, had reinforced the area with artillery, machine guns, and armored vehicles. The paratroopers faced fierce resistance but pressed forward, using weapons like the .50 caliber machine gun to devastating effect. This weapon proved invaluable for suppressing enemy fire and clearing defensive positions, allowing the troops to advance through the perilous terrain.
One of the most dramatic moments of the Nijmegen campaign came during the crossing of the Waal River. In a daring maneuver, members of the 82nd conducted an amphibious assault using small boats to outflank the German defenses on the bridge. Under heavy fire, the .50 caliber machine guns provided critical covering fire from positions along the riverbanks, targeting German gunners who had entrenched themselves on the opposite shore. The sustained fire from the M2 Browning allowed the paratroopers to establish a foothold on the far bank, paving the way for the capture of the bridge after intense fighting. This victory at Nijmegen came at a great cost but was a pivotal moment in the operation.
Between Eindhoven and Nijmegen lay the corridor known as "Hell’s Highway," a vital supply line for the Allied advance. German forces launched relentless counterattacks against this narrow stretch, seeking to sever the connection between the airborne divisions and XXX Corps. The fighting along Hell’s Highway was brutal, with ambushes, artillery bombardments, and armored assaults testing the resolve of the Allied forces. The .50 caliber machine gun was once again instrumental, mounted on vehicles and in defensive positions to repel German attacks. Its versatility allowed it to destroy enemy vehicles and suppress infantry, making it an essential tool for holding the line.
Despite the firepower and determination of the Allied forces, the challenges of defending Hell’s Highway were immense. German forces exploited the narrowness of the corridor, inflicting heavy casualties and delaying reinforcements. However, the bravery of the men who fought there ensured that the airborne divisions remained supplied and supported, even under the most harrowing conditions.
Although Operation Market Garden ultimately failed to achieve its final objective of securing the bridge at Arnhem, it highlighted the extraordinary courage and resilience of the Allied forces. The battles at Eindhoven and Nijmegen showcased the strategic importance of the airborne divisions and their ability to adapt to intense combat scenarios. The .50 caliber machine gun emerged as a symbol of the fierce fighting, its firepower proving indispensable in both offensive and defensive operations. The sacrifices made during Operation Market Garden remain a testament to the determination of the Allied forces to liberate Europe from Nazi tyranny, even in the face of overwhelming odds.
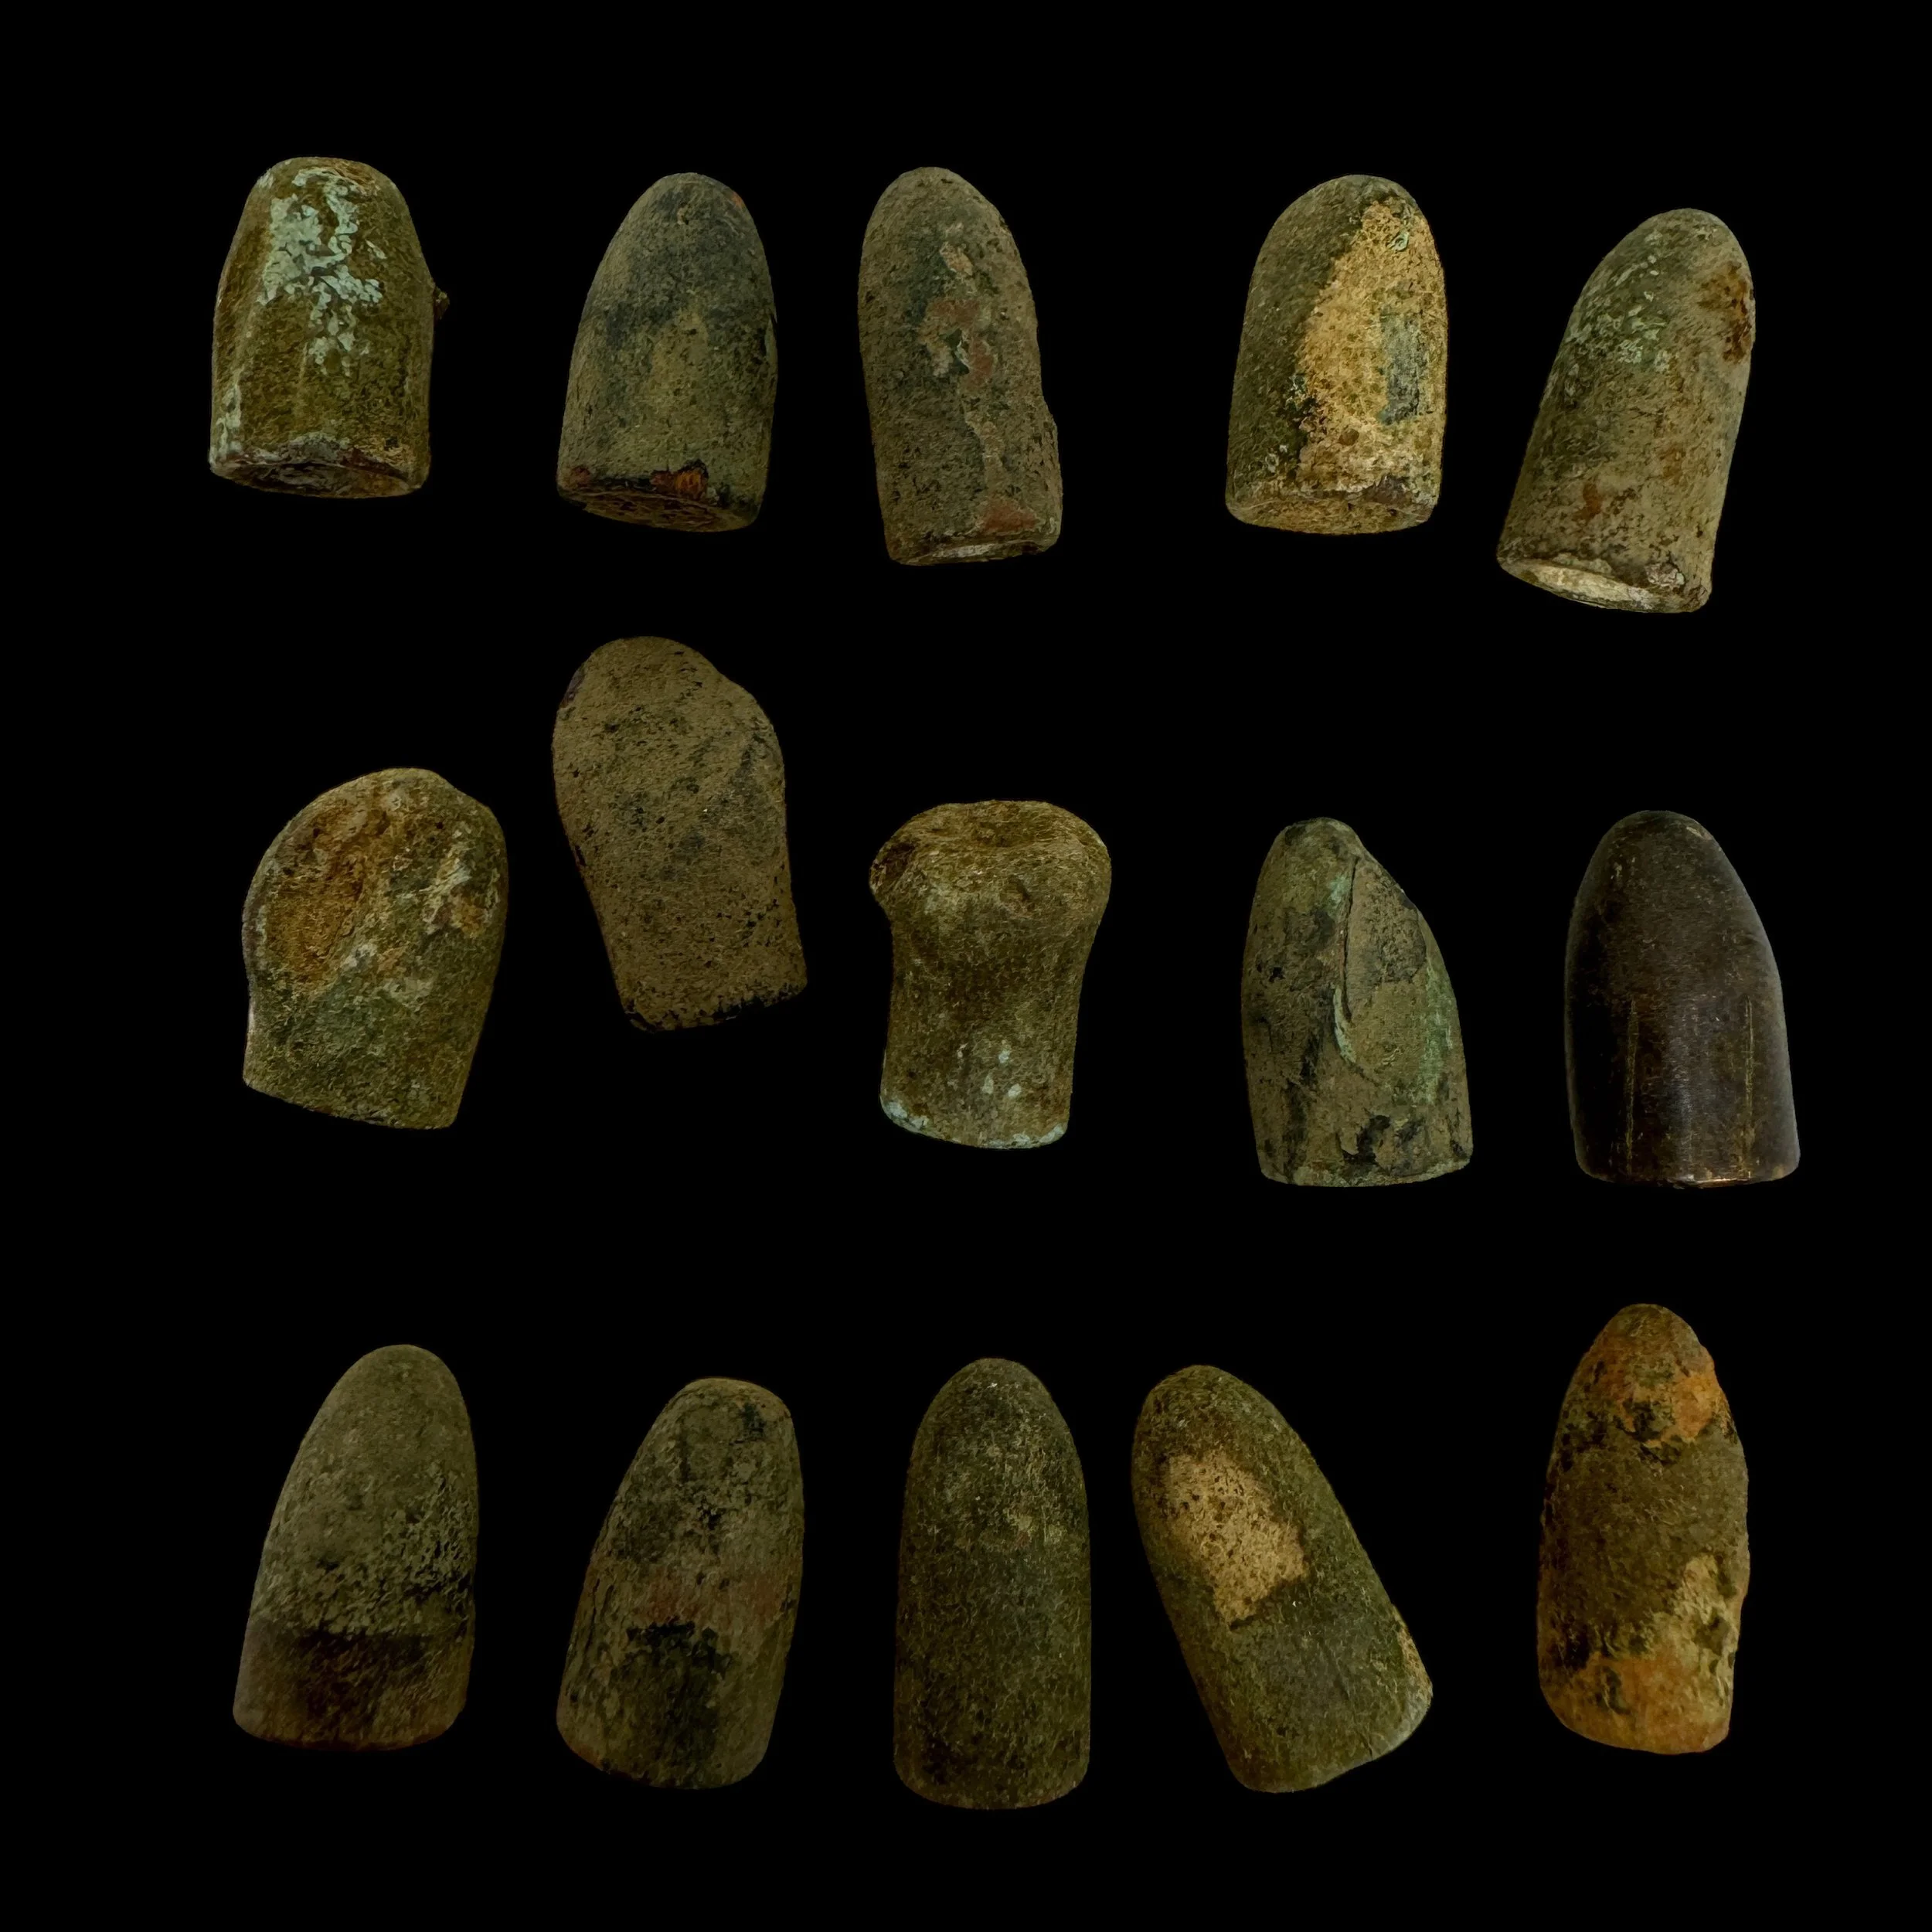
Comes with hand-signed C.O.A. and a full historical write-up
Type: Original World War II “FIRED” Small Caliber Bullet
Campaign: European Theater
Battle/Operation: Battle of Aachen - Siegfried Line (Germany)
Battlefield Recovered: Recovered during a professional excavation of the Battle of Aachen battlefield
Date: October 1944
This extraordinary artifact, of exceptional museum-grade quality, is an original fired small caliber bullet recovered during a meticulous and professionally conducted excavation of the historic Battle of Aachen battlefield. Unearthed from the very ground where history was written, this bullet offers a tangible link to one of World War II’s most daring and costly battles of the Siegfried Line.
The Battle of Aachen in autumn 1944 was a pivotal clash on the Western Front, marking the first German city captured by the Allies and a breach of the Siegfried Line. Fought fiercely between the American 1st Infantry Division and heavily entrenched German forces, this urban battle epitomized the brutality of modern warfare. Aachen's dense streets turned every corner into a deadly stronghold, with German defenders using MG 42 machine guns, Karabiner 98k rifles, and Panzerfausts to devastating effect. The Americans, armed with M1 Garand rifles and supported by Sherman tanks and heavy artillery, methodically cleared the city through relentless house-to-house combat.
After two weeks of intense fighting, Aachen fell on October 21, 1944, at a cost of over 5,000 American and 5,000 German casualties. The battle shattered the myth of the Siegfried Line's invincibility, paving the way for further Allied advances into Germany.
A remarkable artifact from this historic battle is a fired small caliber bullet bullet, recovered from the battlefield. Its weathered patina and unique markings serve as a tangible link to the extraordinary bravery and sacrifices made in Aachen. This artifact symbolizes the determination of soldiers who endured relentless fire and harsh conditions, making it an invaluable piece of history that commemorates one of World War II’s most significant campaigns.
*When you purchase an original World War II artifact from this exclusive battlefield-recovered bullet collection, you will receive one randomly selected bullet from the remarkable group of relics shown in the photos. Each artifact in this collection was carefully recovered from the historic Operation Market Garden battlefield, and the photos provided represent the exact number of preserved items available. This means the artifact you receive will be one of the very bullets pictured, ensuring its authenticity and direct connection to this iconic WWII event.
The Battle of Aachen, fought in October 1944, stands as one of the most grueling urban battles of World War II and marked a significant milestone in the Allied push into Germany. Situated along the western edge of the Siegfried Line—Germany’s formidable defensive barrier—Aachen held symbolic and strategic importance. It was the first major German city to face invasion by the Allies, and its capture demonstrated the Allies' growing dominance. This essay delves into the details of the battle with particular attention to the Siegfried Line’s defenses and the role of small-caliber bullet submachine guns and pistols in the brutal combat that defined the battle.
The Siegfried Line, or the Westwall as it was known in German, was an extensive network of fortifications, bunkers, anti-tank obstacles, and minefields stretching along Germany's western border. Built initially in the 1930s and later reinforced during the war, the Siegfried Line was designed to slow an advancing enemy and provide strongpoints for defensive operations. Aachen, perched on the line, became a linchpin in the German defense strategy. Its loss would expose the heart of Germany to further Allied incursions. As the U.S. First Army approached the city in September 1944, they encountered fierce resistance from the German 116th Panzer Division and other well-entrenched units determined to hold the line at all costs.
Urban warfare characterized the fighting in Aachen. The city’s medieval streets, dense urban environment, and the surrounding Siegfried Line bunkers created an ideal battleground for close-quarters combat. Here, small-caliber firearms played a pivotal role, as soldiers relied on weapons suited to confined spaces. The Germans fielded their iconic MP 40 submachine gun, a weapon that became synonymous with German infantry during World War II. The MP 40, firing 9mm Parabellum rounds, was valued for its compact design, manageable recoil, and high rate of fire. It was particularly effective in the close-range engagements that dominated Aachen, allowing German troops to suppress and engage American forces in the narrow streets and fortified buildings.
On the American side, the M3 submachine gun, nicknamed the "Grease Gun" due to its resemblance to an automotive tool, was a common sight. The M3 was chambered for .45 ACP rounds, offering significant stopping power in urban environments. Though less refined than its German counterpart, the M3 was rugged, simple to manufacture, and highly effective in close combat. American forces also made extensive use of the Thompson submachine gun, another .45 ACP firearm known for its reliability and robust construction. The Thompson, often associated with earlier conflicts and law enforcement, found new life in Aachen’s brutal fighting, proving its worth in room-clearing operations and suppressing enemy fire.
Handguns also saw considerable use during the battle, particularly in tight spaces where larger weapons were unwieldy. The German Wehrmacht relied on pistols such as the Walther P38 and the Luger P08, both chambered for 9mm Parabellum rounds. These pistols were prized for their precision and ease of use, making them valuable sidearms for officers and support troops. The Walther P38, in particular, represented a leap forward in handgun design with its double-action trigger, which improved readiness and safety.
American forces countered with the M1911 pistol, a .45 ACP sidearm that was as reliable as it was powerful. Designed by John Browning, the M1911 was the standard-issue sidearm for U.S. troops and was particularly well-suited to the close-quarters combat encountered in Aachen. Its stopping power made it a trusted companion for American infantrymen fighting through the city’s fortified structures and subterranean passages.
The intense urban combat in Aachen highlighted the tactical advantages and limitations of these small-caliber firearms. The submachine guns, with their high rates of fire and compact designs, excelled in suppressing enemy positions and clearing rooms. However, their effectiveness was tempered by limited range and magazine capacity, making them more suitable for short engagements rather than prolonged firefights. Pistols, while lacking the firepower of submachine guns, proved indispensable as backup weapons, particularly for officers and troops operating in confined spaces.
The fighting in Aachen also underscored the importance of logistics and adaptability. The confined urban environment and the rugged terrain of the Siegfried Line necessitated a steady supply of ammunition for these weapons, often posing significant challenges for both sides. American forces, for instance, relied heavily on their logistical superiority to maintain a constant flow of supplies to the front lines, ensuring that their troops were well-equipped to meet the demands of the battle.
By October 21, 1944, after weeks of intense combat, the city of Aachen fell to the Allies. The cost of victory was steep, with both sides suffering heavy casualties. The Germans had fought tenaciously, utilizing the Siegfried Line's defenses and the advantages provided by their small-caliber firearms to inflict significant losses on the advancing Americans. However, the overwhelming firepower and determination of the U.S. forces ultimately overcame the German defenses, marking a crucial step in the Allied advance into Germany.
The Battle of Aachen stands as a testament to the ferocity of World War II’s closing stages. It exemplifies the challenges of urban warfare and the critical role of small-caliber weapons in shaping the outcomes of close-quarters combat. Submachine guns like the MP 40 and M3, and pistols such as the Walther P38 and M1911, were not just tools of war but lifelines for soldiers engaged in the harrowing fight for Aachen. The battle’s outcome, set against the backdrop of the formidable Siegfried Line, symbolized the relentless Allied push toward victory and the beginning of the end for Nazi Germany.
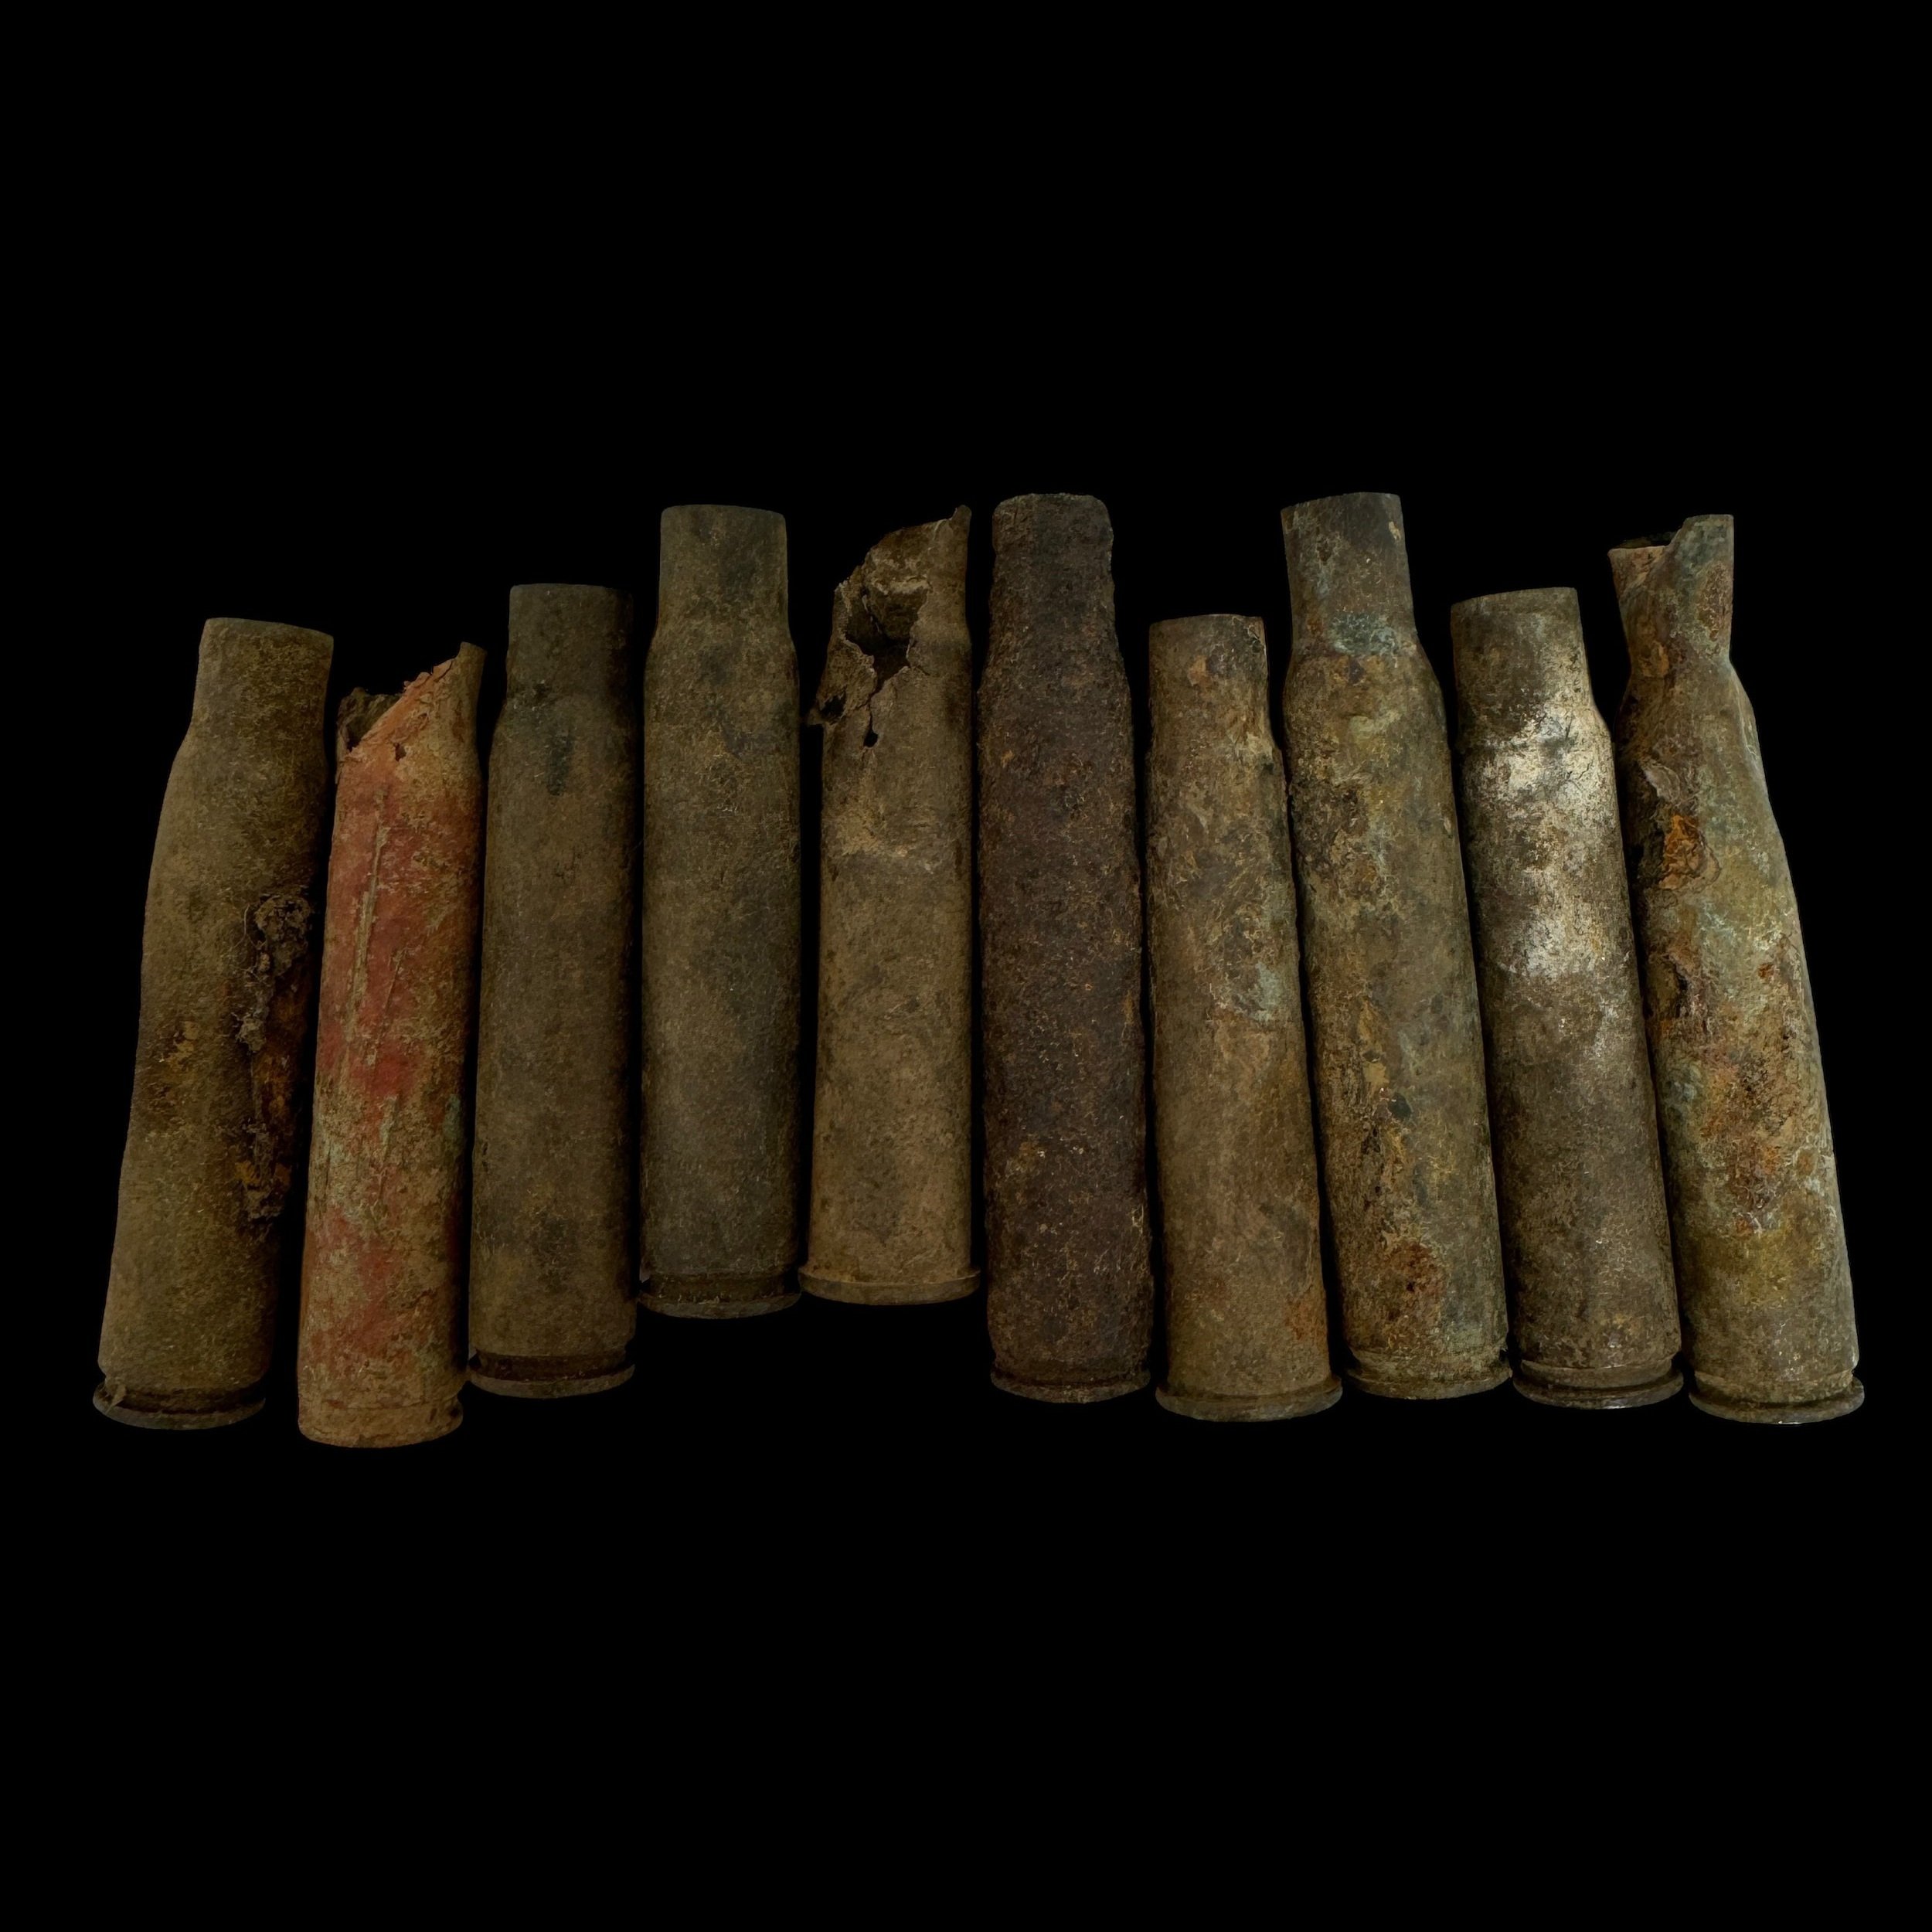
Comes with hand-signed C.O.A. and a full historical write-up
Type: Original World War II “FIRED” Rifle Bullet Casing
Campaign: European Theater
Battle/Operation: Operation Market Garden
Battlefield Recovered: Recovered during a professional excavation from Arnhem to Eindhoven
Date: September 1944
This extraordinary artifact, of exceptional museum-grade quality, is an original fired rifle bullet casing recovered during a meticulous and professionally conducted excavation of the historic Operation Market Garden battlefield. Unearthed from the very ground where history was written, this casing offers a tangible link to one of World War II’s most daring and costly campaigns.
Recovered from the expansive battlefield stretching from Arnhem to Eindhoven, this artifact tells the story of the Allied forces' ambitious effort to outflank German defenses and secure a series of critical bridges across the Netherlands. Launched in September 1944, Operation Market Garden brought together elite units from the British 1st Airborne Division, the U.S. 101st and 82nd Airborne Divisions, and the Polish 1st Independent Parachute Brigade, supported by ground forces from the British XXX Corps. Facing them were well-trained German units, including elements of the feared SS Panzer Divisions, who fiercely defended their positions with devastating effectiveness.
The operation, intended to be a swift blow to the heart of German defenses, resulted in staggering losses on both sides. Of the 35,000 Allied troops who participated, nearly 17,000 were killed, wounded, or captured. German forces also suffered significant casualties, estimated at around 13,000 dead and wounded. The intense fighting, especially in Arnhem and Nijmegen, left lasting scars on the region and on the soldiers who fought there.
Every detail of this bullet casing, from its weathered patina to its unique markings, serves as a silent witness to the extraordinary bravery and immense sacrifice of those who fought during this critical campaign. It stands as a testament to the determination of the Allied forces who risked everything to liberate Europe and the fierce resistance mounted by the German defenders in the face of overwhelming odds.
This relic’s profound connection to Operation Market Garden makes it an invaluable piece of history, perfect for any collector, historian, or World War II enthusiast. It is a timeless reminder of the courage, sacrifice, and resilience that defined one of the most pivotal and costly battles of the war.
*When you purchase an original World War II artifact from this exclusive battlefield-recovered bullet collection, you will receive one randomly selected bullet casing from the remarkable group of relics shown in the photos. Each artifact in this collection was carefully recovered from the historic Operation Market Garden battlefield, and the photos provided represent the exact number of preserved items available. This means the artifact you receive will be one of the very bullets pictured, ensuring its authenticity and direct connection to this iconic WWII event.
Operation Market Garden, launched in September 1944, remains one of the most ambitious yet contentious operations of World War II. Conceived by British Field Marshal Bernard Montgomery, the plan aimed to hasten the Allied advance by seizing a series of critical bridges across the Netherlands, paving the way for an invasion of Germany. It combined a massive airborne assault, codenamed "Market," with a ground advance by British forces, codenamed "Garden." Despite its ingenuity, the operation ultimately failed, largely due to logistical challenges, fierce German resistance, and flawed intelligence. The battles at Eindhoven, Nijmegen, and Arnhem were central to the operation's unfolding drama, each marked by strategic significance and grueling combat. The weaponry employed, particularly the rifles and ammunition used on both sides, serves as a lens through which we can understand the intensity and complexity of these engagements.
Eindhoven, at the southernmost point of the operation, was the first objective for the U.S. 101st Airborne Division. Their mission was to secure the city and its bridges over the Dommel River, providing a gateway for British armored forces. The paratroopers were equipped with the M1 Garand rifle, a semi-automatic weapon with an 8-round en bloc clip that gave them a distinct advantage in rapid-fire scenarios. Its efficiency, combined with the lightweight M1 Carbine and the formidable Browning Automatic Rifle (BAR), enabled the 101st to engage effectively in the urban skirmishes that characterized the battle for Eindhoven. The German defenders, armed primarily with the Karabiner 98k bolt-action rifle, faced the disadvantage of slower rates of fire, although their weapons were highly accurate and reliable. Bullet casings and other remnants from these engagements tell a vivid story of the close-range urban combat that defined Eindhoven, where American ingenuity and firepower ultimately secured a hard-fought victory.
As the operation progressed, Nijmegen became a critical focal point. The U.S. 82nd Airborne Division faced the daunting task of capturing the heavily defended bridge over the Waal River. After days of fierce fighting, they executed a daring amphibious assault across the river, rowing small boats under relentless fire to outflank the German defenders. This battle was marked by the diversity of weaponry employed. While the M1 Garand and BAR were staples for American forces, the Thompson submachine gun played a crucial role in close-quarters combat. Its high rate of fire and .45 caliber rounds made it ideal for clearing buildings and trenches. On the German side, defenders relied on the Kar98k and the MP40 submachine gun. The MP40, though effective at short range, was outmatched by the sheer volume of automatic fire from Allied troops. The capture of the Nijmegen Bridge was a critical success, but delays in securing it disrupted the timeline for British ground forces advancing northward, complicating the operation’s overall objectives.
The battle for Arnhem, which has become synonymous with the operation’s failure, was the most tragic and intense chapter of Market Garden. The British 1st Airborne Division was tasked with capturing the bridge over the Rhine River but faced unexpectedly strong German reinforcements, including elite SS Panzer divisions. Poor intelligence had failed to account for these forces, leaving the British paratroopers isolated and under-equipped. Armed primarily with the Lee-Enfield No. 4 Mk I rifle, renowned for its accuracy and 10-round magazine capacity, British troops fought valiantly. The Bren light machine gun provided much-needed suppressive fire, but these weapons were insufficient against the German defenders, who had access to the revolutionary Sturmgewehr 44 (StG 44). As the world’s first assault rifle, the StG 44 offered fully automatic fire, giving German forces a decisive edge in many engagements. The battle for Arnhem devolved into brutal, close-quarters combat, with the bridge ultimately proving to be "a bridge too far." Surrounded and outnumbered, the British forces suffered catastrophic losses, leaving behind bullet casings and other remnants that bear witness to their desperate stand.
Operation Market Garden ultimately fell short of its ambitious goals, failing to secure the bridge at Arnhem and delaying the Allied advance into Germany. The operation highlighted the dangers of overreaching strategies and underscored the critical importance of logistics and intelligence in modern warfare. However, the bravery displayed by the soldiers at Eindhoven, Nijmegen, and Arnhem remains a testament to their resolve and sacrifice.
The rifles and ammunition used in these battles—such as the M1 Garand, Lee-Enfield, Kar98k, and StG 44—are more than mere tools of war; they are artifacts of courage and innovation. Spent bullet casings, with their unique markings and calibers, serve as silent witnesses to the ferocity of the fighting and the human cost of these engagements. Today, the bridges of Eindhoven, Nijmegen, and Arnhem stand as enduring symbols of the valor and tragedy of Operation Market Garden. They remind us of the complexities of war and the indelible legacy of those who fought, leaving behind not only their stories but also the physical echoes of their struggles. In examining these battles and their weapons, we gain a deeper understanding of a pivotal moment in history, where ambition and adversity collided on the fields of the Netherlands.

Comes with a hand-signed C.O.A. and a full historical write-up
This incredible and museum-grade WWII artifact was recovered during a professional excavation and preservation of the Operation Market Garden DROP ZONES and the surrounding battlefields from the 1st British Airborne Divisions DROP ZONE near Arnhem, the U.S. 82nd Airborne Division DROP ZONE near Nijmegen, and the U.S. 101st Airborne Division DROP ZONE near Eindhoven.
Operation Market Garden, launched in September 1944, was one of the largest airborne operations in history. Conceived as a bold plan to end World War II swiftly, it aimed to secure key bridges in the Netherlands and open a pathway into Germany. The operation involved three main airborne divisions: the 1st British Airborne Division, tasked with capturing Arnhem; the U.S. 82nd Airborne Division, assigned to the Nijmegen area; and the U.S. 101st Airborne Division, responsible for securing Eindhoven.
What makes this fired artifact extremely rare is the gravity and role it played in the fighting. Overall, Operation Market Garden was one of the bloodiest chapters of the war in Europe. Between September 17th through 27th of 1944, an estimated 15,326–17,200 Allied soldiers were killed, wounded, and captured, 88 Allied tanks were destroyed, and 377 aircraft and gliders were lost. German losses are estimated at around 6,315–13,300 German soldiers killed and wounded with an unknown total captured.
The 1st British Airborne Division at Arnhem:
The 1st British Airborne Division faced a daunting mission to secure the bridge over the Lower Rhine at Arnhem. Their drop zone, located to the west of Arnhem, presented several challenges. The flat and open terrain made it difficult to conceal their descent, exposing them to enemy fire. Additionally, the distance from the drop zone to the bridge posed logistical challenges, as the division had to advance through urban areas held by German forces.
Despite initial successes, the British paratroopers encountered fierce resistance from German forces, including the elite 9th SS and 10th SS Panzer divisions. The lack of intelligence about the strength of the German forces, combined with communication issues, hampered their ability to secure the bridge. Ultimately, the British were unable to hold the bridge at Arnhem, and the division suffered significant casualties.
The U.S. 82nd Airborne Division at Nijmegen:
The U.S. 82nd Airborne Division had the crucial task of securing the bridges over the Maas (Meuse) and Waal rivers near Nijmegen. The division's drop zones were situated to the south and southwest of Nijmegen, providing them with proximity to the key bridges. However, the flat terrain and the presence of anti-aircraft defenses made their descent perilous.
Despite initial difficulties, the 82nd Airborne managed to seize the Nijmegen bridges. However, delays in linking up with British forces at Arnhem allowed the Germans to reinforce their defenses. The fierce fighting that ensued, particularly around the Nijmegen bridge, highlighted the strategic importance of the location and the tenacity of both airborne and ground forces.
The U.S. 101st Airborne Division at Eindhoven:
The U.S. 101st Airborne Division was tasked with capturing Eindhoven and securing the bridges over the Wilhelmina Canal. Their drop zones were to the northwest of the town, and the division faced similar challenges of flat terrain and the risk of anti-aircraft fire during their descent.
The 101st Airborne Division successfully secured Eindhoven and the surrounding areas. Their rapid advance and effective coordination with ground forces contributed to the initial success of Operation Market Garden. The division's ability to secure key objectives quickly demonstrated the potential of airborne operations when executed with precision.
Operation Market Garden, while ambitious in its scope, faced numerous challenges that ultimately led to its partial failure. The airborne divisions at Arnhem, Nijmegen, and Eindhoven displayed courage and determination in the face of adversity, but logistical issues, communication failures, and the unexpected strength of German resistance undermined the operation's success. The lessons learned from Operation Market Garden influenced future military strategies, emphasizing the need for better intelligence, coordination, and flexibility in airborne operations. Despite its shortcomings, the operation showcased the bravery of the airborne divisions and the evolving role of airborne forces in modern warfare. The experiences of the 1st British Airborne Division, the U.S. 82nd Airborne Division, and the U.S. 101st Airborne Division in the Netherlands during September 1944 remain a poignant chapter in the history of airborne warfare.
Operation Market Garden - WW2 Timeline (September 17th - 25th 1944)
General Montgomery's brazen operation proposed to deliver one final, fatal blow to the Axis that would have the war ending by Christmas of 1944.
After the successes encountered in the Normandy Breakout from July through August, it was believed that the German Army was a beaten foe and in retreat. As such, British General Montgomery lay forth a brazen plan to capture key bridges that would be required conquests for the final push into Germany, perhaps ending the war in Europe by Christmas of 1944. Montgomery relayed his plan and, following acceptance by Supreme Allied Commander in Europe -US General Dwight Eisenhower -put the plan into action. On September 17th - just seven days after the official approval, Operation Market Garden was set in motion.
The operation was to be made up of two distinct forces - the airborne elements (falling under the "Market" designation) and the ground forces (falling under the "Garden" designation). The airborne groups would be charged with seizing key bridges and choke points while the ground forces would be called to move Northwards and solidify any gains. When enacted, Operation Market Garden would become the single most largest airborne operation in the history of war, encompassing some 34,600 men, 1,700 vehicles and about 260 artillery pieces dropped from the skies by glider or parachute. The plan would secure key routes and bypass the fabled Sigfried defensive line, allowing for unfettered access in a final push against German territory.
The initial embarkment consisted of over 1,500 Allied aircraft arising from no fewer than 22 airbases across southern England. The US 101st Division was earmarked for a drop over Eindhoven. They were followed by the US 82nd Airborne Division marked for stops over Grave and Nijmegen. American forces were joined by the British 1st Airborne Division who were charged with taken the span at Arnhem from Oosterbeek. A total of five bridges were targeted. In the south, the British 2nd Army was staged to advance along the Eindhoven-Arnhem corridor.
Unknown to Allied warplanners was the presence of German armor in the Arnhem area. The 9th and 10th SS Panzer Divisions were located to the north and south of Arnhem respectively, near the German frontlines. As such, Allied paratroopers - naturally lightly armed and armored - would be going up against crack German troops with tanks and machine gun support.
As with other large airborne landings, Pathfinder units were sent ahead of the main invasion force to setup the predetermined drop zones. From there, the main landing parties began appearing - much to the surprise of the Germans below. The 1st Airborne Division was dropped far from its objective and would have to make due on foot, using up priceless time from the element of surprise. Bad weather also meant that the 101st and 82nd Airborne Divisions would have to make due without artillery support for several days. The British XXX Corps, delayed overall by unexpected German resistance along the Eindhoven road, united with the 101st Airborne at Eindhoven and Veghel to the south on September 18th. The next morning, XXX Corps met up with the US 82nd Airborne Division at Grave. The British 2nd Parachute Battalion was slow to regroup and radios were delivered with the wrong operating crystals but nonetheless headed towards the bridge at Arnhem once teams were settled. The now-alert Germans had begun moving their Panzer elements into action and threatened to sever 3rd Battalion from Arnhem.
With XXX Corps providing the necessary backing, the 82nd Airborne Division took the bridge over the Waal River at Nijmegen. However, XXX Corps was further delayed once it had started northwards towards Arnhem. North of Nijmegen, XXX Corps once again came under fire and progress was halted.
Ammunition and general supplies soon worked against the pinned British troops at Arnhem, despite reinforcement from the lightly-equipped paratrooper elements from the 4th Parachute Brigade. By September 20th, the bridge at Arnhem could no longer be defended and the remaining British forces sought refuge within the town itself - the structures now the target of a relentless German artillery barrage. Once the German Panzers moved across the bridge and into the town, whatever British forces remained were taken prisoner or killed during furious house-to-house fighting.
On September 22nd, General Sosabowski's Polish 1st Airborne Brigade leaped into action in an attempt to rescue the remaining British forces at Arnhem. Their drop zone was just southwest of Arnhem proper but their arrival did little to defuse the deteriorating situation - being held in check by a smart German defense that was attempting to keep the confined British from reaching the arriving Poles and alternatively keep the Poles buried along the river banks. Some British forces were able to evacuate when XXX Corps was brought up for fire support to cover the escape route. Assault boats governed by British and Canadian troops were used to ferry the battered troops out of the area. On September 27th, the remaining Poles surrendered to the Germans - marking the end of Operation Market Garden.
In all, Montgomery's master plan was a moderate success. Key bridges were in Allied control with the exception of Arnhem. The action at Arnhem alone accounted for 1,000 Allied deaths and up to 6,000 personnel became prisoners of war. XXX Corps lost 1,500 additional personnel in their march northwards. In the months ahead, there would be thousands more casualties south of Arnhem as the Germans would attempt to regain their captured territory. Montgomery himself proclaimed that Operation Market Garden was "...90% successful", admitting to have underestimated the German response and but laid blame on the operation having lacked the requisite air an land power needed to be 100% successful. In true Monty fashion, he never gave ground as to any argument against Operation Market Garden's overall success to the Allied war effort.
The bridge at Arnhem is what was referenced in the phrase "A bridge too far."
The war, it seemed, would last long past Christmas of 1944. Arnhem bridge was eventually destroyed by American bombers in a raid on October 7th, 1944, in an effort to deny German use of the route. In 1948, it was rebuilt and named the "John Frost Bridge" in honor of the British commander who unsuccessfully held it.
Arnhem was finally and officially liberated on April 14th, 1945 by Canadian troops.

Comes with a hand-signed C.O.A. and a full historical write-up
This incredible and museum-grade WWII artifact was recovered during a professional excavation and preservation of the Operation Market Garden DROP ZONES and the surrounding battlefields from the 1st British Airborne Divisions DROP ZONE near Arnhem, the U.S. 82nd Airborne Division DROP ZONE near Nijmegen, and the U.S. 101st Airborne Division DROP ZONE near Eindhoven.
Operation Market Garden, launched in September 1944, was one of the largest airborne operations in history. Conceived as a bold plan to end World War II swiftly, it aimed to secure key bridges in the Netherlands and open a pathway into Germany. The operation involved three main airborne divisions: the 1st British Airborne Division, tasked with capturing Arnhem; the U.S. 82nd Airborne Division, assigned to the Nijmegen area; and the U.S. 101st Airborne Division, responsible for securing Eindhoven.
What makes this fired artifact extremely rare is the gravity and role it played in the fighting. Overall, Operation Market Garden was one of the bloodiest chapters of the war in Europe. Between September 17th through 27th of 1944, an estimated 15,326–17,200 Allied soldiers were killed, wounded, and captured, 88 Allied tanks were destroyed, and 377 aircraft and gliders were lost. German losses are estimated at around 6,315–13,300 German soldiers killed and wounded with an unknown total captured.
The 1st British Airborne Division at Arnhem:
The 1st British Airborne Division faced a daunting mission to secure the bridge over the Lower Rhine at Arnhem. Their drop zone, located to the west of Arnhem, presented several challenges. The flat and open terrain made it difficult to conceal their descent, exposing them to enemy fire. Additionally, the distance from the drop zone to the bridge posed logistical challenges, as the division had to advance through urban areas held by German forces.
Despite initial successes, the British paratroopers encountered fierce resistance from German forces, including the elite 9th SS and 10th SS Panzer divisions. The lack of intelligence about the strength of the German forces, combined with communication issues, hampered their ability to secure the bridge. Ultimately, the British were unable to hold the bridge at Arnhem, and the division suffered significant casualties.
The U.S. 82nd Airborne Division at Nijmegen:
The U.S. 82nd Airborne Division had the crucial task of securing the bridges over the Maas (Meuse) and Waal rivers near Nijmegen. The division's drop zones were situated to the south and southwest of Nijmegen, providing them with proximity to the key bridges. However, the flat terrain and the presence of anti-aircraft defenses made their descent perilous.
Despite initial difficulties, the 82nd Airborne managed to seize the Nijmegen bridges. However, delays in linking up with British forces at Arnhem allowed the Germans to reinforce their defenses. The fierce fighting that ensued, particularly around the Nijmegen bridge, highlighted the strategic importance of the location and the tenacity of both airborne and ground forces.
The U.S. 101st Airborne Division at Eindhoven:
The U.S. 101st Airborne Division was tasked with capturing Eindhoven and securing the bridges over the Wilhelmina Canal. Their drop zones were to the northwest of the town, and the division faced similar challenges of flat terrain and the risk of anti-aircraft fire during their descent.
The 101st Airborne Division successfully secured Eindhoven and the surrounding areas. Their rapid advance and effective coordination with ground forces contributed to the initial success of Operation Market Garden. The division's ability to secure key objectives quickly demonstrated the potential of airborne operations when executed with precision.
Operation Market Garden, while ambitious in its scope, faced numerous challenges that ultimately led to its partial failure. The airborne divisions at Arnhem, Nijmegen, and Eindhoven displayed courage and determination in the face of adversity, but logistical issues, communication failures, and the unexpected strength of German resistance undermined the operation's success. The lessons learned from Operation Market Garden influenced future military strategies, emphasizing the need for better intelligence, coordination, and flexibility in airborne operations. Despite its shortcomings, the operation showcased the bravery of the airborne divisions and the evolving role of airborne forces in modern warfare. The experiences of the 1st British Airborne Division, the U.S. 82nd Airborne Division, and the U.S. 101st Airborne Division in the Netherlands during September 1944 remain a poignant chapter in the history of airborne warfare.
Operation Market Garden - WW2 Timeline (September 17th - 25th 1944)
General Montgomery's brazen operation proposed to deliver one final, fatal blow to the Axis that would have the war ending by Christmas of 1944.
After the successes encountered in the Normandy Breakout from July through August, it was believed that the German Army was a beaten foe and in retreat. As such, British General Montgomery lay forth a brazen plan to capture key bridges that would be required conquests for the final push into Germany, perhaps ending the war in Europe by Christmas of 1944. Montgomery relayed his plan and, following acceptance by Supreme Allied Commander in Europe -US General Dwight Eisenhower -put the plan into action. On September 17th - just seven days after the official approval, Operation Market Garden was set in motion.
The operation was to be made up of two distinct forces - the airborne elements (falling under the "Market" designation) and the ground forces (falling under the "Garden" designation). The airborne groups would be charged with seizing key bridges and choke points while the ground forces would be called to move Northwards and solidify any gains. When enacted, Operation Market Garden would become the single most largest airborne operation in the history of war, encompassing some 34,600 men, 1,700 vehicles and about 260 artillery pieces dropped from the skies by glider or parachute. The plan would secure key routes and bypass the fabled Sigfried defensive line, allowing for unfettered access in a final push against German territory.
The initial embarkment consisted of over 1,500 Allied aircraft arising from no fewer than 22 airbases across southern England. The US 101st Division was earmarked for a drop over Eindhoven. They were followed by the US 82nd Airborne Division marked for stops over Grave and Nijmegen. American forces were joined by the British 1st Airborne Division who were charged with taken the span at Arnhem from Oosterbeek. A total of five bridges were targeted. In the south, the British 2nd Army was staged to advance along the Eindhoven-Arnhem corridor.
Unknown to Allied warplanners was the presence of German armor in the Arnhem area. The 9th and 10th SS Panzer Divisions were located to the north and south of Arnhem respectively, near the German frontlines. As such, Allied paratroopers - naturally lightly armed and armored - would be going up against crack German troops with tanks and machine gun support.
As with other large airborne landings, Pathfinder units were sent ahead of the main invasion force to setup the predetermined drop zones. From there, the main landing parties began appearing - much to the surprise of the Germans below. The 1st Airborne Division was dropped far from its objective and would have to make due on foot, using up priceless time from the element of surprise. Bad weather also meant that the 101st and 82nd Airborne Divisions would have to make due without artillery support for several days. The British XXX Corps, delayed overall by unexpected German resistance along the Eindhoven road, united with the 101st Airborne at Eindhoven and Veghel to the south on September 18th. The next morning, XXX Corps met up with the US 82nd Airborne Division at Grave. The British 2nd Parachute Battalion was slow to regroup and radios were delivered with the wrong operating crystals but nonetheless headed towards the bridge at Arnhem once teams were settled. The now-alert Germans had begun moving their Panzer elements into action and threatened to sever 3rd Battalion from Arnhem.
With XXX Corps providing the necessary backing, the 82nd Airborne Division took the bridge over the Waal River at Nijmegen. However, XXX Corps was further delayed once it had started northwards towards Arnhem. North of Nijmegen, XXX Corps once again came under fire and progress was halted.
Ammunition and general supplies soon worked against the pinned British troops at Arnhem, despite reinforcement from the lightly-equipped paratrooper elements from the 4th Parachute Brigade. By September 20th, the bridge at Arnhem could no longer be defended and the remaining British forces sought refuge within the town itself - the structures now the target of a relentless German artillery barrage. Once the German Panzers moved across the bridge and into the town, whatever British forces remained were taken prisoner or killed during furious house-to-house fighting.
On September 22nd, General Sosabowski's Polish 1st Airborne Brigade leaped into action in an attempt to rescue the remaining British forces at Arnhem. Their drop zone was just southwest of Arnhem proper but their arrival did little to defuse the deteriorating situation - being held in check by a smart German defense that was attempting to keep the confined British from reaching the arriving Poles and alternatively keep the Poles buried along the river banks. Some British forces were able to evacuate when XXX Corps was brought up for fire support to cover the escape route. Assault boats governed by British and Canadian troops were used to ferry the battered troops out of the area. On September 27th, the remaining Poles surrendered to the Germans - marking the end of Operation Market Garden.
In all, Montgomery's master plan was a moderate success. Key bridges were in Allied control with the exception of Arnhem. The action at Arnhem alone accounted for 1,000 Allied deaths and up to 6,000 personnel became prisoners of war. XXX Corps lost 1,500 additional personnel in their march northwards. In the months ahead, there would be thousands more casualties south of Arnhem as the Germans would attempt to regain their captured territory. Montgomery himself proclaimed that Operation Market Garden was "...90% successful", admitting to have underestimated the German response and but laid blame on the operation having lacked the requisite air an land power needed to be 100% successful. In true Monty fashion, he never gave ground as to any argument against Operation Market Garden's overall success to the Allied war effort.
The bridge at Arnhem is what was referenced in the phrase "A bridge too far."
The war, it seemed, would last long past Christmas of 1944. Arnhem bridge was eventually destroyed by American bombers in a raid on October 7th, 1944, in an effort to deny German use of the route. In 1948, it was rebuilt and named the "John Frost Bridge" in honor of the British commander who unsuccessfully held it.
Arnhem was finally and officially liberated on April 14th, 1945 by Canadian troops.
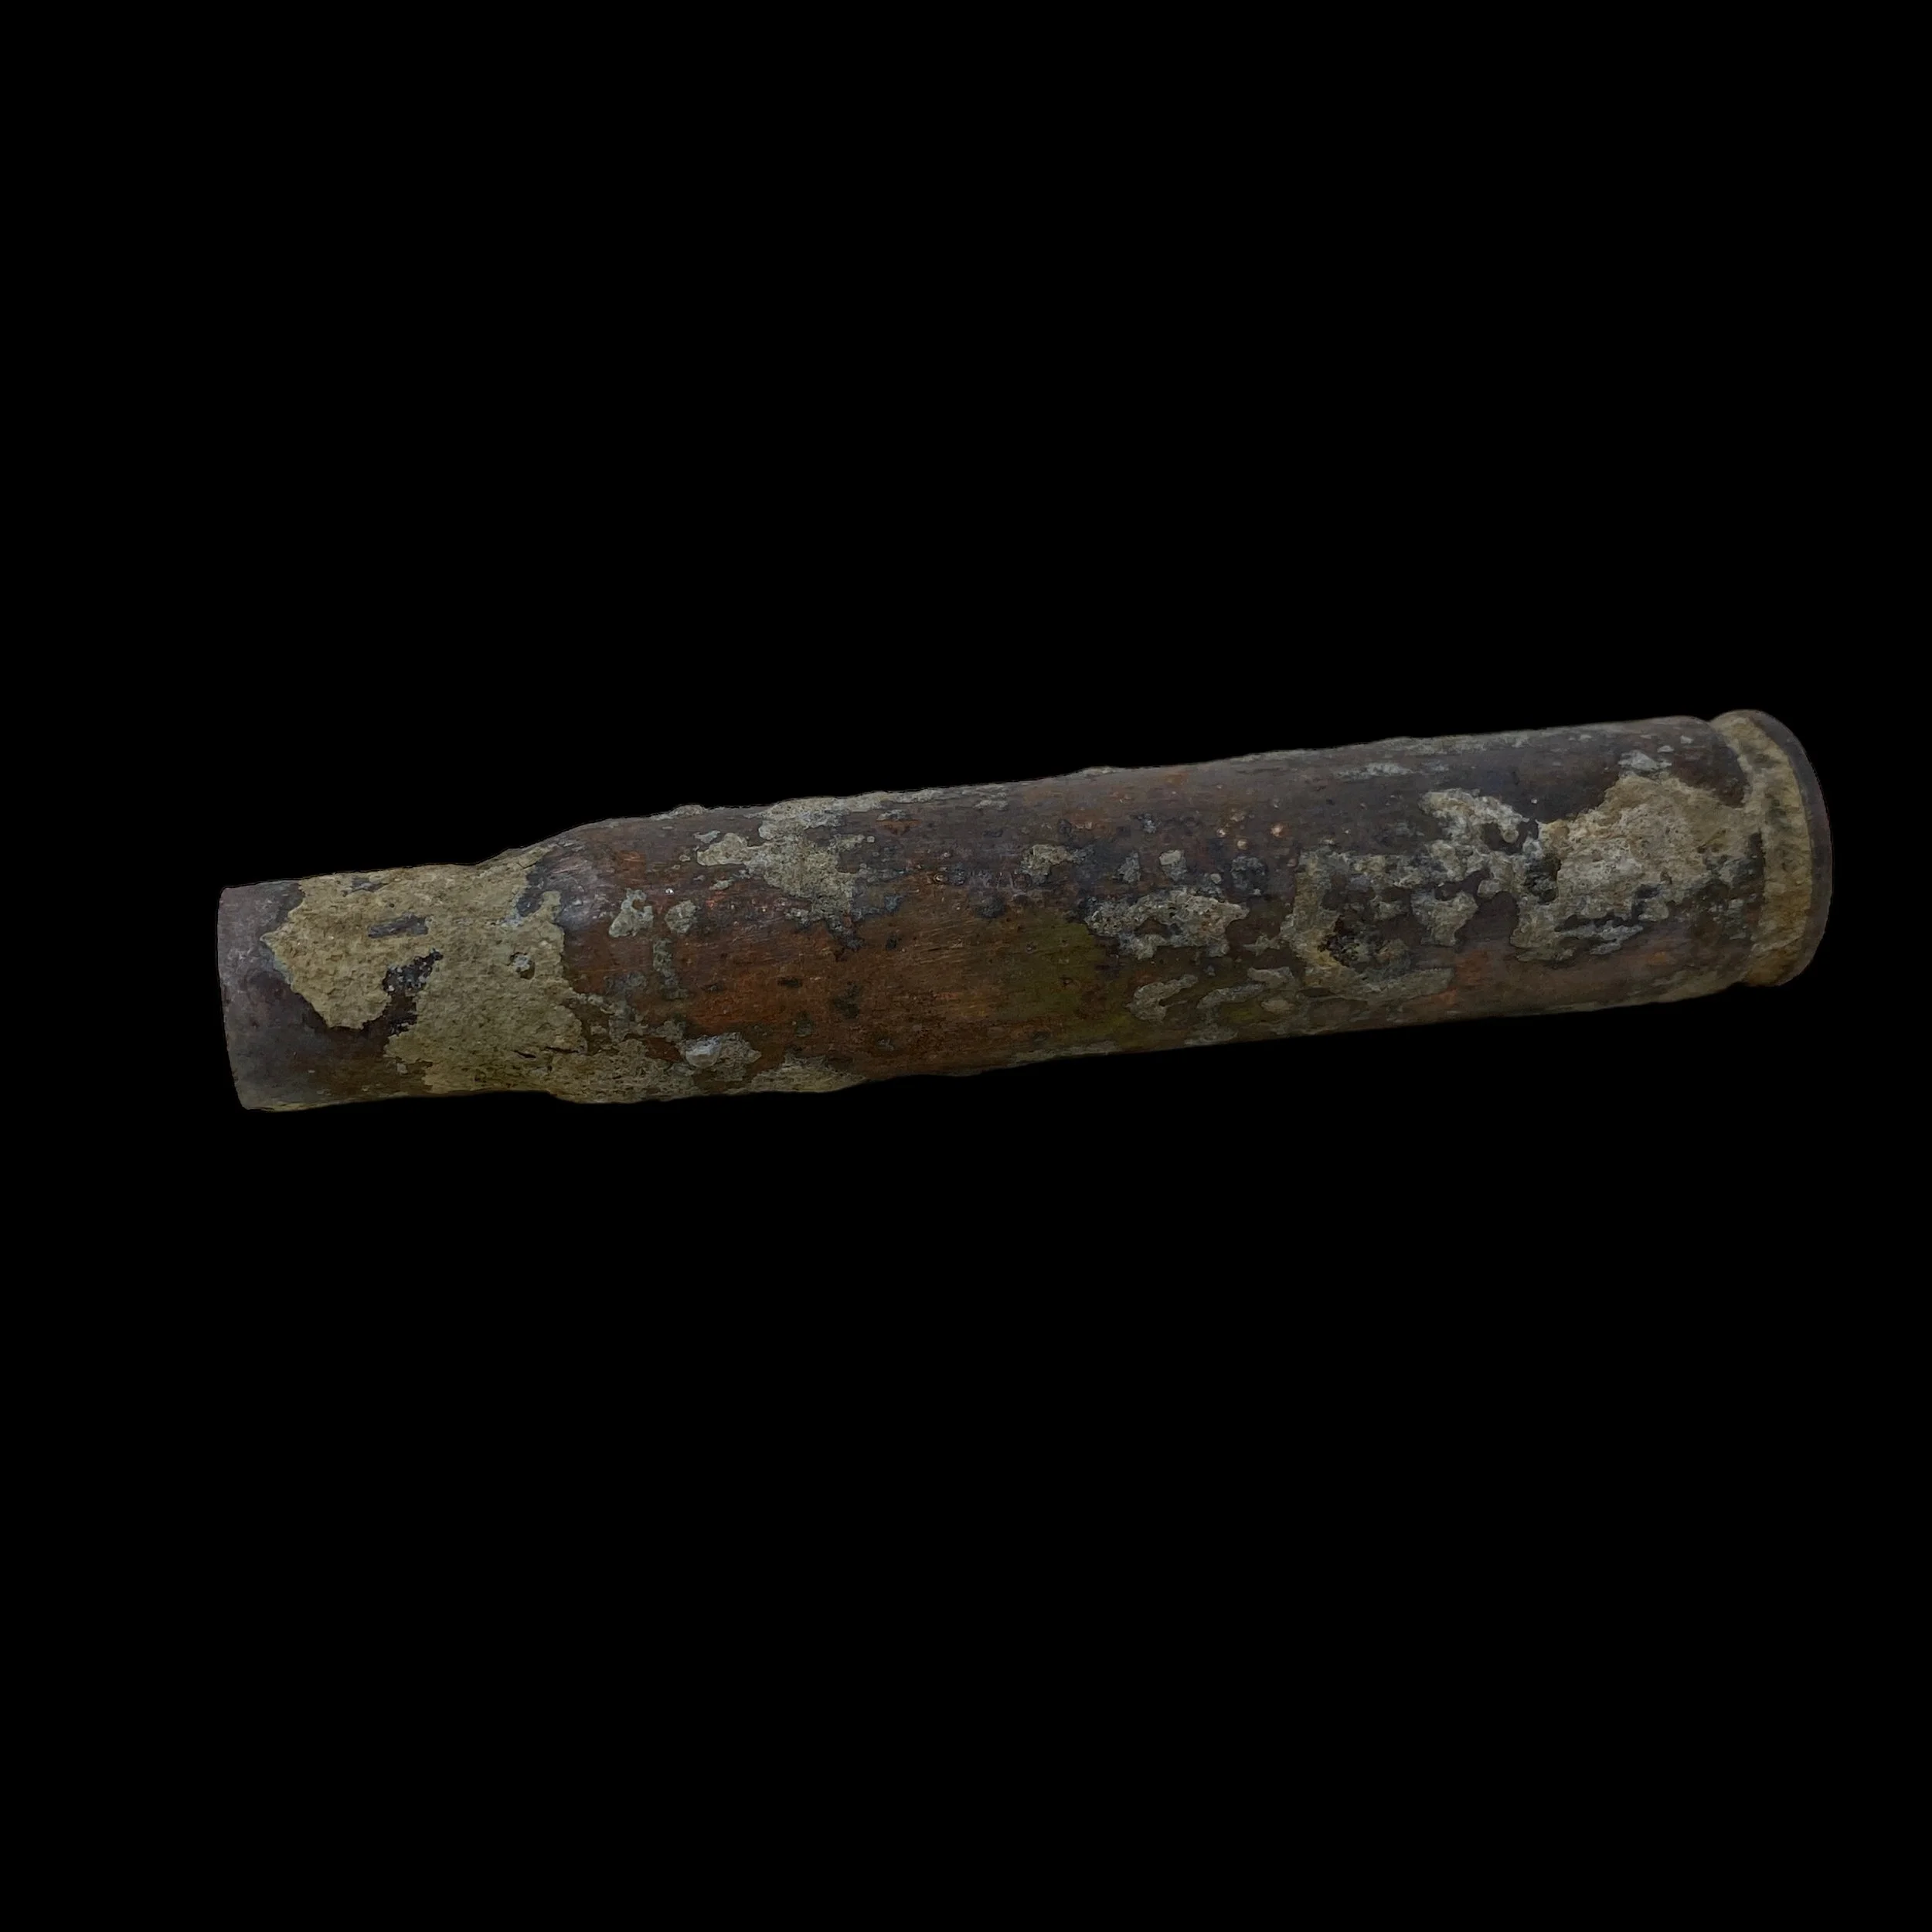
Comes with a hand-signed C.O.A. and a full historical research write-up
This extremely rare and museum-grade World War II artifact was professionally excavated from the infamous Hacksaw Ridge (Maeda Escarpment). The Maeda Escarpment, also known as Hacksaw Ridge, was located atop a 400-foot vertical cliff. The American attack on the ridge began on April 26th, 1945. It was a brutal battle for both sides. To defend the escarpment, Japanese troops hunkered down in a network of caves and dugouts. They were determined to hold the ridge, and decimated American platoons until just a few men remained. Much of the fighting was hand-to-hand combat and particularly ruthless. The Americans finally took Hacksaw Ridge on May 6.
All Americans who fought in the Battle of Okinawa were heroic, but one soldier at the escarpment stood out—Corporal Desmond T. Doss. He was an army medic and Seventh-Day Adventist who refused to raise a gun to the enemy. Still, he remained on the escarpment after his commanding officers ordered a retreat. Surrounded by enemy soldiers, he went alone into the battle fray and rescued 75 of his wounded comrades. His heroic story was brought to life on the big screen in 2016 in the film Hacksaw Ridge—Doss won a Medal of Honor for his bravery.
This FIRED rifle bullet casing from Hacksaw Ridge is one of the rarest artifacts within the collection. This rifle bullet casing was fired during the infamous Battle of Hacksaw Ridge during Operation Iceberg.
What makes this so special is that this could have been one of the bullets that was shot next to Medal of Honor recipient Corporal Desmond T. Doss as he treated and evacuated other Americans off the ridge during the operation. There is a VERY LIMITED quantity of these artifacts ever recovered making this an extremely rare artifact for both museums and high-end collectors.
CPL Desmond Thomas Doss FULL Hacksaw Ridge Medal of Honor Citation:
Desmond T. Doss
Corporal, U.S. Army
Medal of Honor Recipient: World War II
Corporal Desmond T. Doss (7 February 1919 - 23 March 2006) was the first conscientious objector (he detested that phrase, preferring "conscientious cooperator") to receive the Medal of Honor and one of only three so honored. (The others are Thomas W. Bennett and Joseph G. LaPointe, Jr.)
Desmond T. Doss was born on 7 February 1919 in Lynchburg, VA. He also entered the U.S. Army from Lynchburg. Because of his personal beliefs as a Seventh-day Adventist, Doss refused to learn to shoot a rifle or carry a weapon into combat. He became a medic and his service in the Pacific Theatre of World War II helped save the lives of his comrades, while still adhering to his religious convictions.
He was a Corporal (Private First Class at the time of his Medal of Honor heroics) in the U.S. Army assigned to the Medical Detachment, 307th Infantry, 77th Infantry Division.
Medals, Awards and Badges
Medal of Honor
Bronze Star Medal with Valor Device and Bronze Oak Leaf Cluster
Purple Heart with 2 Bronze Oak Leaf Clusters
Army Good Conduct Medal
American Campaign Medal
Asiatic-Pacific Campaign Medal with Arrowhead Pin and 3 Bronze Stars
World War II Victory Medal
Philippine Liberation Medal with Bronze Star
Presidential Unit Citation
Army Meritorious Unit Commendation
Combat Medical Badge
Medal of Honor Citation
He was a company aid man when the 1st Battalion assaulted a jagged escarpment 400 feet high. As our troops gained the summit, a heavy concentration of artillery, mortar and machinegun fire crashed into them, inflicting approximately 75 casualties and driving the others back. Pfc. Doss refused to seek cover and remained in the fire-swept area with the many stricken, carrying them 1 by 1 to the edge of the escarpment and there lowering them on a rope-supported litter down the face of a cliff to friendly hands. On 2 May, he exposed himself to heavy rifle and mortar fire in rescuing a wounded man 200 yards forward of the lines on the same escarpment; and 2 days later he treated 4 men who had been cut down while assaulting a strongly defended cave, advancing through a shower of grenades to within 8 yards of enemy forces in a cave's mouth, where he dressed his comrades' wounds before making 4 separate trips under fire to evacuate them to safety. On 5 May, he unhesitatingly braved enemy shelling and small arms fire to assist an artillery officer. He applied bandages, moved his patient to a spot that offered protection from small arms fire and, while artillery and mortar shells fell close by, painstakingly administered plasma. Later that day, when an American was severely wounded by fire from a cave, Pfc. Doss crawled to him where he had fallen 25 feet from the enemy position, rendered aid, and carried him 100 yards to safety while continually exposed to enemy fire. On 21 May, in a night attack on high ground near Shuri, he remained in exposed territory while the rest of his company took cover, fearlessly risking the chance that he would be mistaken for an infiltrating Japanese and giving aid to the injured until he was himself seriously wounded in the legs by the explosion of a grenade. Rather than call another aid man from cover, he cared for his own injuries and waited 5 hours before litter bearers reached him and started carrying him to cover. The trio was caught in an enemy tank attack and Pfc. Doss, seeing a more critically wounded man nearby, crawled off the litter; and directed the bearers to give their first attention to the other man. Awaiting the litter bearers' return, he was again struck, this time suffering a compound fracture of 1 arm. With magnificent fortitude he bound a rifle stock to his shattered arm as a splint and then crawled 300 yards over rough terrain to the aid station. Through his outstanding bravery and unflinching determination in the face of desperately dangerous conditions Pfc. Doss saved the lives of many soldiers. His name became a symbol throughout the 77th Infantry Division for outstanding gallantry far above and beyond the call of duty.
Corporal Desmond T. Doss received his Medal of Honor from President Harry S. Truman on 11 November 1945.
Death Toll:
Both sides suffered staggering losses in the Battle of Okinawa. The Americans bore over 49,000 casualties including 12,520 killed. General Buckner himself was killed in action on June 18, just days before the battle ended.
Japanese losses were even greater—about 110,000 Japanese soldiers lost their lives. It’s estimated between 40,000 and 150,000 Okinawa citizens were also killed. The Battle of Okinawa is now considered one of the deadliest in all of human history.

Comes with a hand-signed C.O.A. and a full historical write-up
This incredible and museum-grade WWII artifact was recovered during a professional excavation and preservation of the Operation Market Garden DROP ZONES and the surrounding battlefields from the 1st British Airborne Divisions DROP ZONE near Arnhem, the U.S. 82nd Airborne Division DROP ZONE near Nijmegen, and the U.S. 101st Airborne Division DROP ZONE near Eindhoven.
Operation Market Garden, launched in September 1944, was one of the largest airborne operations in history. Conceived as a bold plan to end World War II swiftly, it aimed to secure key bridges in the Netherlands and open a pathway into Germany. The operation involved three main airborne divisions: the 1st British Airborne Division, tasked with capturing Arnhem; the U.S. 82nd Airborne Division, assigned to the Nijmegen area; and the U.S. 101st Airborne Division, responsible for securing Eindhoven.
What makes this fired artifact extremely rare is the gravity and role it played in the fighting. Overall, Operation Market Garden was one of the bloodiest chapters of the war in Europe. Between September 17th through 27th of 1944, an estimated 15,326–17,200 Allied soldiers were killed, wounded, and captured, 88 Allied tanks were destroyed, and 377 aircraft and gliders were lost. German losses are estimated at around 6,315–13,300 German soldiers killed and wounded with an unknown total captured.
The 1st British Airborne Division at Arnhem:
The 1st British Airborne Division faced a daunting mission to secure the bridge over the Lower Rhine at Arnhem. Their drop zone, located to the west of Arnhem, presented several challenges. The flat and open terrain made it difficult to conceal their descent, exposing them to enemy fire. Additionally, the distance from the drop zone to the bridge posed logistical challenges, as the division had to advance through urban areas held by German forces.
Despite initial successes, the British paratroopers encountered fierce resistance from German forces, including the elite 9th SS and 10th SS Panzer divisions. The lack of intelligence about the strength of the German forces, combined with communication issues, hampered their ability to secure the bridge. Ultimately, the British were unable to hold the bridge at Arnhem, and the division suffered significant casualties.
The U.S. 82nd Airborne Division at Nijmegen:
The U.S. 82nd Airborne Division had the crucial task of securing the bridges over the Maas (Meuse) and Waal rivers near Nijmegen. The division's drop zones were situated to the south and southwest of Nijmegen, providing them with proximity to the key bridges. However, the flat terrain and the presence of anti-aircraft defenses made their descent perilous.
Despite initial difficulties, the 82nd Airborne managed to seize the Nijmegen bridges. However, delays in linking up with British forces at Arnhem allowed the Germans to reinforce their defenses. The fierce fighting that ensued, particularly around the Nijmegen bridge, highlighted the strategic importance of the location and the tenacity of both airborne and ground forces.
The U.S. 101st Airborne Division at Eindhoven:
The U.S. 101st Airborne Division was tasked with capturing Eindhoven and securing the bridges over the Wilhelmina Canal. Their drop zones were to the northwest of the town, and the division faced similar challenges of flat terrain and the risk of anti-aircraft fire during their descent.
The 101st Airborne Division successfully secured Eindhoven and the surrounding areas. Their rapid advance and effective coordination with ground forces contributed to the initial success of Operation Market Garden. The division's ability to secure key objectives quickly demonstrated the potential of airborne operations when executed with precision.
Operation Market Garden, while ambitious in its scope, faced numerous challenges that ultimately led to its partial failure. The airborne divisions at Arnhem, Nijmegen, and Eindhoven displayed courage and determination in the face of adversity, but logistical issues, communication failures, and the unexpected strength of German resistance undermined the operation's success. The lessons learned from Operation Market Garden influenced future military strategies, emphasizing the need for better intelligence, coordination, and flexibility in airborne operations. Despite its shortcomings, the operation showcased the bravery of the airborne divisions and the evolving role of airborne forces in modern warfare. The experiences of the 1st British Airborne Division, the U.S. 82nd Airborne Division, and the U.S. 101st Airborne Division in the Netherlands during September 1944 remain a poignant chapter in the history of airborne warfare.
Operation Market Garden - WW2 Timeline (September 17th - 25th 1944)
General Montgomery's brazen operation proposed to deliver one final, fatal blow to the Axis that would have the war ending by Christmas of 1944.
After the successes encountered in the Normandy Breakout from July through August, it was believed that the German Army was a beaten foe and in retreat. As such, British General Montgomery lay forth a brazen plan to capture key bridges that would be required conquests for the final push into Germany, perhaps ending the war in Europe by Christmas of 1944. Montgomery relayed his plan and, following acceptance by Supreme Allied Commander in Europe -US General Dwight Eisenhower -put the plan into action. On September 17th - just seven days after the official approval, Operation Market Garden was set in motion.
The operation was to be made up of two distinct forces - the airborne elements (falling under the "Market" designation) and the ground forces (falling under the "Garden" designation). The airborne groups would be charged with seizing key bridges and choke points while the ground forces would be called to move Northwards and solidify any gains. When enacted, Operation Market Garden would become the single most largest airborne operation in the history of war, encompassing some 34,600 men, 1,700 vehicles and about 260 artillery pieces dropped from the skies by glider or parachute. The plan would secure key routes and bypass the fabled Sigfried defensive line, allowing for unfettered access in a final push against German territory.
The initial embarkment consisted of over 1,500 Allied aircraft arising from no fewer than 22 airbases across southern England. The US 101st Division was earmarked for a drop over Eindhoven. They were followed by the US 82nd Airborne Division marked for stops over Grave and Nijmegen. American forces were joined by the British 1st Airborne Division who were charged with taken the span at Arnhem from Oosterbeek. A total of five bridges were targeted. In the south, the British 2nd Army was staged to advance along the Eindhoven-Arnhem corridor.
Unknown to Allied warplanners was the presence of German armor in the Arnhem area. The 9th and 10th SS Panzer Divisions were located to the north and south of Arnhem respectively, near the German frontlines. As such, Allied paratroopers - naturally lightly armed and armored - would be going up against crack German troops with tanks and machine gun support.
As with other large airborne landings, Pathfinder units were sent ahead of the main invasion force to setup the predetermined drop zones. From there, the main landing parties began appearing - much to the surprise of the Germans below. The 1st Airborne Division was dropped far from its objective and would have to make due on foot, using up priceless time from the element of surprise. Bad weather also meant that the 101st and 82nd Airborne Divisions would have to make due without artillery support for several days. The British XXX Corps, delayed overall by unexpected German resistance along the Eindhoven road, united with the 101st Airborne at Eindhoven and Veghel to the south on September 18th. The next morning, XXX Corps met up with the US 82nd Airborne Division at Grave. The British 2nd Parachute Battalion was slow to regroup and radios were delivered with the wrong operating crystals but nonetheless headed towards the bridge at Arnhem once teams were settled. The now-alert Germans had begun moving their Panzer elements into action and threatened to sever 3rd Battalion from Arnhem.
With XXX Corps providing the necessary backing, the 82nd Airborne Division took the bridge over the Waal River at Nijmegen. However, XXX Corps was further delayed once it had started northwards towards Arnhem. North of Nijmegen, XXX Corps once again came under fire and progress was halted.
Ammunition and general supplies soon worked against the pinned British troops at Arnhem, despite reinforcement from the lightly-equipped paratrooper elements from the 4th Parachute Brigade. By September 20th, the bridge at Arnhem could no longer be defended and the remaining British forces sought refuge within the town itself - the structures now the target of a relentless German artillery barrage. Once the German Panzers moved across the bridge and into the town, whatever British forces remained were taken prisoner or killed during furious house-to-house fighting.
On September 22nd, General Sosabowski's Polish 1st Airborne Brigade leaped into action in an attempt to rescue the remaining British forces at Arnhem. Their drop zone was just southwest of Arnhem proper but their arrival did little to defuse the deteriorating situation - being held in check by a smart German defense that was attempting to keep the confined British from reaching the arriving Poles and alternatively keep the Poles buried along the river banks. Some British forces were able to evacuate when XXX Corps was brought up for fire support to cover the escape route. Assault boats governed by British and Canadian troops were used to ferry the battered troops out of the area. On September 27th, the remaining Poles surrendered to the Germans - marking the end of Operation Market Garden.
In all, Montgomery's master plan was a moderate success. Key bridges were in Allied control with the exception of Arnhem. The action at Arnhem alone accounted for 1,000 Allied deaths and up to 6,000 personnel became prisoners of war. XXX Corps lost 1,500 additional personnel in their march northwards. In the months ahead, there would be thousands more casualties south of Arnhem as the Germans would attempt to regain their captured territory. Montgomery himself proclaimed that Operation Market Garden was "...90% successful", admitting to have underestimated the German response and but laid blame on the operation having lacked the requisite air an land power needed to be 100% successful. In true Monty fashion, he never gave ground as to any argument against Operation Market Garden's overall success to the Allied war effort.
The bridge at Arnhem is what was referenced in the phrase "A bridge too far."
The war, it seemed, would last long past Christmas of 1944. Arnhem bridge was eventually destroyed by American bombers in a raid on October 7th, 1944, in an effort to deny German use of the route. In 1948, it was rebuilt and named the "John Frost Bridge" in honor of the British commander who unsuccessfully held it.
Arnhem was finally and officially liberated on April 14th, 1945 by Canadian troops.
The National WWII Museum
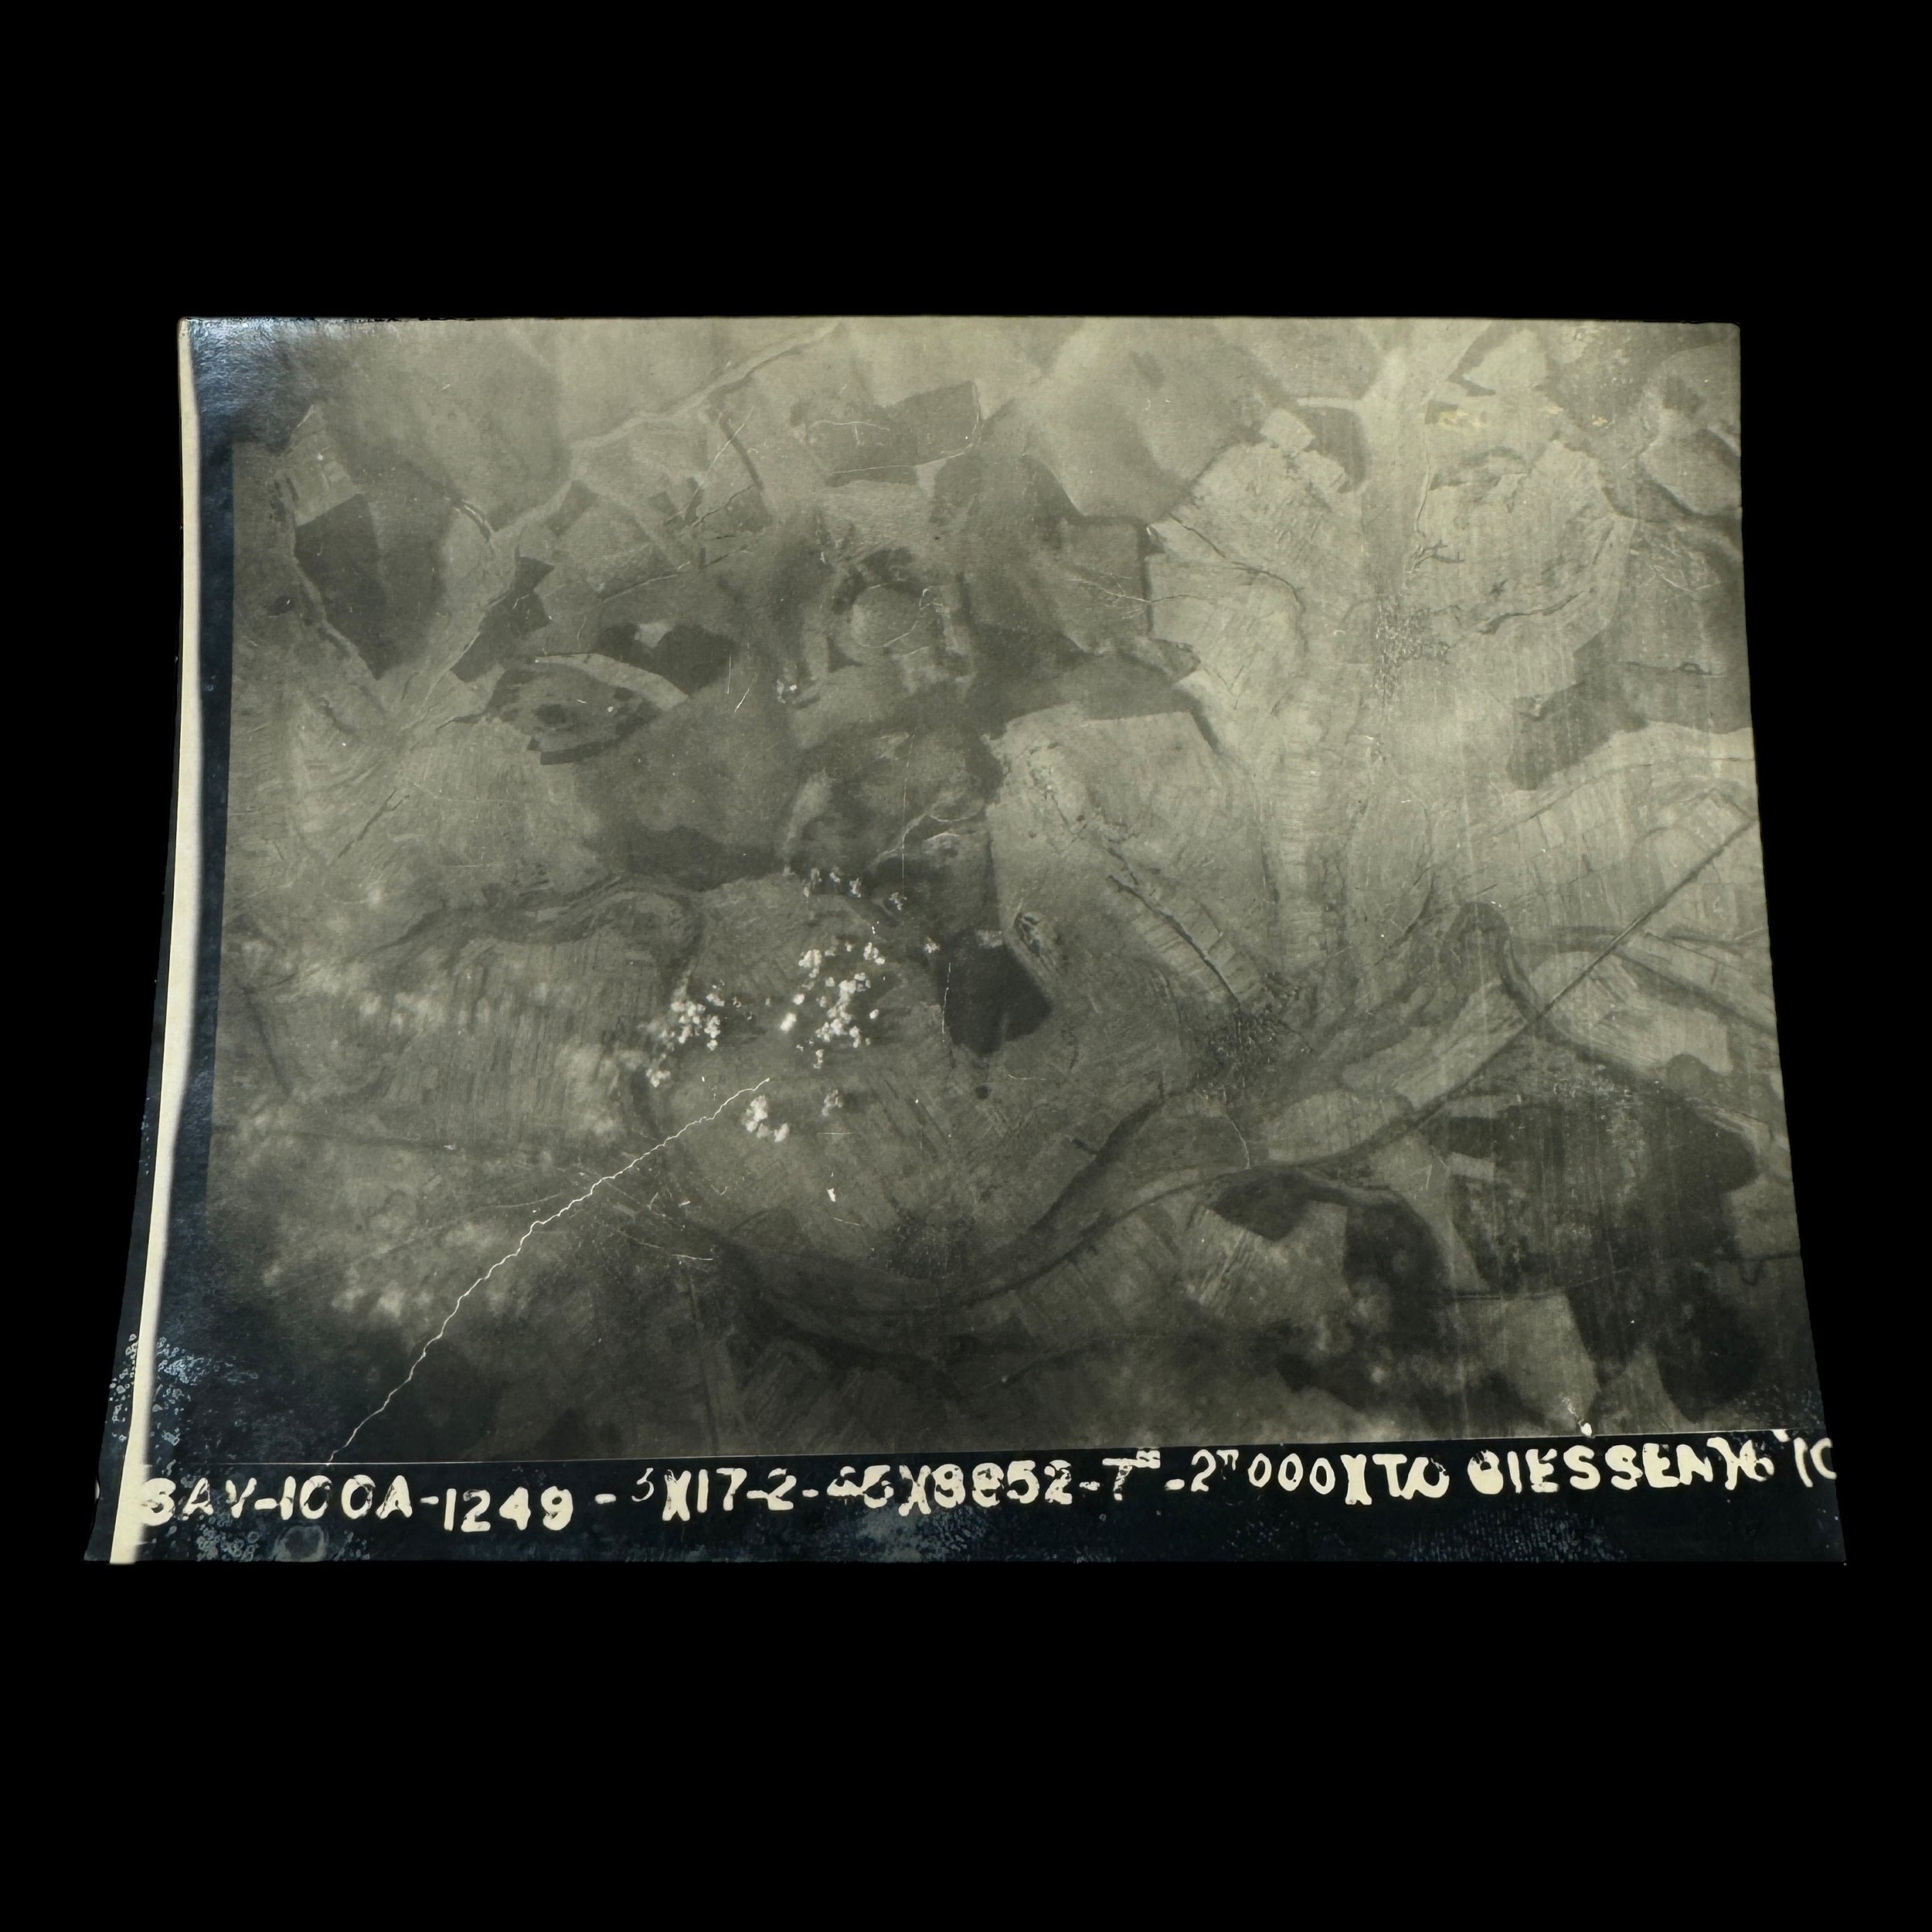
Comes with a hand-signed C.O.A.
100th Bomb Group Mission #260
Mission Date: February 17th, 1945
Target: FRANKFURT & GIESSEN, Germany (Metal Factory and Marshaling Yards)
Classified: CONFIDENTIAL
Size: 5 × 7 inches
This exceptionally rare and museum-grade World War II artifact is an original "CONFIDENTIAL" marked Type 1 aerial combat mission photograph taken from a B-17 Flying Fortress of the 100th Bomb Group, Eighth Air Force. Known as "The Bloody Hundredth," the 100th Bomb Group earned a reputation for its remarkable bravery and resilience during some of the most intense and critical missions of the Allied strategic bombing campaign over Europe. These photographs provide an irreplaceable glimpse into the air war, capturing the danger, precision, and historical significance of these missions.
Taken during daring bombing raids conducted by the 8th Air Force, these photographs were developed immediately after the returning B-17 aircraft landed at Allied airfields in England, having survived fierce engagements with enemy fighters and deadly flak barrages. Each mission photograph was classified according to the sensitivity of the operation, marked "Confidential," "Secret," or "Top Secret," depending on the importance of the target and the secrecy surrounding the mission.
***THE TEXT BELOW IS FROM THE OFFICIAL MISSION SUMMARY OF THIS EXACT BOMBING RAID PHOTOGRAPH:
February 17th, 1945: Chaos Over FRANKFURT and GIESSEN: The 100th Bomb Group's Struggle with Plan Changes and Flak
After a Group Stand Down on the 16th, crews were notified of a mission for the next day. By 0140 hours, updates to the targets and plans began, with changes arriving every ten minutes until 0650 hours, when it was confirmed that Plan A was in effect, canceling Plan B.
At Thorpe Abbotts, thirty-eight crews were briefed for Frankfurt, with metal works as the Primary target and the marshalling yards as Secondary. The 390th BG led the Wing, with the 95th as the ‘B’ group and the 100th as the ‘C,’ led by Major Lyster and Lt. DePlanque.
The bombers departed smoothly between 0840-0920 hours, assembling at Buncher 23 at 5500 feet due to cloud cover. Crossing the Channel, Division notified the Wing to abandon Plan A for Plan B. Weather deteriorated so severely that both the 1st and 2nd Divisions were recalled before reaching enemy airspace.
The 100th adjusted to a triangular pattern to gain the required 22,000 feet near Frankfurt, where they faced “moderate, very accurate, and tracking” flak. With 10/10 cloud cover over the target, the H2X method was employed. When the Lead aircraft’s Mickey set and communications failed due to a flak hit, the Low Squadron attempted to follow but lost 5000 feet in the confusion, breaking formation and preventing a bomb release. The High Squadron continued to the Secondary target, attacking at 21,900 feet.
The Low Squadron’s Command Pilot then led a climb to 22,000 feet to attack the Target of Last Resort at Giessen. Under flak and heavy contrails, bombs were mistakenly dropped at 1306 over Staufenberg, six miles north of Giessen, falling into fields and woods.
On the return, crews saw a 390th BG ship ditch into the sea and another explode. Fifteen 100th BG bombers landed at Thorpe Abbotts with flak damage, while the Lead ship landed elsewhere.
Climbing to unprepared altitudes stressed oxygen supplies and fuel, frustrating the Group Commanders. The Wing’s report criticized Division for poor weather data and lack of preparation for Plan B, noting confusion, broken intervals, and scattered fighter support.
Despite the challenges, the 3rd Division completed the mission, and the 100th BG crews returned safely. Relief followed with another Stand Down the next day.
Condensed History of the 100th Bomb Group:
The 100th Bomb Group was constituted as a heavy bomber group inside the Eighth Air Force, which, at peak strength on D-Day, June 6, 1944, fielded 40 groups of Boeing B-17s and Consolidated B-24s. The 100th Bomb Group also known as the "The Bloody Hundredth", because of its reputation for losing a high number of aircraft and crews.
Over the course of 22 months of aerial combat, the aircrews of the 100th had served a deadly apprenticeship as they honed their skills and tactics. In an unemotional analysis of the raw numbers, the Bloody 100th’s wartime losses were not the worst suffered by the Eighth Air Force, though they were in the top three of losses by heavy bomber groups. The official history from the 100th Bomb Group Foundation cites 184 missing aircrew reports on 306 missions. In his memoir An Eighth Air Force Combat Diary, 100th copilot John Clark pointed out that “50% of the Group’s losses occurred in only 3% of its missions.” Like a gambler whose luck has gone cold, when the crews of the 100th had a bad day, they had a very bad day.
More than 26,000 Eighth Air Force personnel sacrificed their lives in service to the war effort. The total number killed or missing in action was slightly more than that suffered by the U.S. Marine Corps, and a little less than half the losses sustained by the entire U.S. Navy. Comparisons such as these do nothing to diminish the contributions of other military branches, but rather point out the gargantuan scale of the Eighth Air Force’s effort. The 100th Bomb Group’s portion of those losses was 785 men killed outright or missing in action and 229 aircraft destroyed or rendered unsuitable for flight.
Essential Roles of the Photographs in the Allied War Effort
1. Post-Mission Briefings
These combat mission photographs were indispensable in post-mission debriefings with aircrews. They provided:
Visual Feedback: Detailed images allowed crews to assess the effectiveness of their bombing runs, determining whether targets were hit with precision or if adjustments were needed for future missions.
Combat Intelligence: The photographs documented enemy defenses encountered during the mission, such as anti-aircraft artillery placements, flak concentrations, and Luftwaffe interception patterns.
Tactical Improvements: Reviewing these images enabled crews to refine their bombing accuracy and tactics, improving mission success rates while minimizing risks to personnel and aircraft.
2. Intelligence and Mapping
Type 1 photographs were invaluable to Allied intelligence, serving as critical resources for:
Identifying New Targets: Reconnaissance imagery revealed the locations of enemy industrial facilities, supply depots, and military installations, shaping future mission objectives.
Mapping Enemy Defenses: The photographs helped Allied analysts chart flak zones, radar installations, and troop movements, allowing for the creation of comprehensive intelligence maps that informed strategic planning.
Assessing Bombing Effectiveness: Post-bombing images documented the destruction of critical enemy infrastructure, such as factories, transportation networks, and oil refineries, ensuring mission objectives were met.
3. Strategic Bombing Campaigns
The Eighth Air Force relied heavily on these photographs to adjust and refine its bombing strategies. They played a critical role in:
Target Prioritization: Damage assessments from previous missions guided the selection of high-priority targets for subsequent raids.
Operational Planning: Insights gained from the photographs influenced mission parameters, such as bombing altitudes, formation patterns, and evasive maneuvers to counter enemy defenses.
Historical Significance and Legacy
These photographs stand as a testament to the courage and precision of the 100th Bomb Group. Stationed at Thorpe Abbotts, England, "The Bloody Hundredth" became synonymous with heroism and sacrifice, enduring significant losses during missions deep into enemy territory. Their motto, "Keep the Show on the Road," exemplified their unrelenting determination in the face of overwhelming odds.
The combat imagery produced by the group not only documented their contributions but also played an instrumental role in crippling Germany's industrial and military capabilities. Today, these photographs are regarded as museum-grade artifacts, offering a tangible connection to the technological innovation, strategic foresight, and human courage that defined the Allied war effort.
The rarity of these images further elevates their historical value, as many were destroyed after the war to maintain operational secrecy. Those that remain offer an unparalleled window into the air war over Europe and the pivotal role of aerial reconnaissance in securing Allied victory.
The Type 1 aerial combat mission photograph from a B-17 Flying Fortress of the 100th Bomb Group is far more than a historical artifact—it is a powerful reminder of the bravery, ingenuity, and determination that shaped the outcome of World War II. These images guided the Allied forces to victory and now serve as a lasting tribute to the men and women who risked everything in the skies above Europe. Preserving these photographs ensures that the sacrifices and triumphs of "The Bloody Hundredth" will never fade from memory, allowing their legacy to inspire future generations.
*Full Mission History of the 100th Bombardment Group (Heavy) during WWII:
Constituted as 100th Bombardment Group (Heavy) on 28 Jan 1942. Activated on 1 Jun 1942. Used B-17’s to prepare for duty overseas. Moved to England, May-Jun 1943, and was assigned to Eighth AF. Operated chiefly as a strategic bombardment organization until the war ended. From Jun 1943 to Jan 1944, concentrated its efforts against airfields in France and naval facilities and industries in France and Germany. Received a DUC for seriously disrupting German fighter plane production with an attack on an aircraft factory at Regensburg on 17 Aug 1943. Bombed airfields, industries, marshaling yards, and missile sites in Western Europe, Jan-May 1944. Operations in this period included participation in the Allied campaign against enemy aircraft factories during Big Week, 20-25 Feb 1944. Completed a series of attacks against Berlin in Mar 1944 and received a DUC for the missions. Beginning in the summer of 1944, oil installations became major targets. In addition to strategic operations, the group engaged in support and interdictory missions, hitting bridges and gun positions in support of the Normandy invasion in Jun 1944; bombing enemy positions at St Lo in Jul and at Brest in Aug and Sep; striking transportation and ground defenses in the drive against the Siegfried Line, Oct-Dec 1944; attacking marshaling yards, defended villages, and communications in the Ardennes sector during the Battle of the Bulge, Dec 1944- Jan 1945; and covering the airborne assault across the Rhine in Mar 1945. Received the French Croix de Guerre with Palm for attacking heavily defended installations in Germany and for dropping supplies to French Forces of the Interior, Jun-Dec 1944. Returned to the US in Dec 1945. inactivated on 21 Dec 1945.
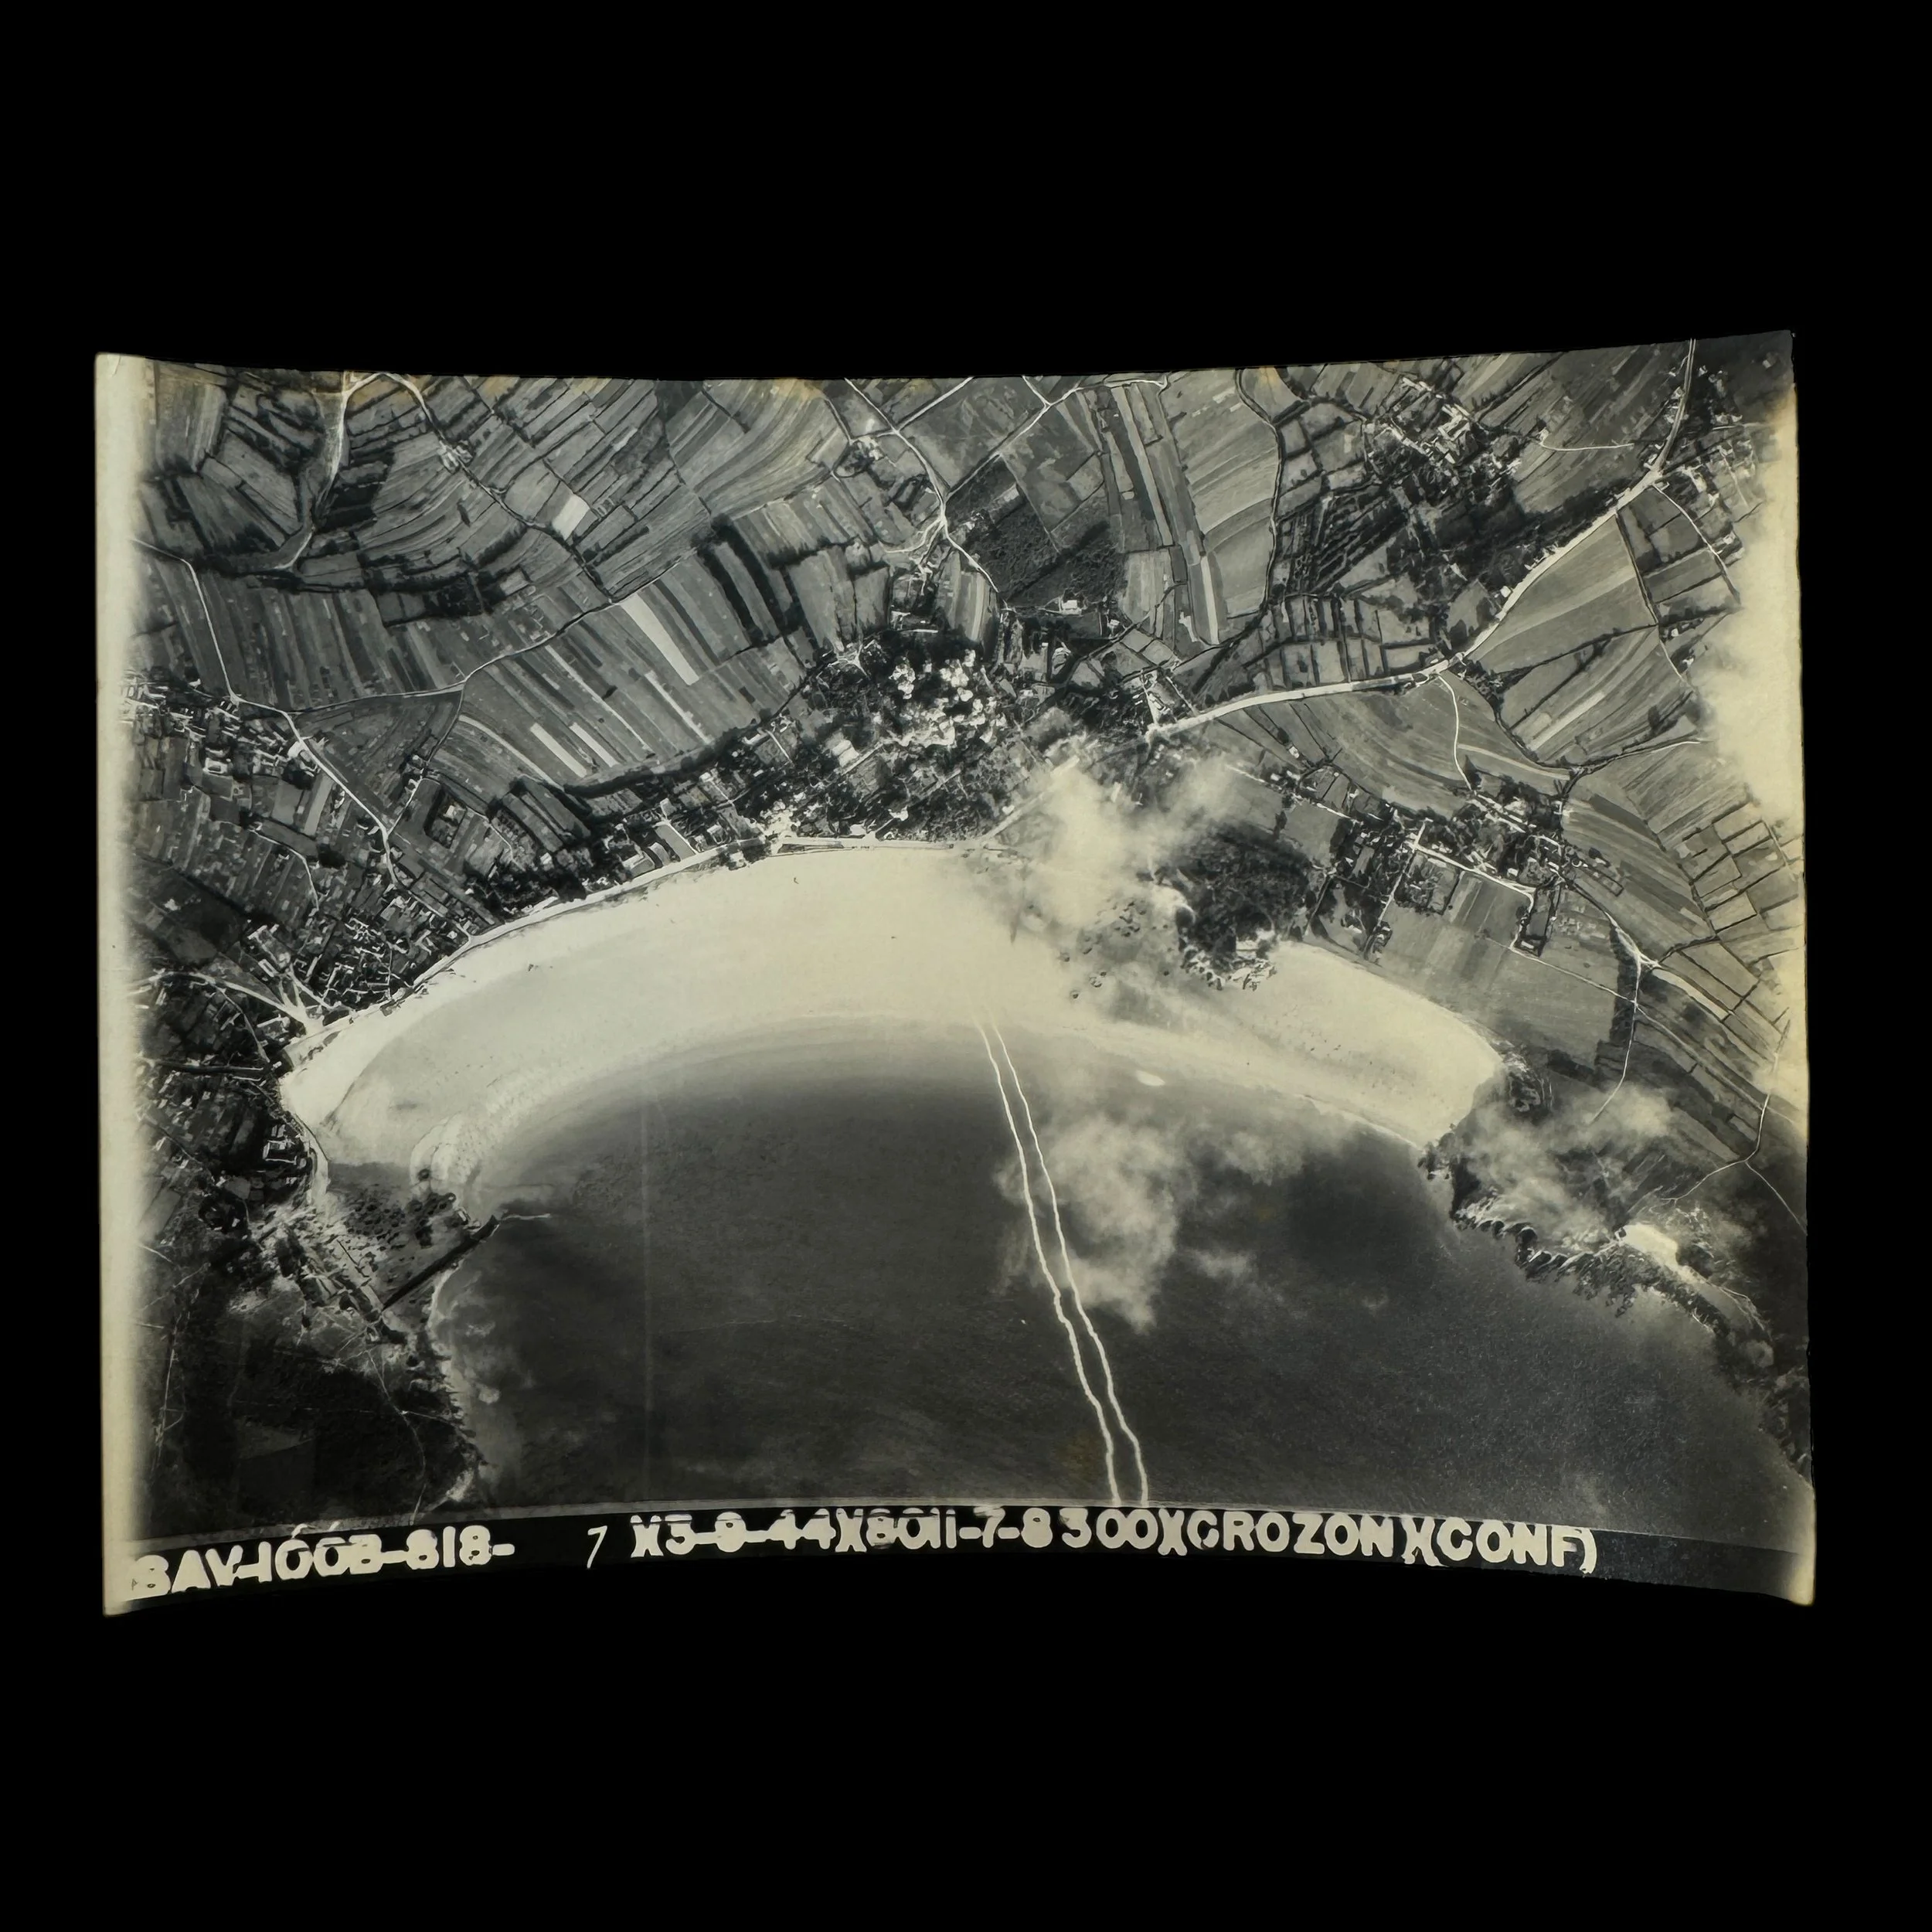
Comes with a hand-signed C.O.A.
100th Bomb Group Mission #190
Mission Date: September 3rd, 1944
Target: BREST, CROZON, France (German Defenses in Brest)
Classified: CONFIDENTIAL
Size: 5 × 7 inches
This exceptionally rare and museum-grade World War II artifact is an original "CONFIDENTIAL" marked Type 1 aerial combat mission photograph taken from a B-17 Flying Fortress of the 100th Bomb Group, Eighth Air Force. Known as "The Bloody Hundredth," the 100th Bomb Group earned a reputation for its remarkable bravery and resilience during some of the most intense and critical missions of the Allied strategic bombing campaign over Europe. These photographs provide an irreplaceable glimpse into the air war, capturing the danger, precision, and historical significance of these missions.
Taken during daring bombing raids conducted by the 8th Air Force, these photographs were developed immediately after the returning B-17 aircraft landed at Allied airfields in England, having survived fierce engagements with enemy fighters and deadly flak barrages. Each mission photograph was classified according to the sensitivity of the operation, marked "Confidential," "Secret," or "Top Secret," depending on the importance of the target and the secrecy surrounding the mission.
***THE TEXT BELOW IS FROM THE OFFICIAL MISSION SUMMARY OF THIS EXACT BOMBING RAID PHOTOGRAPH:
Mission #21: September 3, 1944 – Brest, France
After a scrubbed mission on September 2, the 100th Bomb Group received a mission alert for September 3 targeting Brest, where 40,000 German troops were entrenched under Hitler’s orders to fight to the last bullet. Allied forces planned relentless bombing, with the 3rd Division sending 400 B-17s and fighter support from P-51s and P-38s.
At Thorpe Abbotts, 37 crews prepared for the mission. Among them, the 418th Squadron's William Ryan crew prepared for their final mission, while John E. David’s crew, flying their 31st, hoped for an uneventful day. The 22-year-old "Moose" Miller crew faced their first mission with both nerves and determination.
The 13CBW flew in four wings, with the 100th BG’s B-17s leading the 13D formation. Thirty-nine aircraft departed Thorpe Abbotts between 0543-0615 hours. Tragedy struck over the English Channel at 0843 when John E. David’s B-17 caught fire after an accidental gun discharge. The plane exploded after three crew members bailed out, leaving seven men dead. Survivors John Goethel, Carl Fong, and Henry Hendrickson endured freezing waters for 1.5 hours before rescue, earning the flying goldfish insignia for surviving a Channel ditching.
The remaining aircraft reached Brest, making two bombing runs due to cloud cover, dropping bombs from 11,000 to 8,000 feet. Crews reported “milk run” conditions, with no flak or fighter opposition. Bombs were away at 1022 hours, and all aircraft returned to base by 1300 hours.
Pilot John E. David and six crew members perished in the crash. Survivors described the harrowing ordeal, with Goethel recalling prayers and determination to survive despite hypothermia. The mission highlighted the constant dangers faced even on “routine” operations. Heavy rains grounded the group the next day under a Stand Down order.
Crews flying the mission: Miller, Ricker, Daniels, Corley, Williams, Kemp, Spurgeon, Smith, Raine, Frazier, Everitt, Trommer, Anderson, Bailey, Streed, Radke, Baker, Geller, Schulte, Delaney, Urban, Kramp, Ryan, Harris, Dickert, Stevenson, Rowland, Fabian, Ellison, Kennedy, Johnson, Hopkins, Ivosevic, Hempy, Ransom, Schaffhausen, and Anderson.
Condensed History of the 100th Bomb Group:
The 100th Bomb Group was constituted as a heavy bomber group inside the Eighth Air Force, which, at peak strength on D-Day, June 6, 1944, fielded 40 groups of Boeing B-17s and Consolidated B-24s. The 100th Bomb Group also known as the "The Bloody Hundredth", because of its reputation for losing a high number of aircraft and crews.
Over the course of 22 months of aerial combat, the aircrews of the 100th had served a deadly apprenticeship as they honed their skills and tactics. In an unemotional analysis of the raw numbers, the Bloody 100th’s wartime losses were not the worst suffered by the Eighth Air Force, though they were in the top three of losses by heavy bomber groups. The official history from the 100th Bomb Group Foundation cites 184 missing aircrew reports on 306 missions. In his memoir An Eighth Air Force Combat Diary, 100th copilot John Clark pointed out that “50% of the Group’s losses occurred in only 3% of its missions.” Like a gambler whose luck has gone cold, when the crews of the 100th had a bad day, they had a very bad day.
More than 26,000 Eighth Air Force personnel sacrificed their lives in service to the war effort. The total number killed or missing in action was slightly more than that suffered by the U.S. Marine Corps, and a little less than half the losses sustained by the entire U.S. Navy. Comparisons such as these do nothing to diminish the contributions of other military branches, but rather point out the gargantuan scale of the Eighth Air Force’s effort. The 100th Bomb Group’s portion of those losses was 785 men killed outright or missing in action and 229 aircraft destroyed or rendered unsuitable for flight.
Essential Roles of the Photographs in the Allied War Effort
1. Post-Mission Briefings
These combat mission photographs were indispensable in post-mission debriefings with aircrews. They provided:
Visual Feedback: Detailed images allowed crews to assess the effectiveness of their bombing runs, determining whether targets were hit with precision or if adjustments were needed for future missions.
Combat Intelligence: The photographs documented enemy defenses encountered during the mission, such as anti-aircraft artillery placements, flak concentrations, and Luftwaffe interception patterns.
Tactical Improvements: Reviewing these images enabled crews to refine their bombing accuracy and tactics, improving mission success rates while minimizing risks to personnel and aircraft.
2. Intelligence and Mapping
Type 1 photographs were invaluable to Allied intelligence, serving as critical resources for:
Identifying New Targets: Reconnaissance imagery revealed the locations of enemy industrial facilities, supply depots, and military installations, shaping future mission objectives.
Mapping Enemy Defenses: The photographs helped Allied analysts chart flak zones, radar installations, and troop movements, allowing for the creation of comprehensive intelligence maps that informed strategic planning.
Assessing Bombing Effectiveness: Post-bombing images documented the destruction of critical enemy infrastructure, such as factories, transportation networks, and oil refineries, ensuring mission objectives were met.
3. Strategic Bombing Campaigns
The Eighth Air Force relied heavily on these photographs to adjust and refine its bombing strategies. They played a critical role in:
Target Prioritization: Damage assessments from previous missions guided the selection of high-priority targets for subsequent raids.
Operational Planning: Insights gained from the photographs influenced mission parameters, such as bombing altitudes, formation patterns, and evasive maneuvers to counter enemy defenses.
Historical Significance and Legacy
These photographs stand as a testament to the courage and precision of the 100th Bomb Group. Stationed at Thorpe Abbotts, England, "The Bloody Hundredth" became synonymous with heroism and sacrifice, enduring significant losses during missions deep into enemy territory. Their motto, "Keep the Show on the Road," exemplified their unrelenting determination in the face of overwhelming odds.
The combat imagery produced by the group not only documented their contributions but also played an instrumental role in crippling Germany's industrial and military capabilities. Today, these photographs are regarded as museum-grade artifacts, offering a tangible connection to the technological innovation, strategic foresight, and human courage that defined the Allied war effort.
The rarity of these images further elevates their historical value, as many were destroyed after the war to maintain operational secrecy. Those that remain offer an unparalleled window into the air war over Europe and the pivotal role of aerial reconnaissance in securing Allied victory.
The Type 1 aerial combat mission photograph from a B-17 Flying Fortress of the 100th Bomb Group is far more than a historical artifact—it is a powerful reminder of the bravery, ingenuity, and determination that shaped the outcome of World War II. These images guided the Allied forces to victory and now serve as a lasting tribute to the men and women who risked everything in the skies above Europe. Preserving these photographs ensures that the sacrifices and triumphs of "The Bloody Hundredth" will never fade from memory, allowing their legacy to inspire future generations.
*Full Mission History of the 100th Bombardment Group (Heavy) during WWII:
Constituted as 100th Bombardment Group (Heavy) on 28 Jan 1942. Activated on 1 Jun 1942. Used B-17’s to prepare for duty overseas. Moved to England, May-Jun 1943, and was assigned to Eighth AF. Operated chiefly as a strategic bombardment organization until the war ended. From Jun 1943 to Jan 1944, concentrated its efforts against airfields in France and naval facilities and industries in France and Germany. Received a DUC for seriously disrupting German fighter plane production with an attack on an aircraft factory at Regensburg on 17 Aug 1943. Bombed airfields, industries, marshaling yards, and missile sites in Western Europe, Jan-May 1944. Operations in this period included participation in the Allied campaign against enemy aircraft factories during Big Week, 20-25 Feb 1944. Completed a series of attacks against Berlin in Mar 1944 and received a DUC for the missions. Beginning in the summer of 1944, oil installations became major targets. In addition to strategic operations, the group engaged in support and interdictory missions, hitting bridges and gun positions in support of the Normandy invasion in Jun 1944; bombing enemy positions at St Lo in Jul and at Brest in Aug and Sep; striking transportation and ground defenses in the drive against the Siegfried Line, Oct-Dec 1944; attacking marshaling yards, defended villages, and communications in the Ardennes sector during the Battle of the Bulge, Dec 1944- Jan 1945; and covering the airborne assault across the Rhine in Mar 1945. Received the French Croix de Guerre with Palm for attacking heavily defended installations in Germany and for dropping supplies to French Forces of the Interior, Jun-Dec 1944. Returned to the US in Dec 1945. inactivated on 21 Dec 1945.

Comes with a hand-signed C.O.A.
100th Bomb Group Mission #298
Mission Date: April 9th, 1945
Target: MUNICH, Germany (Airfield)
Classified: CONFIDENTIAL
Size: 5 × 7 inches
This exceptionally rare and museum-grade World War II artifact is an original "CONFIDENTIAL" marked Type 1 aerial combat mission photograph taken from a B-17 Flying Fortress of the 100th Bomb Group, Eighth Air Force. Known as "The Bloody Hundredth," the 100th Bomb Group earned a reputation for its remarkable bravery and resilience during some of the most intense and critical missions of the Allied strategic bombing campaign over Europe. These photographs provide an irreplaceable glimpse into the air war, capturing the danger, precision, and historical significance of these missions.
Taken during daring bombing raids conducted by the 8th Air Force, these photographs were developed immediately after the returning B-17 aircraft landed at Allied airfields in England, having survived fierce engagements with enemy fighters and deadly flak barrages. Each mission photograph was classified according to the sensitivity of the operation, marked "Confidential," "Secret," or "Top Secret," depending on the importance of the target and the secrecy surrounding the mission.
***THE TEXT BELOW IS FROM THE OFFICIAL MISSION SUMMARY OF THIS EXACT BOMBING RAID PHOTOGRAPH:
At the morning’s briefing, the thirty-eight crews in attendance watched as the S-2 Intelligence Officer unveiled the map. Their destination that day would be Munich, with the first Priority visual target of the Munchen/Reim airfield, east of Munich. Pilot Larry Lazzari, remembered that the “Intelligence briefing indicated that Hitler was to be at this airport at the time we were to bomb it at 1659 hours.” The second Priority target would the airfield at Neuburg while the third Priority visually or vis H2X would be Ingolstadt.
The 13th Wing would fly second in the 3rd Division Line, lead by the 100th BG with the 390th flying as its ‘B’ group and the 95th as its ‘C.’ Leading the 100th’s formation would be Ferbrache/Murray with Stivers/Raiford leading the High squadron, Champion the Low and Gilbert the Low Low squadrons.
According to the journal of TG Elmer Hooper, the bombers took off at 1140 only after take-off times had been delayed three times due to fog. The 100th’s aircraft were finally airborne under 10/10 cloud coverage, loaded with four 1000 lb. bombs and four M17 incendiaries.
Assembly over Buncher 28 was made without incident and the Wing assembled behind the 100th at Buncher 23.
With the weather at 6-8/10 clouds at 23000 feet with visibility twenty to thirty miles, the first Priority target was set. As the formation neared the target, their escorting P-51’s had reported four ME-262s attempting an unsuccessful pass at the formation at 1620 hours near Ingelstadt, but were ultimately chased away by the escorts. A different group of escorting P-51s caused damage to three to four ME-262s at 1645 hours in the Ulm-Munich area. No enemy aircraft were successful in getting close to the 100th's formation.
The IP was made good and the squadron peel off was executed for individual bomb runs over the airfield at Munich. Flying through meager to moderate flak, bombs were away from 22000-23000 feet at 1658-1659 hours. Unfortunately Hitler was not at the airfield when bombed, as Intelligence had briefed. However, as Lazzari remembered, “we really creamed the north side of the airport.”
With the Wing reassembling at the Rally Point, the Groups returned to England with the 100th’s crews returning safely after an eight and one-half to nine hour mission, landing after 2000 hours. No battle damage was reported.
Condensed History of the 100th Bomb Group:
The 100th Bomb Group was constituted as a heavy bomber group inside the Eighth Air Force, which, at peak strength on D-Day, June 6, 1944, fielded 40 groups of Boeing B-17s and Consolidated B-24s. The 100th Bomb Group also known as the "The Bloody Hundredth", because of its reputation for losing a high number of aircraft and crews.
Over the course of 22 months of aerial combat, the aircrews of the 100th had served a deadly apprenticeship as they honed their skills and tactics. In an unemotional analysis of the raw numbers, the Bloody 100th’s wartime losses were not the worst suffered by the Eighth Air Force, though they were in the top three of losses by heavy bomber groups. The official history from the 100th Bomb Group Foundation cites 184 missing aircrew reports on 306 missions. In his memoir An Eighth Air Force Combat Diary, 100th copilot John Clark pointed out that “50% of the Group’s losses occurred in only 3% of its missions.” Like a gambler whose luck has gone cold, when the crews of the 100th had a bad day, they had a very bad day.
More than 26,000 Eighth Air Force personnel sacrificed their lives in service to the war effort. The total number killed or missing in action was slightly more than that suffered by the U.S. Marine Corps, and a little less than half the losses sustained by the entire U.S. Navy. Comparisons such as these do nothing to diminish the contributions of other military branches, but rather point out the gargantuan scale of the Eighth Air Force’s effort. The 100th Bomb Group’s portion of those losses was 785 men killed outright or missing in action and 229 aircraft destroyed or rendered unsuitable for flight.
Essential Roles of the Photographs in the Allied War Effort
1. Post-Mission Briefings
These combat mission photographs were indispensable in post-mission debriefings with aircrews. They provided:
Visual Feedback: Detailed images allowed crews to assess the effectiveness of their bombing runs, determining whether targets were hit with precision or if adjustments were needed for future missions.
Combat Intelligence: The photographs documented enemy defenses encountered during the mission, such as anti-aircraft artillery placements, flak concentrations, and Luftwaffe interception patterns.
Tactical Improvements: Reviewing these images enabled crews to refine their bombing accuracy and tactics, improving mission success rates while minimizing risks to personnel and aircraft.
2. Intelligence and Mapping
Type 1 photographs were invaluable to Allied intelligence, serving as critical resources for:
Identifying New Targets: Reconnaissance imagery revealed the locations of enemy industrial facilities, supply depots, and military installations, shaping future mission objectives.
Mapping Enemy Defenses: The photographs helped Allied analysts chart flak zones, radar installations, and troop movements, allowing for the creation of comprehensive intelligence maps that informed strategic planning.
Assessing Bombing Effectiveness: Post-bombing images documented the destruction of critical enemy infrastructure, such as factories, transportation networks, and oil refineries, ensuring mission objectives were met.
3. Strategic Bombing Campaigns
The Eighth Air Force relied heavily on these photographs to adjust and refine its bombing strategies. They played a critical role in:
Target Prioritization: Damage assessments from previous missions guided the selection of high-priority targets for subsequent raids.
Operational Planning: Insights gained from the photographs influenced mission parameters, such as bombing altitudes, formation patterns, and evasive maneuvers to counter enemy defenses.
Historical Significance and Legacy
These photographs stand as a testament to the courage and precision of the 100th Bomb Group. Stationed at Thorpe Abbotts, England, "The Bloody Hundredth" became synonymous with heroism and sacrifice, enduring significant losses during missions deep into enemy territory. Their motto, "Keep the Show on the Road," exemplified their unrelenting determination in the face of overwhelming odds.
The combat imagery produced by the group not only documented their contributions but also played an instrumental role in crippling Germany's industrial and military capabilities. Today, these photographs are regarded as museum-grade artifacts, offering a tangible connection to the technological innovation, strategic foresight, and human courage that defined the Allied war effort.
The rarity of these images further elevates their historical value, as many were destroyed after the war to maintain operational secrecy. Those that remain offer an unparalleled window into the air war over Europe and the pivotal role of aerial reconnaissance in securing Allied victory.
The Type 1 aerial combat mission photograph from a B-17 Flying Fortress of the 100th Bomb Group is far more than a historical artifact—it is a powerful reminder of the bravery, ingenuity, and determination that shaped the outcome of World War II. These images guided the Allied forces to victory and now serve as a lasting tribute to the men and women who risked everything in the skies above Europe. Preserving these photographs ensures that the sacrifices and triumphs of "The Bloody Hundredth" will never fade from memory, allowing their legacy to inspire future generations.
*Full Mission History of the 100th Bombardment Group (Heavy) during WWII:
Constituted as 100th Bombardment Group (Heavy) on 28 Jan 1942. Activated on 1 Jun 1942. Used B-17’s to prepare for duty overseas. Moved to England, May-Jun 1943, and was assigned to Eighth AF. Operated chiefly as a strategic bombardment organization until the war ended. From Jun 1943 to Jan 1944, concentrated its efforts against airfields in France and naval facilities and industries in France and Germany. Received a DUC for seriously disrupting German fighter plane production with an attack on an aircraft factory at Regensburg on 17 Aug 1943. Bombed airfields, industries, marshaling yards, and missile sites in Western Europe, Jan-May 1944. Operations in this period included participation in the Allied campaign against enemy aircraft factories during Big Week, 20-25 Feb 1944. Completed a series of attacks against Berlin in Mar 1944 and received a DUC for the missions. Beginning in the summer of 1944, oil installations became major targets. In addition to strategic operations, the group engaged in support and interdictory missions, hitting bridges and gun positions in support of the Normandy invasion in Jun 1944; bombing enemy positions at St Lo in Jul and at Brest in Aug and Sep; striking transportation and ground defenses in the drive against the Siegfried Line, Oct-Dec 1944; attacking marshaling yards, defended villages, and communications in the Ardennes sector during the Battle of the Bulge, Dec 1944- Jan 1945; and covering the airborne assault across the Rhine in Mar 1945. Received the French Croix de Guerre with Palm for attacking heavily defended installations in Germany and for dropping supplies to French Forces of the Interior, Jun-Dec 1944. Returned to the US in Dec 1945. inactivated on 21 Dec 1945.
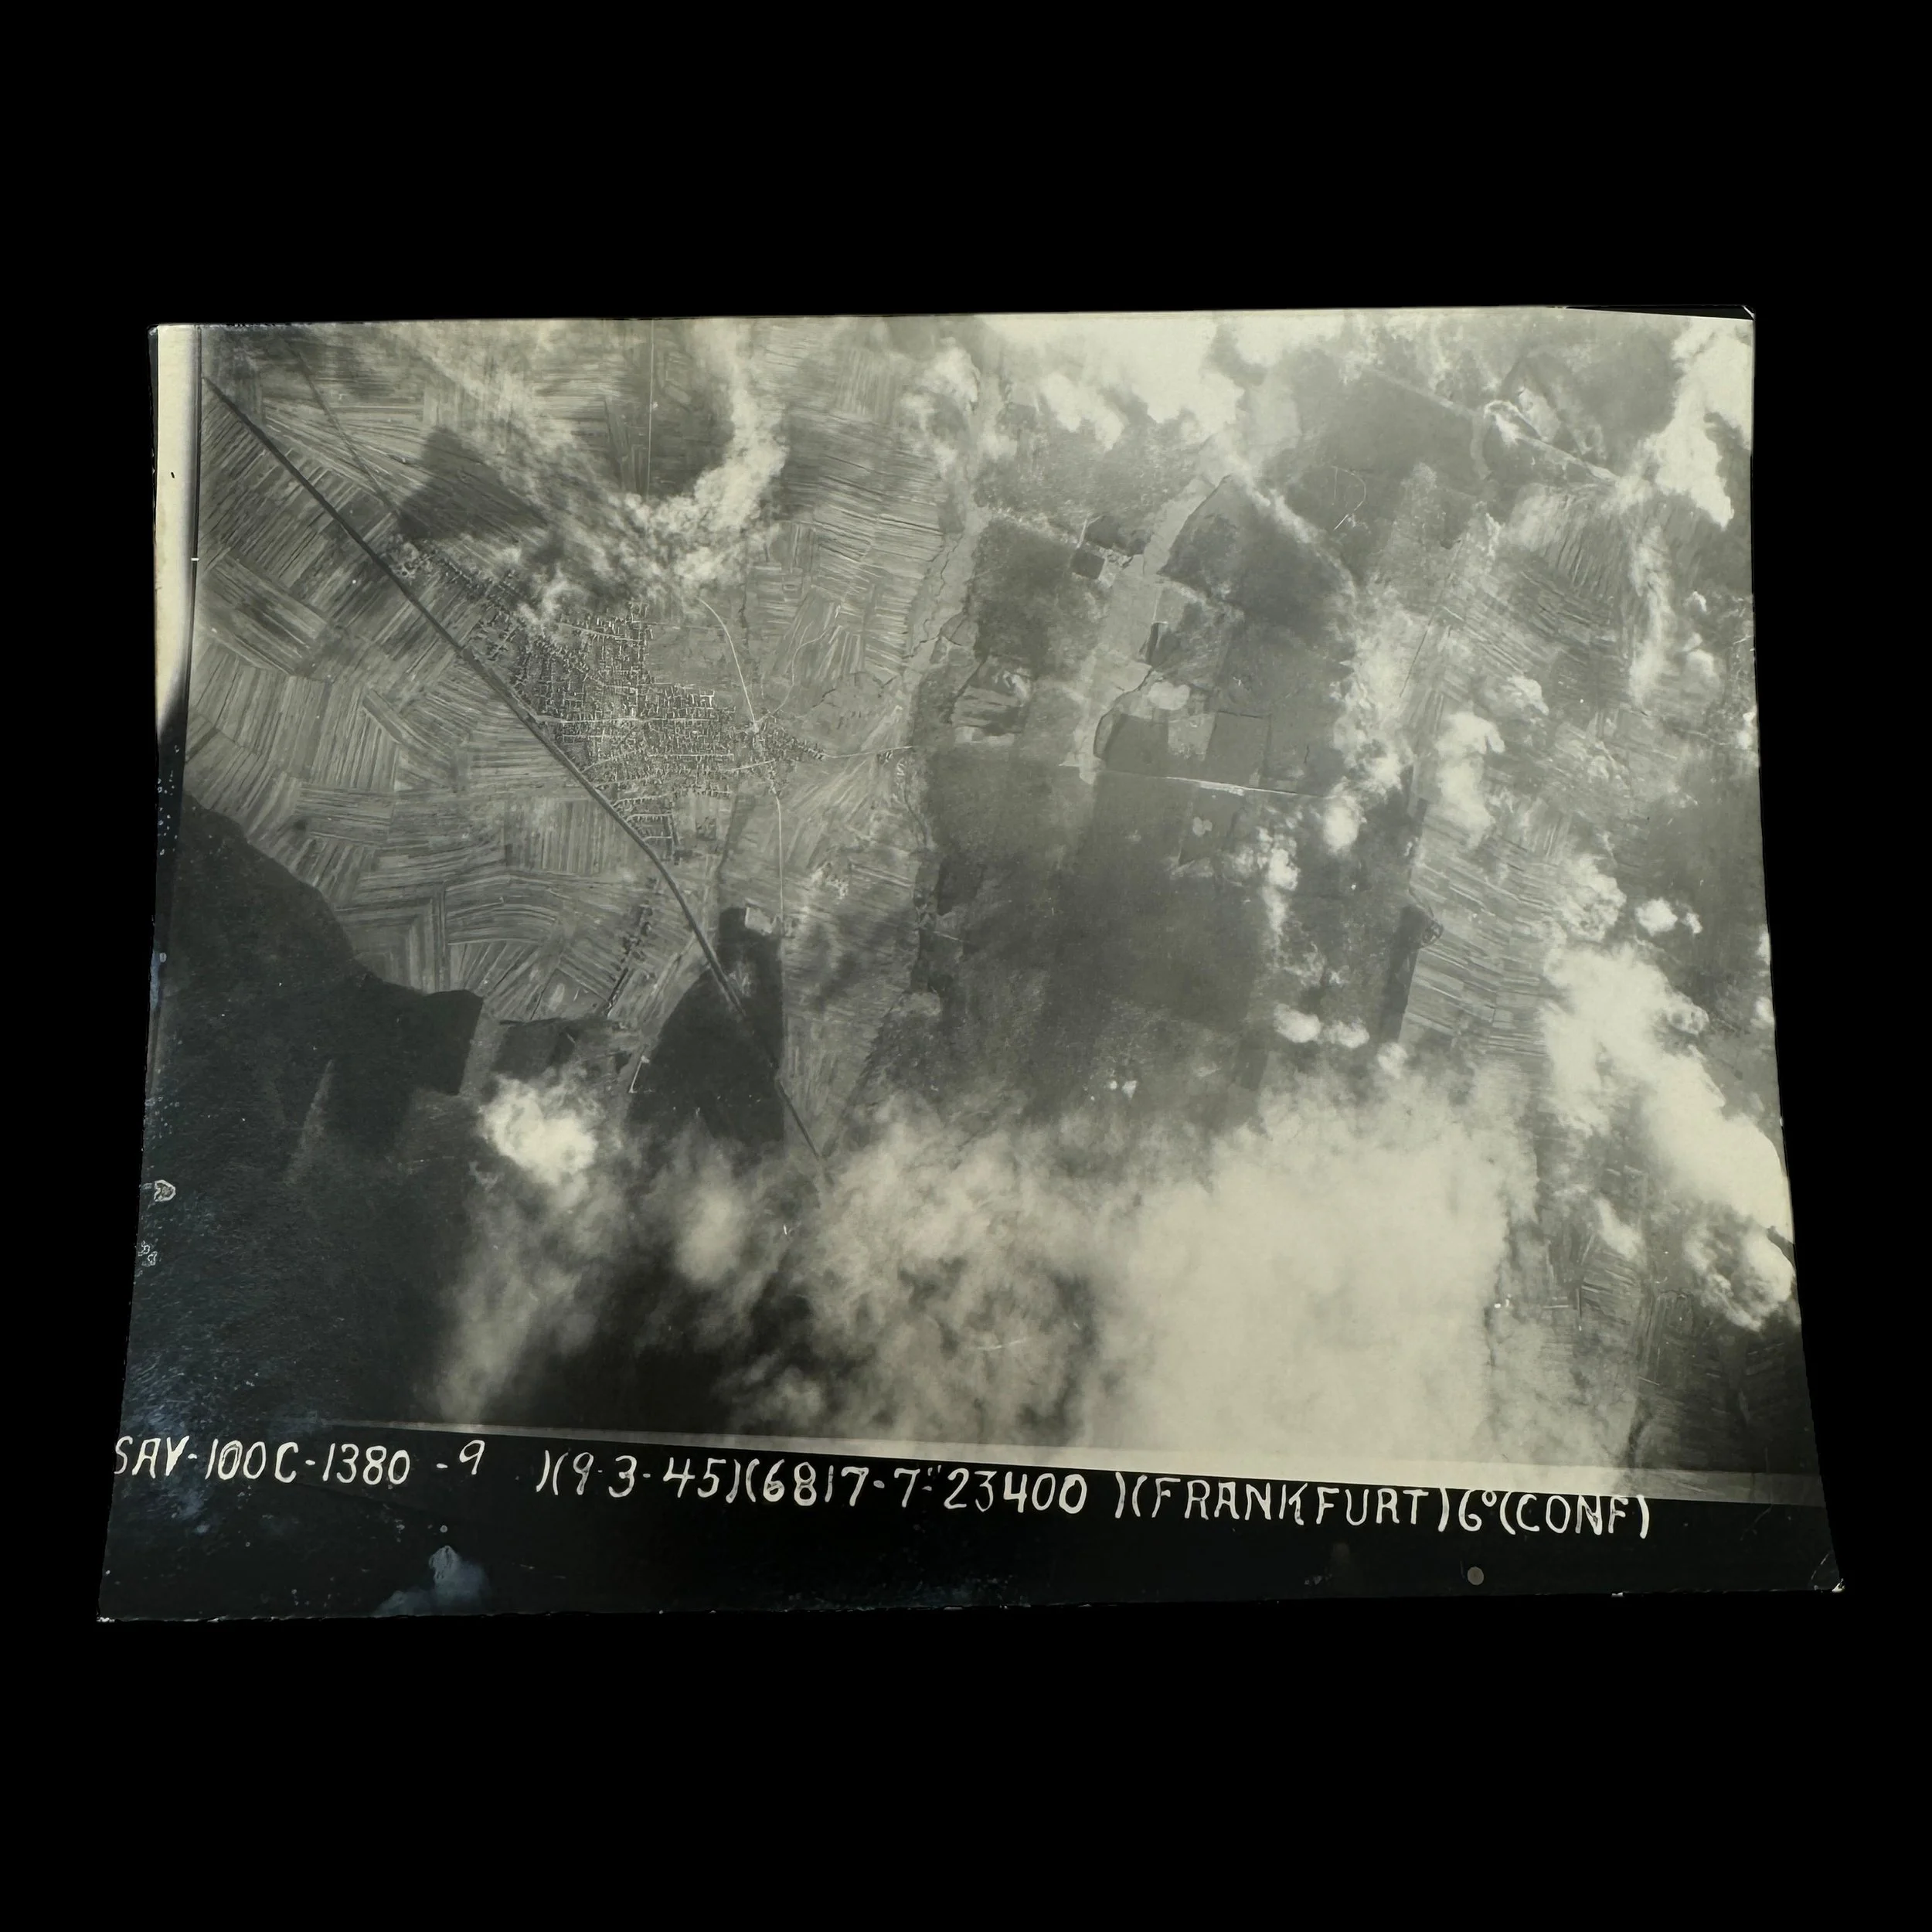
Comes with a hand-signed C.O.A.
100th Bomb Group Mission #275
Mission Date: March 9th, 1945
Target: Frankfurt, Germany (Aircraft Factory)
Classified: CONFIDENTIAL
Size: 5 × 7 inches
This exceptionally rare and museum-grade World War II artifact is an original "CONFIDENTIAL" marked Type 1 aerial combat mission photograph taken from a B-17 Flying Fortress of the 100th Bomb Group, Eighth Air Force. Known as "The Bloody Hundredth," the 100th Bomb Group earned a reputation for its remarkable bravery and resilience during some of the most intense and critical missions of the Allied strategic bombing campaign over Europe. These photographs provide an irreplaceable glimpse into the air war, capturing the danger, precision, and historical significance of these missions.
Taken during daring bombing raids conducted by the 8th Air Force, these photographs were developed immediately after the returning B-17 aircraft landed at Allied airfields in England, having survived fierce engagements with enemy fighters and deadly flak barrages. Each mission photograph was classified according to the sensitivity of the operation, marked "Confidential," "Secret," or "Top Secret," depending on the importance of the target and the secrecy surrounding the mission.
***THE TEXT BELOW IS FROM THE OFFICIAL MISSION SUMMARY OF THIS EXACT BOMBING RAID PHOTOGRAPH:
March 9th, 1945 Flak Over Frankfurt: The 100th Bomb Group's Harrowing Mission on the Eighth Air Force Campaign
At the 0345 briefing, crews learned their mission would target Frankfurt, with the primary objective being a metal works sheet rolling mill and jet component factory. The secondary target was its marshaling yards. Known for heavy defenses, Frankfurt's anti-aircraft guns totaled 300, primed to engage the bomber stream.
Flying last in the Division column, the 13th Wing was led by the 390th, with the 100th as the 'B' group and the 95th as 'C.' Charles A. Martin/Blanding led the 100th's formation, with High and Low Squadrons led by Command Pilot/Ellis and Stivers/Champion, respectively.
Thirty-eight crews launched under clear skies over England and the Channel, but as briefed, encountered 6/10-8/10 cloud cover upon crossing the continent. Intense flak began at 1000 hours near the IP as the 100th's Lead ship prepared for the bomb run. A misstep by the closely-following Low and Lead squadrons caused them to abort the initial run, forcing a second pass through heavy flak. Bombs were dropped using the 390th's smoke markers, though results were unclear.
Flying in the Low squadron’s Lead ship, Bombardier William Wellings recalled: “…Stivers decided to tack on a drop with A Sqdn. Went right over Primary, which was visual, but didn’t drop. Went straight into the town under heavy flak, then circled back to drop on two old smoke bombs. Don’t know what we hit, and don’t care. Saw a B-17 ahead go down in flames and explode; eight chutes were seen.”
Harvey Wingard, Waist Gunner on the Harbison Crew, witnessed a flak-damaged B-17 from the 95th join the 100th’s formation before its left wing tore off, igniting flames and breaking the tail. "Five chutes were seen."
The High squadron successfully attacked the Primary target alone at 1011 hours, joining the 96th Bomb Group for the return to the coast. Tail Gunner Thomas Booze described the flak over Frankfurt as "rough as hell." Radio Operator Dan Moore wrote in his diary, “Plenty of flak… it was so thick you could darn near get out and walk on it.” Donald Becker, flying his 8th mission, added, “…Most terrific and accurate flak I’ve ever seen. Bare feet away, it rocked and rolled the plane for 16 minutes.”
The 3rd Division lost three aircraft—one each from the 95th, 96th, and 490th Bomb Groups. However, all 100th crews returned safely, though 22 aircraft sustained flak damage. The 418th Squadron sent 12 aircraft, with pilots including Bayley, Bovenzi, Calder, and Griffith bringing their damaged ships home. Mikesh returned with bombs intact due to another aircraft blocking his drop. Crews landed near empty on fuel, with interrogations revealing the toll of one of the war’s toughest missions.
Condensed History of the 100th Bomb Group:
The 100th Bomb Group was constituted as a heavy bomber group inside the Eighth Air Force, which, at peak strength on D-Day, June 6, 1944, fielded 40 groups of Boeing B-17s and Consolidated B-24s. The 100th Bomb Group also known as the "The Bloody Hundredth", because of its reputation for losing a high number of aircraft and crews.
Over the course of 22 months of aerial combat, the aircrews of the 100th had served a deadly apprenticeship as they honed their skills and tactics. In an unemotional analysis of the raw numbers, the Bloody 100th’s wartime losses were not the worst suffered by the Eighth Air Force, though they were in the top three of losses by heavy bomber groups. The official history from the 100th Bomb Group Foundation cites 184 missing aircrew reports on 306 missions. In his memoir An Eighth Air Force Combat Diary, 100th copilot John Clark pointed out that “50% of the Group’s losses occurred in only 3% of its missions.” Like a gambler whose luck has gone cold, when the crews of the 100th had a bad day, they had a very bad day.
More than 26,000 Eighth Air Force personnel sacrificed their lives in service to the war effort. The total number killed or missing in action was slightly more than that suffered by the U.S. Marine Corps, and a little less than half the losses sustained by the entire U.S. Navy. Comparisons such as these do nothing to diminish the contributions of other military branches, but rather point out the gargantuan scale of the Eighth Air Force’s effort. The 100th Bomb Group’s portion of those losses was 785 men killed outright or missing in action and 229 aircraft destroyed or rendered unsuitable for flight.
Essential Roles of the Photographs in the Allied War Effort
1. Post-Mission Briefings
These combat mission photographs were indispensable in post-mission debriefings with aircrews. They provided:
Visual Feedback: Detailed images allowed crews to assess the effectiveness of their bombing runs, determining whether targets were hit with precision or if adjustments were needed for future missions.
Combat Intelligence: The photographs documented enemy defenses encountered during the mission, such as anti-aircraft artillery placements, flak concentrations, and Luftwaffe interception patterns.
Tactical Improvements: Reviewing these images enabled crews to refine their bombing accuracy and tactics, improving mission success rates while minimizing risks to personnel and aircraft.
2. Intelligence and Mapping
Type 1 photographs were invaluable to Allied intelligence, serving as critical resources for:
Identifying New Targets: Reconnaissance imagery revealed the locations of enemy industrial facilities, supply depots, and military installations, shaping future mission objectives.
Mapping Enemy Defenses: The photographs helped Allied analysts chart flak zones, radar installations, and troop movements, allowing for the creation of comprehensive intelligence maps that informed strategic planning.
Assessing Bombing Effectiveness: Post-bombing images documented the destruction of critical enemy infrastructure, such as factories, transportation networks, and oil refineries, ensuring mission objectives were met.
3. Strategic Bombing Campaigns
The Eighth Air Force relied heavily on these photographs to adjust and refine its bombing strategies. They played a critical role in:
Target Prioritization: Damage assessments from previous missions guided the selection of high-priority targets for subsequent raids.
Operational Planning: Insights gained from the photographs influenced mission parameters, such as bombing altitudes, formation patterns, and evasive maneuvers to counter enemy defenses.
Historical Significance and Legacy
These photographs stand as a testament to the courage and precision of the 100th Bomb Group. Stationed at Thorpe Abbotts, England, "The Bloody Hundredth" became synonymous with heroism and sacrifice, enduring significant losses during missions deep into enemy territory. Their motto, "Keep the Show on the Road," exemplified their unrelenting determination in the face of overwhelming odds.
The combat imagery produced by the group not only documented their contributions but also played an instrumental role in crippling Germany's industrial and military capabilities. Today, these photographs are regarded as museum-grade artifacts, offering a tangible connection to the technological innovation, strategic foresight, and human courage that defined the Allied war effort.
The rarity of these images further elevates their historical value, as many were destroyed after the war to maintain operational secrecy. Those that remain offer an unparalleled window into the air war over Europe and the pivotal role of aerial reconnaissance in securing Allied victory.
The Type 1 aerial combat mission photograph from a B-17 Flying Fortress of the 100th Bomb Group is far more than a historical artifact—it is a powerful reminder of the bravery, ingenuity, and determination that shaped the outcome of World War II. These images guided the Allied forces to victory and now serve as a lasting tribute to the men and women who risked everything in the skies above Europe. Preserving these photographs ensures that the sacrifices and triumphs of "The Bloody Hundredth" will never fade from memory, allowing their legacy to inspire future generations.
*Full Mission History of the 100th Bombardment Group (Heavy) during WWII:
Constituted as 100th Bombardment Group (Heavy) on 28 Jan 1942. Activated on 1 Jun 1942. Used B-17’s to prepare for duty overseas. Moved to England, May-Jun 1943, and was assigned to Eighth AF. Operated chiefly as a strategic bombardment organization until the war ended. From Jun 1943 to Jan 1944, concentrated its efforts against airfields in France and naval facilities and industries in France and Germany. Received a DUC for seriously disrupting German fighter plane production with an attack on an aircraft factory at Regensburg on 17 Aug 1943. Bombed airfields, industries, marshaling yards, and missile sites in Western Europe, Jan-May 1944. Operations in this period included participation in the Allied campaign against enemy aircraft factories during Big Week, 20-25 Feb 1944. Completed a series of attacks against Berlin in Mar 1944 and received a DUC for the missions. Beginning in the summer of 1944, oil installations became major targets. In addition to strategic operations, the group engaged in support and interdictory missions, hitting bridges and gun positions in support of the Normandy invasion in Jun 1944; bombing enemy positions at St Lo in Jul and at Brest in Aug and Sep; striking transportation and ground defenses in the drive against the Siegfried Line, Oct-Dec 1944; attacking marshaling yards, defended villages, and communications in the Ardennes sector during the Battle of the Bulge, Dec 1944- Jan 1945; and covering the airborne assault across the Rhine in Mar 1945. Received the French Croix de Guerre with Palm for attacking heavily defended installations in Germany and for dropping supplies to French Forces of the Interior, Jun-Dec 1944. Returned to the US in Dec 1945. inactivated on 21 Dec 1945.
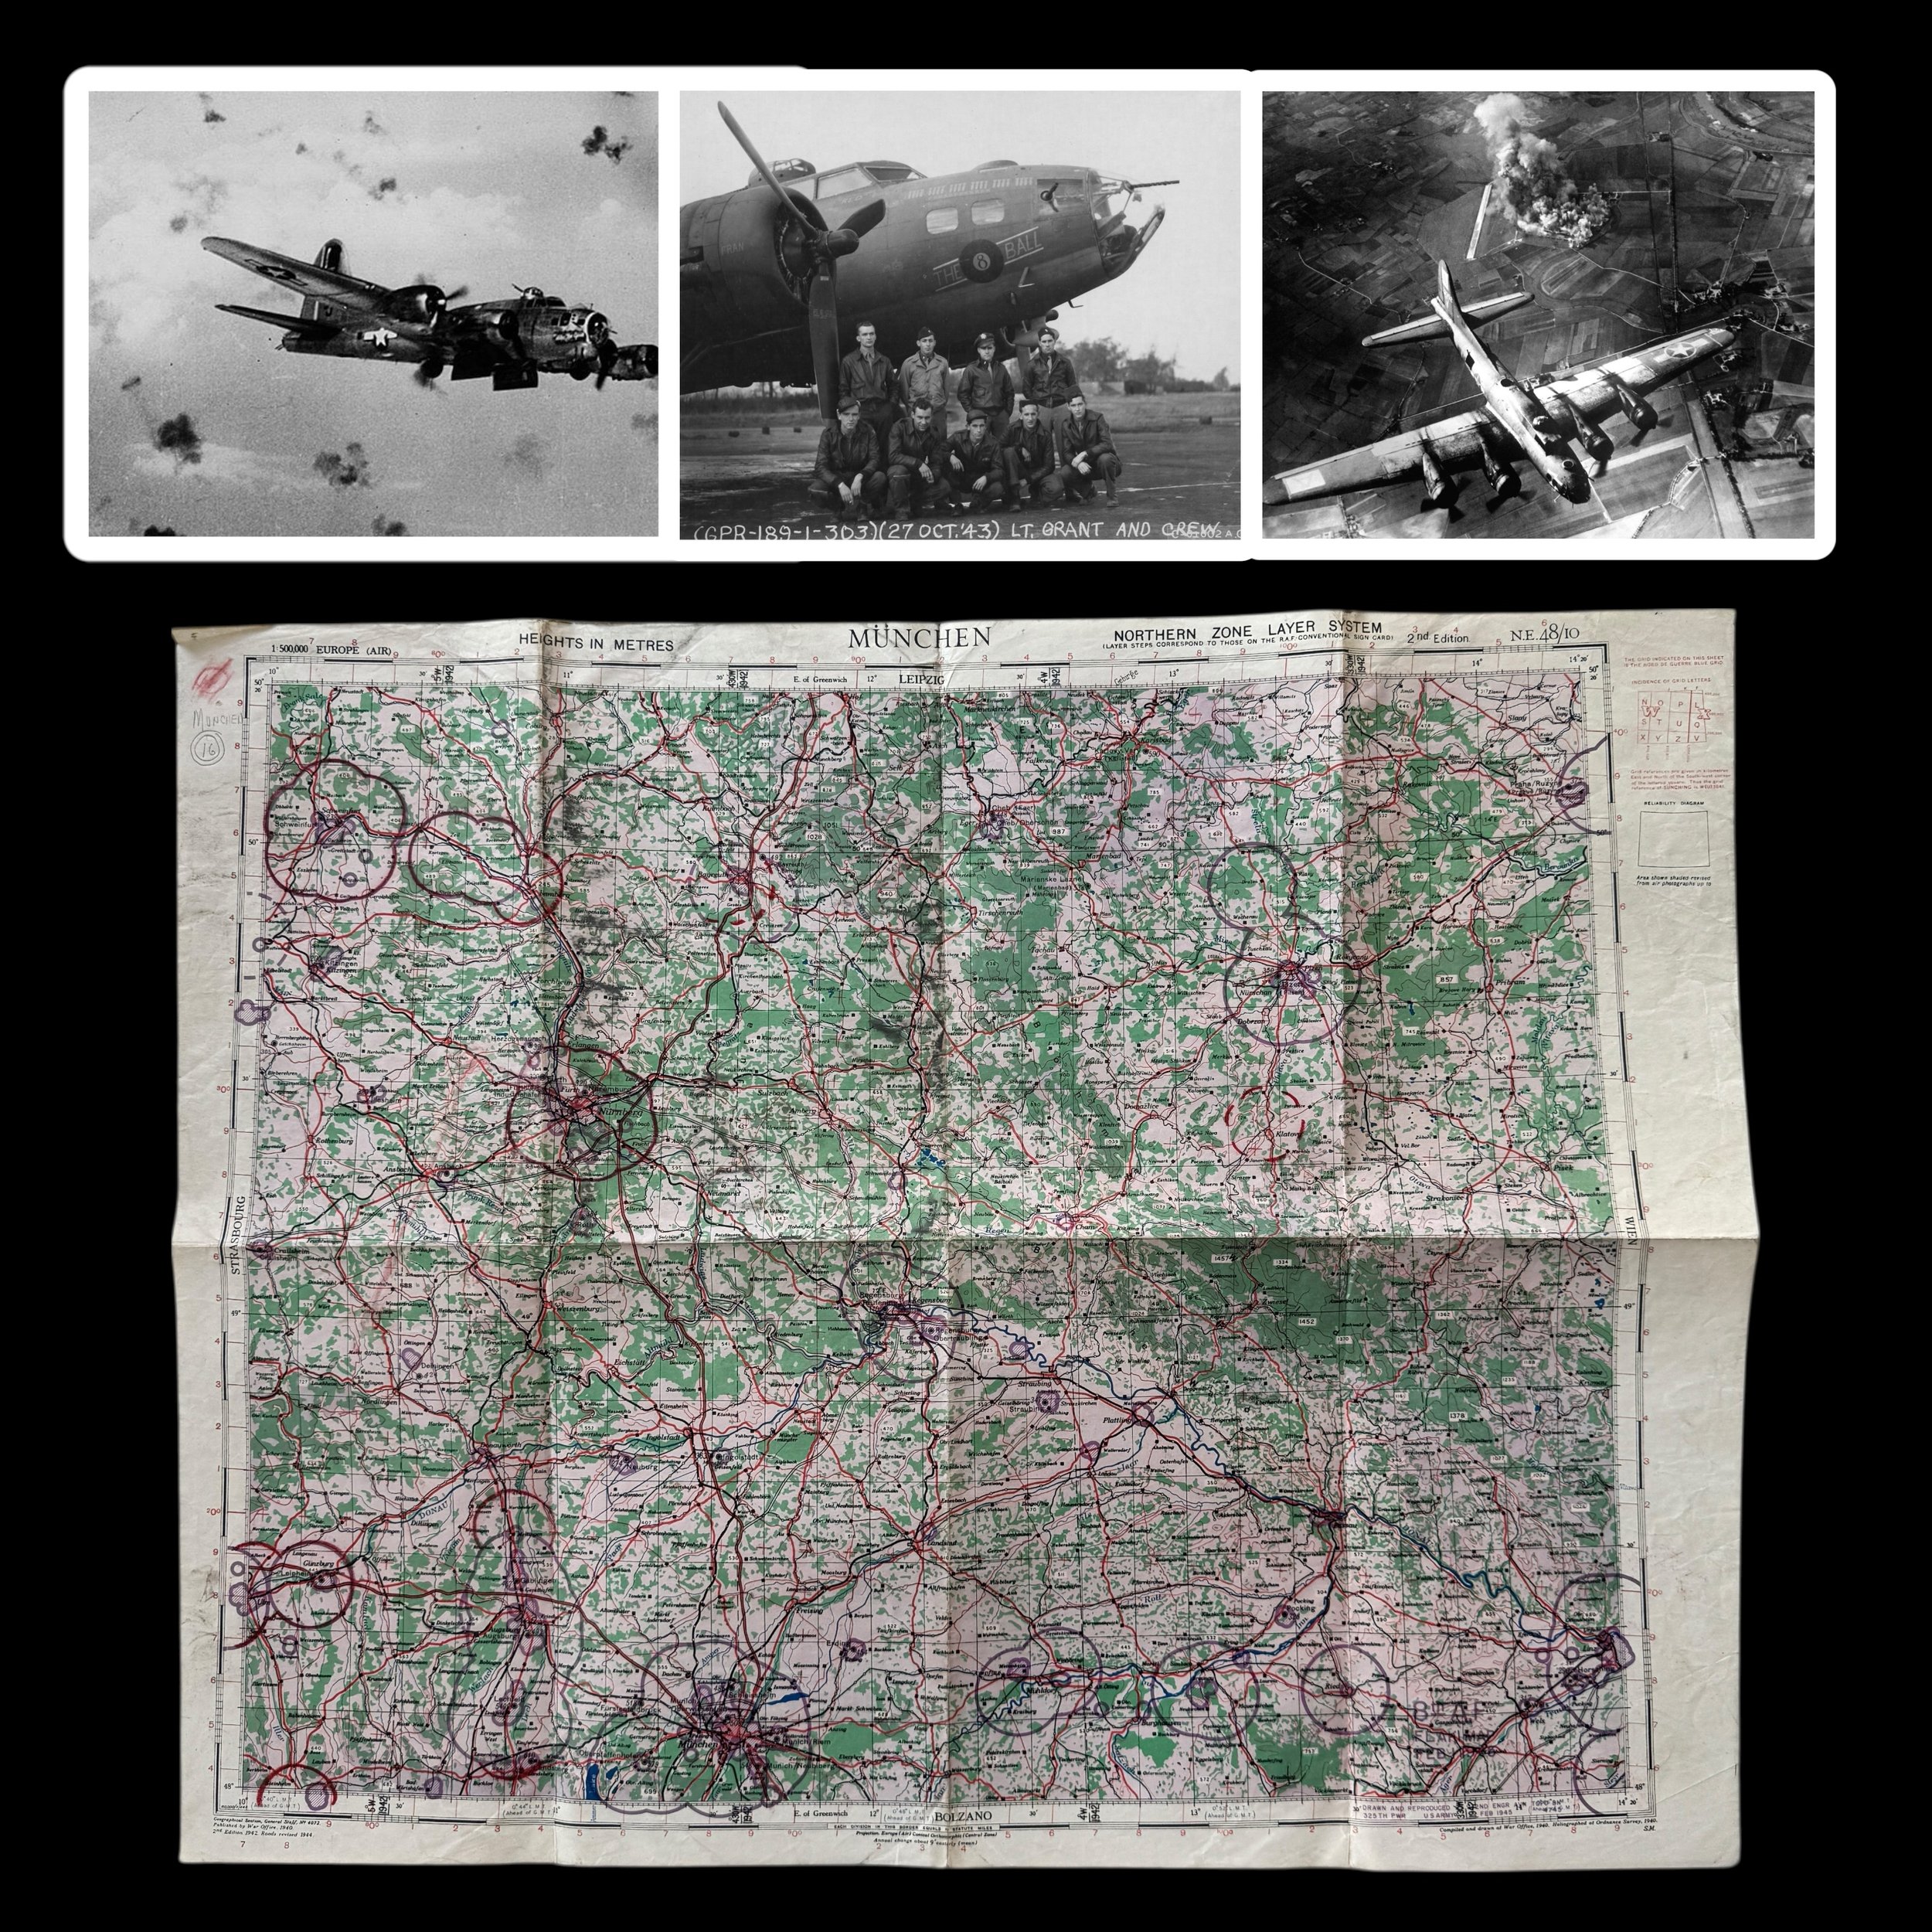
Comes with a hand-signed C.O.A.
Heavily used and combat marked February 1945 dated 8th Air Force B-17 Flying Fortress combat FLAK map used during extensively used during World War II Eighth Air Force aerial bombing mission over München (Munich) , Nürnberg, and Schweinfurt. Shows very rare hand marked (extended German anti-aircraft flak ranges) near Landsberg, Meitingem, Gunzburg, Nurnberg, Schweinfurt, Lamberg, Bayreuth, and Klatovy.
Size: 23 × 28.5 inches
This exceptionally rare and museum-grade World War II artifact is an original Eighth Air Force flak map created specifically for United States Army Air Forces heavy bomber operations and actively used during 8th Air Force B-17 Flying Fortress combat missions over Germany. This particular flak map shows clear evidence of repeated operational use and was carried on multiple combat sorties during the Eighth Air Force’s accelerated bombing campaign in 1945. It was used on missions targeting München (Munich) , Nürnberg, and Schweinfurt, three of the most heavily defended and strategically vital cities in Germany.
These limited produced flak intelligence maps were among the most critical navigational and survival tools issued to 8th Air Force B-17 bomber crews, as they plotted confirmed German anti aircraft artillery concentrations, effective engagement ranges, and high risk defensive belts based on the most current intelligence available at the time. This flak map reflects German flak strength as of February 1945, placing it in the final and most intense phase of the air war over Europe.
By early 1945, the Eighth Air Force had reached the peak of its operational power, launching massive daylight bombing raids deep into the German heartland on an almost daily basis. German air defenses had evolved into a dense and deadly network of heavy and light flak batteries positioned around major industrial cities, transportation hubs, aircraft factories, and oil production facilities. Accurate flak mapping was essential. These flak maps were used extensively during pre-mission briefings to plan routes, altitudes, timing, and formation adjustments, and were then carried aboard the B-17 aircraft during combat missions so navigators and pilots could make real time decisions when encountering unexpected resistance or changing weather conditions.
This particular flak map shows clear evidence of repeated operational use and was carried on multiple combat sorties during the Eighth Air Force’s accelerated bombing campaign in 1945. It was used on missions targeting München, Nürnberg, and Schweinfurt, three of the most heavily defended and strategically vital cities in Germany. München was a major political and industrial center. Nürnberg held enormous symbolic and logistical importance and was protected by extensive flak belts. Schweinfurt was one of the most critical ball bearing production centers in the Third Reich and had been fiercely defended since the infamous 1943 raids that resulted in catastrophic bomber losses. By 1945, despite Germany’s declining resources, these cities remained ringed with anti aircraft fire capable of inflicting severe damage on incoming bomber formations.
Flak was responsible for more Eighth Air Force losses than enemy fighters during several periods of the war, particularly late in the conflict when German fighter strength had diminished but ground defenses remained formidable. Bursts from eighty eight millimeter and one hundred five millimeter guns filled the sky with steel fragments that could tear through aluminum airframes, sever control cables, ignite fuel tanks, or incapacitate crew members instantly. Maps like this were a direct response to that threat, representing the intersection of intelligence gathering, aerial reconnaissance, and combat survival.
Artifacts of this type were rarely preserved. Most were destroyed after missions, discarded due to wear, or lost with aircraft that failed to return. Surviving examples that can be directly associated with late war Eighth Air Force operations are exceptionally scarce. This flak map stands as a tangible witness to the daily reality faced by B 17 crews flying long hours over enemy territory in unpressurized aircraft, enduring extreme cold, violent flak barrages, and the constant risk of not making it home.
As a primary source artifact, this map is not only a piece of aviation history but also a combat document that reflects the scale, precision, and human cost of the strategic bombing campaign that helped bring the war in Europe to an end.
FULL HISTORY:
The final phase of the air war over Germany in 1945 represented the culmination of everything the United States Army Air Forces had learned since the first tentative daylight raids of 1942. By February 1945, the Eighth Air Force stood at the height of its power. It fielded thousands of heavy bombers, dominated the skies with long range fighter escort, and possessed an intelligence and targeting apparatus capable of striking deep into the collapsing German Reich with near daily regularity. Among the most frequently attacked and symbolically important objectives during this final campaign were München, Nürnberg, and Schweinfurt. Each city represented a different pillar of German war power. Munich served as a transportation and administrative hub. Nuremberg held immense ideological value and significant industrial capacity. Schweinfurt remained one of the most critical industrial targets in the Reich due to its ball bearing plants, which were essential to aircraft, vehicle, and weapons production.
By February 1945, the Eighth Air Force was conducting large scale operations almost daily, often in coordination with the Fifteenth Air Force attacking from Italy. The backbone of these missions remained the B-17 Flying Fortress, an aircraft whose rugged design, heavy defensive armament, and proven reliability had made it synonymous with the daylight bombing campaign. B-17 groups from the First, Third, and especially the Third Air Division flew the majority of the deep penetration raids into southern Germany during this period, frequently operating at the extreme range of their fuel limits while carrying heavy bomb loads.
Munich was attacked repeatedly from February through April 1945 as Allied planners sought to cripple rail yards, marshaling yards, industrial plants, and administrative centers supporting German forces in southern Germany and Austria. Missions against Munich typically involved large formations of B-17s from veteran bomb groups such as the 91st Bomb Group, 100th Bomb Group, 381st Bomb Group, and 401st Bomb Group. These units had already accumulated hundreds of missions over occupied Europe and Germany and by 1945 were among the most experienced heavy bomber organizations in the world. The February raids focused heavily on transportation nodes. Marshalling yards were blanketed with high explosive bombs designed to sever rail connections feeding the Eastern Front and the Alpine redoubt Hitler hoped to establish. Despite the weakening of the Luftwaffe, flak defenses around Munich remained intense, and crews still faced heavy anti aircraft fire even as German fighter opposition dwindled.
Nuremberg held a unique place in the Eighth Air Force target system. Beyond its industrial and transportation value, it was one of the most symbolically charged cities in Germany, long associated with party rallies and propaganda spectacles. In February and March 1945, B-17 groups from the 92nd, 305th, 306th, and 384th Bomb Groups participated in repeated raids aimed at destroying remaining industrial capacity, oil storage, and rail infrastructure. These missions often encountered layered flak belts that tested the discipline of bomber formations. Crews flew through dense clouds of black bursts that rocked aircraft and tore holes through wings and fuselages. Yet by this stage of the war, formation integrity was high and losses were comparatively lower than during the catastrophic raids of 1943. Long range escort by P-51 Mustangs ensured that German fighters rarely posed a serious threat.
Schweinfurt remained one of the most infamous targets in the history of the Eighth Air Force. Earlier in the war, attacks on its ball bearing factories had resulted in devastating losses, making the city a symbol of both strategic necessity and sacrifice. By 1945, Schweinfurt had already been heavily damaged, but it continued to be attacked to ensure that any attempt at industrial recovery was rendered impossible. From February onward, B-17 units from the 351st, 390th, 398th, and 447th Bomb Groups struck remaining industrial sites, rail yards, and repair facilities. These missions were often part of larger coordinated efforts that included strikes on nearby secondary targets, ensuring that German air defenses were overwhelmed by the sheer scale of Allied bomber streams.
The character of these late war missions differed markedly from earlier years. Bomber crews in 1945 were often flying their final missions before rotation home, and many aircraft carried extensive mission markings that testified to years of continuous combat. Aircraft were patched and repatched. Engines bore the scars of flak damage repaired in English hardstands. Crews understood that the end of the war was approaching, yet discipline and caution remained paramount. Even in the final weeks, flak remained deadly, and accidents during takeoff and landing continued to claim lives.
As March gave way to April 1945, attacks on Munich, Nuremberg, and Schweinfurt increasingly focused on transportation collapse rather than pure industrial destruction. Rail bridges, marshalling yards, and supply depots became priority targets as Allied ground forces pushed rapidly into Germany. B-17 groups flew missions in which resistance was minimal, sometimes encountering little more than scattered flak and abandoned airfields below. These raids were instrumental in isolating German armies and preventing organized withdrawal or resupply.
By the time the final missions were flown in late April 1945, the Eighth Air Force had effectively achieved air supremacy over Germany. The B-17 units that had once fought their way through ferocious fighter opposition and murderous flak now flew over shattered cities that bore the cumulative weight of years of bombardment. The campaigns against Munich, Nuremberg, and Schweinfurt from February to the end of the war stand as a testament to the maturity of American strategic bombing doctrine. They also reflect the endurance and professionalism of the B-17 squadrons and groups that carried out these operations. These men and machines played a decisive role in dismantling the industrial and transportation backbone of Germany, hastening the collapse of the Third Reich and bringing the war in Europe to its long awaited conclusion.
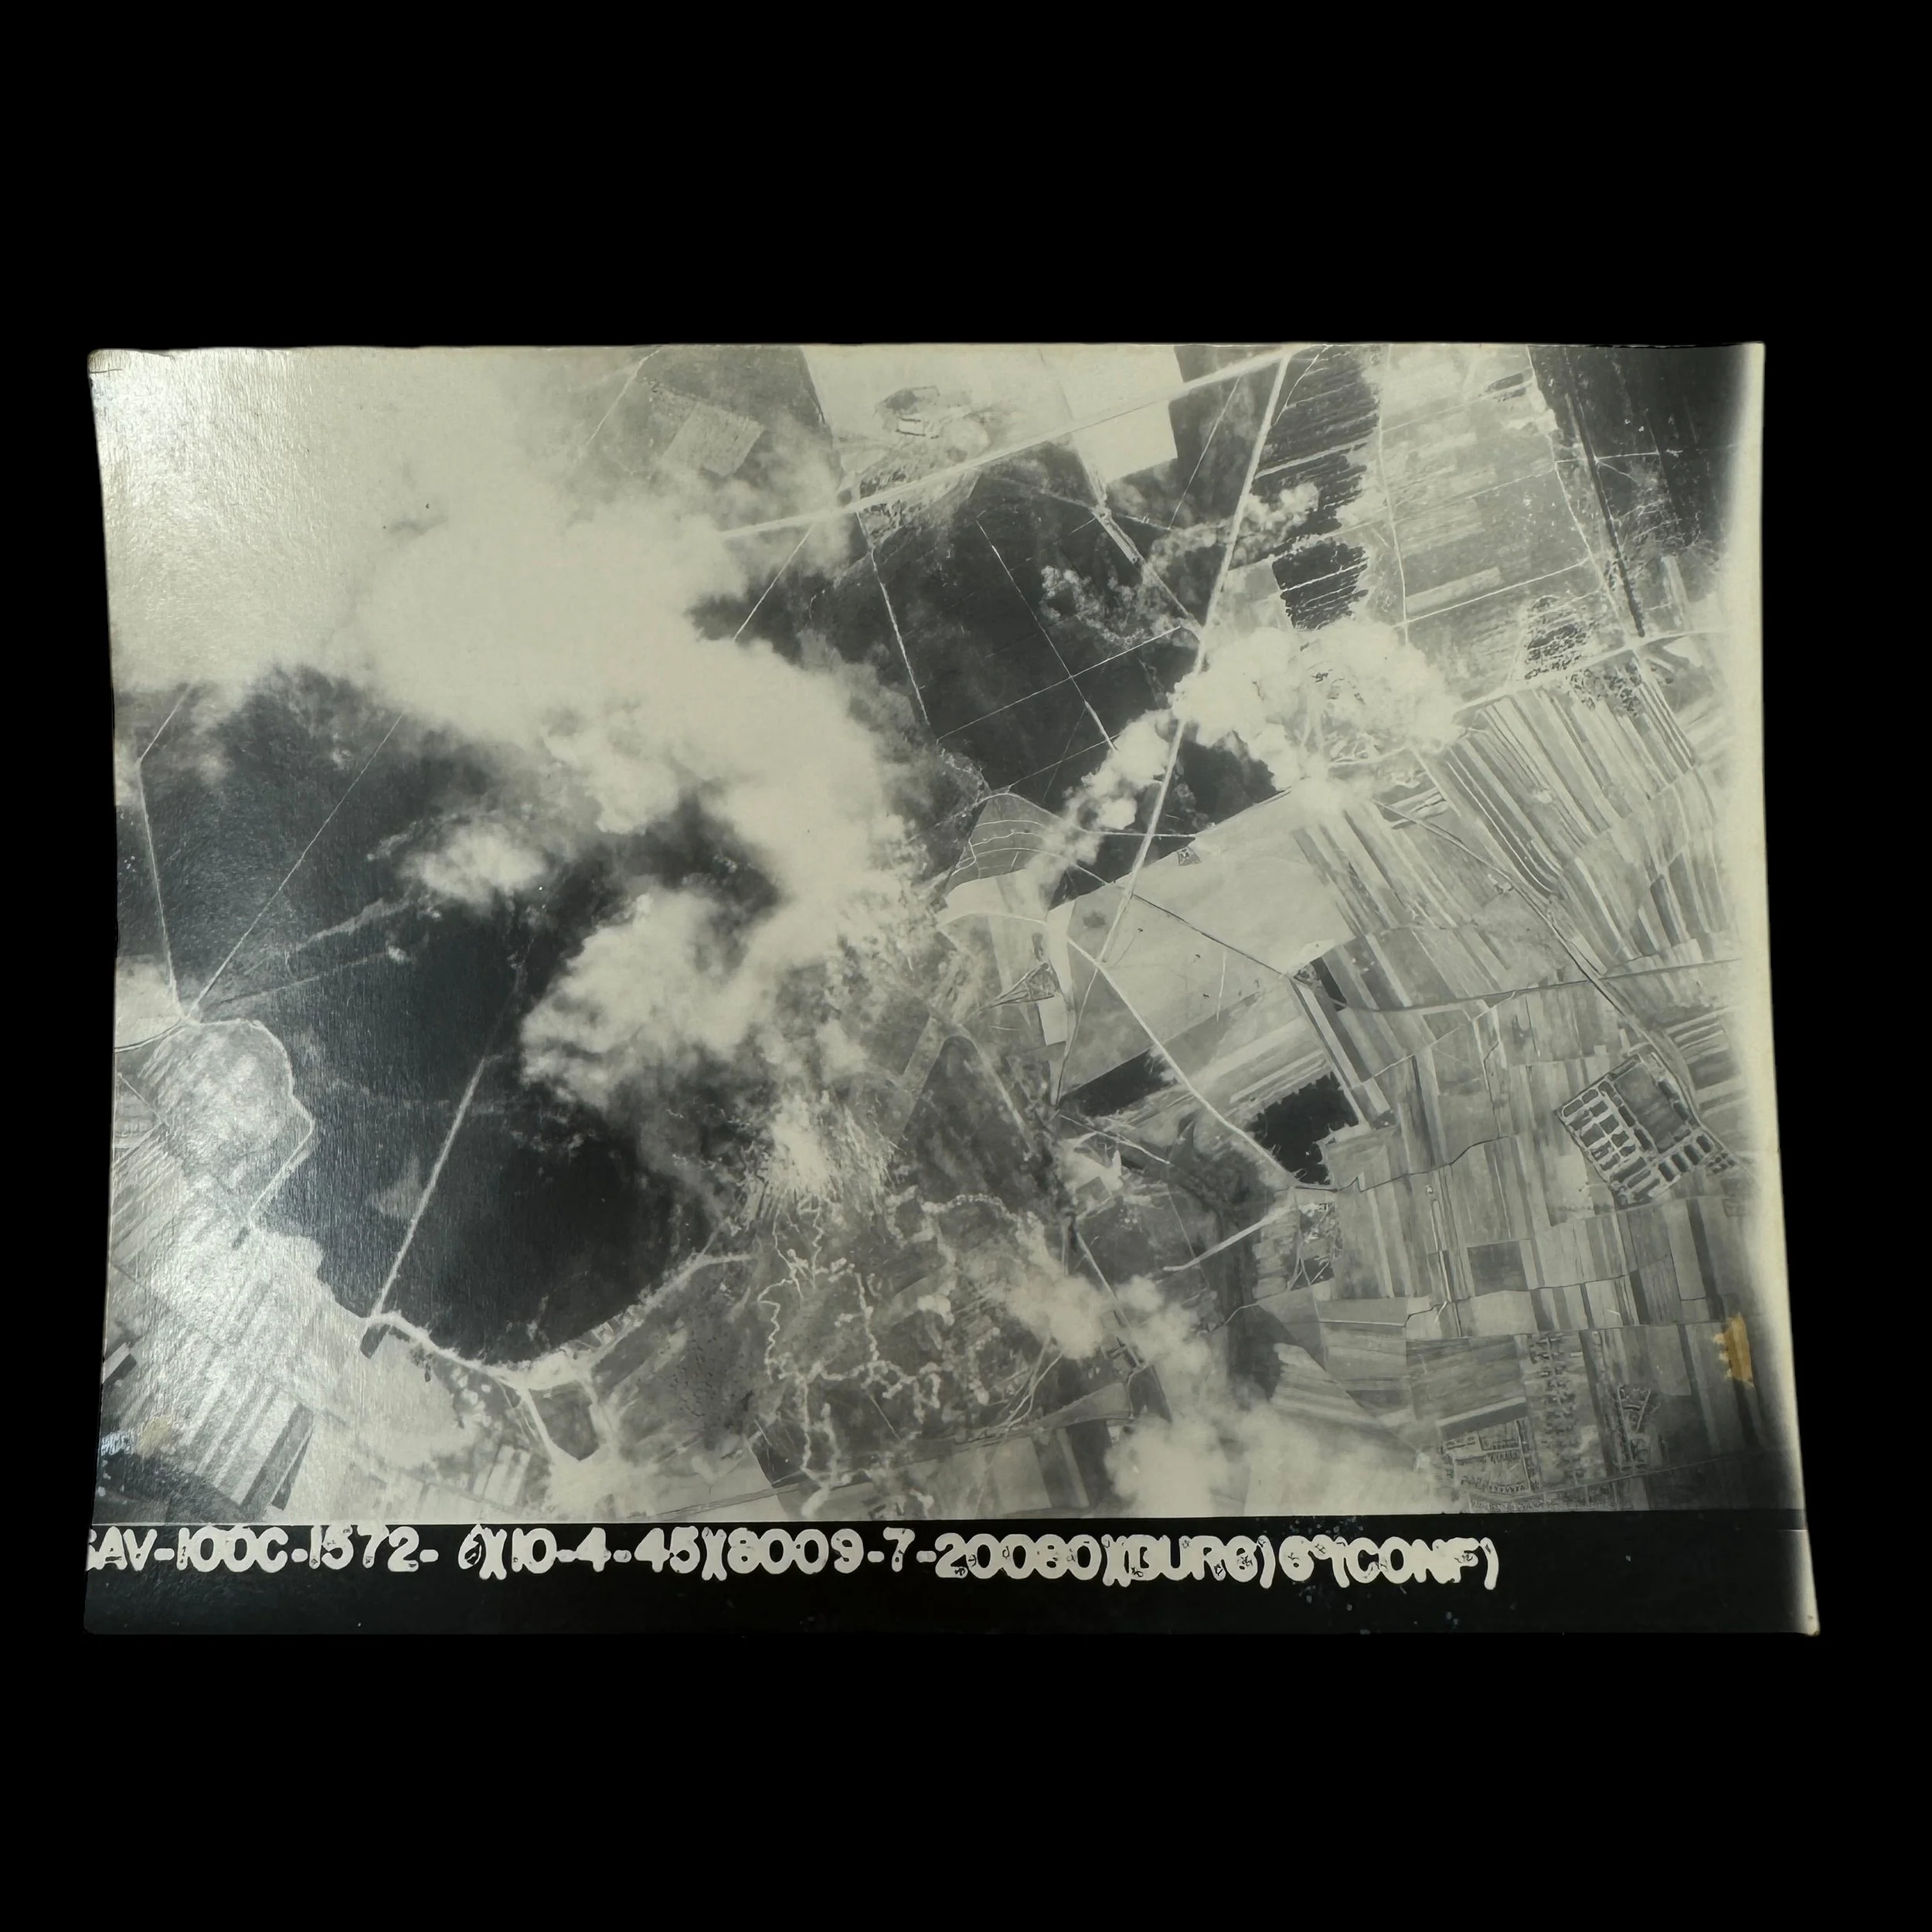
Comes with a hand-signed C.O.A.
100th Bomb Group Mission #299
Mission Date: April 10th, 1945
Target: BURG-bei-MAGDEBURG, Germany (Luftwaffe Jet Fighter Base - Air Field)
Classified: CONFIDENTIAL
Size: 5 × 7 inches
This exceptionally rare and museum-grade World War II artifact is an original "CONFIDENTIAL" marked Type 1 aerial combat mission photograph taken from a B-17 Flying Fortress of the 100th Bomb Group, Eighth Air Force. Known as "The Bloody Hundredth," the 100th Bomb Group earned a reputation for its remarkable bravery and resilience during some of the most intense and critical missions of the Allied strategic bombing campaign over Europe. These photographs provide an irreplaceable glimpse into the air war, capturing the danger, precision, and historical significance of these missions.
Taken during daring bombing raids conducted by the 8th Air Force, these photographs were developed immediately after the returning B-17 aircraft landed at Allied airfields in England, having survived fierce engagements with enemy fighters and deadly flak barrages. Each mission photograph was classified according to the sensitivity of the operation, marked "Confidential," "Secret," or "Top Secret," depending on the importance of the target and the secrecy surrounding the mission.
***THE TEXT BELOW IS FROM THE OFFICIAL MISSION SUMMARY OF THIS EXACT BOMBING RAID PHOTOGRAPH:
April 10th, 1945: The 100th Bomb Group's Harrowing Mission to Burg: Jet Fighters, Flak, and Survival
On the 10th, crews were briefed to target the Luftwaffe jet fighter base at Burg-bei-Magdeburg, with a priority on hangars and runways. Secondary targets included Zerbst airfield and a railway junction south of Stendal. The 13th CBW, led by the 390th BG, flew third in the Division line, with the 95th as the 'B' group and the 100th as the 'C.' Major Cruver flew as the 100th's Command Pilot.
Thirty-eight B-17s carrying 500 lb GP and incendiary bombs departed Thorpe Abbotts, assembling successfully. Clear skies over the route gave German gunners excellent visibility. At the IP, ten Me-262s intercepted, forcing the P-51 escorts to engage elsewhere.
Lyman Fillingame's ship was hit during the bomb run, forcing it to leave formation with a failing engine. The Me-262s also struck Lawrence Bazin’s and Delbert Reeve’s aircraft, leading to fires, structural damage, and both planes crashing with limited parachutes seen.
Despite flak and enemy attacks, the remaining bombers stayed on course, releasing bombs at 1458-1459 hours. Twenty-three of the thirty-four returning B-17s sustained flak damage, with one suffering both flak and 20mm hits. Three crews—Reeve, Bazin, and Fillingame—did not return.
Delbert Reeve’s crew suffered heavy losses, with only George Woodham evading capture. Lawrence Bazin’s crew saw a mix of casualties, POWs, and evaders. Fillingame crash-landed "Baby Sweet" at Westleton, Suffolk, with no major injuries but irreparable aircraft damage. The 23-year-old pilot skillfully landed wheels-up, saving his crew despite significant damage and a post-crash fire.
Condensed History of the 100th Bomb Group:
The 100th Bomb Group was constituted as a heavy bomber group inside the Eighth Air Force, which, at peak strength on D-Day, June 6, 1944, fielded 40 groups of Boeing B-17s and Consolidated B-24s. The 100th Bomb Group also known as the "The Bloody Hundredth", because of its reputation for losing a high number of aircraft and crews.
Over the course of 22 months of aerial combat, the aircrews of the 100th had served a deadly apprenticeship as they honed their skills and tactics. In an unemotional analysis of the raw numbers, the Bloody 100th’s wartime losses were not the worst suffered by the Eighth Air Force, though they were in the top three of losses by heavy bomber groups. The official history from the 100th Bomb Group Foundation cites 184 missing aircrew reports on 306 missions. In his memoir An Eighth Air Force Combat Diary, 100th copilot John Clark pointed out that “50% of the Group’s losses occurred in only 3% of its missions.” Like a gambler whose luck has gone cold, when the crews of the 100th had a bad day, they had a very bad day.
More than 26,000 Eighth Air Force personnel sacrificed their lives in service to the war effort. The total number killed or missing in action was slightly more than that suffered by the U.S. Marine Corps, and a little less than half the losses sustained by the entire U.S. Navy. Comparisons such as these do nothing to diminish the contributions of other military branches, but rather point out the gargantuan scale of the Eighth Air Force’s effort. The 100th Bomb Group’s portion of those losses was 785 men killed outright or missing in action and 229 aircraft destroyed or rendered unsuitable for flight.
Essential Roles of the Photographs in the Allied War Effort
1. Post-Mission Briefings
These combat mission photographs were indispensable in post-mission debriefings with aircrews. They provided:
Visual Feedback: Detailed images allowed crews to assess the effectiveness of their bombing runs, determining whether targets were hit with precision or if adjustments were needed for future missions.
Combat Intelligence: The photographs documented enemy defenses encountered during the mission, such as anti-aircraft artillery placements, flak concentrations, and Luftwaffe interception patterns.
Tactical Improvements: Reviewing these images enabled crews to refine their bombing accuracy and tactics, improving mission success rates while minimizing risks to personnel and aircraft.
2. Intelligence and Mapping
Type 1 photographs were invaluable to Allied intelligence, serving as critical resources for:
Identifying New Targets: Reconnaissance imagery revealed the locations of enemy industrial facilities, supply depots, and military installations, shaping future mission objectives.
Mapping Enemy Defenses: The photographs helped Allied analysts chart flak zones, radar installations, and troop movements, allowing for the creation of comprehensive intelligence maps that informed strategic planning.
Assessing Bombing Effectiveness: Post-bombing images documented the destruction of critical enemy infrastructure, such as factories, transportation networks, and oil refineries, ensuring mission objectives were met.
3. Strategic Bombing Campaigns
The Eighth Air Force relied heavily on these photographs to adjust and refine its bombing strategies. They played a critical role in:
Target Prioritization: Damage assessments from previous missions guided the selection of high-priority targets for subsequent raids.
Operational Planning: Insights gained from the photographs influenced mission parameters, such as bombing altitudes, formation patterns, and evasive maneuvers to counter enemy defenses.
Historical Significance and Legacy
These photographs stand as a testament to the courage and precision of the 100th Bomb Group. Stationed at Thorpe Abbotts, England, "The Bloody Hundredth" became synonymous with heroism and sacrifice, enduring significant losses during missions deep into enemy territory. Their motto, "Keep the Show on the Road," exemplified their unrelenting determination in the face of overwhelming odds.
The combat imagery produced by the group not only documented their contributions but also played an instrumental role in crippling Germany's industrial and military capabilities. Today, these photographs are regarded as museum-grade artifacts, offering a tangible connection to the technological innovation, strategic foresight, and human courage that defined the Allied war effort.
The rarity of these images further elevates their historical value, as many were destroyed after the war to maintain operational secrecy. Those that remain offer an unparalleled window into the air war over Europe and the pivotal role of aerial reconnaissance in securing Allied victory.
The Type 1 aerial combat mission photograph from a B-17 Flying Fortress of the 100th Bomb Group is far more than a historical artifact—it is a powerful reminder of the bravery, ingenuity, and determination that shaped the outcome of World War II. These images guided the Allied forces to victory and now serve as a lasting tribute to the men and women who risked everything in the skies above Europe. Preserving these photographs ensures that the sacrifices and triumphs of "The Bloody Hundredth" will never fade from memory, allowing their legacy to inspire future generations.
*Full Mission History of the 100th Bombardment Group (Heavy) during WWII:
Constituted as 100th Bombardment Group (Heavy) on 28 Jan 1942. Activated on 1 Jun 1942. Used B-17’s to prepare for duty overseas. Moved to England, May-Jun 1943, and was assigned to Eighth AF. Operated chiefly as a strategic bombardment organization until the war ended. From Jun 1943 to Jan 1944, concentrated its efforts against airfields in France and naval facilities and industries in France and Germany. Received a DUC for seriously disrupting German fighter plane production with an attack on an aircraft factory at Regensburg on 17 Aug 1943. Bombed airfields, industries, marshaling yards, and missile sites in Western Europe, Jan-May 1944. Operations in this period included participation in the Allied campaign against enemy aircraft factories during Big Week, 20-25 Feb 1944. Completed a series of attacks against Berlin in Mar 1944 and received a DUC for the missions. Beginning in the summer of 1944, oil installations became major targets. In addition to strategic operations, the group engaged in support and interdictory missions, hitting bridges and gun positions in support of the Normandy invasion in Jun 1944; bombing enemy positions at St Lo in Jul and at Brest in Aug and Sep; striking transportation and ground defenses in the drive against the Siegfried Line, Oct-Dec 1944; attacking marshaling yards, defended villages, and communications in the Ardennes sector during the Battle of the Bulge, Dec 1944- Jan 1945; and covering the airborne assault across the Rhine in Mar 1945. Received the French Croix de Guerre with Palm for attacking heavily defended installations in Germany and for dropping supplies to French Forces of the Interior, Jun-Dec 1944. Returned to the US in Dec 1945. inactivated on 21 Dec 1945.
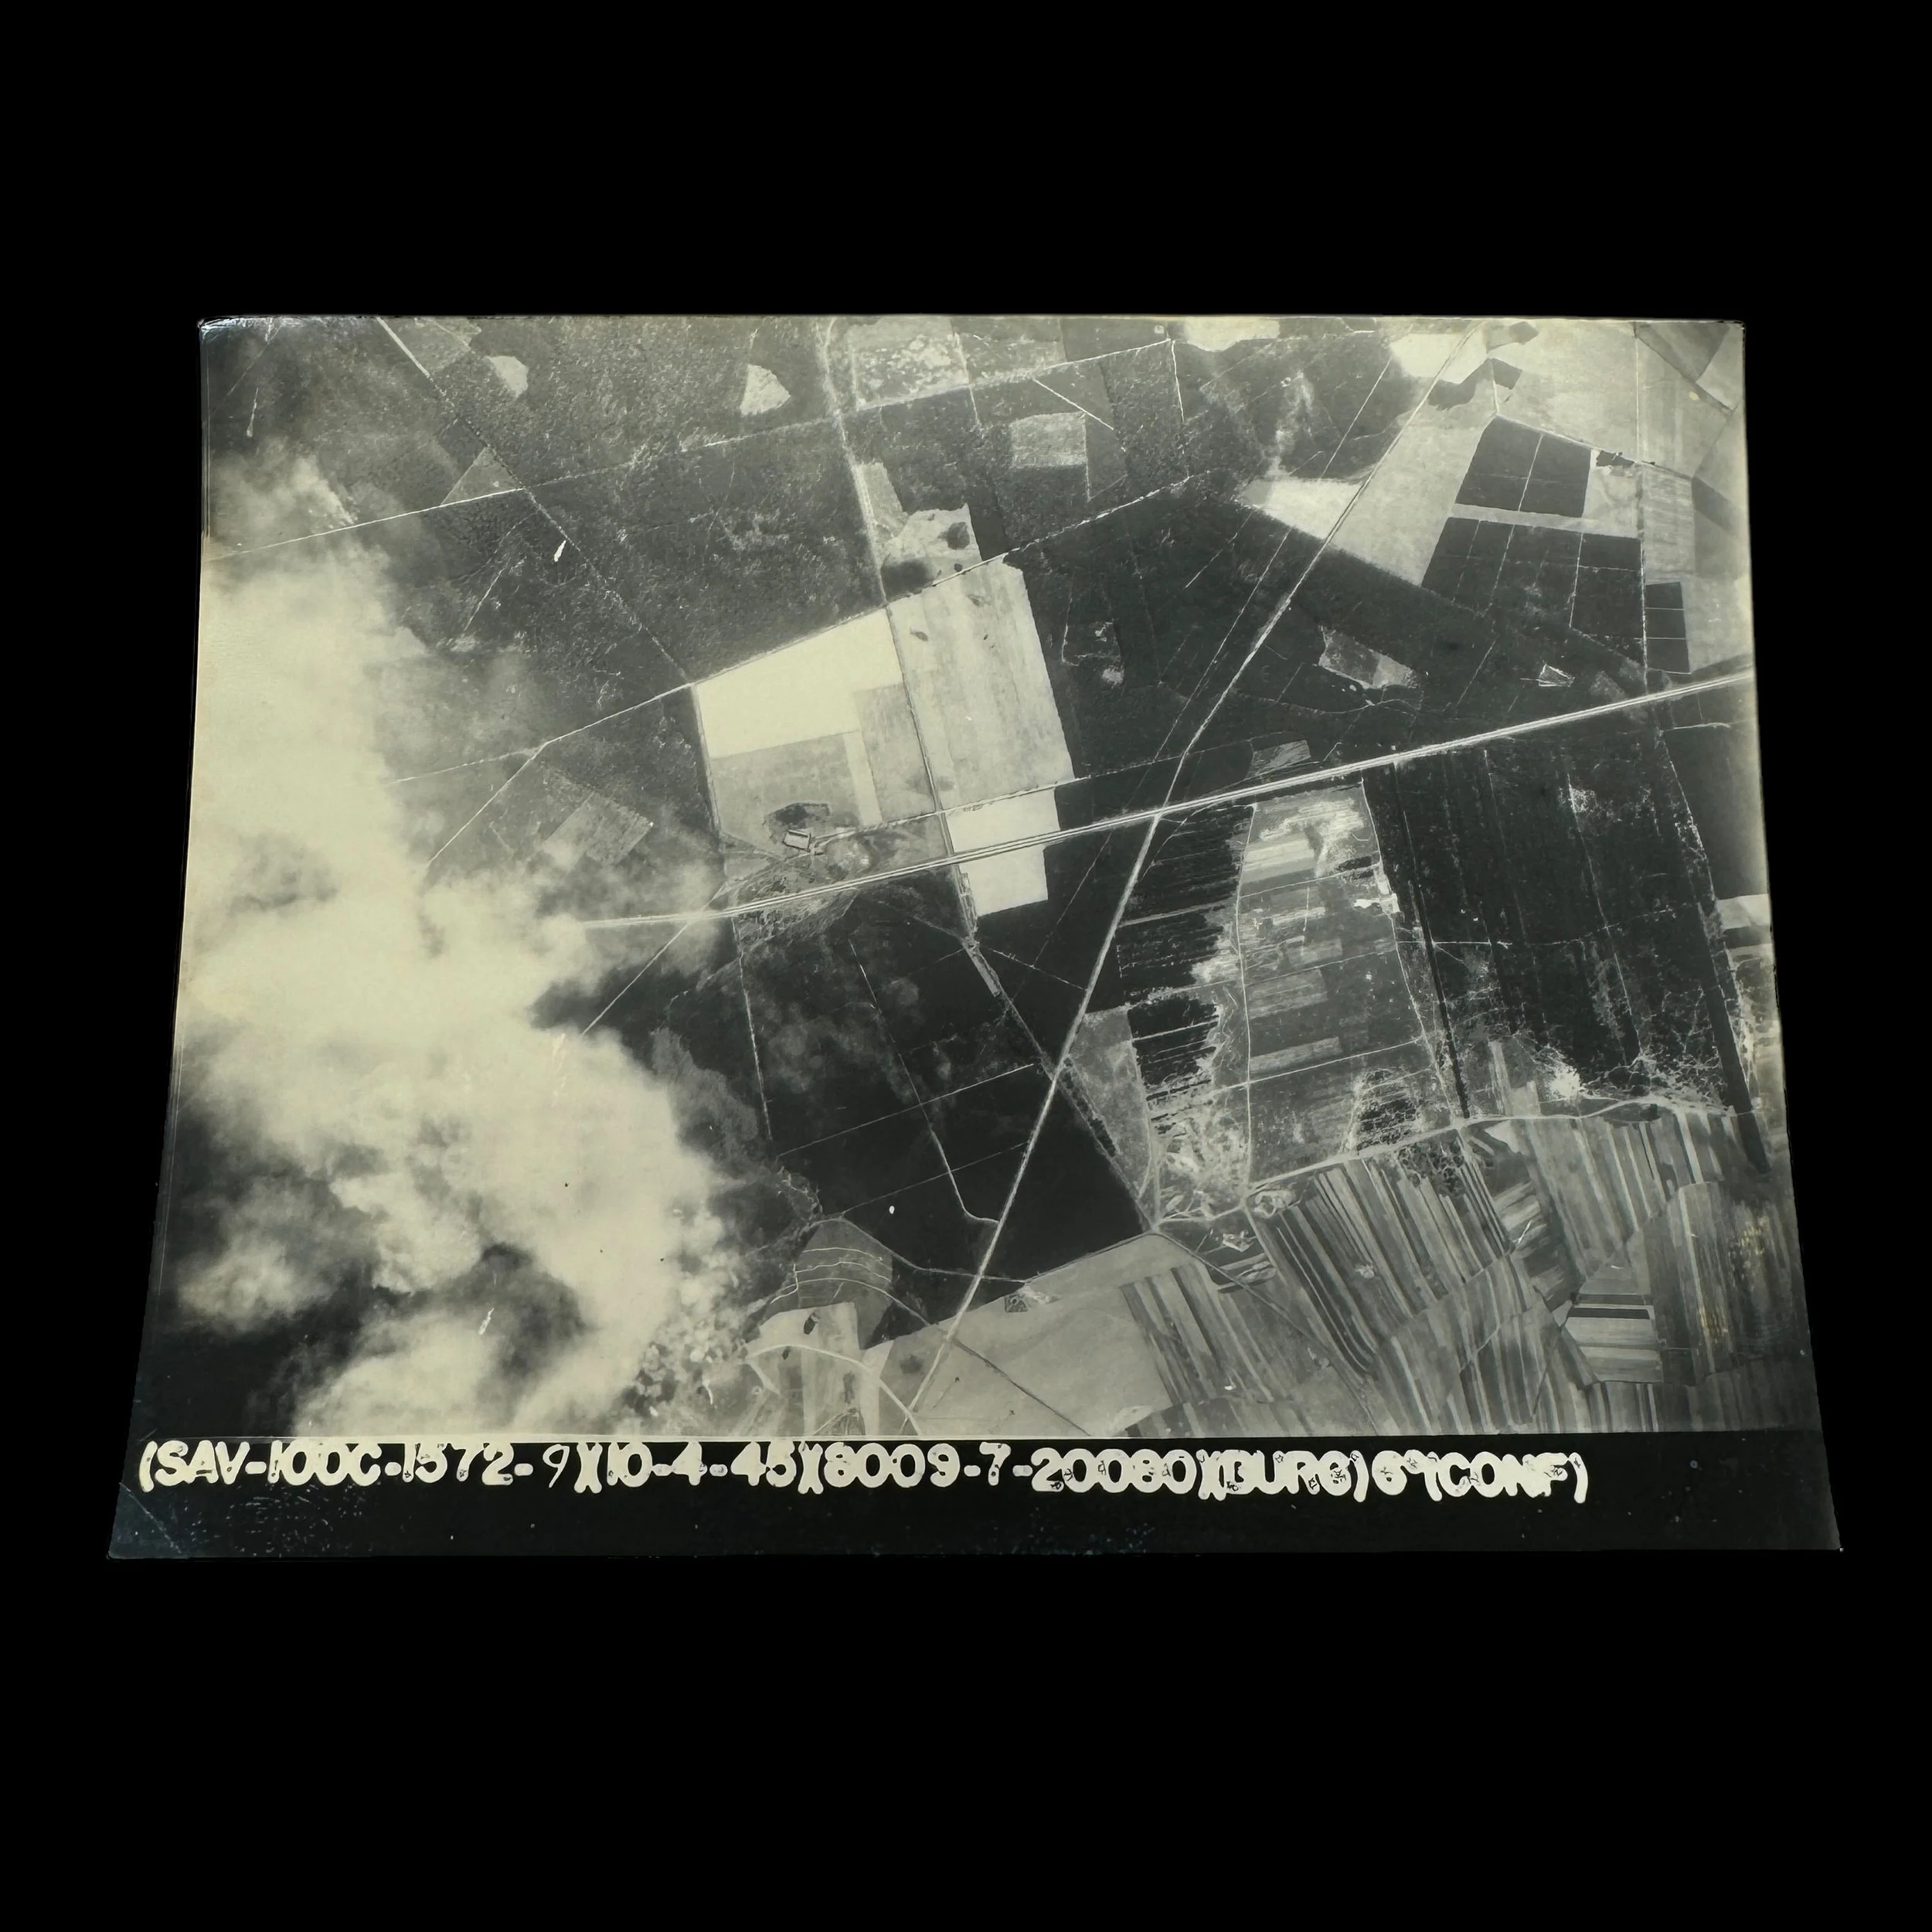
Comes with a hand-signed C.O.A.
100th Bomb Group Mission #299
Mission Date: April 10th, 1945
Target: BURG-bei-MAGDEBURG, Germany (Luftwaffe Jet Fighter Base - Air Field)
Classified: CONFIDENTIAL
Size: 5 × 7 inches
This exceptionally rare and museum-grade World War II artifact is an original "CONFIDENTIAL" marked Type 1 aerial combat mission photograph taken from a B-17 Flying Fortress of the 100th Bomb Group, Eighth Air Force. Known as "The Bloody Hundredth," the 100th Bomb Group earned a reputation for its remarkable bravery and resilience during some of the most intense and critical missions of the Allied strategic bombing campaign over Europe. These photographs provide an irreplaceable glimpse into the air war, capturing the danger, precision, and historical significance of these missions.
Taken during daring bombing raids conducted by the 8th Air Force, these photographs were developed immediately after the returning B-17 aircraft landed at Allied airfields in England, having survived fierce engagements with enemy fighters and deadly flak barrages. Each mission photograph was classified according to the sensitivity of the operation, marked "Confidential," "Secret," or "Top Secret," depending on the importance of the target and the secrecy surrounding the mission.
***THE TEXT BELOW IS FROM THE OFFICIAL MISSION SUMMARY OF THIS EXACT BOMBING RAID PHOTOGRAPH:
April 10th, 1945: The 100th Bomb Group's Harrowing Mission to Burg: Jet Fighters, Flak, and Survival
On the 10th, crews were briefed to target the Luftwaffe jet fighter base at Burg-bei-Magdeburg, with a priority on hangars and runways. Secondary targets included Zerbst airfield and a railway junction south of Stendal. The 13th CBW, led by the 390th BG, flew third in the Division line, with the 95th as the 'B' group and the 100th as the 'C.' Major Cruver flew as the 100th's Command Pilot.
Thirty-eight B-17s carrying 500 lb GP and incendiary bombs departed Thorpe Abbotts, assembling successfully. Clear skies over the route gave German gunners excellent visibility. At the IP, ten Me-262s intercepted, forcing the P-51 escorts to engage elsewhere.
Lyman Fillingame's ship was hit during the bomb run, forcing it to leave formation with a failing engine. The Me-262s also struck Lawrence Bazin’s and Delbert Reeve’s aircraft, leading to fires, structural damage, and both planes crashing with limited parachutes seen.
Despite flak and enemy attacks, the remaining bombers stayed on course, releasing bombs at 1458-1459 hours. Twenty-three of the thirty-four returning B-17s sustained flak damage, with one suffering both flak and 20mm hits. Three crews—Reeve, Bazin, and Fillingame—did not return.
Delbert Reeve’s crew suffered heavy losses, with only George Woodham evading capture. Lawrence Bazin’s crew saw a mix of casualties, POWs, and evaders. Fillingame crash-landed "Baby Sweet" at Westleton, Suffolk, with no major injuries but irreparable aircraft damage. The 23-year-old pilot skillfully landed wheels-up, saving his crew despite significant damage and a post-crash fire.
Condensed History of the 100th Bomb Group:
The 100th Bomb Group was constituted as a heavy bomber group inside the Eighth Air Force, which, at peak strength on D-Day, June 6, 1944, fielded 40 groups of Boeing B-17s and Consolidated B-24s. The 100th Bomb Group also known as the "The Bloody Hundredth", because of its reputation for losing a high number of aircraft and crews.
Over the course of 22 months of aerial combat, the aircrews of the 100th had served a deadly apprenticeship as they honed their skills and tactics. In an unemotional analysis of the raw numbers, the Bloody 100th’s wartime losses were not the worst suffered by the Eighth Air Force, though they were in the top three of losses by heavy bomber groups. The official history from the 100th Bomb Group Foundation cites 184 missing aircrew reports on 306 missions. In his memoir An Eighth Air Force Combat Diary, 100th copilot John Clark pointed out that “50% of the Group’s losses occurred in only 3% of its missions.” Like a gambler whose luck has gone cold, when the crews of the 100th had a bad day, they had a very bad day.
More than 26,000 Eighth Air Force personnel sacrificed their lives in service to the war effort. The total number killed or missing in action was slightly more than that suffered by the U.S. Marine Corps, and a little less than half the losses sustained by the entire U.S. Navy. Comparisons such as these do nothing to diminish the contributions of other military branches, but rather point out the gargantuan scale of the Eighth Air Force’s effort. The 100th Bomb Group’s portion of those losses was 785 men killed outright or missing in action and 229 aircraft destroyed or rendered unsuitable for flight.
Essential Roles of the Photographs in the Allied War Effort
1. Post-Mission Briefings
These combat mission photographs were indispensable in post-mission debriefings with aircrews. They provided:
Visual Feedback: Detailed images allowed crews to assess the effectiveness of their bombing runs, determining whether targets were hit with precision or if adjustments were needed for future missions.
Combat Intelligence: The photographs documented enemy defenses encountered during the mission, such as anti-aircraft artillery placements, flak concentrations, and Luftwaffe interception patterns.
Tactical Improvements: Reviewing these images enabled crews to refine their bombing accuracy and tactics, improving mission success rates while minimizing risks to personnel and aircraft.
2. Intelligence and Mapping
Type 1 photographs were invaluable to Allied intelligence, serving as critical resources for:
Identifying New Targets: Reconnaissance imagery revealed the locations of enemy industrial facilities, supply depots, and military installations, shaping future mission objectives.
Mapping Enemy Defenses: The photographs helped Allied analysts chart flak zones, radar installations, and troop movements, allowing for the creation of comprehensive intelligence maps that informed strategic planning.
Assessing Bombing Effectiveness: Post-bombing images documented the destruction of critical enemy infrastructure, such as factories, transportation networks, and oil refineries, ensuring mission objectives were met.
3. Strategic Bombing Campaigns
The Eighth Air Force relied heavily on these photographs to adjust and refine its bombing strategies. They played a critical role in:
Target Prioritization: Damage assessments from previous missions guided the selection of high-priority targets for subsequent raids.
Operational Planning: Insights gained from the photographs influenced mission parameters, such as bombing altitudes, formation patterns, and evasive maneuvers to counter enemy defenses.
Historical Significance and Legacy
These photographs stand as a testament to the courage and precision of the 100th Bomb Group. Stationed at Thorpe Abbotts, England, "The Bloody Hundredth" became synonymous with heroism and sacrifice, enduring significant losses during missions deep into enemy territory. Their motto, "Keep the Show on the Road," exemplified their unrelenting determination in the face of overwhelming odds.
The combat imagery produced by the group not only documented their contributions but also played an instrumental role in crippling Germany's industrial and military capabilities. Today, these photographs are regarded as museum-grade artifacts, offering a tangible connection to the technological innovation, strategic foresight, and human courage that defined the Allied war effort.
The rarity of these images further elevates their historical value, as many were destroyed after the war to maintain operational secrecy. Those that remain offer an unparalleled window into the air war over Europe and the pivotal role of aerial reconnaissance in securing Allied victory.
The Type 1 aerial combat mission photograph from a B-17 Flying Fortress of the 100th Bomb Group is far more than a historical artifact—it is a powerful reminder of the bravery, ingenuity, and determination that shaped the outcome of World War II. These images guided the Allied forces to victory and now serve as a lasting tribute to the men and women who risked everything in the skies above Europe. Preserving these photographs ensures that the sacrifices and triumphs of "The Bloody Hundredth" will never fade from memory, allowing their legacy to inspire future generations.
*Full Mission History of the 100th Bombardment Group (Heavy) during WWII:
Constituted as 100th Bombardment Group (Heavy) on 28 Jan 1942. Activated on 1 Jun 1942. Used B-17’s to prepare for duty overseas. Moved to England, May-Jun 1943, and was assigned to Eighth AF. Operated chiefly as a strategic bombardment organization until the war ended. From Jun 1943 to Jan 1944, concentrated its efforts against airfields in France and naval facilities and industries in France and Germany. Received a DUC for seriously disrupting German fighter plane production with an attack on an aircraft factory at Regensburg on 17 Aug 1943. Bombed airfields, industries, marshaling yards, and missile sites in Western Europe, Jan-May 1944. Operations in this period included participation in the Allied campaign against enemy aircraft factories during Big Week, 20-25 Feb 1944. Completed a series of attacks against Berlin in Mar 1944 and received a DUC for the missions. Beginning in the summer of 1944, oil installations became major targets. In addition to strategic operations, the group engaged in support and interdictory missions, hitting bridges and gun positions in support of the Normandy invasion in Jun 1944; bombing enemy positions at St Lo in Jul and at Brest in Aug and Sep; striking transportation and ground defenses in the drive against the Siegfried Line, Oct-Dec 1944; attacking marshaling yards, defended villages, and communications in the Ardennes sector during the Battle of the Bulge, Dec 1944- Jan 1945; and covering the airborne assault across the Rhine in Mar 1945. Received the French Croix de Guerre with Palm for attacking heavily defended installations in Germany and for dropping supplies to French Forces of the Interior, Jun-Dec 1944. Returned to the US in Dec 1945. inactivated on 21 Dec 1945.
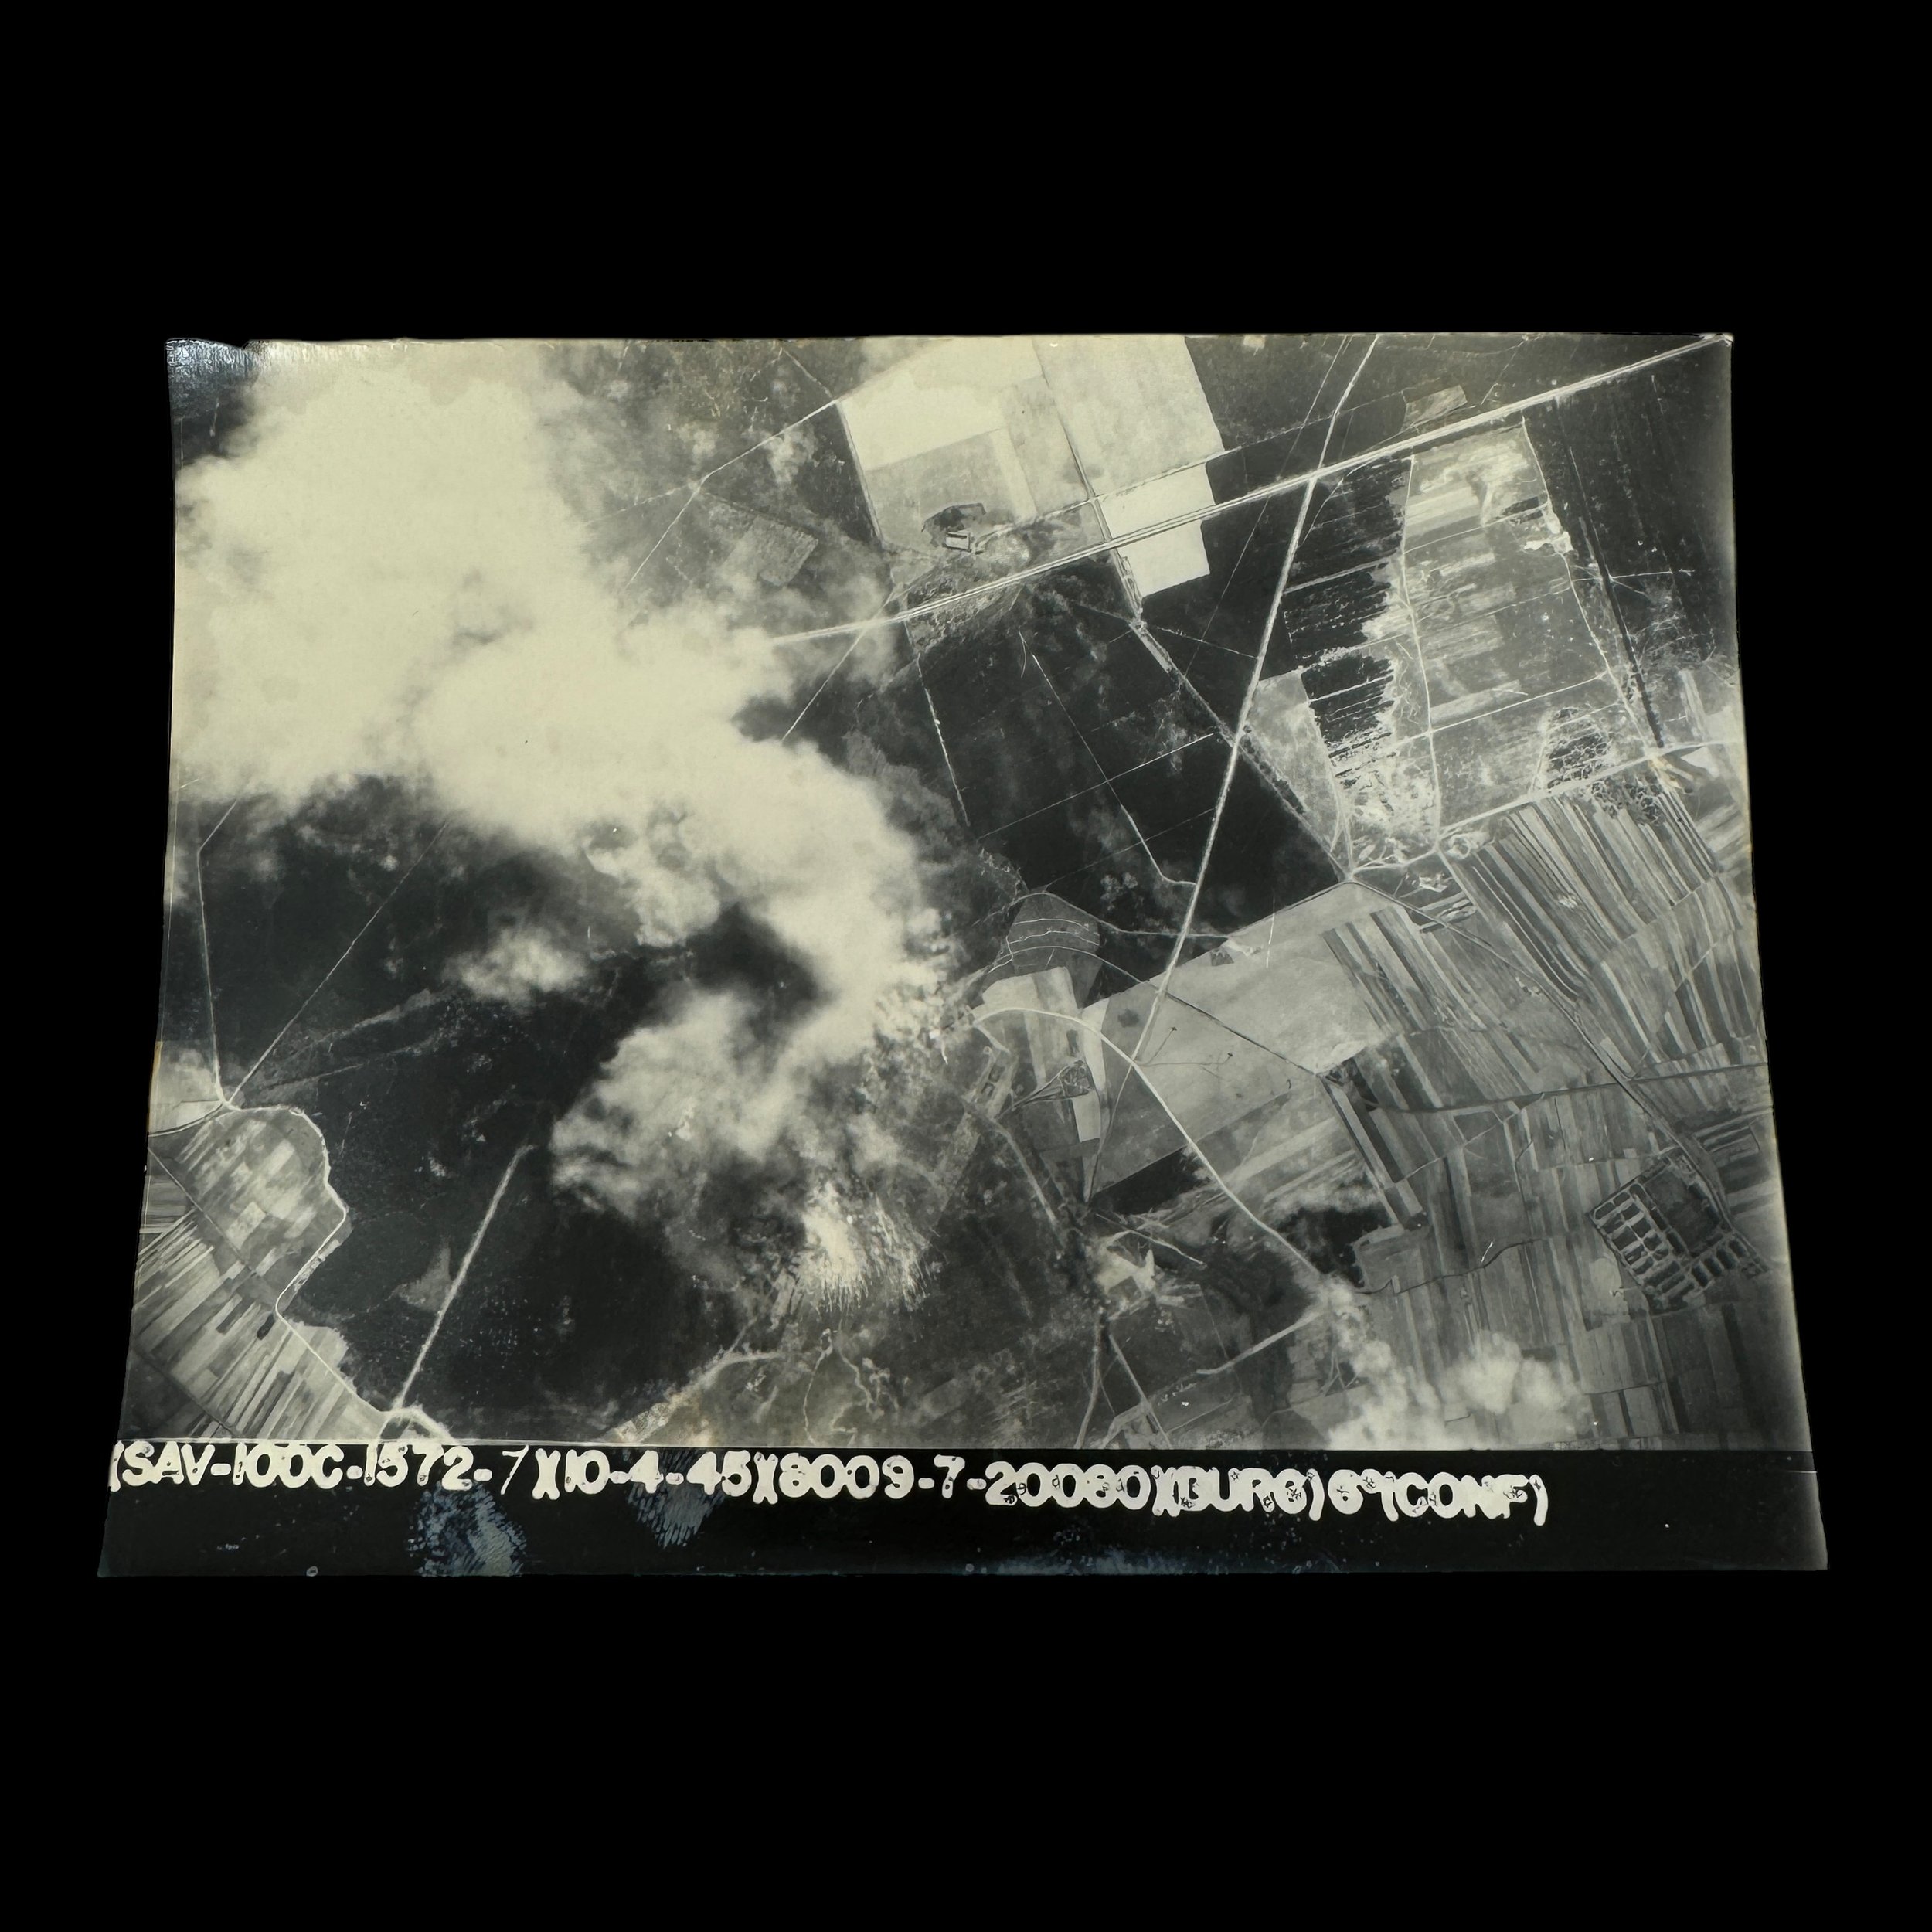
Comes with a hand-signed C.O.A.
100th Bomb Group Mission #299
Mission Date: April 10th, 1945
Target: BURG-bei-MAGDEBURG, Germany (Luftwaffe Jet Fighter Base - Air Field)
Classified: CONFIDENTIAL
Size: 5 × 7 inches
This exceptionally rare and museum-grade World War II artifact is an original "CONFIDENTIAL" marked Type 1 aerial combat mission photograph taken from a B-17 Flying Fortress of the 100th Bomb Group, Eighth Air Force. Known as "The Bloody Hundredth," the 100th Bomb Group earned a reputation for its remarkable bravery and resilience during some of the most intense and critical missions of the Allied strategic bombing campaign over Europe. These photographs provide an irreplaceable glimpse into the air war, capturing the danger, precision, and historical significance of these missions.
Taken during daring bombing raids conducted by the 8th Air Force, these photographs were developed immediately after the returning B-17 aircraft landed at Allied airfields in England, having survived fierce engagements with enemy fighters and deadly flak barrages. Each mission photograph was classified according to the sensitivity of the operation, marked "Confidential," "Secret," or "Top Secret," depending on the importance of the target and the secrecy surrounding the mission.
***THE TEXT BELOW IS FROM THE OFFICIAL MISSION SUMMARY OF THIS EXACT BOMBING RAID PHOTOGRAPH:
April 10th, 1945: The 100th Bomb Group's Harrowing Mission to Burg: Jet Fighters, Flak, and Survival
On the 10th, crews were briefed to target the Luftwaffe jet fighter base at Burg-bei-Magdeburg, with a priority on hangars and runways. Secondary targets included Zerbst airfield and a railway junction south of Stendal. The 13th CBW, led by the 390th BG, flew third in the Division line, with the 95th as the 'B' group and the 100th as the 'C.' Major Cruver flew as the 100th's Command Pilot.
Thirty-eight B-17s carrying 500 lb GP and incendiary bombs departed Thorpe Abbotts, assembling successfully. Clear skies over the route gave German gunners excellent visibility. At the IP, ten Me-262s intercepted, forcing the P-51 escorts to engage elsewhere.
Lyman Fillingame's ship was hit during the bomb run, forcing it to leave formation with a failing engine. The Me-262s also struck Lawrence Bazin’s and Delbert Reeve’s aircraft, leading to fires, structural damage, and both planes crashing with limited parachutes seen.
Despite flak and enemy attacks, the remaining bombers stayed on course, releasing bombs at 1458-1459 hours. Twenty-three of the thirty-four returning B-17s sustained flak damage, with one suffering both flak and 20mm hits. Three crews—Reeve, Bazin, and Fillingame—did not return.
Delbert Reeve’s crew suffered heavy losses, with only George Woodham evading capture. Lawrence Bazin’s crew saw a mix of casualties, POWs, and evaders. Fillingame crash-landed "Baby Sweet" at Westleton, Suffolk, with no major injuries but irreparable aircraft damage. The 23-year-old pilot skillfully landed wheels-up, saving his crew despite significant damage and a post-crash fire.
Condensed History of the 100th Bomb Group:
The 100th Bomb Group was constituted as a heavy bomber group inside the Eighth Air Force, which, at peak strength on D-Day, June 6, 1944, fielded 40 groups of Boeing B-17s and Consolidated B-24s. The 100th Bomb Group also known as the "The Bloody Hundredth", because of its reputation for losing a high number of aircraft and crews.
Over the course of 22 months of aerial combat, the aircrews of the 100th had served a deadly apprenticeship as they honed their skills and tactics. In an unemotional analysis of the raw numbers, the Bloody 100th’s wartime losses were not the worst suffered by the Eighth Air Force, though they were in the top three of losses by heavy bomber groups. The official history from the 100th Bomb Group Foundation cites 184 missing aircrew reports on 306 missions. In his memoir An Eighth Air Force Combat Diary, 100th copilot John Clark pointed out that “50% of the Group’s losses occurred in only 3% of its missions.” Like a gambler whose luck has gone cold, when the crews of the 100th had a bad day, they had a very bad day.
More than 26,000 Eighth Air Force personnel sacrificed their lives in service to the war effort. The total number killed or missing in action was slightly more than that suffered by the U.S. Marine Corps, and a little less than half the losses sustained by the entire U.S. Navy. Comparisons such as these do nothing to diminish the contributions of other military branches, but rather point out the gargantuan scale of the Eighth Air Force’s effort. The 100th Bomb Group’s portion of those losses was 785 men killed outright or missing in action and 229 aircraft destroyed or rendered unsuitable for flight.
Essential Roles of the Photographs in the Allied War Effort
1. Post-Mission Briefings
These combat mission photographs were indispensable in post-mission debriefings with aircrews. They provided:
Visual Feedback: Detailed images allowed crews to assess the effectiveness of their bombing runs, determining whether targets were hit with precision or if adjustments were needed for future missions.
Combat Intelligence: The photographs documented enemy defenses encountered during the mission, such as anti-aircraft artillery placements, flak concentrations, and Luftwaffe interception patterns.
Tactical Improvements: Reviewing these images enabled crews to refine their bombing accuracy and tactics, improving mission success rates while minimizing risks to personnel and aircraft.
2. Intelligence and Mapping
Type 1 photographs were invaluable to Allied intelligence, serving as critical resources for:
Identifying New Targets: Reconnaissance imagery revealed the locations of enemy industrial facilities, supply depots, and military installations, shaping future mission objectives.
Mapping Enemy Defenses: The photographs helped Allied analysts chart flak zones, radar installations, and troop movements, allowing for the creation of comprehensive intelligence maps that informed strategic planning.
Assessing Bombing Effectiveness: Post-bombing images documented the destruction of critical enemy infrastructure, such as factories, transportation networks, and oil refineries, ensuring mission objectives were met.
3. Strategic Bombing Campaigns
The Eighth Air Force relied heavily on these photographs to adjust and refine its bombing strategies. They played a critical role in:
Target Prioritization: Damage assessments from previous missions guided the selection of high-priority targets for subsequent raids.
Operational Planning: Insights gained from the photographs influenced mission parameters, such as bombing altitudes, formation patterns, and evasive maneuvers to counter enemy defenses.
Historical Significance and Legacy
These photographs stand as a testament to the courage and precision of the 100th Bomb Group. Stationed at Thorpe Abbotts, England, "The Bloody Hundredth" became synonymous with heroism and sacrifice, enduring significant losses during missions deep into enemy territory. Their motto, "Keep the Show on the Road," exemplified their unrelenting determination in the face of overwhelming odds.
The combat imagery produced by the group not only documented their contributions but also played an instrumental role in crippling Germany's industrial and military capabilities. Today, these photographs are regarded as museum-grade artifacts, offering a tangible connection to the technological innovation, strategic foresight, and human courage that defined the Allied war effort.
The rarity of these images further elevates their historical value, as many were destroyed after the war to maintain operational secrecy. Those that remain offer an unparalleled window into the air war over Europe and the pivotal role of aerial reconnaissance in securing Allied victory.
The Type 1 aerial combat mission photograph from a B-17 Flying Fortress of the 100th Bomb Group is far more than a historical artifact—it is a powerful reminder of the bravery, ingenuity, and determination that shaped the outcome of World War II. These images guided the Allied forces to victory and now serve as a lasting tribute to the men and women who risked everything in the skies above Europe. Preserving these photographs ensures that the sacrifices and triumphs of "The Bloody Hundredth" will never fade from memory, allowing their legacy to inspire future generations.
*Full Mission History of the 100th Bombardment Group (Heavy) during WWII:
Constituted as 100th Bombardment Group (Heavy) on 28 Jan 1942. Activated on 1 Jun 1942. Used B-17’s to prepare for duty overseas. Moved to England, May-Jun 1943, and was assigned to Eighth AF. Operated chiefly as a strategic bombardment organization until the war ended. From Jun 1943 to Jan 1944, concentrated its efforts against airfields in France and naval facilities and industries in France and Germany. Received a DUC for seriously disrupting German fighter plane production with an attack on an aircraft factory at Regensburg on 17 Aug 1943. Bombed airfields, industries, marshaling yards, and missile sites in Western Europe, Jan-May 1944. Operations in this period included participation in the Allied campaign against enemy aircraft factories during Big Week, 20-25 Feb 1944. Completed a series of attacks against Berlin in Mar 1944 and received a DUC for the missions. Beginning in the summer of 1944, oil installations became major targets. In addition to strategic operations, the group engaged in support and interdictory missions, hitting bridges and gun positions in support of the Normandy invasion in Jun 1944; bombing enemy positions at St Lo in Jul and at Brest in Aug and Sep; striking transportation and ground defenses in the drive against the Siegfried Line, Oct-Dec 1944; attacking marshaling yards, defended villages, and communications in the Ardennes sector during the Battle of the Bulge, Dec 1944- Jan 1945; and covering the airborne assault across the Rhine in Mar 1945. Received the French Croix de Guerre with Palm for attacking heavily defended installations in Germany and for dropping supplies to French Forces of the Interior, Jun-Dec 1944. Returned to the US in Dec 1945. inactivated on 21 Dec 1945.
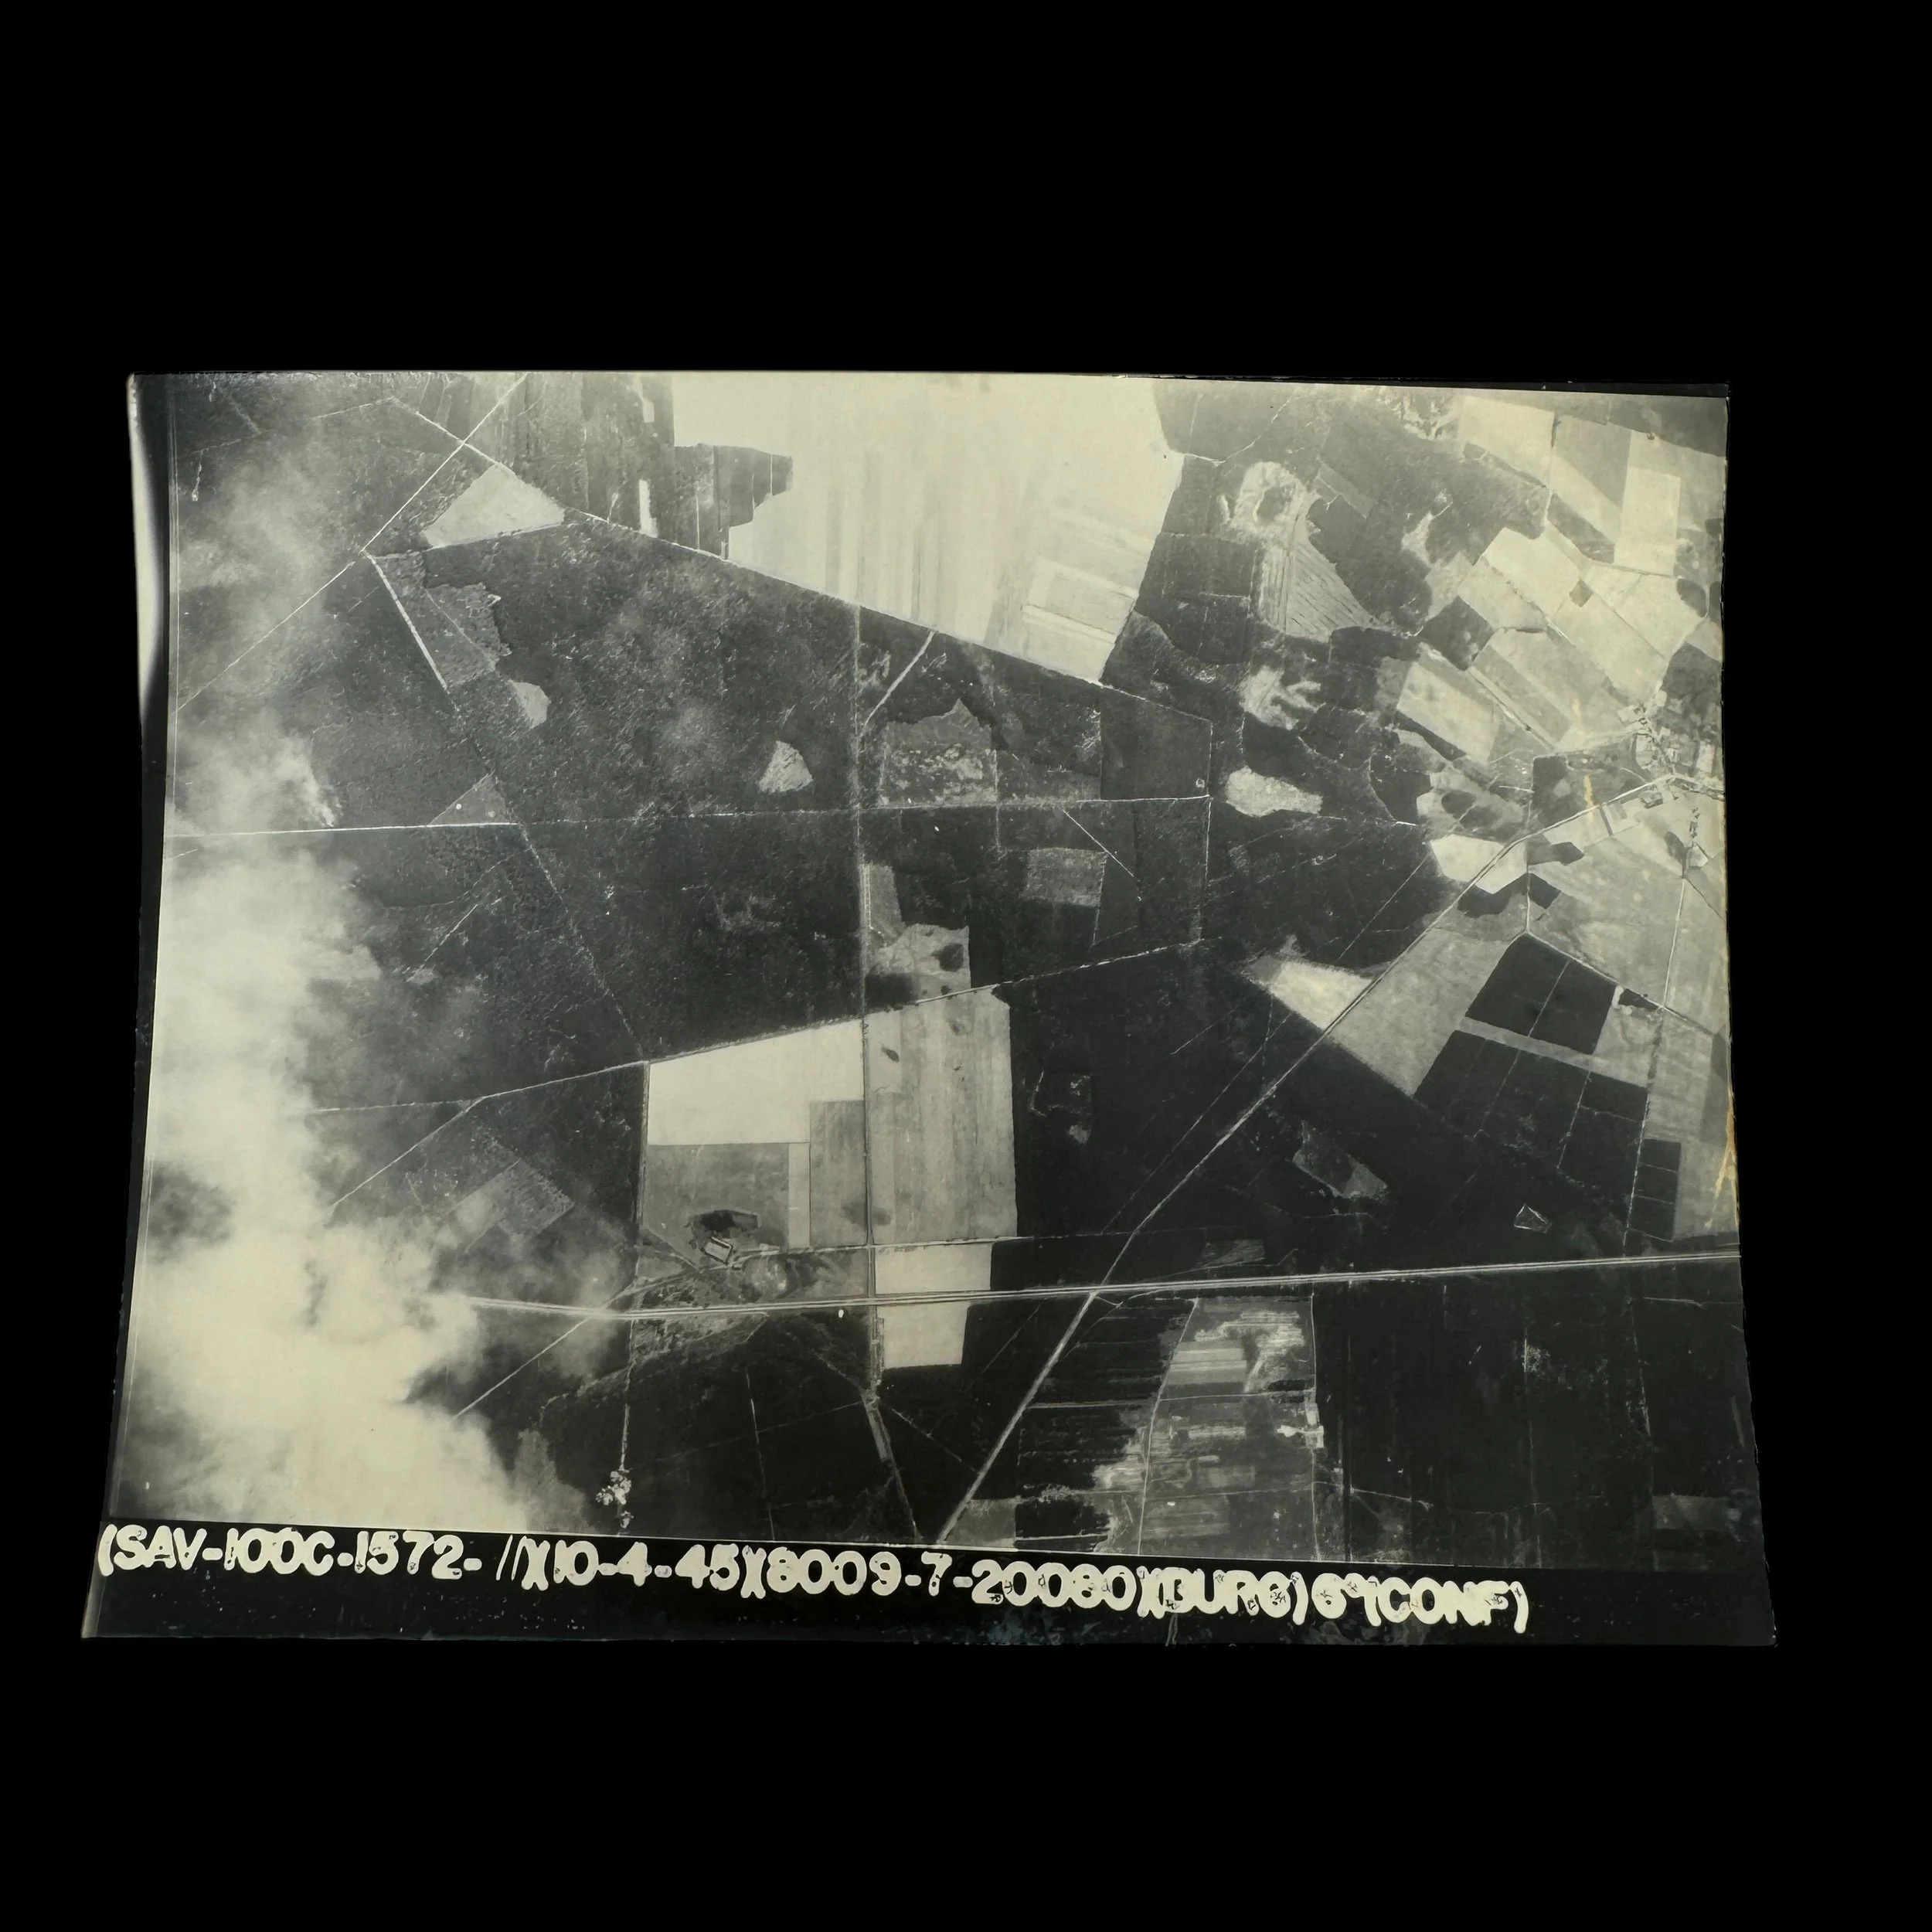
Comes with a hand-signed C.O.A.
100th Bomb Group Mission #299
Mission Date: April 10th, 1945
Target: BURG-bei-MAGDEBURG, Germany (Luftwaffe Jet Fighter Base - Air Field)
Classified: CONFIDENTIAL
Size: 5 × 7 inches
This exceptionally rare and museum-grade World War II artifact is an original "CONFIDENTIAL" marked Type 1 aerial combat mission photograph taken from a B-17 Flying Fortress of the 100th Bomb Group, Eighth Air Force. Known as "The Bloody Hundredth," the 100th Bomb Group earned a reputation for its remarkable bravery and resilience during some of the most intense and critical missions of the Allied strategic bombing campaign over Europe. These photographs provide an irreplaceable glimpse into the air war, capturing the danger, precision, and historical significance of these missions.
Taken during daring bombing raids conducted by the 8th Air Force, these photographs were developed immediately after the returning B-17 aircraft landed at Allied airfields in England, having survived fierce engagements with enemy fighters and deadly flak barrages. Each mission photograph was classified according to the sensitivity of the operation, marked "Confidential," "Secret," or "Top Secret," depending on the importance of the target and the secrecy surrounding the mission.
***THE TEXT BELOW IS FROM THE OFFICIAL MISSION SUMMARY OF THIS EXACT BOMBING RAID PHOTOGRAPH:
April 10th, 1945: The 100th Bomb Group's Harrowing Mission to Burg: Jet Fighters, Flak, and Survival
On the 10th, crews were briefed to target the Luftwaffe jet fighter base at Burg-bei-Magdeburg, with a priority on hangars and runways. Secondary targets included Zerbst airfield and a railway junction south of Stendal. The 13th CBW, led by the 390th BG, flew third in the Division line, with the 95th as the 'B' group and the 100th as the 'C.' Major Cruver flew as the 100th's Command Pilot.
Thirty-eight B-17s carrying 500 lb GP and incendiary bombs departed Thorpe Abbotts, assembling successfully. Clear skies over the route gave German gunners excellent visibility. At the IP, ten Me-262s intercepted, forcing the P-51 escorts to engage elsewhere.
Lyman Fillingame's ship was hit during the bomb run, forcing it to leave formation with a failing engine. The Me-262s also struck Lawrence Bazin’s and Delbert Reeve’s aircraft, leading to fires, structural damage, and both planes crashing with limited parachutes seen.
Despite flak and enemy attacks, the remaining bombers stayed on course, releasing bombs at 1458-1459 hours. Twenty-three of the thirty-four returning B-17s sustained flak damage, with one suffering both flak and 20mm hits. Three crews—Reeve, Bazin, and Fillingame—did not return.
Delbert Reeve’s crew suffered heavy losses, with only George Woodham evading capture. Lawrence Bazin’s crew saw a mix of casualties, POWs, and evaders. Fillingame crash-landed "Baby Sweet" at Westleton, Suffolk, with no major injuries but irreparable aircraft damage. The 23-year-old pilot skillfully landed wheels-up, saving his crew despite significant damage and a post-crash fire.
Condensed History of the 100th Bomb Group:
The 100th Bomb Group was constituted as a heavy bomber group inside the Eighth Air Force, which, at peak strength on D-Day, June 6, 1944, fielded 40 groups of Boeing B-17s and Consolidated B-24s. The 100th Bomb Group also known as the "The Bloody Hundredth", because of its reputation for losing a high number of aircraft and crews.
Over the course of 22 months of aerial combat, the aircrews of the 100th had served a deadly apprenticeship as they honed their skills and tactics. In an unemotional analysis of the raw numbers, the Bloody 100th’s wartime losses were not the worst suffered by the Eighth Air Force, though they were in the top three of losses by heavy bomber groups. The official history from the 100th Bomb Group Foundation cites 184 missing aircrew reports on 306 missions. In his memoir An Eighth Air Force Combat Diary, 100th copilot John Clark pointed out that “50% of the Group’s losses occurred in only 3% of its missions.” Like a gambler whose luck has gone cold, when the crews of the 100th had a bad day, they had a very bad day.
More than 26,000 Eighth Air Force personnel sacrificed their lives in service to the war effort. The total number killed or missing in action was slightly more than that suffered by the U.S. Marine Corps, and a little less than half the losses sustained by the entire U.S. Navy. Comparisons such as these do nothing to diminish the contributions of other military branches, but rather point out the gargantuan scale of the Eighth Air Force’s effort. The 100th Bomb Group’s portion of those losses was 785 men killed outright or missing in action and 229 aircraft destroyed or rendered unsuitable for flight.
Essential Roles of the Photographs in the Allied War Effort
1. Post-Mission Briefings
These combat mission photographs were indispensable in post-mission debriefings with aircrews. They provided:
Visual Feedback: Detailed images allowed crews to assess the effectiveness of their bombing runs, determining whether targets were hit with precision or if adjustments were needed for future missions.
Combat Intelligence: The photographs documented enemy defenses encountered during the mission, such as anti-aircraft artillery placements, flak concentrations, and Luftwaffe interception patterns.
Tactical Improvements: Reviewing these images enabled crews to refine their bombing accuracy and tactics, improving mission success rates while minimizing risks to personnel and aircraft.
2. Intelligence and Mapping
Type 1 photographs were invaluable to Allied intelligence, serving as critical resources for:
Identifying New Targets: Reconnaissance imagery revealed the locations of enemy industrial facilities, supply depots, and military installations, shaping future mission objectives.
Mapping Enemy Defenses: The photographs helped Allied analysts chart flak zones, radar installations, and troop movements, allowing for the creation of comprehensive intelligence maps that informed strategic planning.
Assessing Bombing Effectiveness: Post-bombing images documented the destruction of critical enemy infrastructure, such as factories, transportation networks, and oil refineries, ensuring mission objectives were met.
3. Strategic Bombing Campaigns
The Eighth Air Force relied heavily on these photographs to adjust and refine its bombing strategies. They played a critical role in:
Target Prioritization: Damage assessments from previous missions guided the selection of high-priority targets for subsequent raids.
Operational Planning: Insights gained from the photographs influenced mission parameters, such as bombing altitudes, formation patterns, and evasive maneuvers to counter enemy defenses.
Historical Significance and Legacy
These photographs stand as a testament to the courage and precision of the 100th Bomb Group. Stationed at Thorpe Abbotts, England, "The Bloody Hundredth" became synonymous with heroism and sacrifice, enduring significant losses during missions deep into enemy territory. Their motto, "Keep the Show on the Road," exemplified their unrelenting determination in the face of overwhelming odds.
The combat imagery produced by the group not only documented their contributions but also played an instrumental role in crippling Germany's industrial and military capabilities. Today, these photographs are regarded as museum-grade artifacts, offering a tangible connection to the technological innovation, strategic foresight, and human courage that defined the Allied war effort.
The rarity of these images further elevates their historical value, as many were destroyed after the war to maintain operational secrecy. Those that remain offer an unparalleled window into the air war over Europe and the pivotal role of aerial reconnaissance in securing Allied victory.
The Type 1 aerial combat mission photograph from a B-17 Flying Fortress of the 100th Bomb Group is far more than a historical artifact—it is a powerful reminder of the bravery, ingenuity, and determination that shaped the outcome of World War II. These images guided the Allied forces to victory and now serve as a lasting tribute to the men and women who risked everything in the skies above Europe. Preserving these photographs ensures that the sacrifices and triumphs of "The Bloody Hundredth" will never fade from memory, allowing their legacy to inspire future generations.
*Full Mission History of the 100th Bombardment Group (Heavy) during WWII:
Constituted as 100th Bombardment Group (Heavy) on 28 Jan 1942. Activated on 1 Jun 1942. Used B-17’s to prepare for duty overseas. Moved to England, May-Jun 1943, and was assigned to Eighth AF. Operated chiefly as a strategic bombardment organization until the war ended. From Jun 1943 to Jan 1944, concentrated its efforts against airfields in France and naval facilities and industries in France and Germany. Received a DUC for seriously disrupting German fighter plane production with an attack on an aircraft factory at Regensburg on 17 Aug 1943. Bombed airfields, industries, marshaling yards, and missile sites in Western Europe, Jan-May 1944. Operations in this period included participation in the Allied campaign against enemy aircraft factories during Big Week, 20-25 Feb 1944. Completed a series of attacks against Berlin in Mar 1944 and received a DUC for the missions. Beginning in the summer of 1944, oil installations became major targets. In addition to strategic operations, the group engaged in support and interdictory missions, hitting bridges and gun positions in support of the Normandy invasion in Jun 1944; bombing enemy positions at St Lo in Jul and at Brest in Aug and Sep; striking transportation and ground defenses in the drive against the Siegfried Line, Oct-Dec 1944; attacking marshaling yards, defended villages, and communications in the Ardennes sector during the Battle of the Bulge, Dec 1944- Jan 1945; and covering the airborne assault across the Rhine in Mar 1945. Received the French Croix de Guerre with Palm for attacking heavily defended installations in Germany and for dropping supplies to French Forces of the Interior, Jun-Dec 1944. Returned to the US in Dec 1945. inactivated on 21 Dec 1945.

Comes with a hand-signed C.O.A.
100th Bomb Group Mission #299
Mission Date: April 10th, 1945
Target: BURG-bei-MAGDEBURG, Germany (Luftwaffe Jet Fighter Base - Air Field)
Classified: CONFIDENTIAL
Size: 5 × 7 inches
This exceptionally rare and museum-grade World War II artifact is an original "CONFIDENTIAL" marked Type 1 aerial combat mission photograph taken from a B-17 Flying Fortress of the 100th Bomb Group, Eighth Air Force. Known as "The Bloody Hundredth," the 100th Bomb Group earned a reputation for its remarkable bravery and resilience during some of the most intense and critical missions of the Allied strategic bombing campaign over Europe. These photographs provide an irreplaceable glimpse into the air war, capturing the danger, precision, and historical significance of these missions.
Taken during daring bombing raids conducted by the 8th Air Force, these photographs were developed immediately after the returning B-17 aircraft landed at Allied airfields in England, having survived fierce engagements with enemy fighters and deadly flak barrages. Each mission photograph was classified according to the sensitivity of the operation, marked "Confidential," "Secret," or "Top Secret," depending on the importance of the target and the secrecy surrounding the mission.
***THE TEXT BELOW IS FROM THE OFFICIAL MISSION SUMMARY OF THIS EXACT BOMBING RAID PHOTOGRAPH:
April 10th, 1945: The 100th Bomb Group's Harrowing Mission to Burg: Jet Fighters, Flak, and Survival
On the 10th, crews were briefed to target the Luftwaffe jet fighter base at Burg-bei-Magdeburg, with a priority on hangars and runways. Secondary targets included Zerbst airfield and a railway junction south of Stendal. The 13th CBW, led by the 390th BG, flew third in the Division line, with the 95th as the 'B' group and the 100th as the 'C.' Major Cruver flew as the 100th's Command Pilot.
Thirty-eight B-17s carrying 500 lb GP and incendiary bombs departed Thorpe Abbotts, assembling successfully. Clear skies over the route gave German gunners excellent visibility. At the IP, ten Me-262s intercepted, forcing the P-51 escorts to engage elsewhere.
Lyman Fillingame's ship was hit during the bomb run, forcing it to leave formation with a failing engine. The Me-262s also struck Lawrence Bazin’s and Delbert Reeve’s aircraft, leading to fires, structural damage, and both planes crashing with limited parachutes seen.
Despite flak and enemy attacks, the remaining bombers stayed on course, releasing bombs at 1458-1459 hours. Twenty-three of the thirty-four returning B-17s sustained flak damage, with one suffering both flak and 20mm hits. Three crews—Reeve, Bazin, and Fillingame—did not return.
Delbert Reeve’s crew suffered heavy losses, with only George Woodham evading capture. Lawrence Bazin’s crew saw a mix of casualties, POWs, and evaders. Fillingame crash-landed "Baby Sweet" at Westleton, Suffolk, with no major injuries but irreparable aircraft damage. The 23-year-old pilot skillfully landed wheels-up, saving his crew despite significant damage and a post-crash fire.
Condensed History of the 100th Bomb Group:
The 100th Bomb Group was constituted as a heavy bomber group inside the Eighth Air Force, which, at peak strength on D-Day, June 6, 1944, fielded 40 groups of Boeing B-17s and Consolidated B-24s. The 100th Bomb Group also known as the "The Bloody Hundredth", because of its reputation for losing a high number of aircraft and crews.
Over the course of 22 months of aerial combat, the aircrews of the 100th had served a deadly apprenticeship as they honed their skills and tactics. In an unemotional analysis of the raw numbers, the Bloody 100th’s wartime losses were not the worst suffered by the Eighth Air Force, though they were in the top three of losses by heavy bomber groups. The official history from the 100th Bomb Group Foundation cites 184 missing aircrew reports on 306 missions. In his memoir An Eighth Air Force Combat Diary, 100th copilot John Clark pointed out that “50% of the Group’s losses occurred in only 3% of its missions.” Like a gambler whose luck has gone cold, when the crews of the 100th had a bad day, they had a very bad day.
More than 26,000 Eighth Air Force personnel sacrificed their lives in service to the war effort. The total number killed or missing in action was slightly more than that suffered by the U.S. Marine Corps, and a little less than half the losses sustained by the entire U.S. Navy. Comparisons such as these do nothing to diminish the contributions of other military branches, but rather point out the gargantuan scale of the Eighth Air Force’s effort. The 100th Bomb Group’s portion of those losses was 785 men killed outright or missing in action and 229 aircraft destroyed or rendered unsuitable for flight.
Essential Roles of the Photographs in the Allied War Effort
1. Post-Mission Briefings
These combat mission photographs were indispensable in post-mission debriefings with aircrews. They provided:
Visual Feedback: Detailed images allowed crews to assess the effectiveness of their bombing runs, determining whether targets were hit with precision or if adjustments were needed for future missions.
Combat Intelligence: The photographs documented enemy defenses encountered during the mission, such as anti-aircraft artillery placements, flak concentrations, and Luftwaffe interception patterns.
Tactical Improvements: Reviewing these images enabled crews to refine their bombing accuracy and tactics, improving mission success rates while minimizing risks to personnel and aircraft.
2. Intelligence and Mapping
Type 1 photographs were invaluable to Allied intelligence, serving as critical resources for:
Identifying New Targets: Reconnaissance imagery revealed the locations of enemy industrial facilities, supply depots, and military installations, shaping future mission objectives.
Mapping Enemy Defenses: The photographs helped Allied analysts chart flak zones, radar installations, and troop movements, allowing for the creation of comprehensive intelligence maps that informed strategic planning.
Assessing Bombing Effectiveness: Post-bombing images documented the destruction of critical enemy infrastructure, such as factories, transportation networks, and oil refineries, ensuring mission objectives were met.
3. Strategic Bombing Campaigns
The Eighth Air Force relied heavily on these photographs to adjust and refine its bombing strategies. They played a critical role in:
Target Prioritization: Damage assessments from previous missions guided the selection of high-priority targets for subsequent raids.
Operational Planning: Insights gained from the photographs influenced mission parameters, such as bombing altitudes, formation patterns, and evasive maneuvers to counter enemy defenses.
Historical Significance and Legacy
These photographs stand as a testament to the courage and precision of the 100th Bomb Group. Stationed at Thorpe Abbotts, England, "The Bloody Hundredth" became synonymous with heroism and sacrifice, enduring significant losses during missions deep into enemy territory. Their motto, "Keep the Show on the Road," exemplified their unrelenting determination in the face of overwhelming odds.
The combat imagery produced by the group not only documented their contributions but also played an instrumental role in crippling Germany's industrial and military capabilities. Today, these photographs are regarded as museum-grade artifacts, offering a tangible connection to the technological innovation, strategic foresight, and human courage that defined the Allied war effort.
The rarity of these images further elevates their historical value, as many were destroyed after the war to maintain operational secrecy. Those that remain offer an unparalleled window into the air war over Europe and the pivotal role of aerial reconnaissance in securing Allied victory.
The Type 1 aerial combat mission photograph from a B-17 Flying Fortress of the 100th Bomb Group is far more than a historical artifact—it is a powerful reminder of the bravery, ingenuity, and determination that shaped the outcome of World War II. These images guided the Allied forces to victory and now serve as a lasting tribute to the men and women who risked everything in the skies above Europe. Preserving these photographs ensures that the sacrifices and triumphs of "The Bloody Hundredth" will never fade from memory, allowing their legacy to inspire future generations.
*Full Mission History of the 100th Bombardment Group (Heavy) during WWII:
Constituted as 100th Bombardment Group (Heavy) on 28 Jan 1942. Activated on 1 Jun 1942. Used B-17’s to prepare for duty overseas. Moved to England, May-Jun 1943, and was assigned to Eighth AF. Operated chiefly as a strategic bombardment organization until the war ended. From Jun 1943 to Jan 1944, concentrated its efforts against airfields in France and naval facilities and industries in France and Germany. Received a DUC for seriously disrupting German fighter plane production with an attack on an aircraft factory at Regensburg on 17 Aug 1943. Bombed airfields, industries, marshaling yards, and missile sites in Western Europe, Jan-May 1944. Operations in this period included participation in the Allied campaign against enemy aircraft factories during Big Week, 20-25 Feb 1944. Completed a series of attacks against Berlin in Mar 1944 and received a DUC for the missions. Beginning in the summer of 1944, oil installations became major targets. In addition to strategic operations, the group engaged in support and interdictory missions, hitting bridges and gun positions in support of the Normandy invasion in Jun 1944; bombing enemy positions at St Lo in Jul and at Brest in Aug and Sep; striking transportation and ground defenses in the drive against the Siegfried Line, Oct-Dec 1944; attacking marshaling yards, defended villages, and communications in the Ardennes sector during the Battle of the Bulge, Dec 1944- Jan 1945; and covering the airborne assault across the Rhine in Mar 1945. Received the French Croix de Guerre with Palm for attacking heavily defended installations in Germany and for dropping supplies to French Forces of the Interior, Jun-Dec 1944. Returned to the US in Dec 1945. inactivated on 21 Dec 1945.
Comes with a hand-signed C.O.A.
100th Bomb Group Mission #260
Mission Date: February 17th, 1945
Target: FRANKFURT & GIESSEN, Germany (Metal Factory and Marshaling Yards)
Classified: CONFIDENTIAL
Size: 5 × 7 inches
This exceptionally rare and museum-grade World War II artifact is an original "CONFIDENTIAL" marked Type 1 aerial combat mission photograph taken from a B-17 Flying Fortress of the 100th Bomb Group, Eighth Air Force. Known as "The Bloody Hundredth," the 100th Bomb Group earned a reputation for its remarkable bravery and resilience during some of the most intense and critical missions of the Allied strategic bombing campaign over Europe. These photographs provide an irreplaceable glimpse into the air war, capturing the danger, precision, and historical significance of these missions.
Taken during daring bombing raids conducted by the 8th Air Force, these photographs were developed immediately after the returning B-17 aircraft landed at Allied airfields in England, having survived fierce engagements with enemy fighters and deadly flak barrages. Each mission photograph was classified according to the sensitivity of the operation, marked "Confidential," "Secret," or "Top Secret," depending on the importance of the target and the secrecy surrounding the mission.
***THE TEXT BELOW IS FROM THE OFFICIAL MISSION SUMMARY OF THIS EXACT BOMBING RAID PHOTOGRAPH:
February 17th, 1945: Chaos Over FRANKFURT and GIESSEN: The 100th Bomb Group's Struggle with Plan Changes and Flak
After a Group Stand Down on the 16th, crews were notified of a mission for the next day. By 0140 hours, updates to the targets and plans began, with changes arriving every ten minutes until 0650 hours, when it was confirmed that Plan A was in effect, canceling Plan B.
At Thorpe Abbotts, thirty-eight crews were briefed for Frankfurt, with metal works as the Primary target and the marshalling yards as Secondary. The 390th BG led the Wing, with the 95th as the ‘B’ group and the 100th as the ‘C,’ led by Major Lyster and Lt. DePlanque.
The bombers departed smoothly between 0840-0920 hours, assembling at Buncher 23 at 5500 feet due to cloud cover. Crossing the Channel, Division notified the Wing to abandon Plan A for Plan B. Weather deteriorated so severely that both the 1st and 2nd Divisions were recalled before reaching enemy airspace.
The 100th adjusted to a triangular pattern to gain the required 22,000 feet near Frankfurt, where they faced “moderate, very accurate, and tracking” flak. With 10/10 cloud cover over the target, the H2X method was employed. When the Lead aircraft’s Mickey set and communications failed due to a flak hit, the Low Squadron attempted to follow but lost 5000 feet in the confusion, breaking formation and preventing a bomb release. The High Squadron continued to the Secondary target, attacking at 21,900 feet.
The Low Squadron’s Command Pilot then led a climb to 22,000 feet to attack the Target of Last Resort at Giessen. Under flak and heavy contrails, bombs were mistakenly dropped at 1306 over Staufenberg, six miles north of Giessen, falling into fields and woods.
On the return, crews saw a 390th BG ship ditch into the sea and another explode. Fifteen 100th BG bombers landed at Thorpe Abbotts with flak damage, while the Lead ship landed elsewhere.
Climbing to unprepared altitudes stressed oxygen supplies and fuel, frustrating the Group Commanders. The Wing’s report criticized Division for poor weather data and lack of preparation for Plan B, noting confusion, broken intervals, and scattered fighter support.
Despite the challenges, the 3rd Division completed the mission, and the 100th BG crews returned safely. Relief followed with another Stand Down the next day.
Condensed History of the 100th Bomb Group:
The 100th Bomb Group was constituted as a heavy bomber group inside the Eighth Air Force, which, at peak strength on D-Day, June 6, 1944, fielded 40 groups of Boeing B-17s and Consolidated B-24s. The 100th Bomb Group also known as the "The Bloody Hundredth", because of its reputation for losing a high number of aircraft and crews.
Over the course of 22 months of aerial combat, the aircrews of the 100th had served a deadly apprenticeship as they honed their skills and tactics. In an unemotional analysis of the raw numbers, the Bloody 100th’s wartime losses were not the worst suffered by the Eighth Air Force, though they were in the top three of losses by heavy bomber groups. The official history from the 100th Bomb Group Foundation cites 184 missing aircrew reports on 306 missions. In his memoir An Eighth Air Force Combat Diary, 100th copilot John Clark pointed out that “50% of the Group’s losses occurred in only 3% of its missions.” Like a gambler whose luck has gone cold, when the crews of the 100th had a bad day, they had a very bad day.
More than 26,000 Eighth Air Force personnel sacrificed their lives in service to the war effort. The total number killed or missing in action was slightly more than that suffered by the U.S. Marine Corps, and a little less than half the losses sustained by the entire U.S. Navy. Comparisons such as these do nothing to diminish the contributions of other military branches, but rather point out the gargantuan scale of the Eighth Air Force’s effort. The 100th Bomb Group’s portion of those losses was 785 men killed outright or missing in action and 229 aircraft destroyed or rendered unsuitable for flight.
Essential Roles of the Photographs in the Allied War Effort
1. Post-Mission Briefings
These combat mission photographs were indispensable in post-mission debriefings with aircrews. They provided:
Visual Feedback: Detailed images allowed crews to assess the effectiveness of their bombing runs, determining whether targets were hit with precision or if adjustments were needed for future missions.
Combat Intelligence: The photographs documented enemy defenses encountered during the mission, such as anti-aircraft artillery placements, flak concentrations, and Luftwaffe interception patterns.
Tactical Improvements: Reviewing these images enabled crews to refine their bombing accuracy and tactics, improving mission success rates while minimizing risks to personnel and aircraft.
2. Intelligence and Mapping
Type 1 photographs were invaluable to Allied intelligence, serving as critical resources for:
Identifying New Targets: Reconnaissance imagery revealed the locations of enemy industrial facilities, supply depots, and military installations, shaping future mission objectives.
Mapping Enemy Defenses: The photographs helped Allied analysts chart flak zones, radar installations, and troop movements, allowing for the creation of comprehensive intelligence maps that informed strategic planning.
Assessing Bombing Effectiveness: Post-bombing images documented the destruction of critical enemy infrastructure, such as factories, transportation networks, and oil refineries, ensuring mission objectives were met.
3. Strategic Bombing Campaigns
The Eighth Air Force relied heavily on these photographs to adjust and refine its bombing strategies. They played a critical role in:
Target Prioritization: Damage assessments from previous missions guided the selection of high-priority targets for subsequent raids.
Operational Planning: Insights gained from the photographs influenced mission parameters, such as bombing altitudes, formation patterns, and evasive maneuvers to counter enemy defenses.
Historical Significance and Legacy
These photographs stand as a testament to the courage and precision of the 100th Bomb Group. Stationed at Thorpe Abbotts, England, "The Bloody Hundredth" became synonymous with heroism and sacrifice, enduring significant losses during missions deep into enemy territory. Their motto, "Keep the Show on the Road," exemplified their unrelenting determination in the face of overwhelming odds.
The combat imagery produced by the group not only documented their contributions but also played an instrumental role in crippling Germany's industrial and military capabilities. Today, these photographs are regarded as museum-grade artifacts, offering a tangible connection to the technological innovation, strategic foresight, and human courage that defined the Allied war effort.
The rarity of these images further elevates their historical value, as many were destroyed after the war to maintain operational secrecy. Those that remain offer an unparalleled window into the air war over Europe and the pivotal role of aerial reconnaissance in securing Allied victory.
The Type 1 aerial combat mission photograph from a B-17 Flying Fortress of the 100th Bomb Group is far more than a historical artifact—it is a powerful reminder of the bravery, ingenuity, and determination that shaped the outcome of World War II. These images guided the Allied forces to victory and now serve as a lasting tribute to the men and women who risked everything in the skies above Europe. Preserving these photographs ensures that the sacrifices and triumphs of "The Bloody Hundredth" will never fade from memory, allowing their legacy to inspire future generations.
*Full Mission History of the 100th Bombardment Group (Heavy) during WWII:
Constituted as 100th Bombardment Group (Heavy) on 28 Jan 1942. Activated on 1 Jun 1942. Used B-17’s to prepare for duty overseas. Moved to England, May-Jun 1943, and was assigned to Eighth AF. Operated chiefly as a strategic bombardment organization until the war ended. From Jun 1943 to Jan 1944, concentrated its efforts against airfields in France and naval facilities and industries in France and Germany. Received a DUC for seriously disrupting German fighter plane production with an attack on an aircraft factory at Regensburg on 17 Aug 1943. Bombed airfields, industries, marshaling yards, and missile sites in Western Europe, Jan-May 1944. Operations in this period included participation in the Allied campaign against enemy aircraft factories during Big Week, 20-25 Feb 1944. Completed a series of attacks against Berlin in Mar 1944 and received a DUC for the missions. Beginning in the summer of 1944, oil installations became major targets. In addition to strategic operations, the group engaged in support and interdictory missions, hitting bridges and gun positions in support of the Normandy invasion in Jun 1944; bombing enemy positions at St Lo in Jul and at Brest in Aug and Sep; striking transportation and ground defenses in the drive against the Siegfried Line, Oct-Dec 1944; attacking marshaling yards, defended villages, and communications in the Ardennes sector during the Battle of the Bulge, Dec 1944- Jan 1945; and covering the airborne assault across the Rhine in Mar 1945. Received the French Croix de Guerre with Palm for attacking heavily defended installations in Germany and for dropping supplies to French Forces of the Interior, Jun-Dec 1944. Returned to the US in Dec 1945. inactivated on 21 Dec 1945.

Comes with a hand-signed C.O.A.
100th Bomb Group Mission #239
Mission Date: December 29th, 1944
Target: FRANKFURT, Germany (Railway Marshaling Yards)
Classified: CONFIDENTIAL
Size: 5 × 7 inches
This exceptionally rare and museum-grade World War II artifact is an original "CONFIDENTIAL" marked Type 1 aerial combat mission photograph taken from a B-17 Flying Fortress of the 100th Bomb Group, Eighth Air Force. Known as "The Bloody Hundredth," the 100th Bomb Group earned a reputation for its remarkable bravery and resilience during some of the most intense and critical missions of the Allied strategic bombing campaign over Europe. These photographs provide an irreplaceable glimpse into the air war, capturing the danger, precision, and historical significance of these missions.
Taken during daring bombing raids conducted by the 8th Air Force, these photographs were developed immediately after the returning B-17 aircraft landed at Allied airfields in England, having survived fierce engagements with enemy fighters and deadly flak barrages. Each mission photograph was classified according to the sensitivity of the operation, marked "Confidential," "Secret," or "Top Secret," depending on the importance of the target and the secrecy surrounding the mission.
***THE TEXT BELOW IS FROM THE OFFICIAL MISSION SUMMARY OF THIS EXACT BOMBING RAID PHOTOGRAPH:
December 29th, 1944: Mission to Frankfurt: Bitter Cold, Heavy Flak, and Harrowing Returns
On December 29, crews awoke to bitter cold and driving rain as they prepared for a mission. Initially briefed for Zietz near Merseberg—a notoriously dangerous target—their destination was changed at 0600 to Frankfurt’s railway marshalling yard. This compact target could handle 3,100 wagons daily, and the mission aimed to disrupt operations entirely.
The 100th BG led the 13CBW and 3rd Division, with Major John Wallace and Gerald Brown leading the formation. Thirty-five aircraft, including three PFF and four chaff ships, took off between 0818-0850 hours. Francis Mikesh, piloting A/C 673, aborted before crossing the sortie line due to an engine failure, receiving no mission credit.
Flying under CAVU conditions near the Rhine, the bombers encountered intense, accurate flak over Frankfurt as they approached the IP. Bombardier William Wellings described flak as “everywhere,” noting close hits that gashed his plane’s wing. Robert Fitzgerald reported heavy flak forcing planes out of formation, with one hit in the engine and four chutes observed.
In the low squadron, extreme headwinds reduced ground speed to under 100 mph, exposing bombers to prolonged flak. John K. Furrer’s aircraft, engulfed in flames after a hit, plummeted 14,000 feet before he regained control. With four crew members still aboard, Furrer jettisoned loose equipment and navigated back to England, assisted by a P-51 pilot through hand signals.
Other crews faced similar peril. Walter Bailey’s B-17 was severely damaged, with the engineer and copilot assuming control after Bailey sustained leg injuries. Despite their efforts, they mistakenly landed at the 95th Bomb Group. Willis "Moose" Miller’s crew lost two engines, hydraulic power, and oxygen but managed to return safely, deploying a parachute to slow their landing after brakes failed.
Amid the chaos, ground crews endured harsh reprimands, such as when James Adair’s team was berated for a deployed life raft. Adair defended his men, exemplifying the camaraderie forged in battle.
Thirteen bombers returned with battle damage, and maintenance crews worked tirelessly overnight to prepare for the next mission. After over eight hours in the air, including three and a half on oxygen, the exhausted men were relieved to survive another harrowing mission.
Condensed History of the 100th Bomb Group:
The 100th Bomb Group was constituted as a heavy bomber group inside the Eighth Air Force, which, at peak strength on D-Day, June 6, 1944, fielded 40 groups of Boeing B-17s and Consolidated B-24s. The 100th Bomb Group also known as the "The Bloody Hundredth", because of its reputation for losing a high number of aircraft and crews.
Over the course of 22 months of aerial combat, the aircrews of the 100th had served a deadly apprenticeship as they honed their skills and tactics. In an unemotional analysis of the raw numbers, the Bloody 100th’s wartime losses were not the worst suffered by the Eighth Air Force, though they were in the top three of losses by heavy bomber groups. The official history from the 100th Bomb Group Foundation cites 184 missing aircrew reports on 306 missions. In his memoir An Eighth Air Force Combat Diary, 100th copilot John Clark pointed out that “50% of the Group’s losses occurred in only 3% of its missions.” Like a gambler whose luck has gone cold, when the crews of the 100th had a bad day, they had a very bad day.
More than 26,000 Eighth Air Force personnel sacrificed their lives in service to the war effort. The total number killed or missing in action was slightly more than that suffered by the U.S. Marine Corps, and a little less than half the losses sustained by the entire U.S. Navy. Comparisons such as these do nothing to diminish the contributions of other military branches, but rather point out the gargantuan scale of the Eighth Air Force’s effort. The 100th Bomb Group’s portion of those losses was 785 men killed outright or missing in action and 229 aircraft destroyed or rendered unsuitable for flight.
Essential Roles of the Photographs in the Allied War Effort
1. Post-Mission Briefings
These combat mission photographs were indispensable in post-mission debriefings with aircrews. They provided:
Visual Feedback: Detailed images allowed crews to assess the effectiveness of their bombing runs, determining whether targets were hit with precision or if adjustments were needed for future missions.
Combat Intelligence: The photographs documented enemy defenses encountered during the mission, such as anti-aircraft artillery placements, flak concentrations, and Luftwaffe interception patterns.
Tactical Improvements: Reviewing these images enabled crews to refine their bombing accuracy and tactics, improving mission success rates while minimizing risks to personnel and aircraft.
2. Intelligence and Mapping
Type 1 photographs were invaluable to Allied intelligence, serving as critical resources for:
Identifying New Targets: Reconnaissance imagery revealed the locations of enemy industrial facilities, supply depots, and military installations, shaping future mission objectives.
Mapping Enemy Defenses: The photographs helped Allied analysts chart flak zones, radar installations, and troop movements, allowing for the creation of comprehensive intelligence maps that informed strategic planning.
Assessing Bombing Effectiveness: Post-bombing images documented the destruction of critical enemy infrastructure, such as factories, transportation networks, and oil refineries, ensuring mission objectives were met.
3. Strategic Bombing Campaigns
The Eighth Air Force relied heavily on these photographs to adjust and refine its bombing strategies. They played a critical role in:
Target Prioritization: Damage assessments from previous missions guided the selection of high-priority targets for subsequent raids.
Operational Planning: Insights gained from the photographs influenced mission parameters, such as bombing altitudes, formation patterns, and evasive maneuvers to counter enemy defenses.
Historical Significance and Legacy
These photographs stand as a testament to the courage and precision of the 100th Bomb Group. Stationed at Thorpe Abbotts, England, "The Bloody Hundredth" became synonymous with heroism and sacrifice, enduring significant losses during missions deep into enemy territory. Their motto, "Keep the Show on the Road," exemplified their unrelenting determination in the face of overwhelming odds.
The combat imagery produced by the group not only documented their contributions but also played an instrumental role in crippling Germany's industrial and military capabilities. Today, these photographs are regarded as museum-grade artifacts, offering a tangible connection to the technological innovation, strategic foresight, and human courage that defined the Allied war effort.
The rarity of these images further elevates their historical value, as many were destroyed after the war to maintain operational secrecy. Those that remain offer an unparalleled window into the air war over Europe and the pivotal role of aerial reconnaissance in securing Allied victory.
The Type 1 aerial combat mission photograph from a B-17 Flying Fortress of the 100th Bomb Group is far more than a historical artifact—it is a powerful reminder of the bravery, ingenuity, and determination that shaped the outcome of World War II. These images guided the Allied forces to victory and now serve as a lasting tribute to the men and women who risked everything in the skies above Europe. Preserving these photographs ensures that the sacrifices and triumphs of "The Bloody Hundredth" will never fade from memory, allowing their legacy to inspire future generations.
*Full Mission History of the 100th Bombardment Group (Heavy) during WWII:
Constituted as 100th Bombardment Group (Heavy) on 28 Jan 1942. Activated on 1 Jun 1942. Used B-17’s to prepare for duty overseas. Moved to England, May-Jun 1943, and was assigned to Eighth AF. Operated chiefly as a strategic bombardment organization until the war ended. From Jun 1943 to Jan 1944, concentrated its efforts against airfields in France and naval facilities and industries in France and Germany. Received a DUC for seriously disrupting German fighter plane production with an attack on an aircraft factory at Regensburg on 17 Aug 1943. Bombed airfields, industries, marshaling yards, and missile sites in Western Europe, Jan-May 1944. Operations in this period included participation in the Allied campaign against enemy aircraft factories during Big Week, 20-25 Feb 1944. Completed a series of attacks against Berlin in Mar 1944 and received a DUC for the missions. Beginning in the summer of 1944, oil installations became major targets. In addition to strategic operations, the group engaged in support and interdictory missions, hitting bridges and gun positions in support of the Normandy invasion in Jun 1944; bombing enemy positions at St Lo in Jul and at Brest in Aug and Sep; striking transportation and ground defenses in the drive against the Siegfried Line, Oct-Dec 1944; attacking marshaling yards, defended villages, and communications in the Ardennes sector during the Battle of the Bulge, Dec 1944- Jan 1945; and covering the airborne assault across the Rhine in Mar 1945. Received the French Croix de Guerre with Palm for attacking heavily defended installations in Germany and for dropping supplies to French Forces of the Interior, Jun-Dec 1944. Returned to the US in Dec 1945. inactivated on 21 Dec 1945.
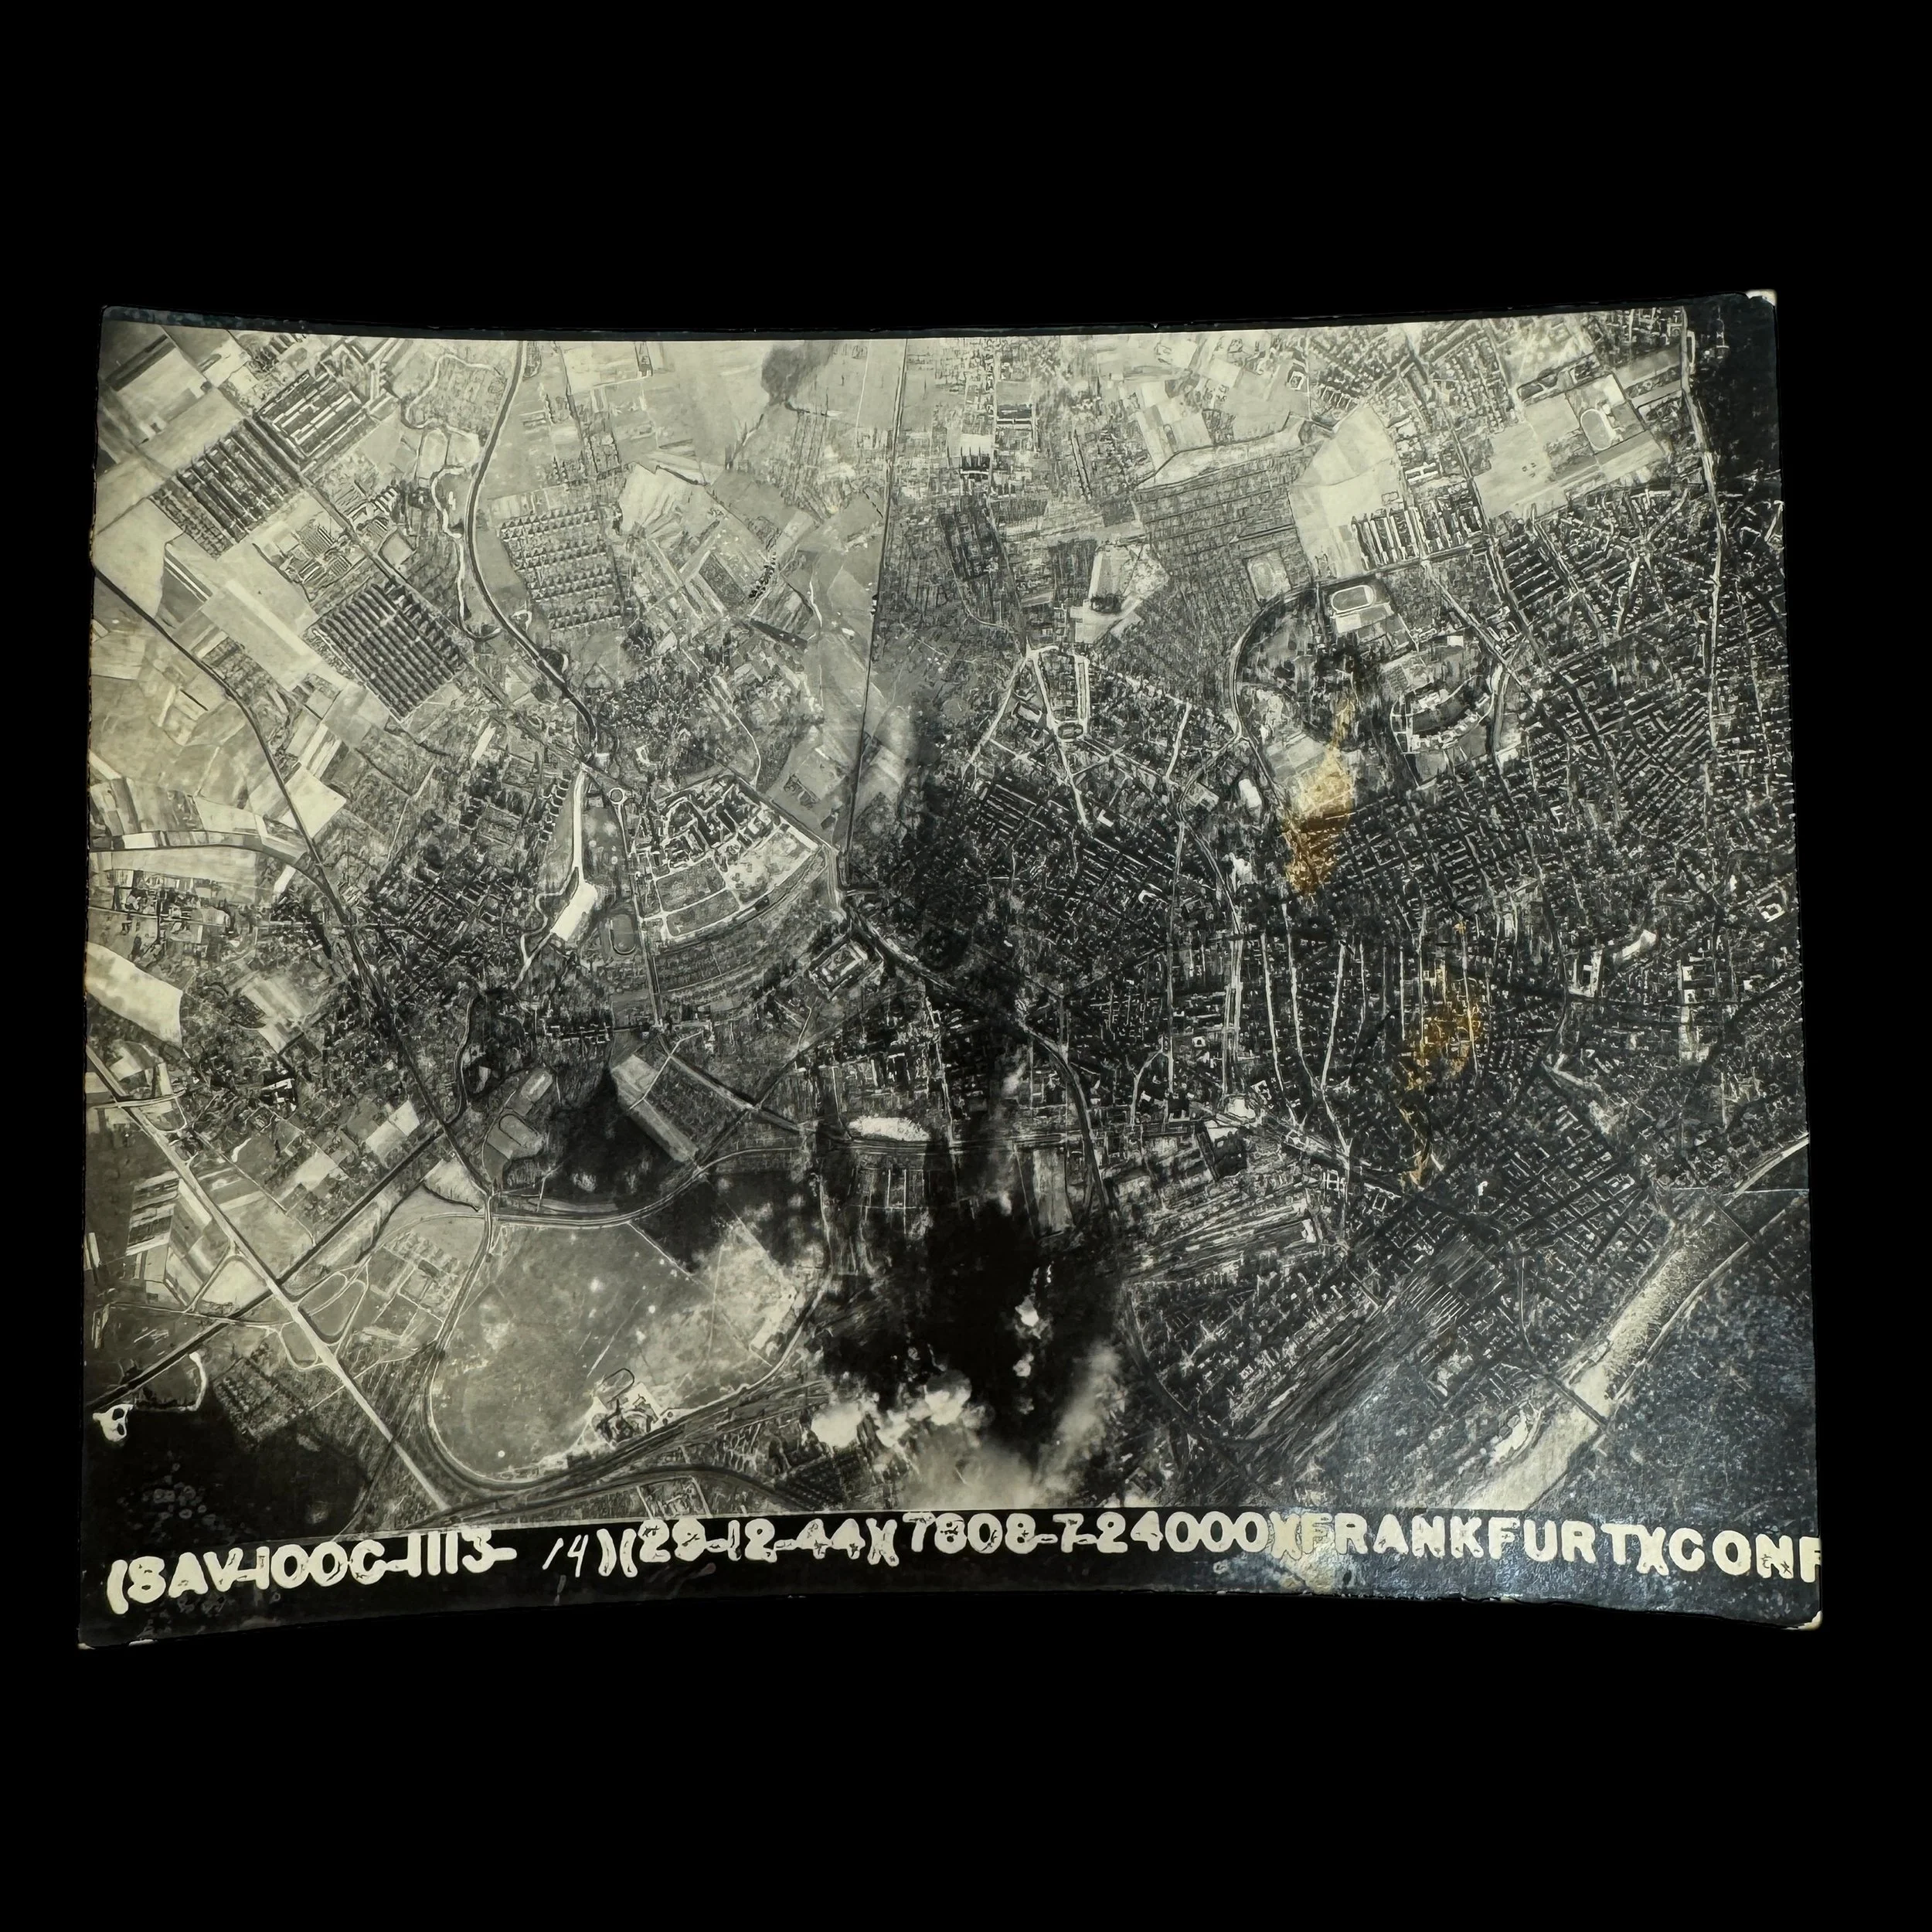
Comes with a hand-signed C.O.A.
100th Bomb Group Mission #239
Mission Date: December 29th, 1944
Target: FRANKFURT, Germany (Railway Marshaling Yards)
Classified: CONFIDENTIAL
Size: 5 × 7 inches
This exceptionally rare and museum-grade World War II artifact is an original "CONFIDENTIAL" marked Type 1 aerial combat mission photograph taken from a B-17 Flying Fortress of the 100th Bomb Group, Eighth Air Force. Known as "The Bloody Hundredth," the 100th Bomb Group earned a reputation for its remarkable bravery and resilience during some of the most intense and critical missions of the Allied strategic bombing campaign over Europe. These photographs provide an irreplaceable glimpse into the air war, capturing the danger, precision, and historical significance of these missions.
Taken during daring bombing raids conducted by the 8th Air Force, these photographs were developed immediately after the returning B-17 aircraft landed at Allied airfields in England, having survived fierce engagements with enemy fighters and deadly flak barrages. Each mission photograph was classified according to the sensitivity of the operation, marked "Confidential," "Secret," or "Top Secret," depending on the importance of the target and the secrecy surrounding the mission.
***THE TEXT BELOW IS FROM THE OFFICIAL MISSION SUMMARY OF THIS EXACT BOMBING RAID PHOTOGRAPH:
December 29th, 1944: Mission to Frankfurt: Bitter Cold, Heavy Flak, and Harrowing Returns
On December 29, crews awoke to bitter cold and driving rain as they prepared for a mission. Initially briefed for Zietz near Merseberg—a notoriously dangerous target—their destination was changed at 0600 to Frankfurt’s railway marshalling yard. This compact target could handle 3,100 wagons daily, and the mission aimed to disrupt operations entirely.
The 100th BG led the 13CBW and 3rd Division, with Major John Wallace and Gerald Brown leading the formation. Thirty-five aircraft, including three PFF and four chaff ships, took off between 0818-0850 hours. Francis Mikesh, piloting A/C 673, aborted before crossing the sortie line due to an engine failure, receiving no mission credit.
Flying under CAVU conditions near the Rhine, the bombers encountered intense, accurate flak over Frankfurt as they approached the IP. Bombardier William Wellings described flak as “everywhere,” noting close hits that gashed his plane’s wing. Robert Fitzgerald reported heavy flak forcing planes out of formation, with one hit in the engine and four chutes observed.
In the low squadron, extreme headwinds reduced ground speed to under 100 mph, exposing bombers to prolonged flak. John K. Furrer’s aircraft, engulfed in flames after a hit, plummeted 14,000 feet before he regained control. With four crew members still aboard, Furrer jettisoned loose equipment and navigated back to England, assisted by a P-51 pilot through hand signals.
Other crews faced similar peril. Walter Bailey’s B-17 was severely damaged, with the engineer and copilot assuming control after Bailey sustained leg injuries. Despite their efforts, they mistakenly landed at the 95th Bomb Group. Willis "Moose" Miller’s crew lost two engines, hydraulic power, and oxygen but managed to return safely, deploying a parachute to slow their landing after brakes failed.
Amid the chaos, ground crews endured harsh reprimands, such as when James Adair’s team was berated for a deployed life raft. Adair defended his men, exemplifying the camaraderie forged in battle.
Thirteen bombers returned with battle damage, and maintenance crews worked tirelessly overnight to prepare for the next mission. After over eight hours in the air, including three and a half on oxygen, the exhausted men were relieved to survive another harrowing mission.
Condensed History of the 100th Bomb Group:
The 100th Bomb Group was constituted as a heavy bomber group inside the Eighth Air Force, which, at peak strength on D-Day, June 6, 1944, fielded 40 groups of Boeing B-17s and Consolidated B-24s. The 100th Bomb Group also known as the "The Bloody Hundredth", because of its reputation for losing a high number of aircraft and crews.
Over the course of 22 months of aerial combat, the aircrews of the 100th had served a deadly apprenticeship as they honed their skills and tactics. In an unemotional analysis of the raw numbers, the Bloody 100th’s wartime losses were not the worst suffered by the Eighth Air Force, though they were in the top three of losses by heavy bomber groups. The official history from the 100th Bomb Group Foundation cites 184 missing aircrew reports on 306 missions. In his memoir An Eighth Air Force Combat Diary, 100th copilot John Clark pointed out that “50% of the Group’s losses occurred in only 3% of its missions.” Like a gambler whose luck has gone cold, when the crews of the 100th had a bad day, they had a very bad day.
More than 26,000 Eighth Air Force personnel sacrificed their lives in service to the war effort. The total number killed or missing in action was slightly more than that suffered by the U.S. Marine Corps, and a little less than half the losses sustained by the entire U.S. Navy. Comparisons such as these do nothing to diminish the contributions of other military branches, but rather point out the gargantuan scale of the Eighth Air Force’s effort. The 100th Bomb Group’s portion of those losses was 785 men killed outright or missing in action and 229 aircraft destroyed or rendered unsuitable for flight.
Essential Roles of the Photographs in the Allied War Effort
1. Post-Mission Briefings
These combat mission photographs were indispensable in post-mission debriefings with aircrews. They provided:
Visual Feedback: Detailed images allowed crews to assess the effectiveness of their bombing runs, determining whether targets were hit with precision or if adjustments were needed for future missions.
Combat Intelligence: The photographs documented enemy defenses encountered during the mission, such as anti-aircraft artillery placements, flak concentrations, and Luftwaffe interception patterns.
Tactical Improvements: Reviewing these images enabled crews to refine their bombing accuracy and tactics, improving mission success rates while minimizing risks to personnel and aircraft.
2. Intelligence and Mapping
Type 1 photographs were invaluable to Allied intelligence, serving as critical resources for:
Identifying New Targets: Reconnaissance imagery revealed the locations of enemy industrial facilities, supply depots, and military installations, shaping future mission objectives.
Mapping Enemy Defenses: The photographs helped Allied analysts chart flak zones, radar installations, and troop movements, allowing for the creation of comprehensive intelligence maps that informed strategic planning.
Assessing Bombing Effectiveness: Post-bombing images documented the destruction of critical enemy infrastructure, such as factories, transportation networks, and oil refineries, ensuring mission objectives were met.
3. Strategic Bombing Campaigns
The Eighth Air Force relied heavily on these photographs to adjust and refine its bombing strategies. They played a critical role in:
Target Prioritization: Damage assessments from previous missions guided the selection of high-priority targets for subsequent raids.
Operational Planning: Insights gained from the photographs influenced mission parameters, such as bombing altitudes, formation patterns, and evasive maneuvers to counter enemy defenses.
Historical Significance and Legacy
These photographs stand as a testament to the courage and precision of the 100th Bomb Group. Stationed at Thorpe Abbotts, England, "The Bloody Hundredth" became synonymous with heroism and sacrifice, enduring significant losses during missions deep into enemy territory. Their motto, "Keep the Show on the Road," exemplified their unrelenting determination in the face of overwhelming odds.
The combat imagery produced by the group not only documented their contributions but also played an instrumental role in crippling Germany's industrial and military capabilities. Today, these photographs are regarded as museum-grade artifacts, offering a tangible connection to the technological innovation, strategic foresight, and human courage that defined the Allied war effort.
The rarity of these images further elevates their historical value, as many were destroyed after the war to maintain operational secrecy. Those that remain offer an unparalleled window into the air war over Europe and the pivotal role of aerial reconnaissance in securing Allied victory.
The Type 1 aerial combat mission photograph from a B-17 Flying Fortress of the 100th Bomb Group is far more than a historical artifact—it is a powerful reminder of the bravery, ingenuity, and determination that shaped the outcome of World War II. These images guided the Allied forces to victory and now serve as a lasting tribute to the men and women who risked everything in the skies above Europe. Preserving these photographs ensures that the sacrifices and triumphs of "The Bloody Hundredth" will never fade from memory, allowing their legacy to inspire future generations.
*Full Mission History of the 100th Bombardment Group (Heavy) during WWII:
Constituted as 100th Bombardment Group (Heavy) on 28 Jan 1942. Activated on 1 Jun 1942. Used B-17’s to prepare for duty overseas. Moved to England, May-Jun 1943, and was assigned to Eighth AF. Operated chiefly as a strategic bombardment organization until the war ended. From Jun 1943 to Jan 1944, concentrated its efforts against airfields in France and naval facilities and industries in France and Germany. Received a DUC for seriously disrupting German fighter plane production with an attack on an aircraft factory at Regensburg on 17 Aug 1943. Bombed airfields, industries, marshaling yards, and missile sites in Western Europe, Jan-May 1944. Operations in this period included participation in the Allied campaign against enemy aircraft factories during Big Week, 20-25 Feb 1944. Completed a series of attacks against Berlin in Mar 1944 and received a DUC for the missions. Beginning in the summer of 1944, oil installations became major targets. In addition to strategic operations, the group engaged in support and interdictory missions, hitting bridges and gun positions in support of the Normandy invasion in Jun 1944; bombing enemy positions at St Lo in Jul and at Brest in Aug and Sep; striking transportation and ground defenses in the drive against the Siegfried Line, Oct-Dec 1944; attacking marshaling yards, defended villages, and communications in the Ardennes sector during the Battle of the Bulge, Dec 1944- Jan 1945; and covering the airborne assault across the Rhine in Mar 1945. Received the French Croix de Guerre with Palm for attacking heavily defended installations in Germany and for dropping supplies to French Forces of the Interior, Jun-Dec 1944. Returned to the US in Dec 1945. inactivated on 21 Dec 1945.
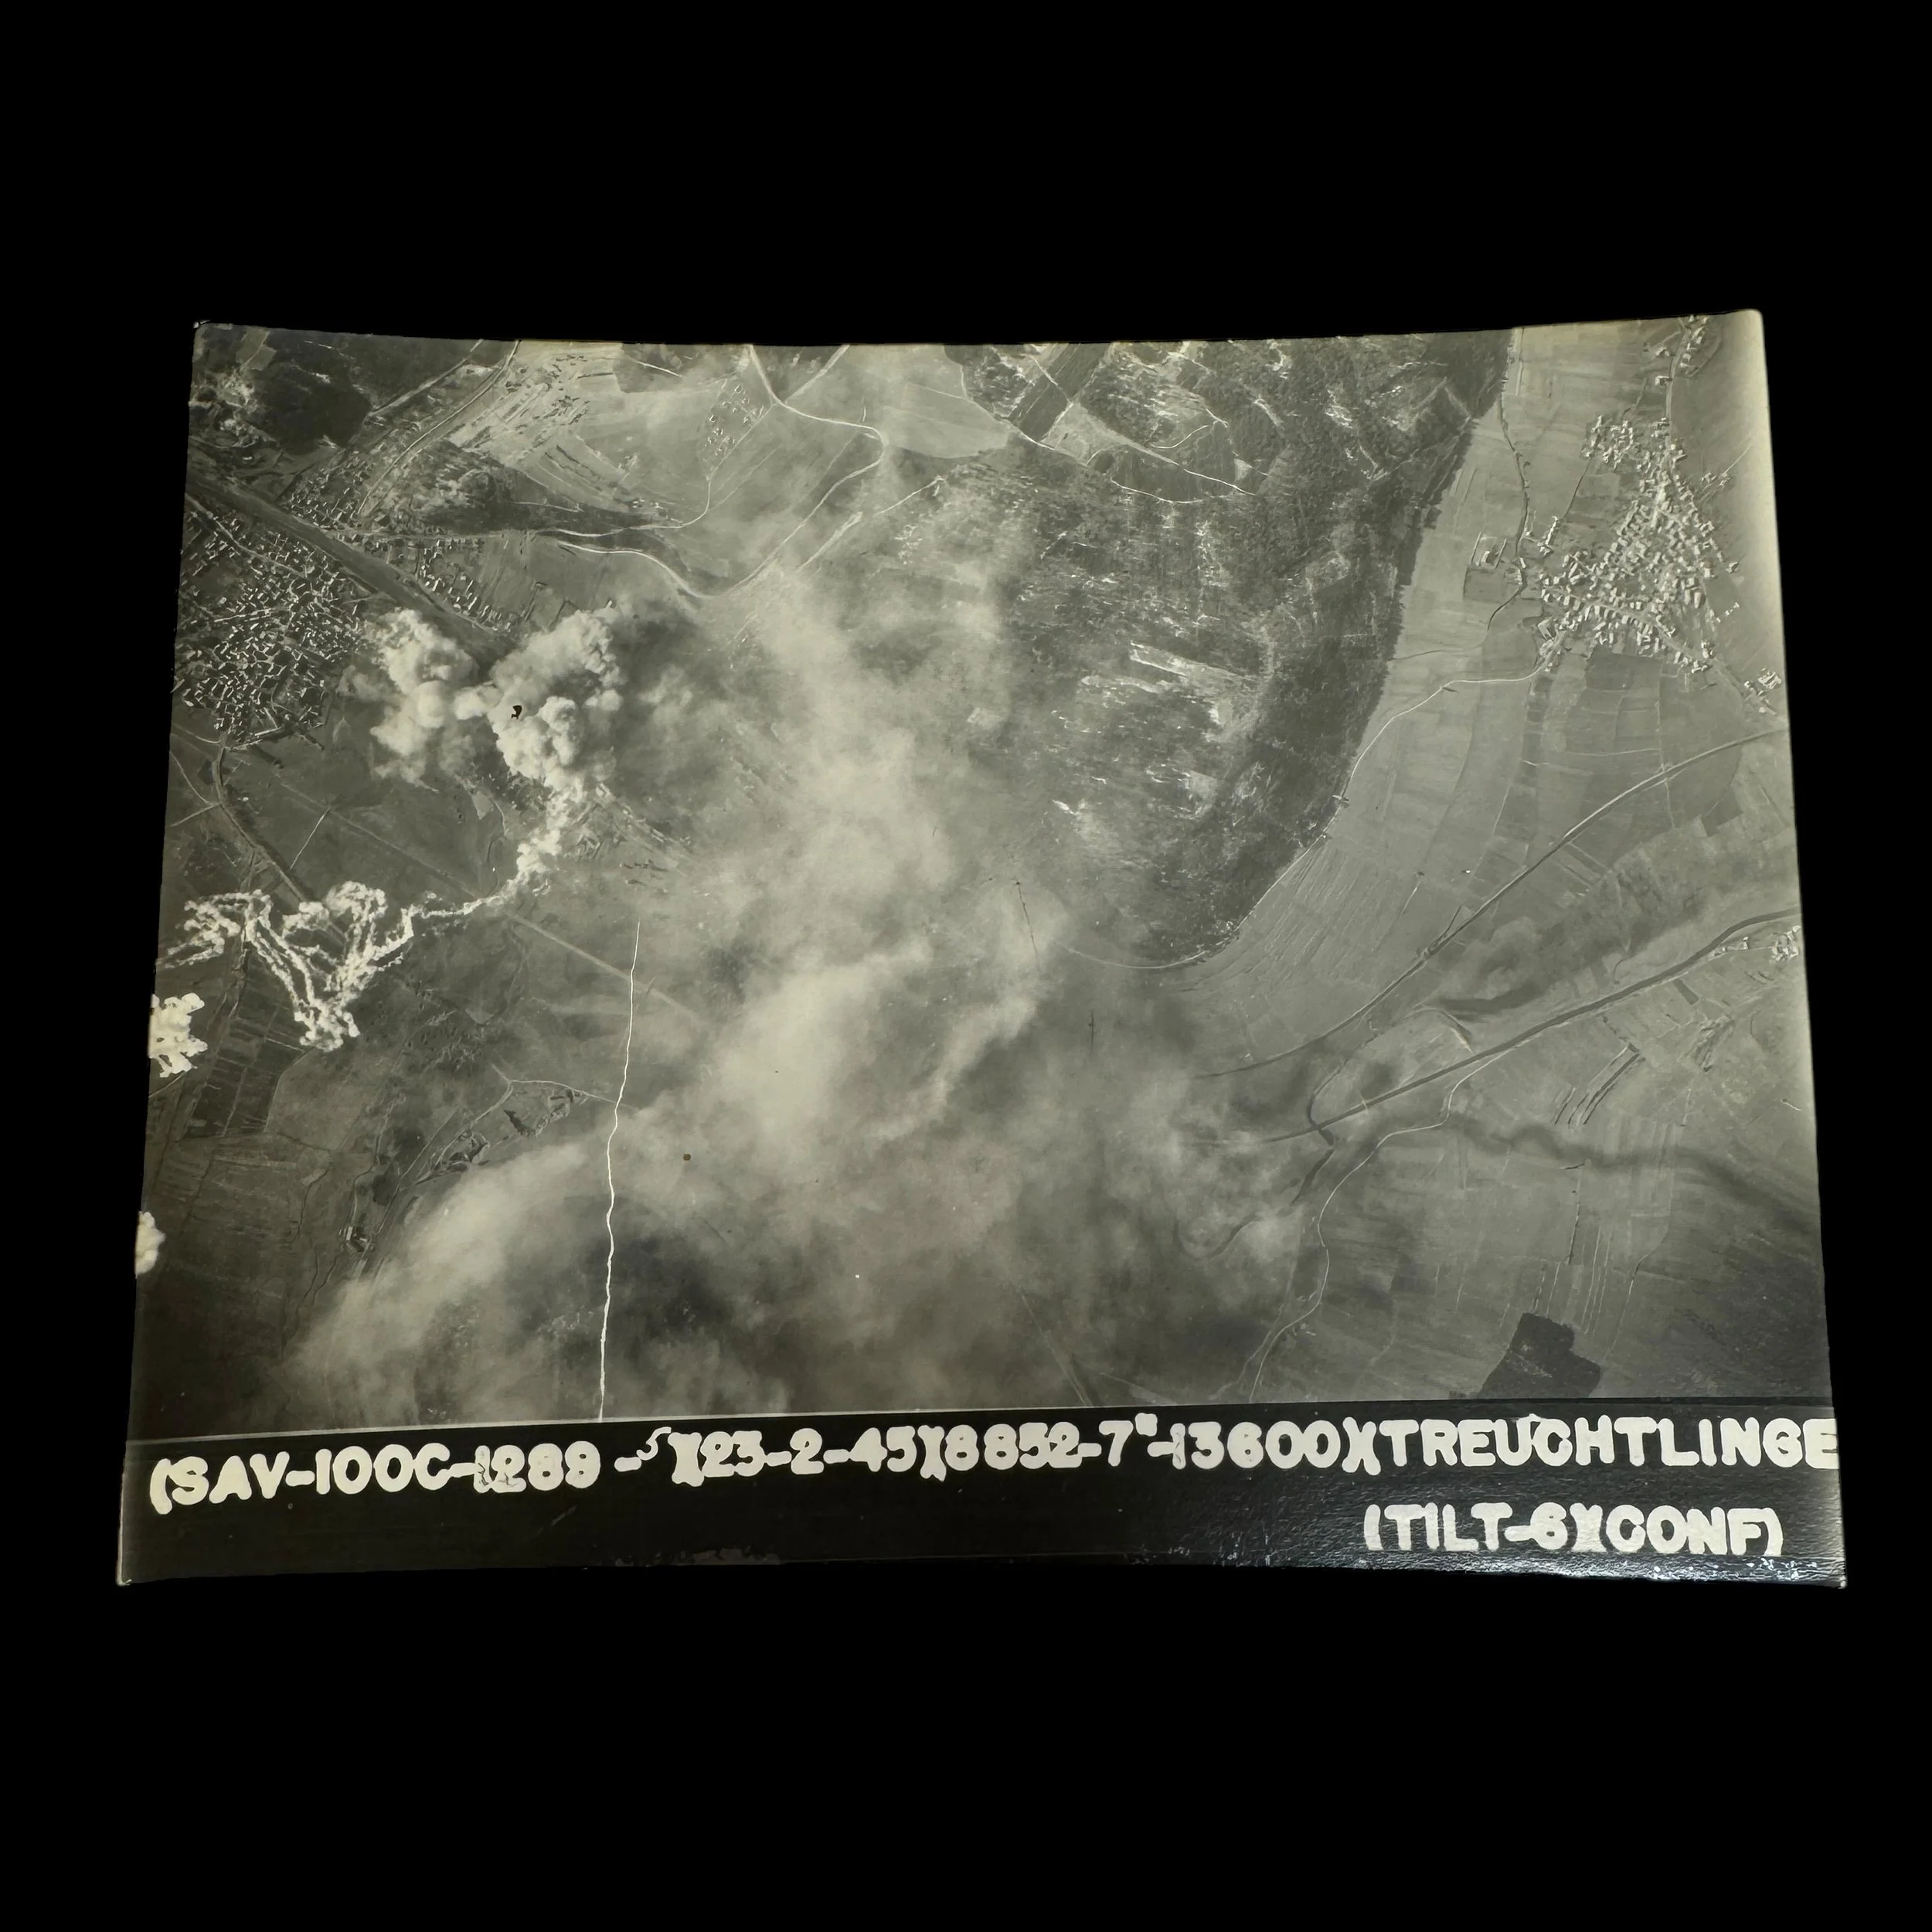
Comes with a hand-signed C.O.A.
"Operation Clarion”
100th Bomb Group Mission #265
Mission Date: February 23rd, 1945
Target: TREUCHTLINGEN, Germany (Railway Junction)
Classified: CONFIDENTIAL
Size: 5 × 7 inches
This exceptionally rare and museum-grade World War II artifact is an original "CONFIDENTIAL" marked Type 1 aerial combat mission photograph taken from a B-17 Flying Fortress of the 100th Bomb Group, Eighth Air Force. Known as "The Bloody Hundredth," the 100th Bomb Group earned a reputation for its remarkable bravery and resilience during some of the most intense and critical missions of the Allied strategic bombing campaign over Europe. These photographs provide an irreplaceable glimpse into the air war, capturing the danger, precision, and historical significance of these missions.
Taken during daring bombing raids conducted by the 8th Air Force, these photographs were developed immediately after the returning B-17 aircraft landed at Allied airfields in England, having survived fierce engagements with enemy fighters and deadly flak barrages. Each mission photograph was classified according to the sensitivity of the operation, marked "Confidential," "Secret," or "Top Secret," depending on the importance of the target and the secrecy surrounding the mission.
***THE TEXT BELOW IS FROM THE OFFICIAL MISSION SUMMARY OF THIS EXACT BOMBING RAID PHOTOGRAPH:
February 23rd, 1945: Operation Clarion: Treuchtlingen Mission
Under "Operation Clarion," thirty-eight crews gathered for briefing, targeting Treuchtlingen's marshalling yards as the Primary objective. No Secondary target was assigned, though any rail infrastructure could be bombed if necessary. Crews were urged to prioritize the Primary target.
The 100th BG led the 13th Wing and 3rd Division, with the 390th as the ‘B’ group and the 95th grounded. Lt. Colonel Price commanded the 100th's lead ship, with Robinson and Williams leading the High squadron and Craft and Ellis the Low.
Departing Thorpe Abbotts between 0650-0720 hours, pilots executed instrument takeoffs through heavy clouds, assembling at 15,000 feet. Lt. Calder aborted before crossing the sortie line due to a failed oxygen system, while Lt. McLeod crossed enemy lines but returned early for the same reason.
Clear skies greeted the formation near the target, but the Lead Bombardier initially locked onto the wrong target, necessitating a 360-degree turn for a second run. Treuchtlingen's railroad yards were bombed with excellent results by the Lead squadron, while the High and Low squadrons delivered mixed results after another 360-degree turn.
The formation encountered no flak or fighters. However, weather over the English coast forced the group to search mid-channel for a break in the clouds, eventually descending through rain at 500 feet. Instrument landings were required at Thorpe Abbotts.
The nine-and-a-half-hour mission, with four hours on oxygen, left the crews exhausted. That evening, the mission light signaled another sortie for the next day.
Condensed History of the 100th Bomb Group:
The 100th Bomb Group was constituted as a heavy bomber group inside the Eighth Air Force, which, at peak strength on D-Day, June 6, 1944, fielded 40 groups of Boeing B-17s and Consolidated B-24s. The 100th Bomb Group also known as the "The Bloody Hundredth", because of its reputation for losing a high number of aircraft and crews.
Over the course of 22 months of aerial combat, the aircrews of the 100th had served a deadly apprenticeship as they honed their skills and tactics. In an unemotional analysis of the raw numbers, the Bloody 100th’s wartime losses were not the worst suffered by the Eighth Air Force, though they were in the top three of losses by heavy bomber groups. The official history from the 100th Bomb Group Foundation cites 184 missing aircrew reports on 306 missions. In his memoir An Eighth Air Force Combat Diary, 100th copilot John Clark pointed out that “50% of the Group’s losses occurred in only 3% of its missions.” Like a gambler whose luck has gone cold, when the crews of the 100th had a bad day, they had a very bad day.
More than 26,000 Eighth Air Force personnel sacrificed their lives in service to the war effort. The total number killed or missing in action was slightly more than that suffered by the U.S. Marine Corps, and a little less than half the losses sustained by the entire U.S. Navy. Comparisons such as these do nothing to diminish the contributions of other military branches, but rather point out the gargantuan scale of the Eighth Air Force’s effort. The 100th Bomb Group’s portion of those losses was 785 men killed outright or missing in action and 229 aircraft destroyed or rendered unsuitable for flight.
Essential Roles of the Photographs in the Allied War Effort
1. Post-Mission Briefings
These combat mission photographs were indispensable in post-mission debriefings with aircrews. They provided:
Visual Feedback: Detailed images allowed crews to assess the effectiveness of their bombing runs, determining whether targets were hit with precision or if adjustments were needed for future missions.
Combat Intelligence: The photographs documented enemy defenses encountered during the mission, such as anti-aircraft artillery placements, flak concentrations, and Luftwaffe interception patterns.
Tactical Improvements: Reviewing these images enabled crews to refine their bombing accuracy and tactics, improving mission success rates while minimizing risks to personnel and aircraft.
2. Intelligence and Mapping
Type 1 photographs were invaluable to Allied intelligence, serving as critical resources for:
Identifying New Targets: Reconnaissance imagery revealed the locations of enemy industrial facilities, supply depots, and military installations, shaping future mission objectives.
Mapping Enemy Defenses: The photographs helped Allied analysts chart flak zones, radar installations, and troop movements, allowing for the creation of comprehensive intelligence maps that informed strategic planning.
Assessing Bombing Effectiveness: Post-bombing images documented the destruction of critical enemy infrastructure, such as factories, transportation networks, and oil refineries, ensuring mission objectives were met.
3. Strategic Bombing Campaigns
The Eighth Air Force relied heavily on these photographs to adjust and refine its bombing strategies. They played a critical role in:
Target Prioritization: Damage assessments from previous missions guided the selection of high-priority targets for subsequent raids.
Operational Planning: Insights gained from the photographs influenced mission parameters, such as bombing altitudes, formation patterns, and evasive maneuvers to counter enemy defenses.
Historical Significance and Legacy
These photographs stand as a testament to the courage and precision of the 100th Bomb Group. Stationed at Thorpe Abbotts, England, "The Bloody Hundredth" became synonymous with heroism and sacrifice, enduring significant losses during missions deep into enemy territory. Their motto, "Keep the Show on the Road," exemplified their unrelenting determination in the face of overwhelming odds.
The combat imagery produced by the group not only documented their contributions but also played an instrumental role in crippling Germany's industrial and military capabilities. Today, these photographs are regarded as museum-grade artifacts, offering a tangible connection to the technological innovation, strategic foresight, and human courage that defined the Allied war effort.
The rarity of these images further elevates their historical value, as many were destroyed after the war to maintain operational secrecy. Those that remain offer an unparalleled window into the air war over Europe and the pivotal role of aerial reconnaissance in securing Allied victory.
The Type 1 aerial combat mission photograph from a B-17 Flying Fortress of the 100th Bomb Group is far more than a historical artifact—it is a powerful reminder of the bravery, ingenuity, and determination that shaped the outcome of World War II. These images guided the Allied forces to victory and now serve as a lasting tribute to the men and women who risked everything in the skies above Europe. Preserving these photographs ensures that the sacrifices and triumphs of "The Bloody Hundredth" will never fade from memory, allowing their legacy to inspire future generations.
*Full Mission History of the 100th Bombardment Group (Heavy) during WWII:
Constituted as 100th Bombardment Group (Heavy) on 28 Jan 1942. Activated on 1 Jun 1942. Used B-17’s to prepare for duty overseas. Moved to England, May-Jun 1943, and was assigned to Eighth AF. Operated chiefly as a strategic bombardment organization until the war ended. From Jun 1943 to Jan 1944, concentrated its efforts against airfields in France and naval facilities and industries in France and Germany. Received a DUC for seriously disrupting German fighter plane production with an attack on an aircraft factory at Regensburg on 17 Aug 1943. Bombed airfields, industries, marshaling yards, and missile sites in Western Europe, Jan-May 1944. Operations in this period included participation in the Allied campaign against enemy aircraft factories during Big Week, 20-25 Feb 1944. Completed a series of attacks against Berlin in Mar 1944 and received a DUC for the missions. Beginning in the summer of 1944, oil installations became major targets. In addition to strategic operations, the group engaged in support and interdictory missions, hitting bridges and gun positions in support of the Normandy invasion in Jun 1944; bombing enemy positions at St Lo in Jul and at Brest in Aug and Sep; striking transportation and ground defenses in the drive against the Siegfried Line, Oct-Dec 1944; attacking marshaling yards, defended villages, and communications in the Ardennes sector during the Battle of the Bulge, Dec 1944- Jan 1945; and covering the airborne assault across the Rhine in Mar 1945. Received the French Croix de Guerre with Palm for attacking heavily defended installations in Germany and for dropping supplies to French Forces of the Interior, Jun-Dec 1944. Returned to the US in Dec 1945. inactivated on 21 Dec 1945.
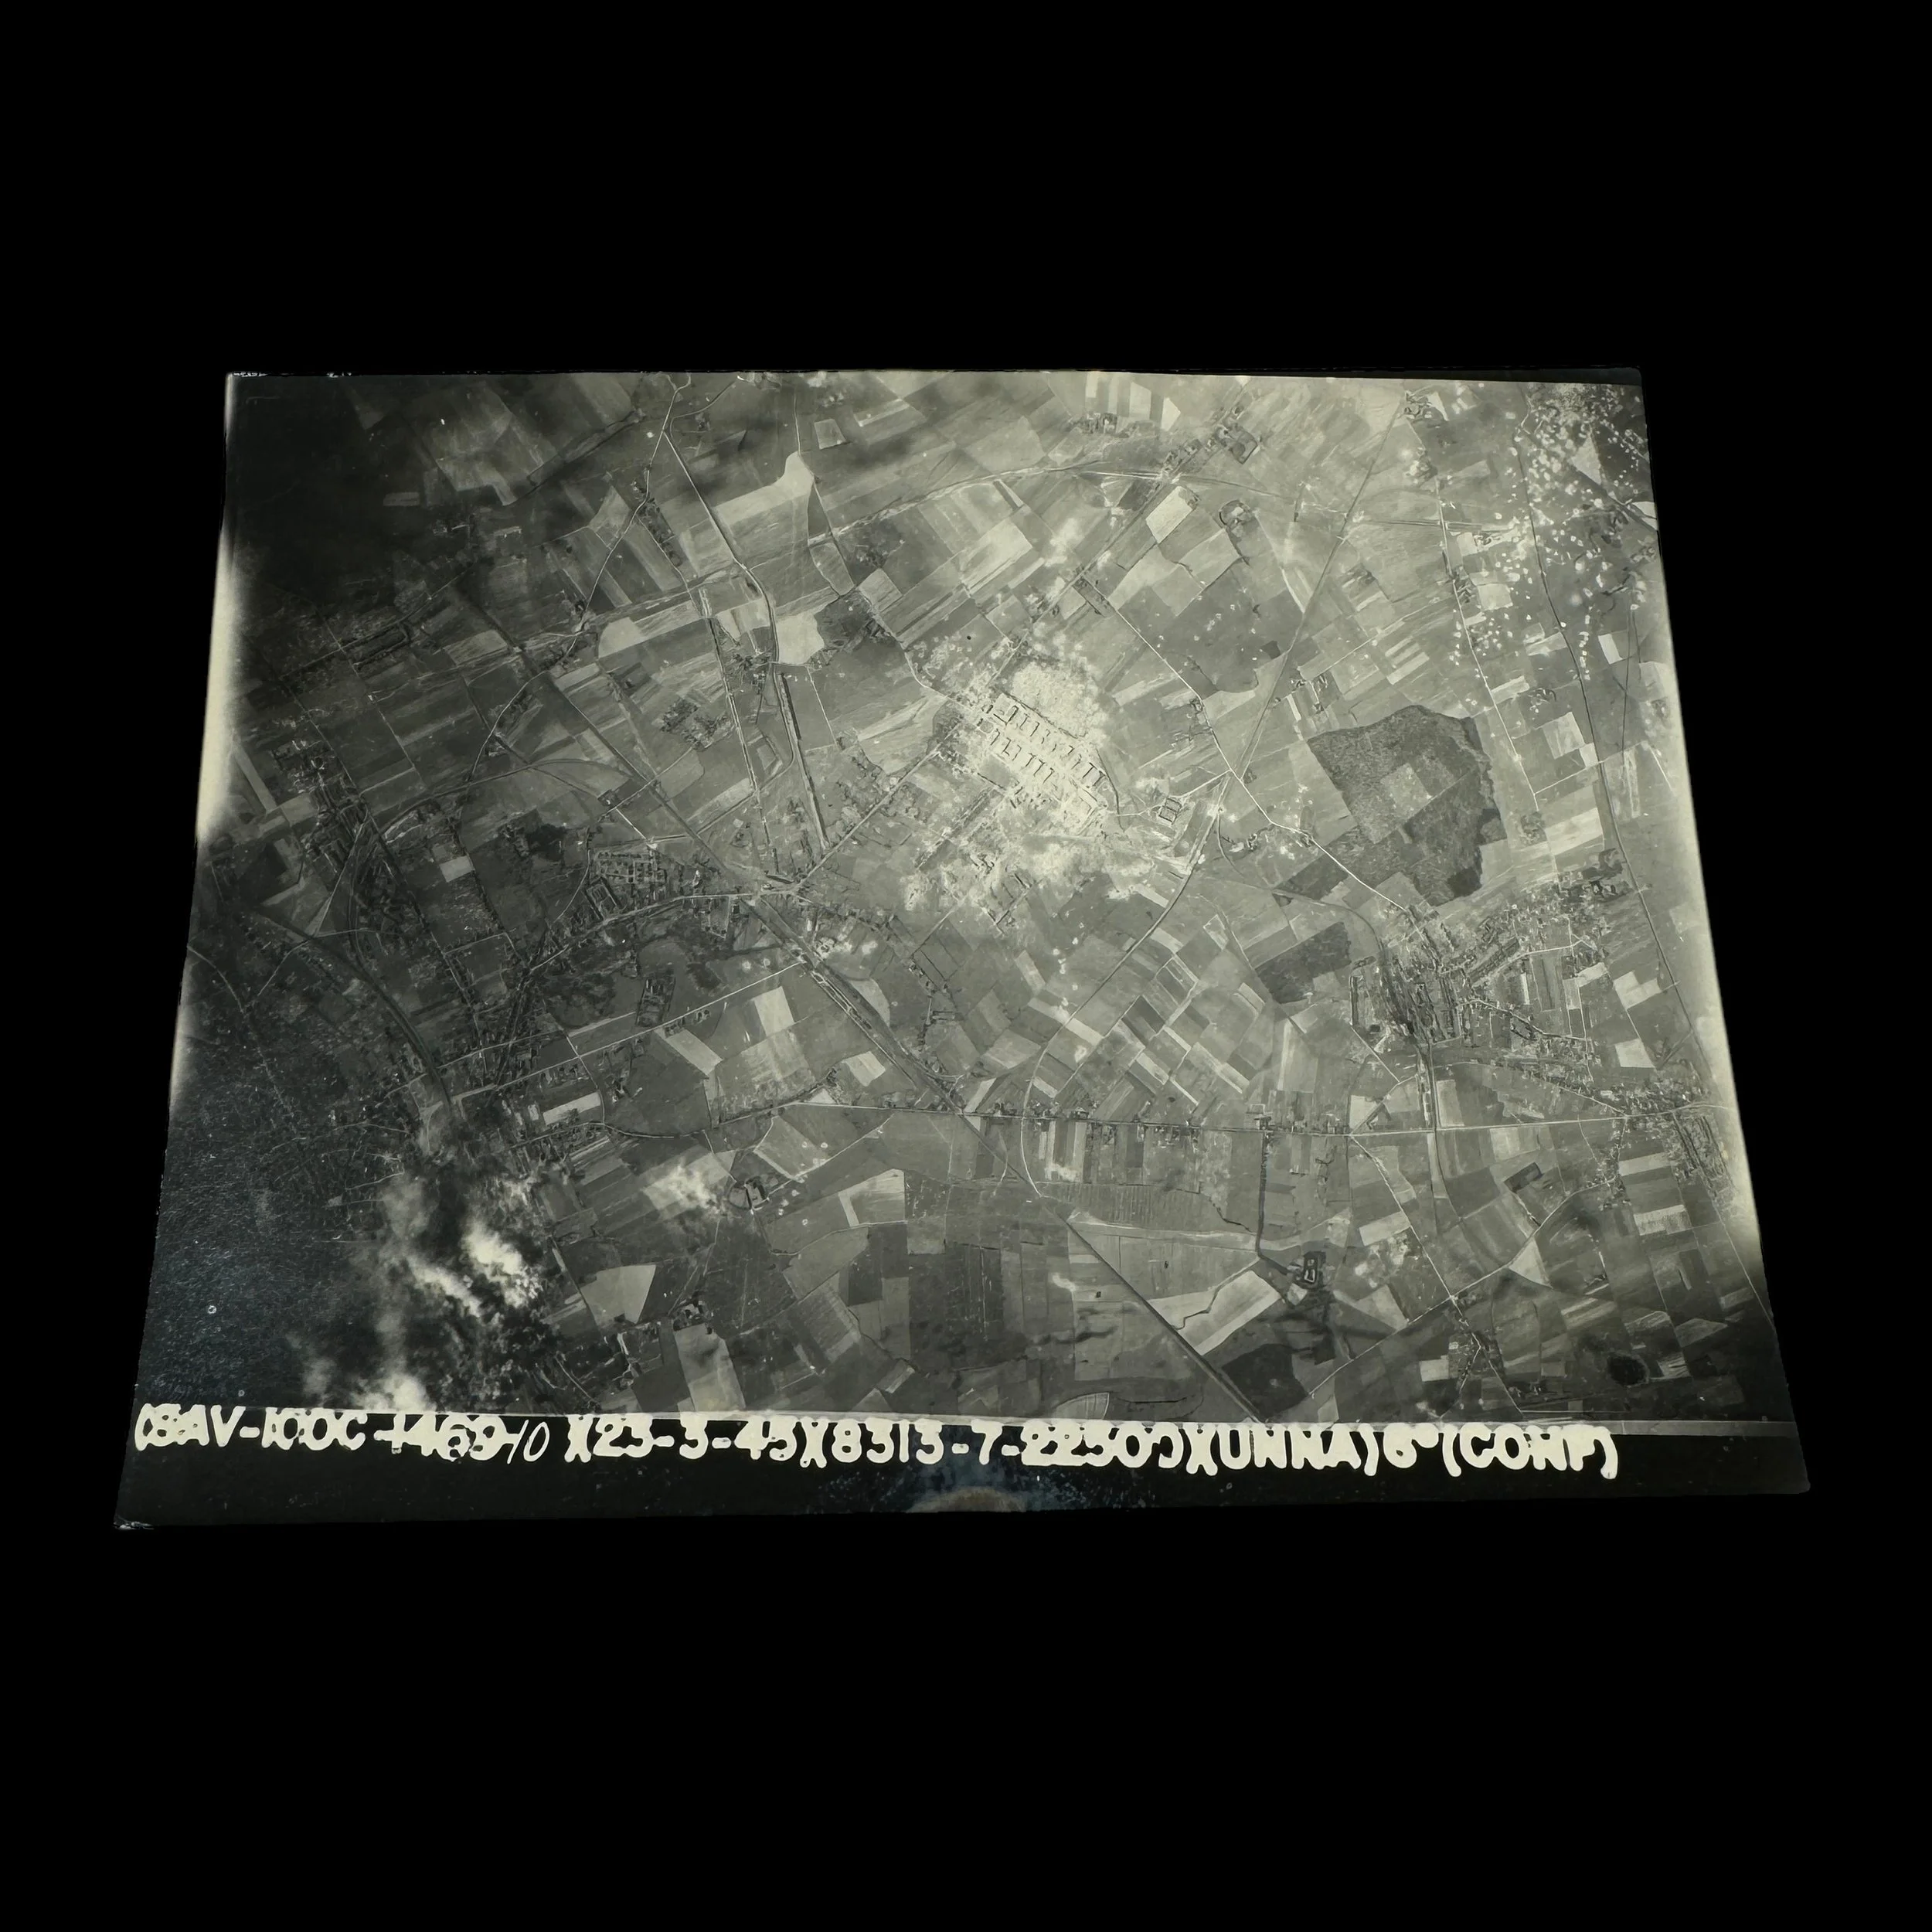
Comes with a hand-signed C.O.A.
100th Bomb Group Mission #286
Mission Date: March 23rd, 1945
Target: UNNA, Germany (Railway Station & Junction)
Classified: CONFIDENTIAL
Size: 5 × 7 inches
This exceptionally rare and museum-grade World War II artifact is an original "CONFIDENTIAL" marked Type 1 aerial combat mission photograph taken from a B-17 Flying Fortress of the 100th Bomb Group, Eighth Air Force. Known as "The Bloody Hundredth," the 100th Bomb Group earned a reputation for its remarkable bravery and resilience during some of the most intense and critical missions of the Allied strategic bombing campaign over Europe. These photographs provide an irreplaceable glimpse into the air war, capturing the danger, precision, and historical significance of these missions.
Taken during daring bombing raids conducted by the 8th Air Force, these photographs were developed immediately after the returning B-17 aircraft landed at Allied airfields in England, having survived fierce engagements with enemy fighters and deadly flak barrages. Each mission photograph was classified according to the sensitivity of the operation, marked "Confidential," "Secret," or "Top Secret," depending on the importance of the target and the secrecy surrounding the mission.
***THE TEXT BELOW IS FROM THE OFFICIAL MISSION SUMMARY OF THIS EXACT BOMBING RAID PHOTOGRAPH:
March 23rd, 1945: Mission to Unna: First Combat Test of Four-Squadron Formation
On Friday morning, crews gathered for the 0400 briefing, learning their Priority targets: the railway station at Unna (Primary), Meschede (Secondary), and Marburg's marshaling yards (Third, visually or via H2X). The 100th BG led the 13CW in the Division's last position, with the 390th as ‘B’ group and the 95th as ‘C.’ This marked the 100th’s first combat use of the new four-squadron formation.
Led by Colonel Sutterlin and Jean DePlanque, the 100th’s formation included the High Squadron (Cruver/Blanding), Low Squadron (Ellis), and Low Low Squadron (Liljenquist/Hellerich). With nine B-17s per squadron, the Low Low trailed just below the Lead.
The bombers, loaded with thirty-four 100 lb. GP bombs and two incendiaries, departed Thorpe Abbotts between 0650-0720 hours, assembling over Buncher 28. Over the North Sea, the Wing performed ‘S’ turns to maintain spacing behind the 4CBW.
Reaching bombing altitude forty minutes before the IP, CAVU conditions allowed visual runs on Unna. The Lead, High, and Low squadrons dropped bombs from 22,800-24,200 feet at 1343-1345 hours. Smoke from previous squadrons obscured the MPI, leading the Low Low squadron to target Marburg instead. Bombs were dropped from 21,010 feet at 1406 hours, while the Low Squadron inadvertently joined the 390th's formation during the return.
Flak was light but accurate. In the Low Low squadron, "Patriotic Patty," flown by Alphonso Guardino, was hit at 1428 hours, colliding with Laurence Lazzari’s ship. Guardino’s plane went into a fatal spin and exploded. Lazzari’s damaged plane fell 5,000-10,000 feet but recovered. Flak struck pilot James Lantz, earning him the Purple Heart.
As Lazzari’s ship limped home, it was attacked by Me-109s but saved by P-51 escorts responding to a call for help. Despite severe damage, Lazzari and Greenwood returned to Thorpe Abbotts after narrowly avoiding a collision with a crash-landing RAF plane.
After a six-hour mission, half spent on oxygen, all but Guardino’s ship returned to base, with seven bombers sustaining flak damage.
Condensed History of the 100th Bomb Group:
The 100th Bomb Group was constituted as a heavy bomber group inside the Eighth Air Force, which, at peak strength on D-Day, June 6, 1944, fielded 40 groups of Boeing B-17s and Consolidated B-24s. The 100th Bomb Group also known as the "The Bloody Hundredth", because of its reputation for losing a high number of aircraft and crews.
Over the course of 22 months of aerial combat, the aircrews of the 100th had served a deadly apprenticeship as they honed their skills and tactics. In an unemotional analysis of the raw numbers, the Bloody 100th’s wartime losses were not the worst suffered by the Eighth Air Force, though they were in the top three of losses by heavy bomber groups. The official history from the 100th Bomb Group Foundation cites 184 missing aircrew reports on 306 missions. In his memoir An Eighth Air Force Combat Diary, 100th copilot John Clark pointed out that “50% of the Group’s losses occurred in only 3% of its missions.” Like a gambler whose luck has gone cold, when the crews of the 100th had a bad day, they had a very bad day.
More than 26,000 Eighth Air Force personnel sacrificed their lives in service to the war effort. The total number killed or missing in action was slightly more than that suffered by the U.S. Marine Corps, and a little less than half the losses sustained by the entire U.S. Navy. Comparisons such as these do nothing to diminish the contributions of other military branches, but rather point out the gargantuan scale of the Eighth Air Force’s effort. The 100th Bomb Group’s portion of those losses was 785 men killed outright or missing in action and 229 aircraft destroyed or rendered unsuitable for flight.
Essential Roles of the Photographs in the Allied War Effort
1. Post-Mission Briefings
These combat mission photographs were indispensable in post-mission debriefings with aircrews. They provided:
Visual Feedback: Detailed images allowed crews to assess the effectiveness of their bombing runs, determining whether targets were hit with precision or if adjustments were needed for future missions.
Combat Intelligence: The photographs documented enemy defenses encountered during the mission, such as anti-aircraft artillery placements, flak concentrations, and Luftwaffe interception patterns.
Tactical Improvements: Reviewing these images enabled crews to refine their bombing accuracy and tactics, improving mission success rates while minimizing risks to personnel and aircraft.
2. Intelligence and Mapping
Type 1 photographs were invaluable to Allied intelligence, serving as critical resources for:
Identifying New Targets: Reconnaissance imagery revealed the locations of enemy industrial facilities, supply depots, and military installations, shaping future mission objectives.
Mapping Enemy Defenses: The photographs helped Allied analysts chart flak zones, radar installations, and troop movements, allowing for the creation of comprehensive intelligence maps that informed strategic planning.
Assessing Bombing Effectiveness: Post-bombing images documented the destruction of critical enemy infrastructure, such as factories, transportation networks, and oil refineries, ensuring mission objectives were met.
3. Strategic Bombing Campaigns
The Eighth Air Force relied heavily on these photographs to adjust and refine its bombing strategies. They played a critical role in:
Target Prioritization: Damage assessments from previous missions guided the selection of high-priority targets for subsequent raids.
Operational Planning: Insights gained from the photographs influenced mission parameters, such as bombing altitudes, formation patterns, and evasive maneuvers to counter enemy defenses.
Historical Significance and Legacy
These photographs stand as a testament to the courage and precision of the 100th Bomb Group. Stationed at Thorpe Abbotts, England, "The Bloody Hundredth" became synonymous with heroism and sacrifice, enduring significant losses during missions deep into enemy territory. Their motto, "Keep the Show on the Road," exemplified their unrelenting determination in the face of overwhelming odds.
The combat imagery produced by the group not only documented their contributions but also played an instrumental role in crippling Germany's industrial and military capabilities. Today, these photographs are regarded as museum-grade artifacts, offering a tangible connection to the technological innovation, strategic foresight, and human courage that defined the Allied war effort.
The rarity of these images further elevates their historical value, as many were destroyed after the war to maintain operational secrecy. Those that remain offer an unparalleled window into the air war over Europe and the pivotal role of aerial reconnaissance in securing Allied victory.
The Type 1 aerial combat mission photograph from a B-17 Flying Fortress of the 100th Bomb Group is far more than a historical artifact—it is a powerful reminder of the bravery, ingenuity, and determination that shaped the outcome of World War II. These images guided the Allied forces to victory and now serve as a lasting tribute to the men and women who risked everything in the skies above Europe. Preserving these photographs ensures that the sacrifices and triumphs of "The Bloody Hundredth" will never fade from memory, allowing their legacy to inspire future generations.
*Full Mission History of the 100th Bombardment Group (Heavy) during WWII:
Constituted as 100th Bombardment Group (Heavy) on 28 Jan 1942. Activated on 1 Jun 1942. Used B-17’s to prepare for duty overseas. Moved to England, May-Jun 1943, and was assigned to Eighth AF. Operated chiefly as a strategic bombardment organization until the war ended. From Jun 1943 to Jan 1944, concentrated its efforts against airfields in France and naval facilities and industries in France and Germany. Received a DUC for seriously disrupting German fighter plane production with an attack on an aircraft factory at Regensburg on 17 Aug 1943. Bombed airfields, industries, marshaling yards, and missile sites in Western Europe, Jan-May 1944. Operations in this period included participation in the Allied campaign against enemy aircraft factories during Big Week, 20-25 Feb 1944. Completed a series of attacks against Berlin in Mar 1944 and received a DUC for the missions. Beginning in the summer of 1944, oil installations became major targets. In addition to strategic operations, the group engaged in support and interdictory missions, hitting bridges and gun positions in support of the Normandy invasion in Jun 1944; bombing enemy positions at St Lo in Jul and at Brest in Aug and Sep; striking transportation and ground defenses in the drive against the Siegfried Line, Oct-Dec 1944; attacking marshaling yards, defended villages, and communications in the Ardennes sector during the Battle of the Bulge, Dec 1944- Jan 1945; and covering the airborne assault across the Rhine in Mar 1945. Received the French Croix de Guerre with Palm for attacking heavily defended installations in Germany and for dropping supplies to French Forces of the Interior, Jun-Dec 1944. Returned to the US in Dec 1945. inactivated on 21 Dec 1945.








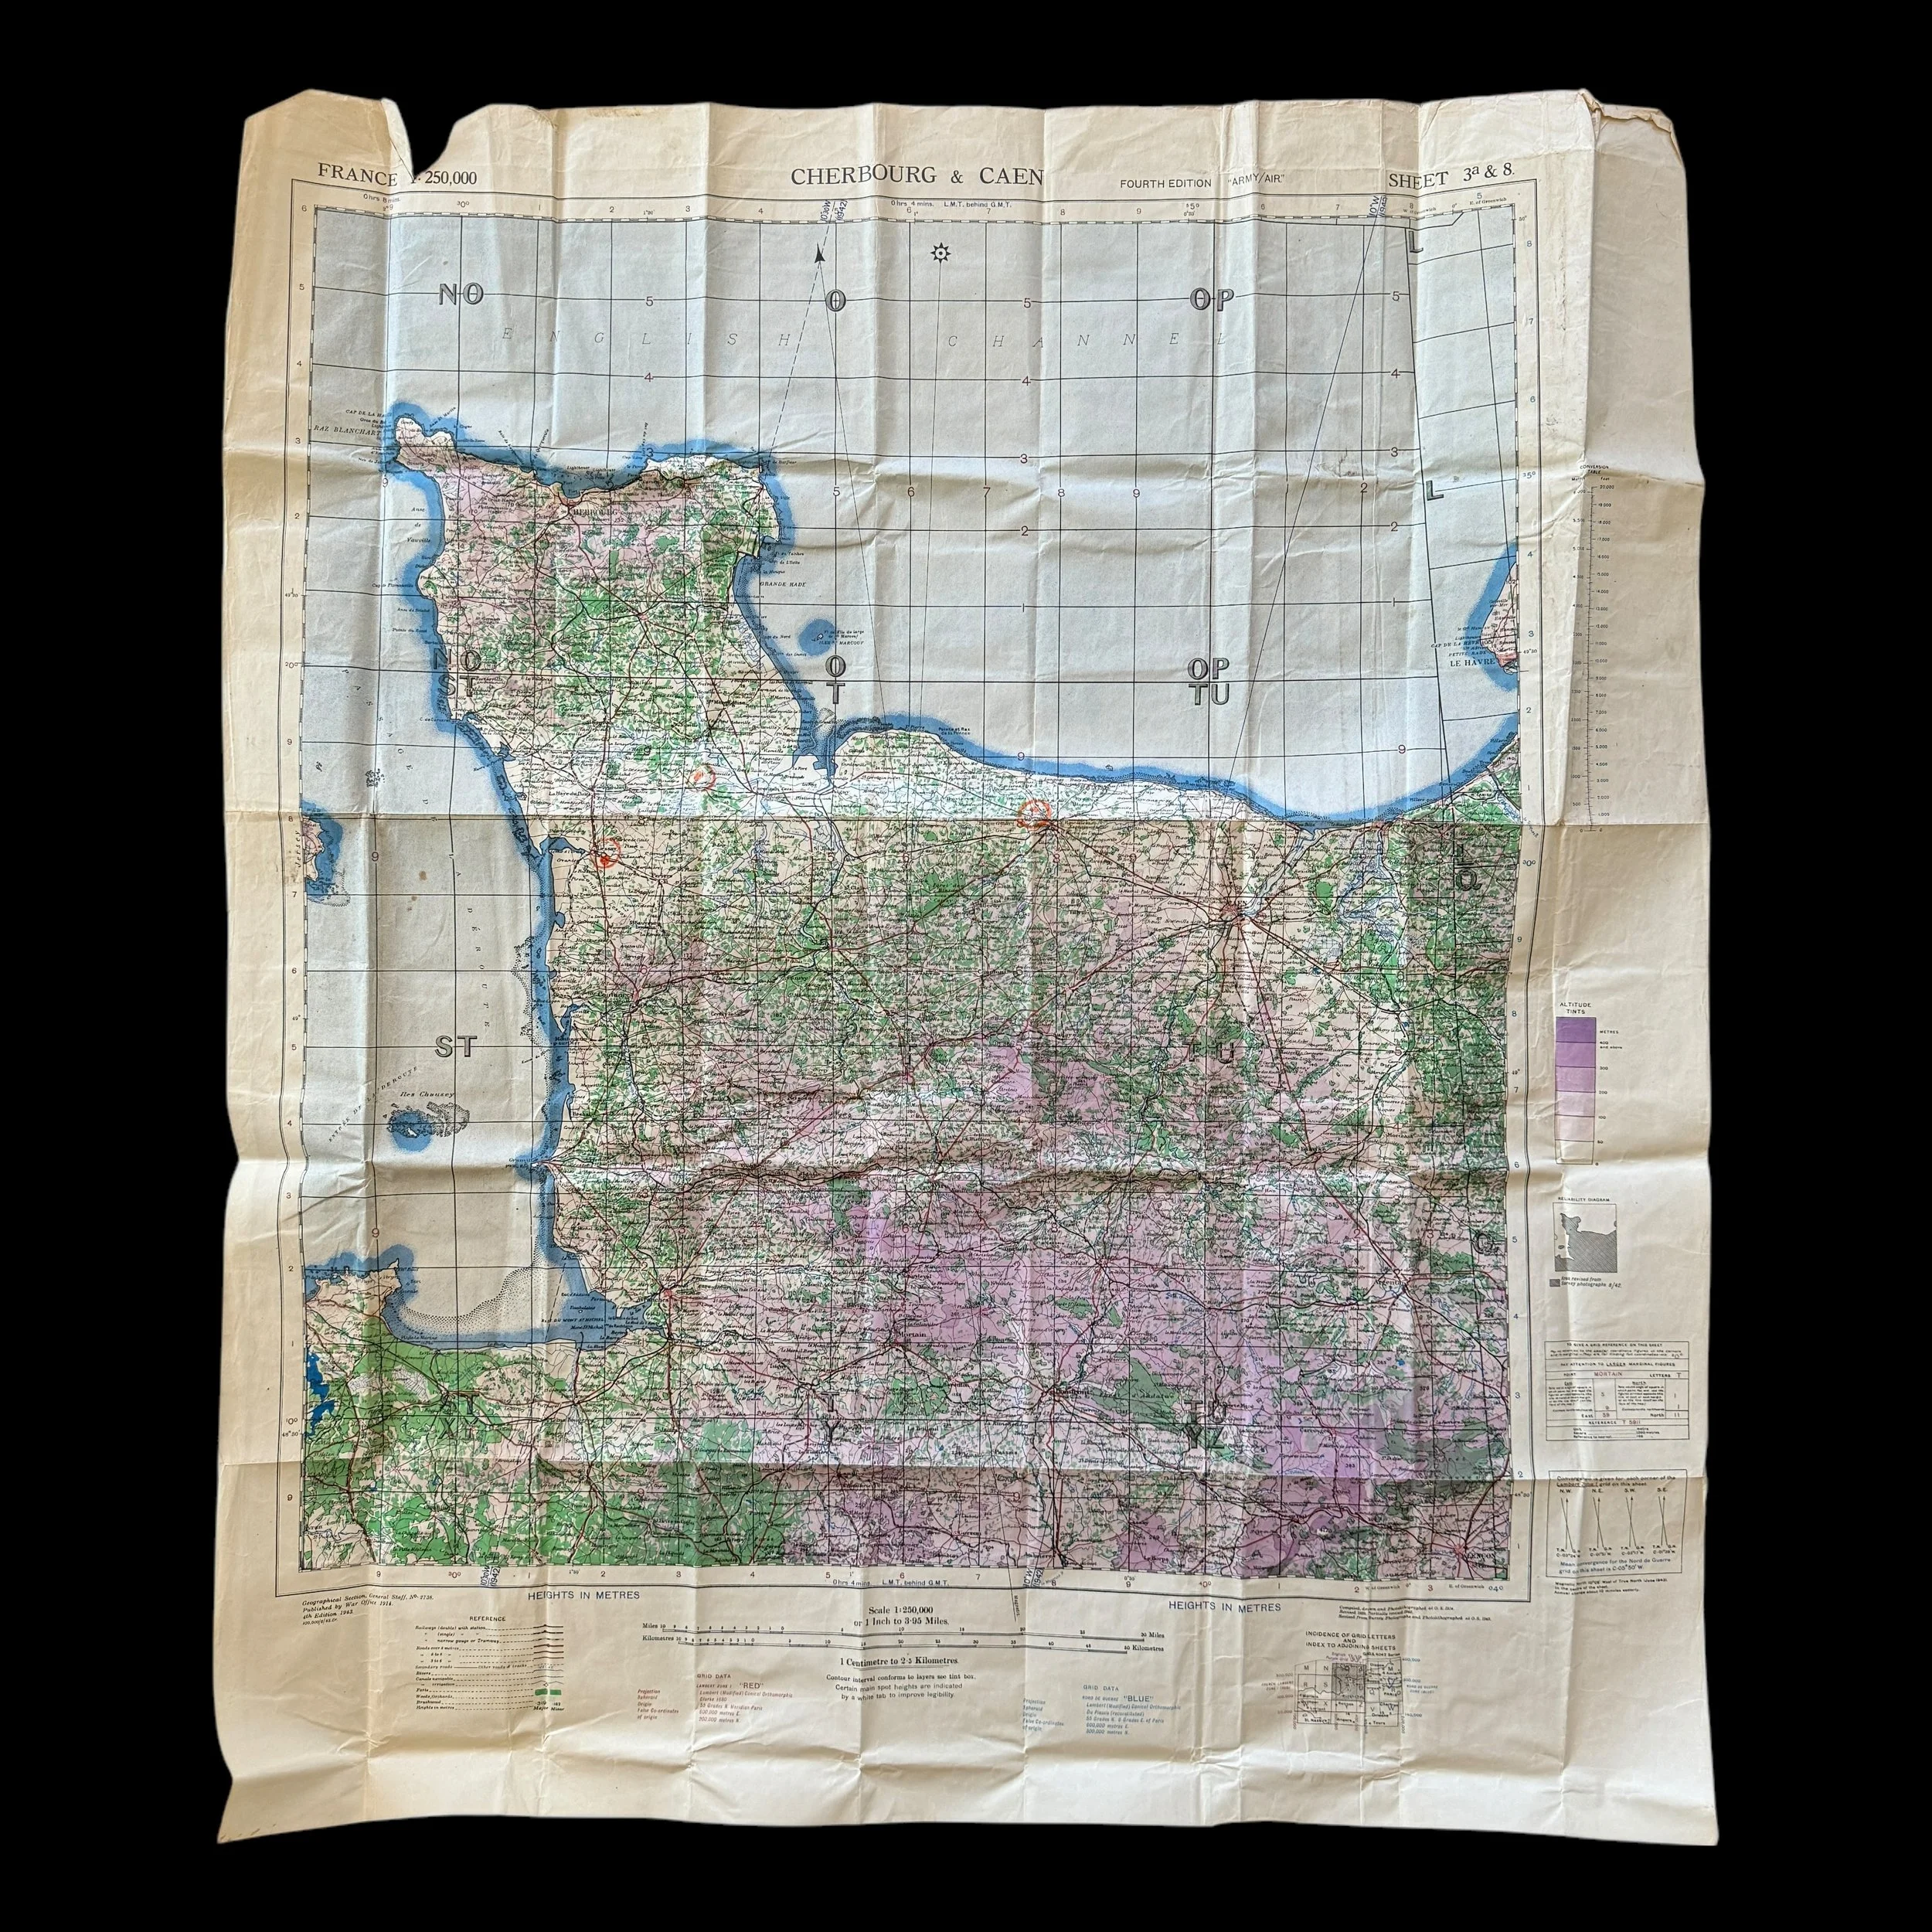
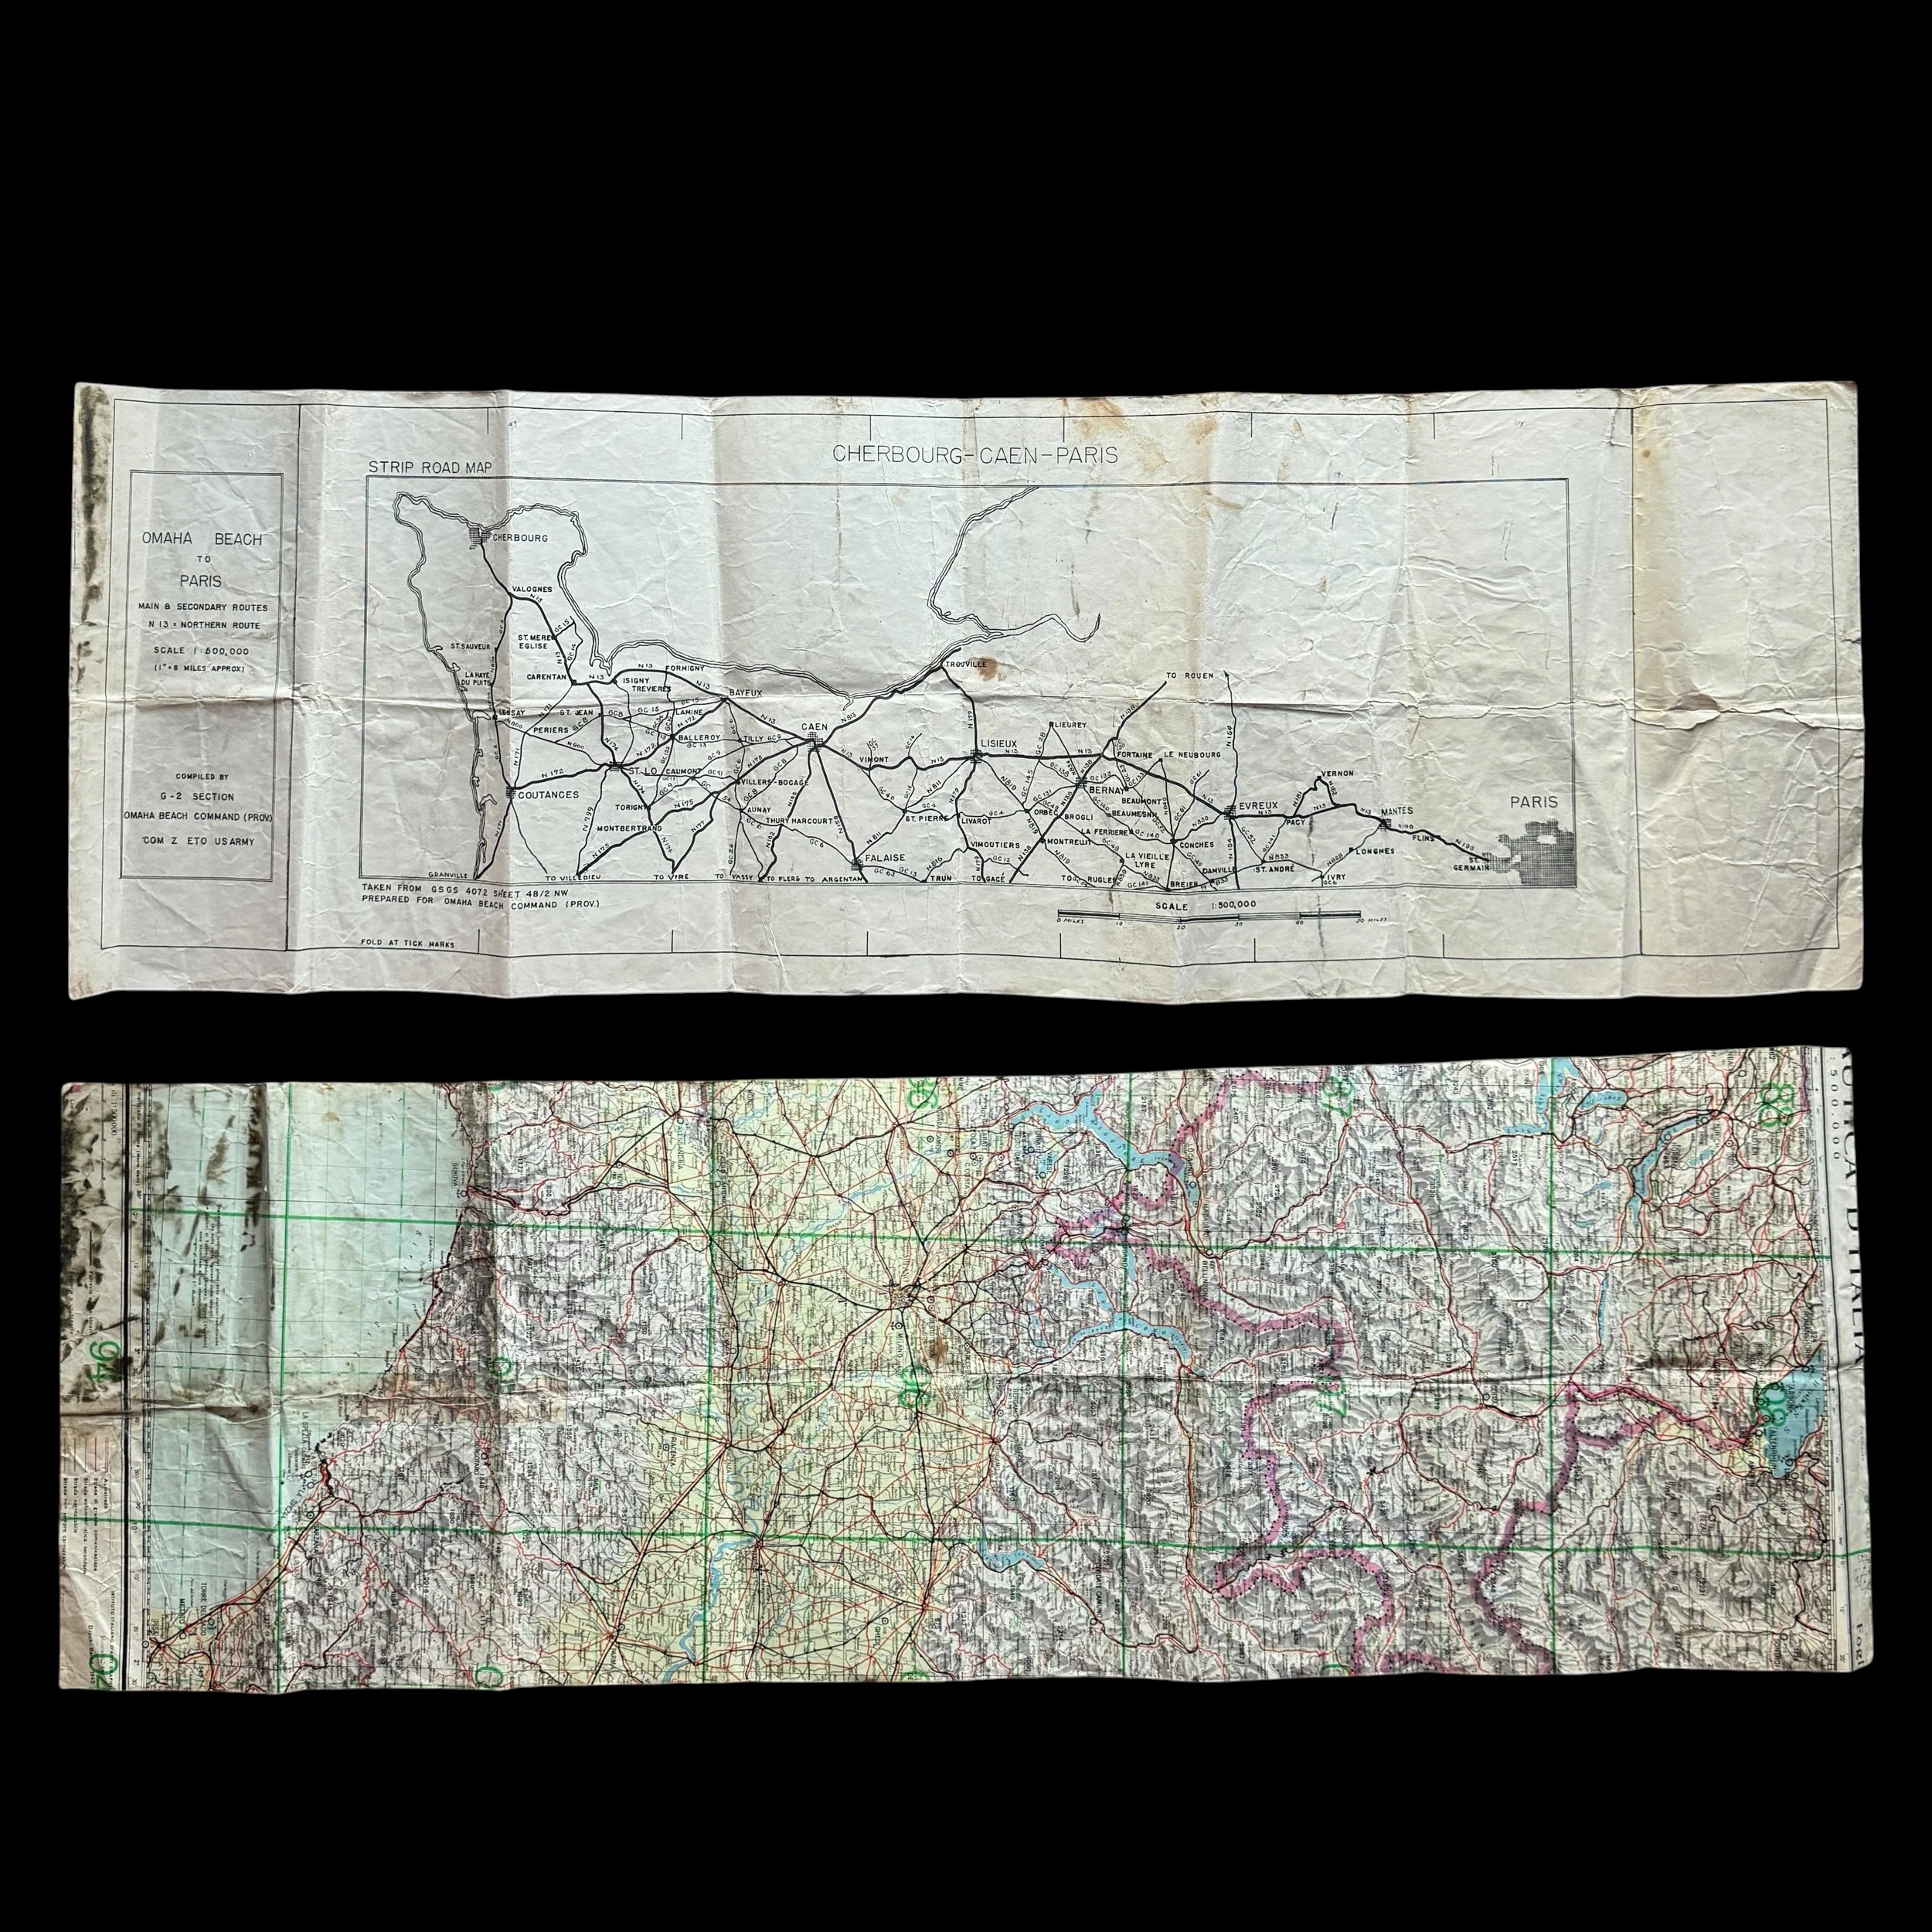
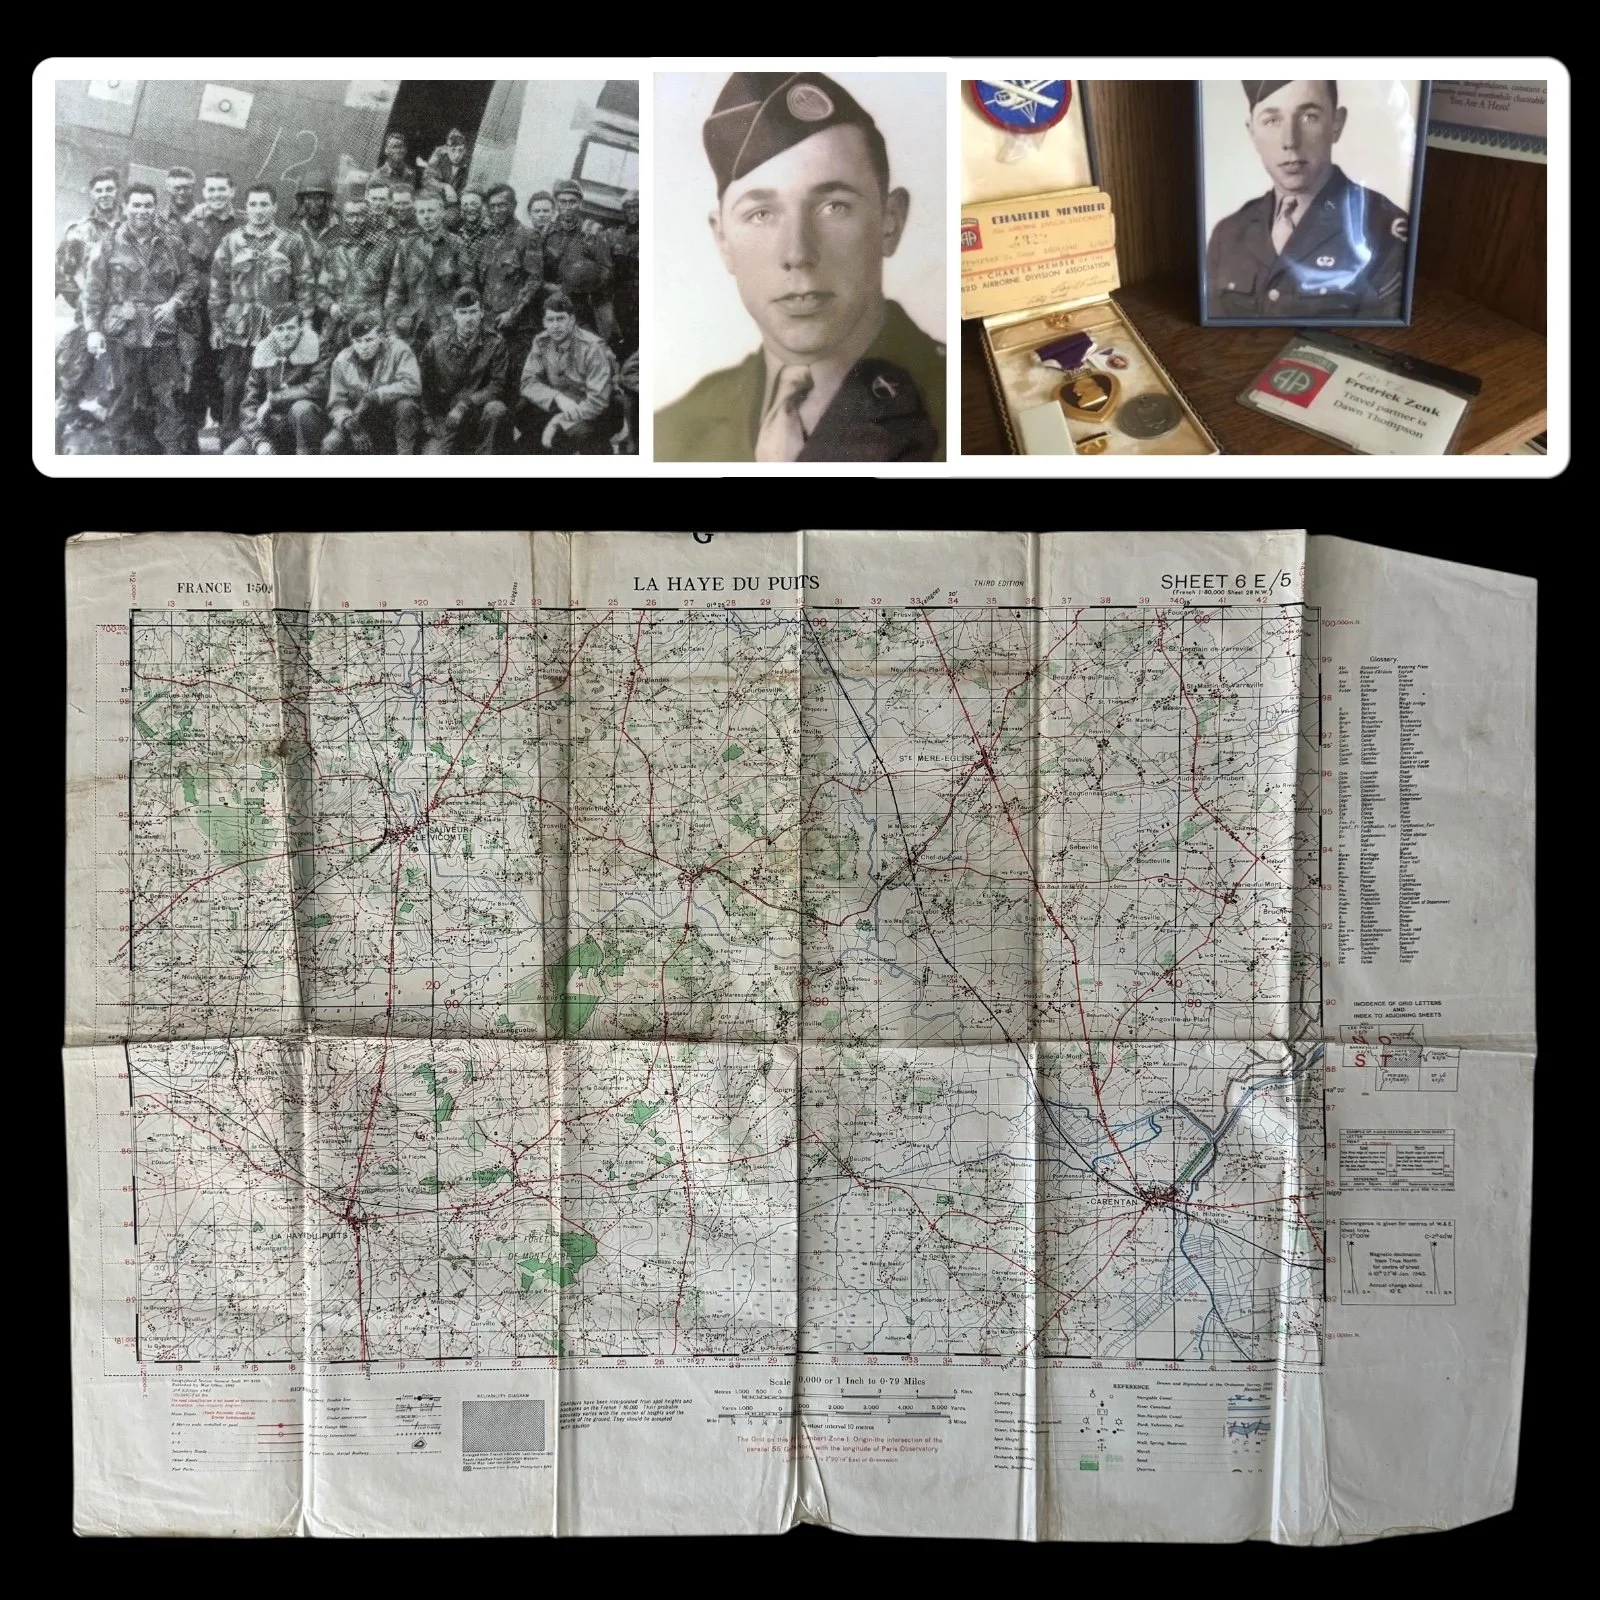
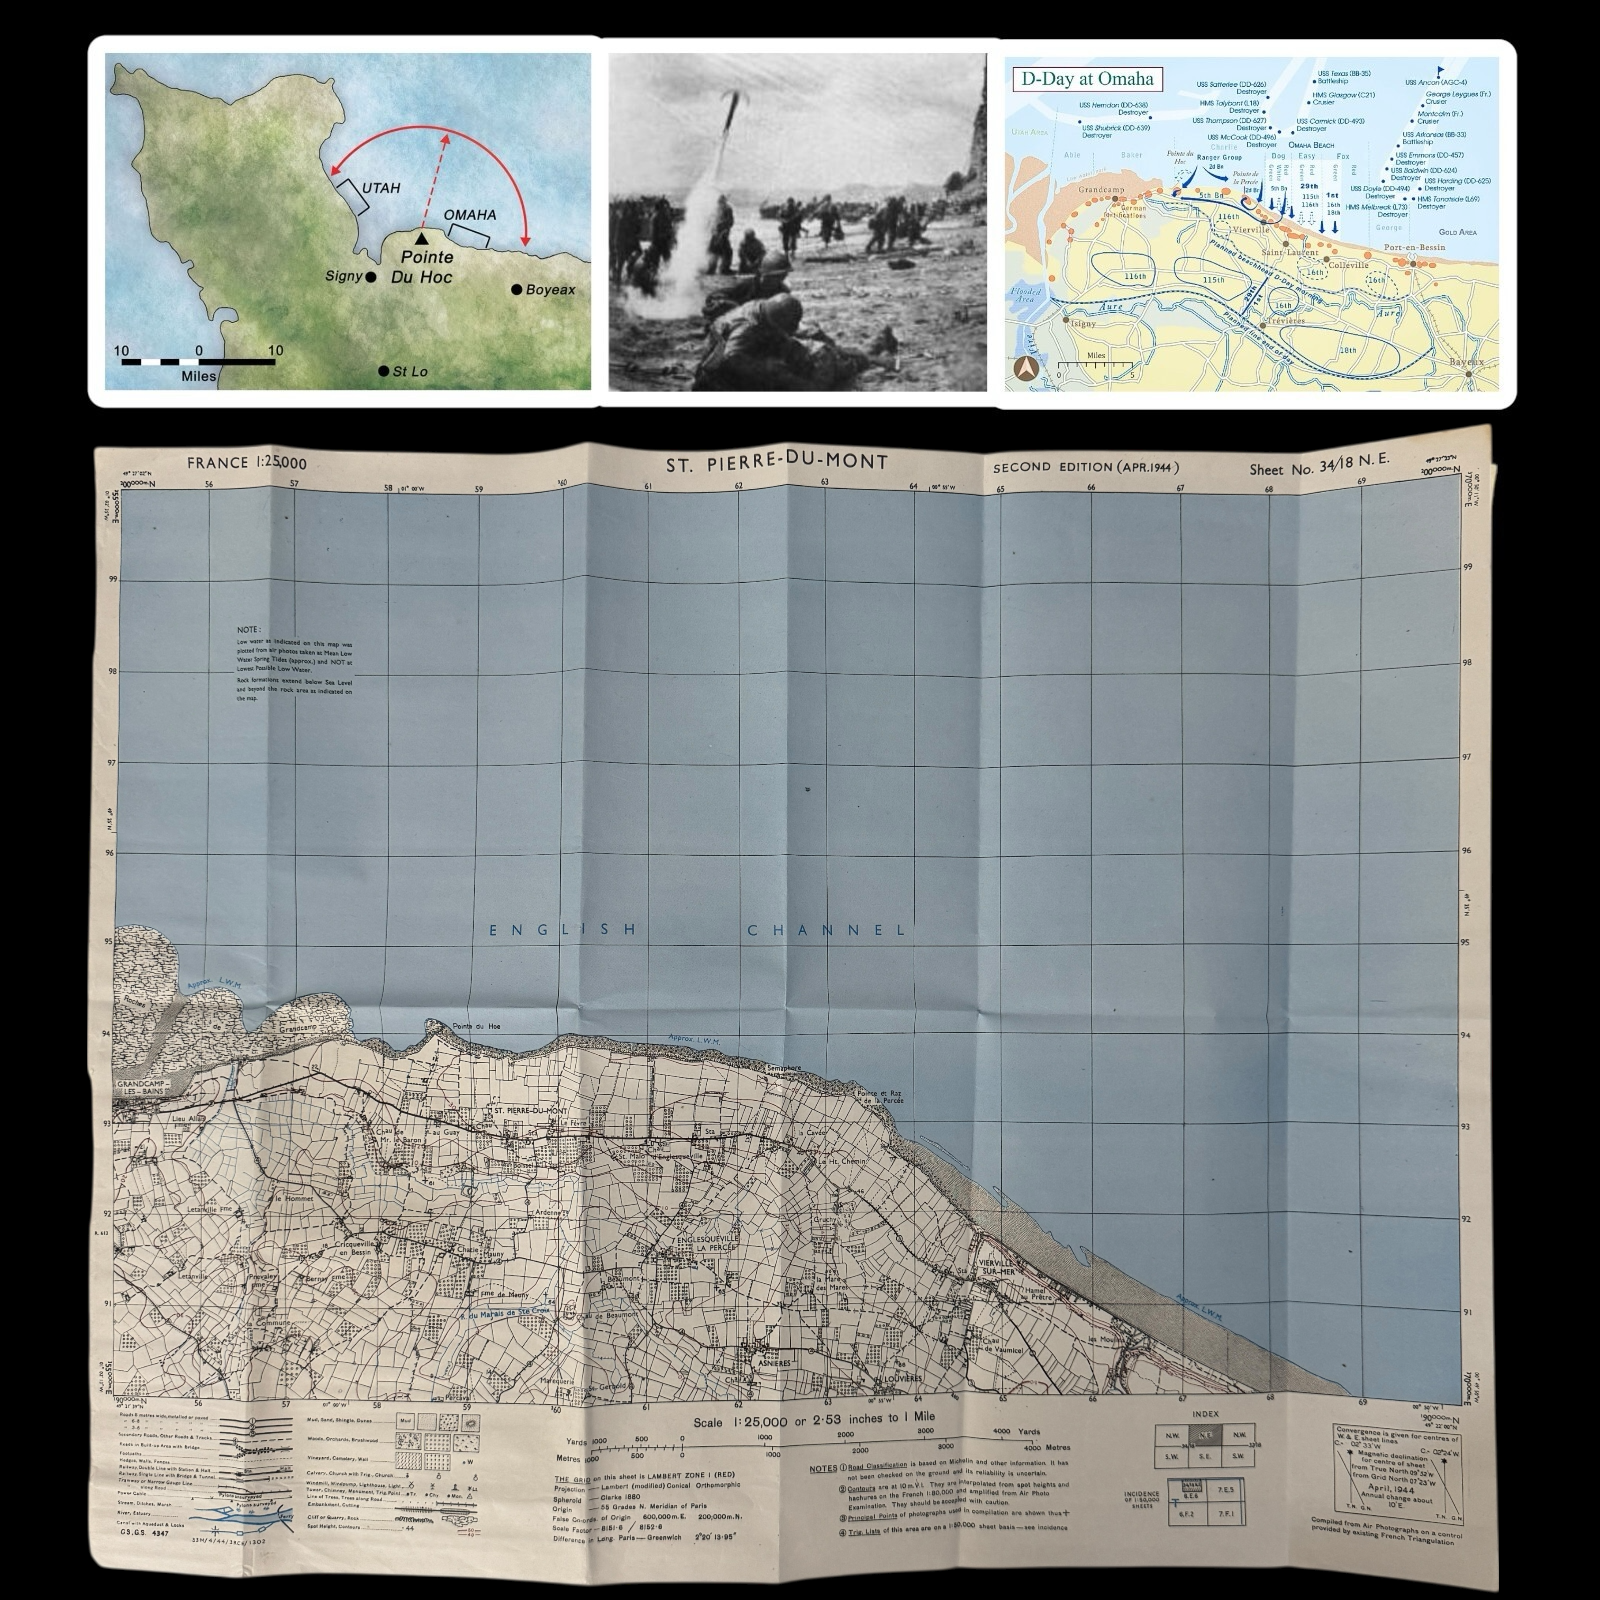
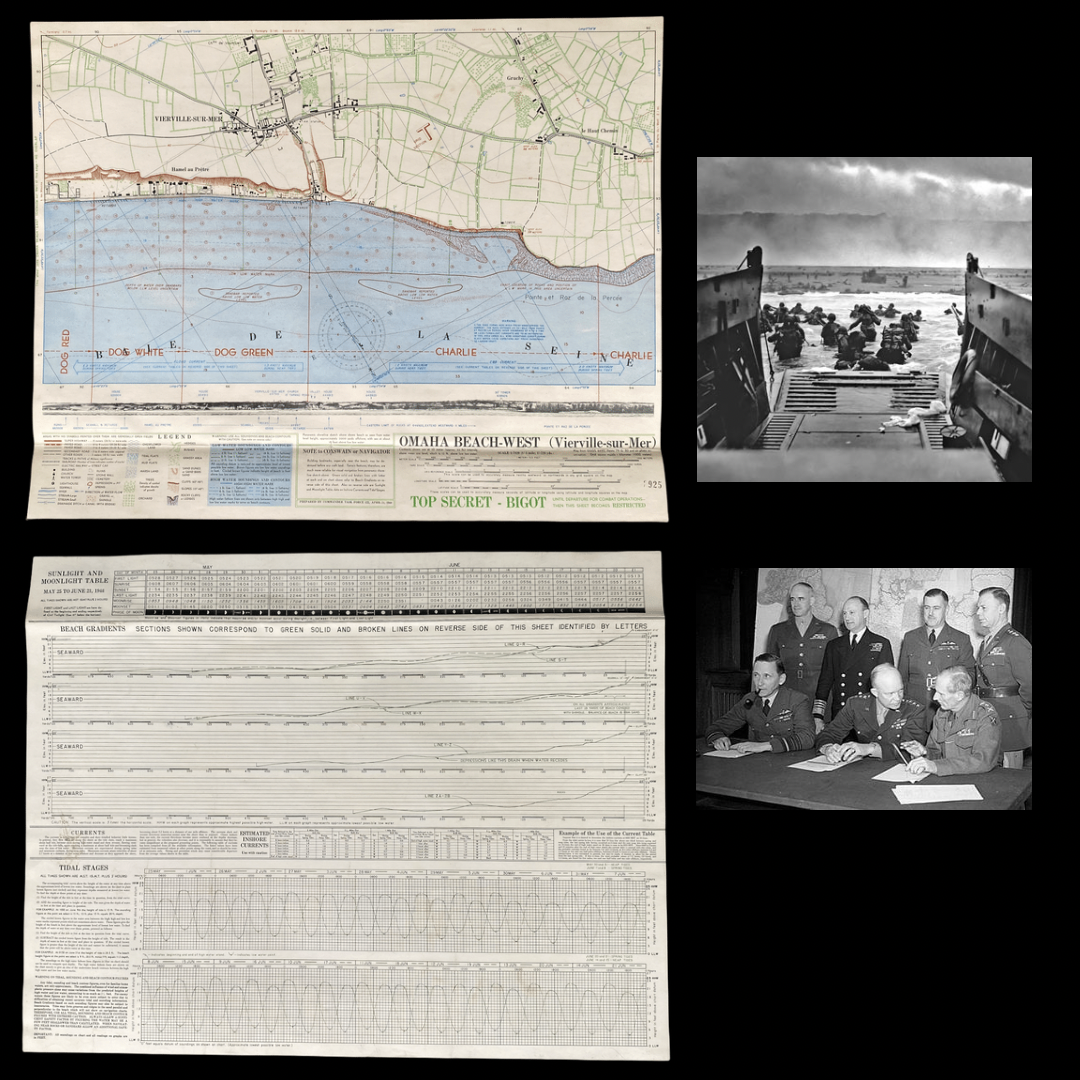
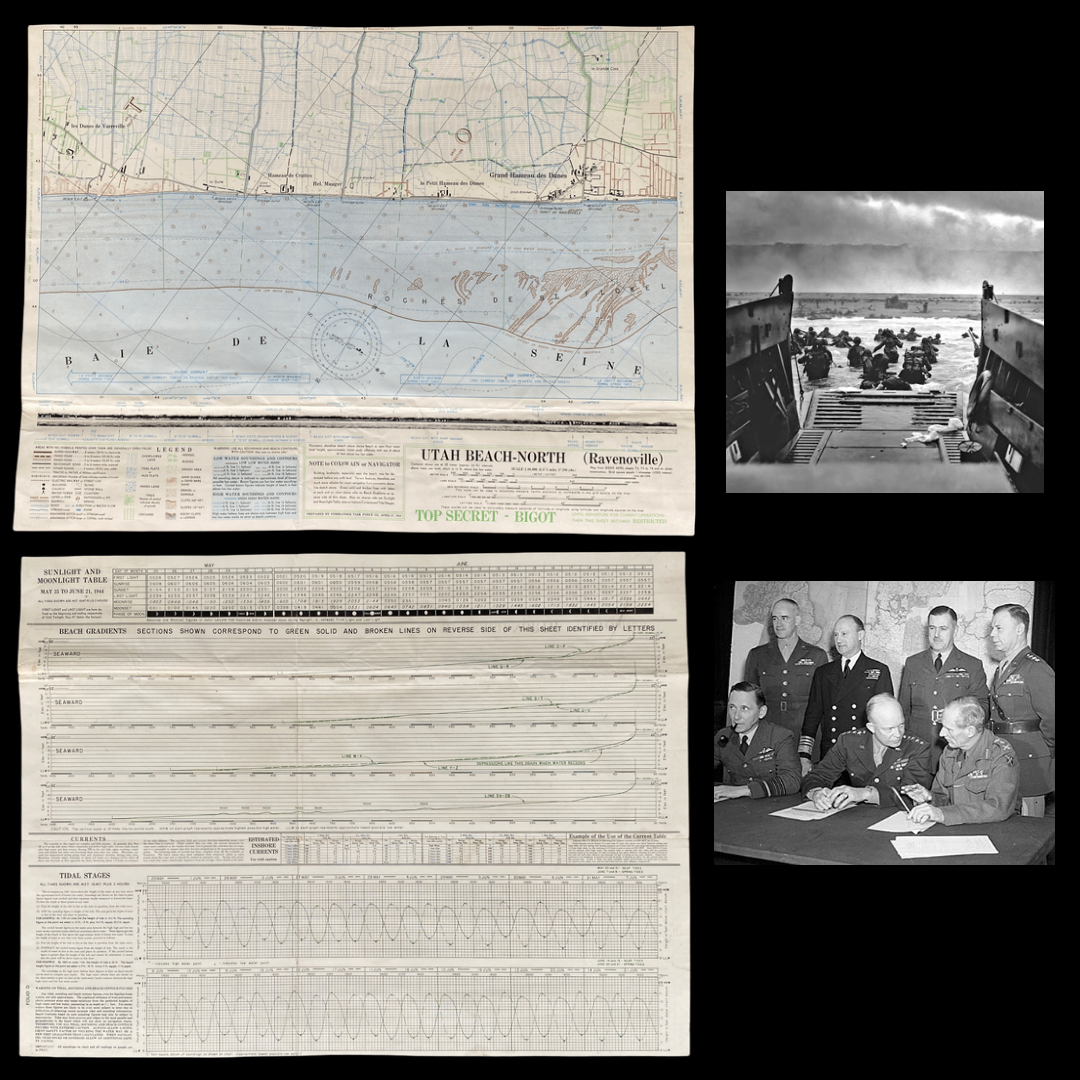
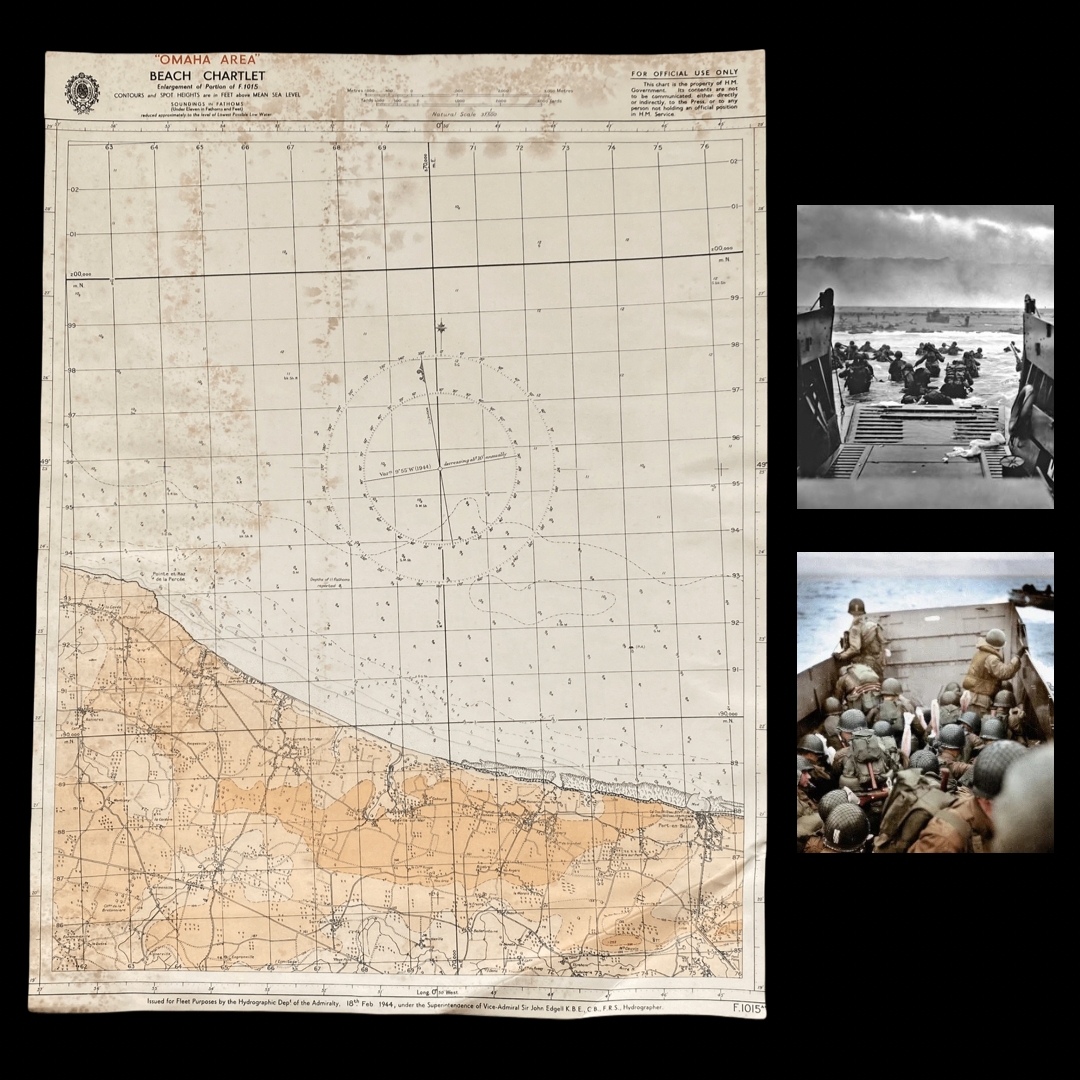


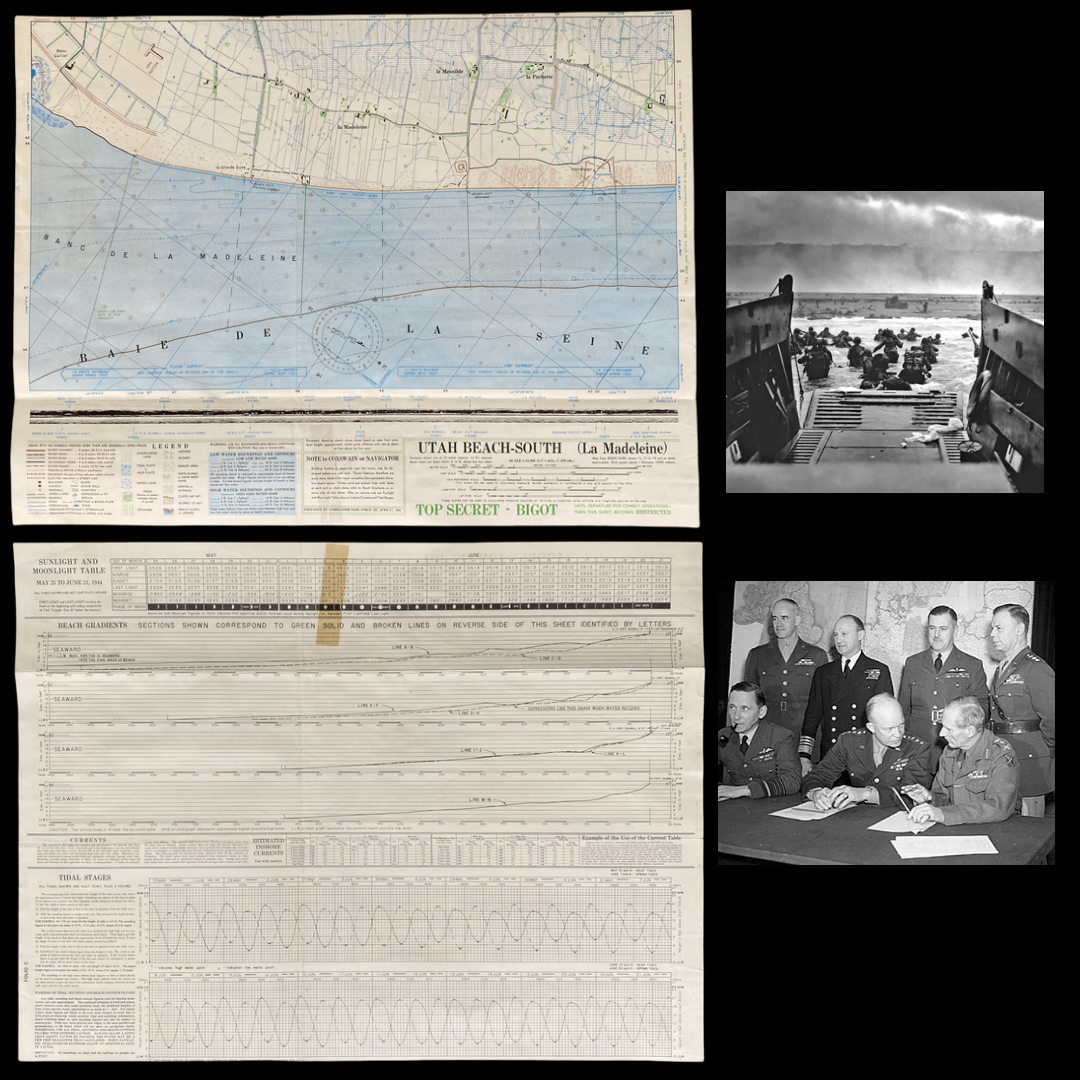
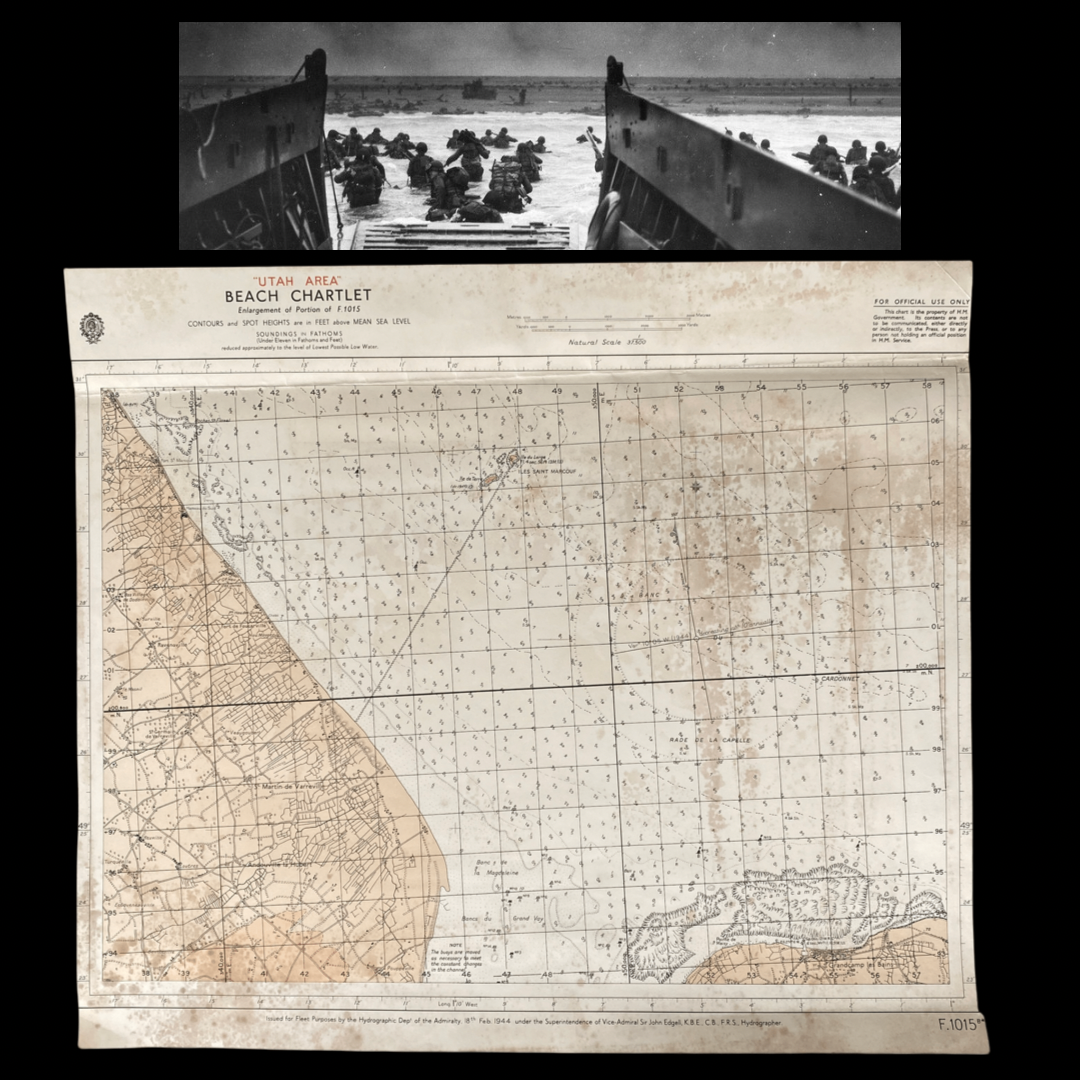
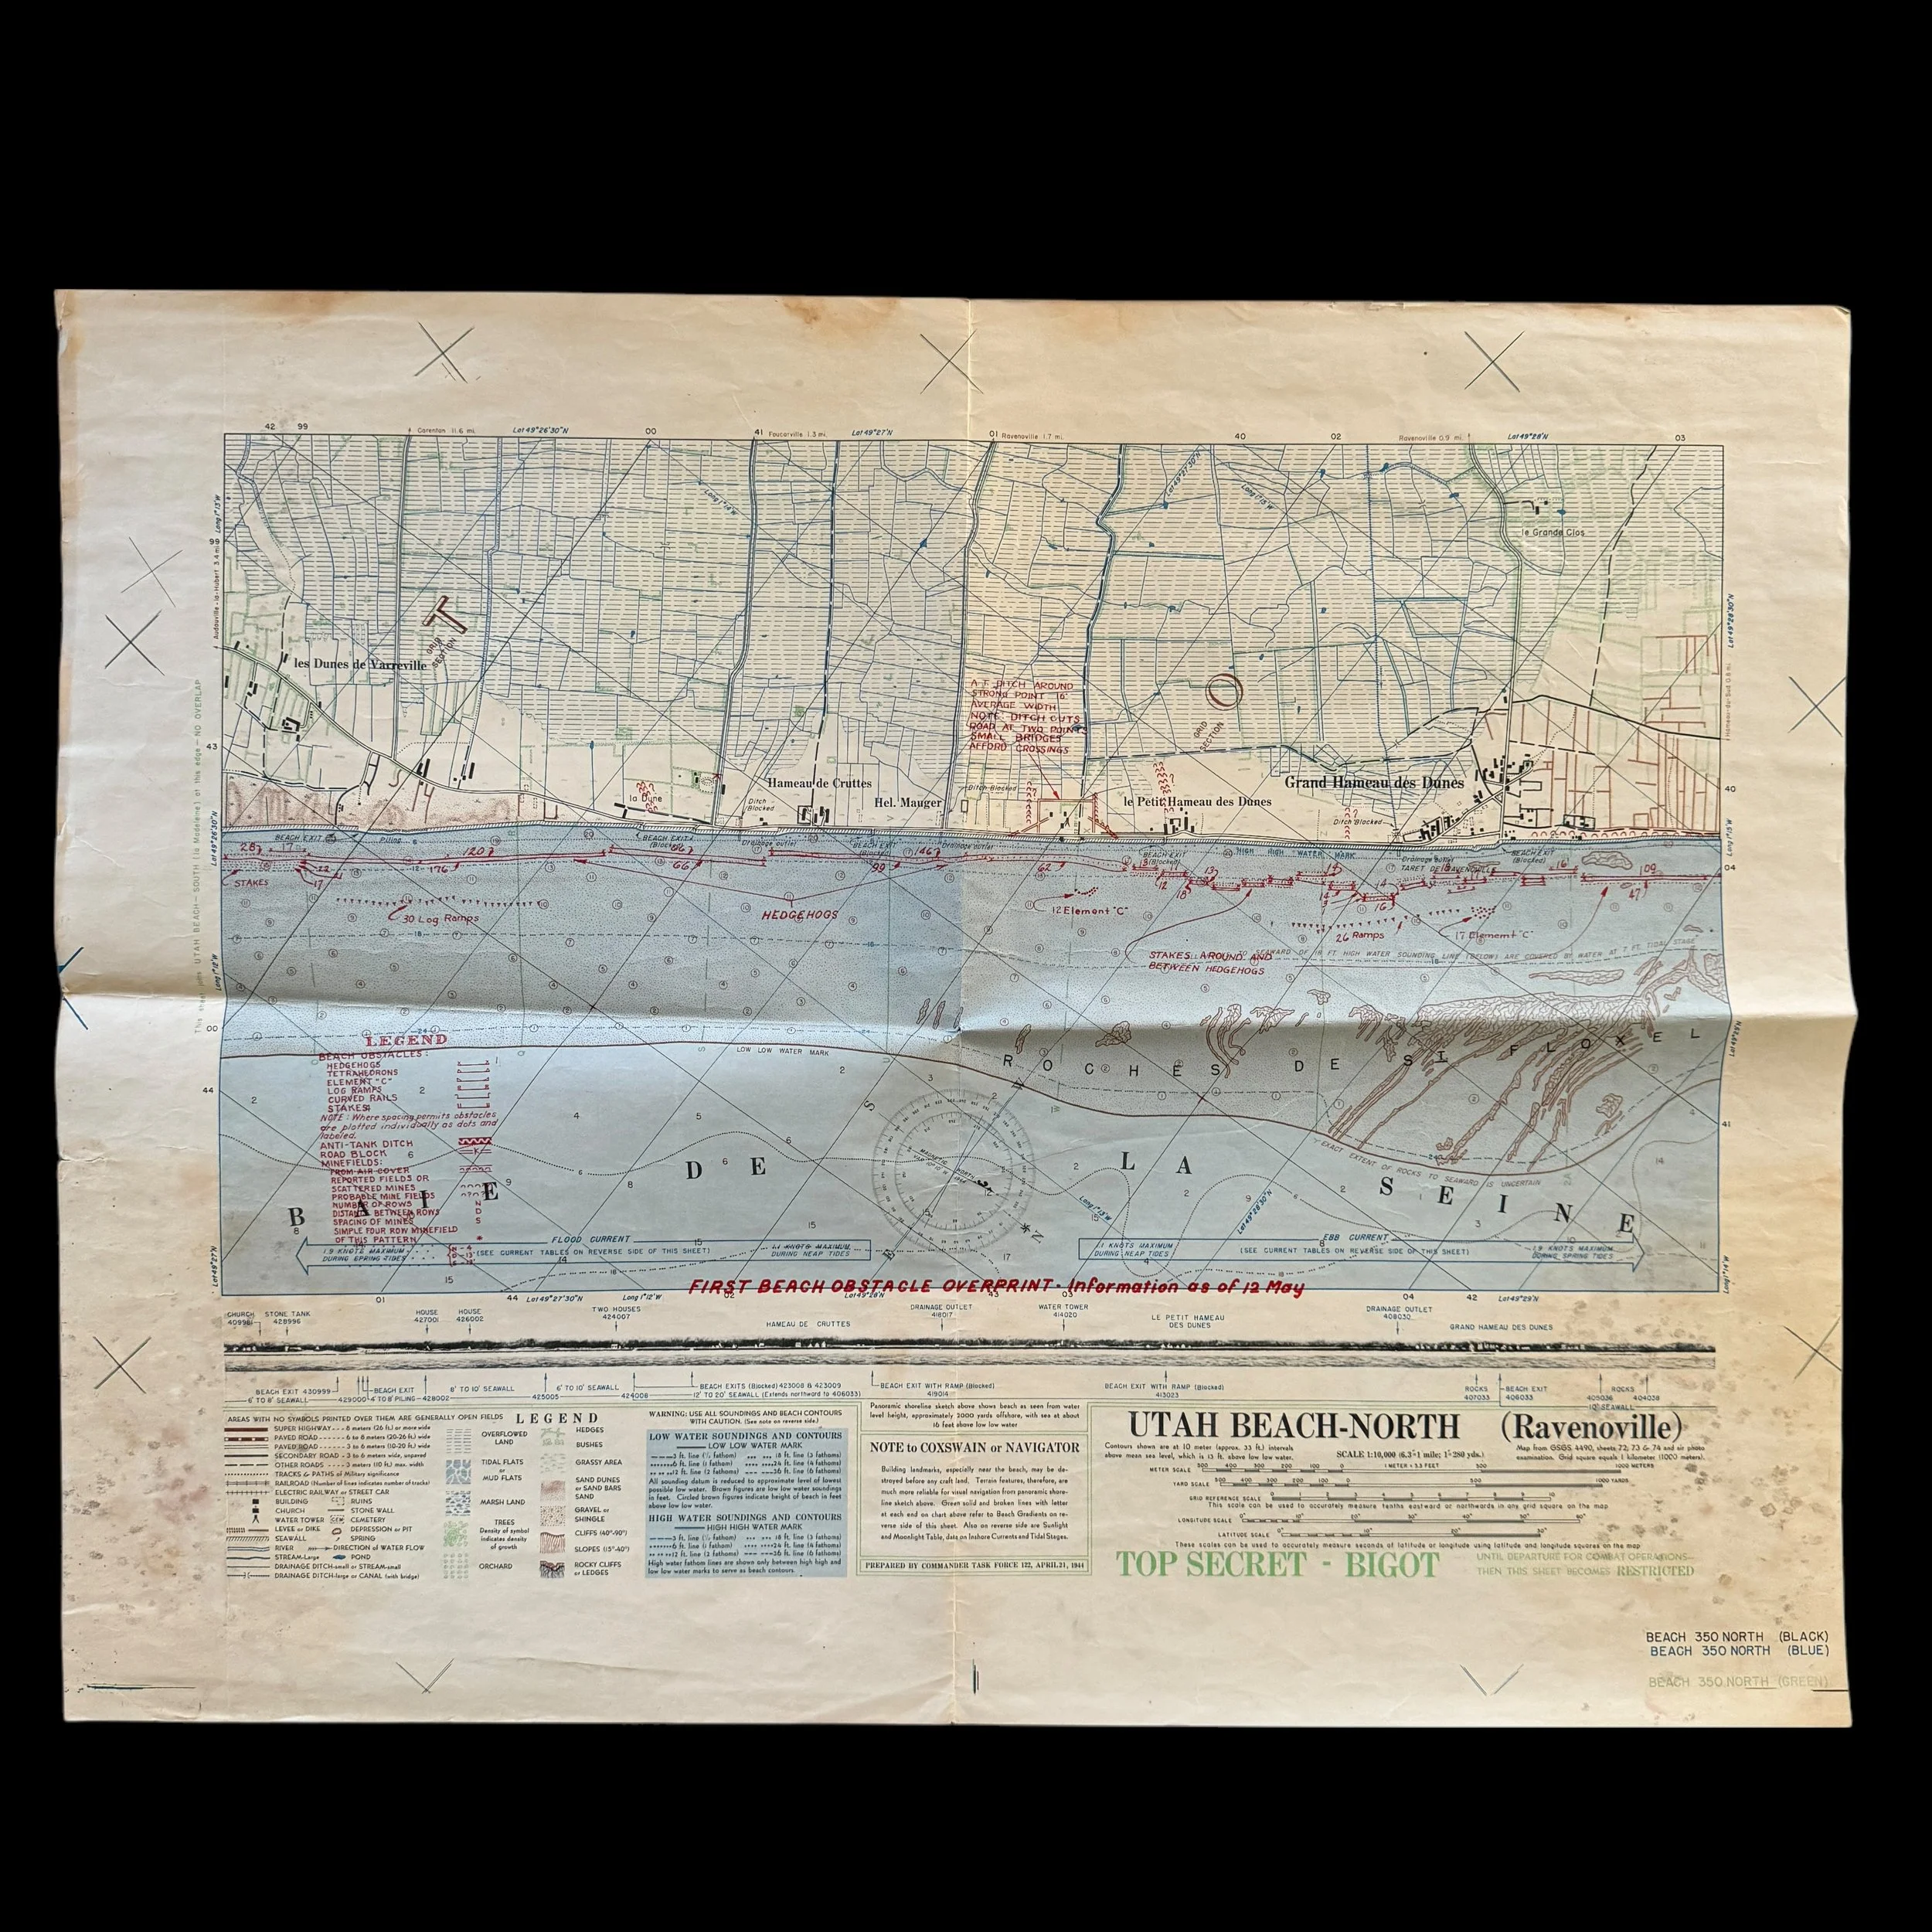

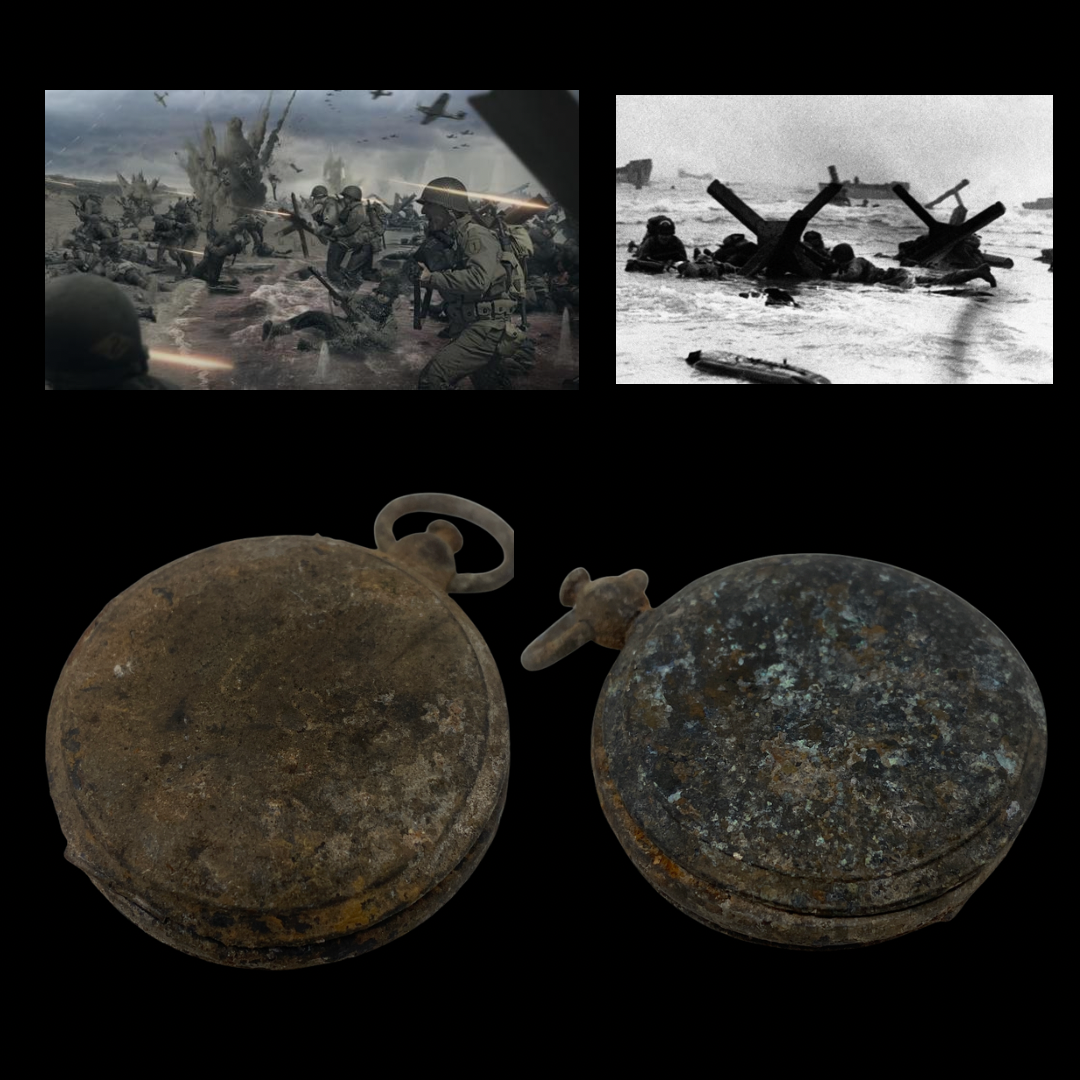
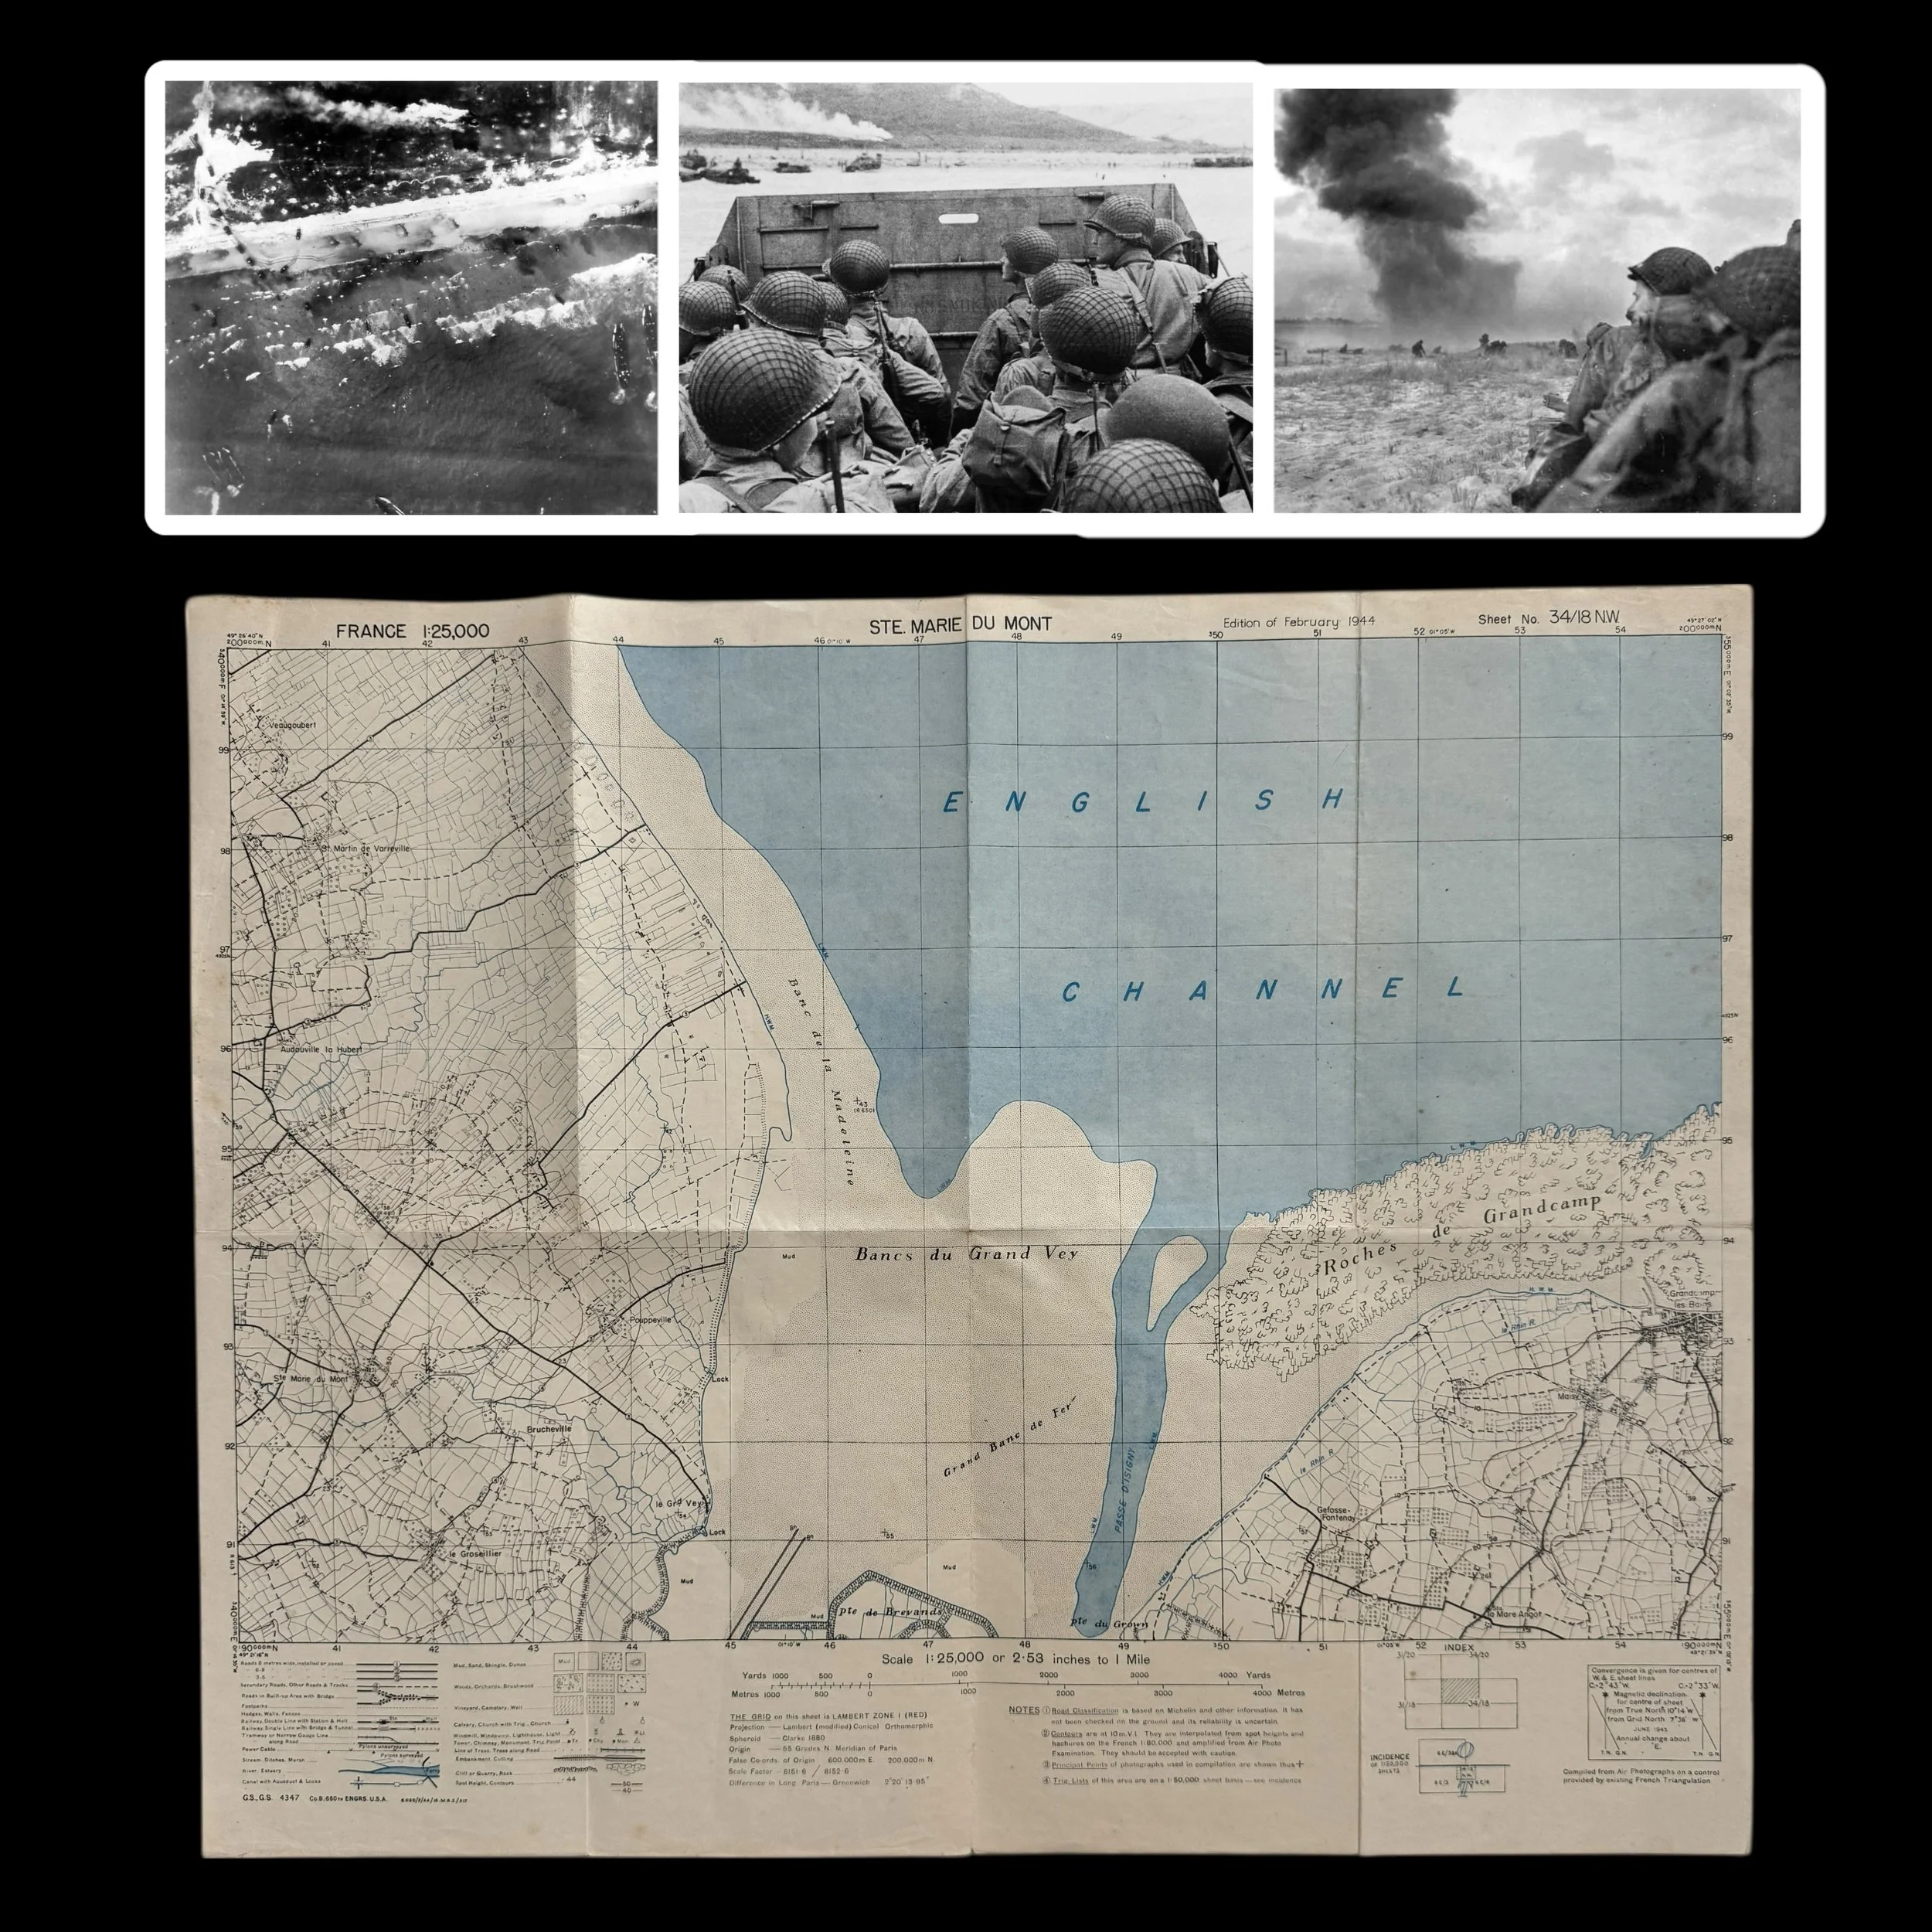
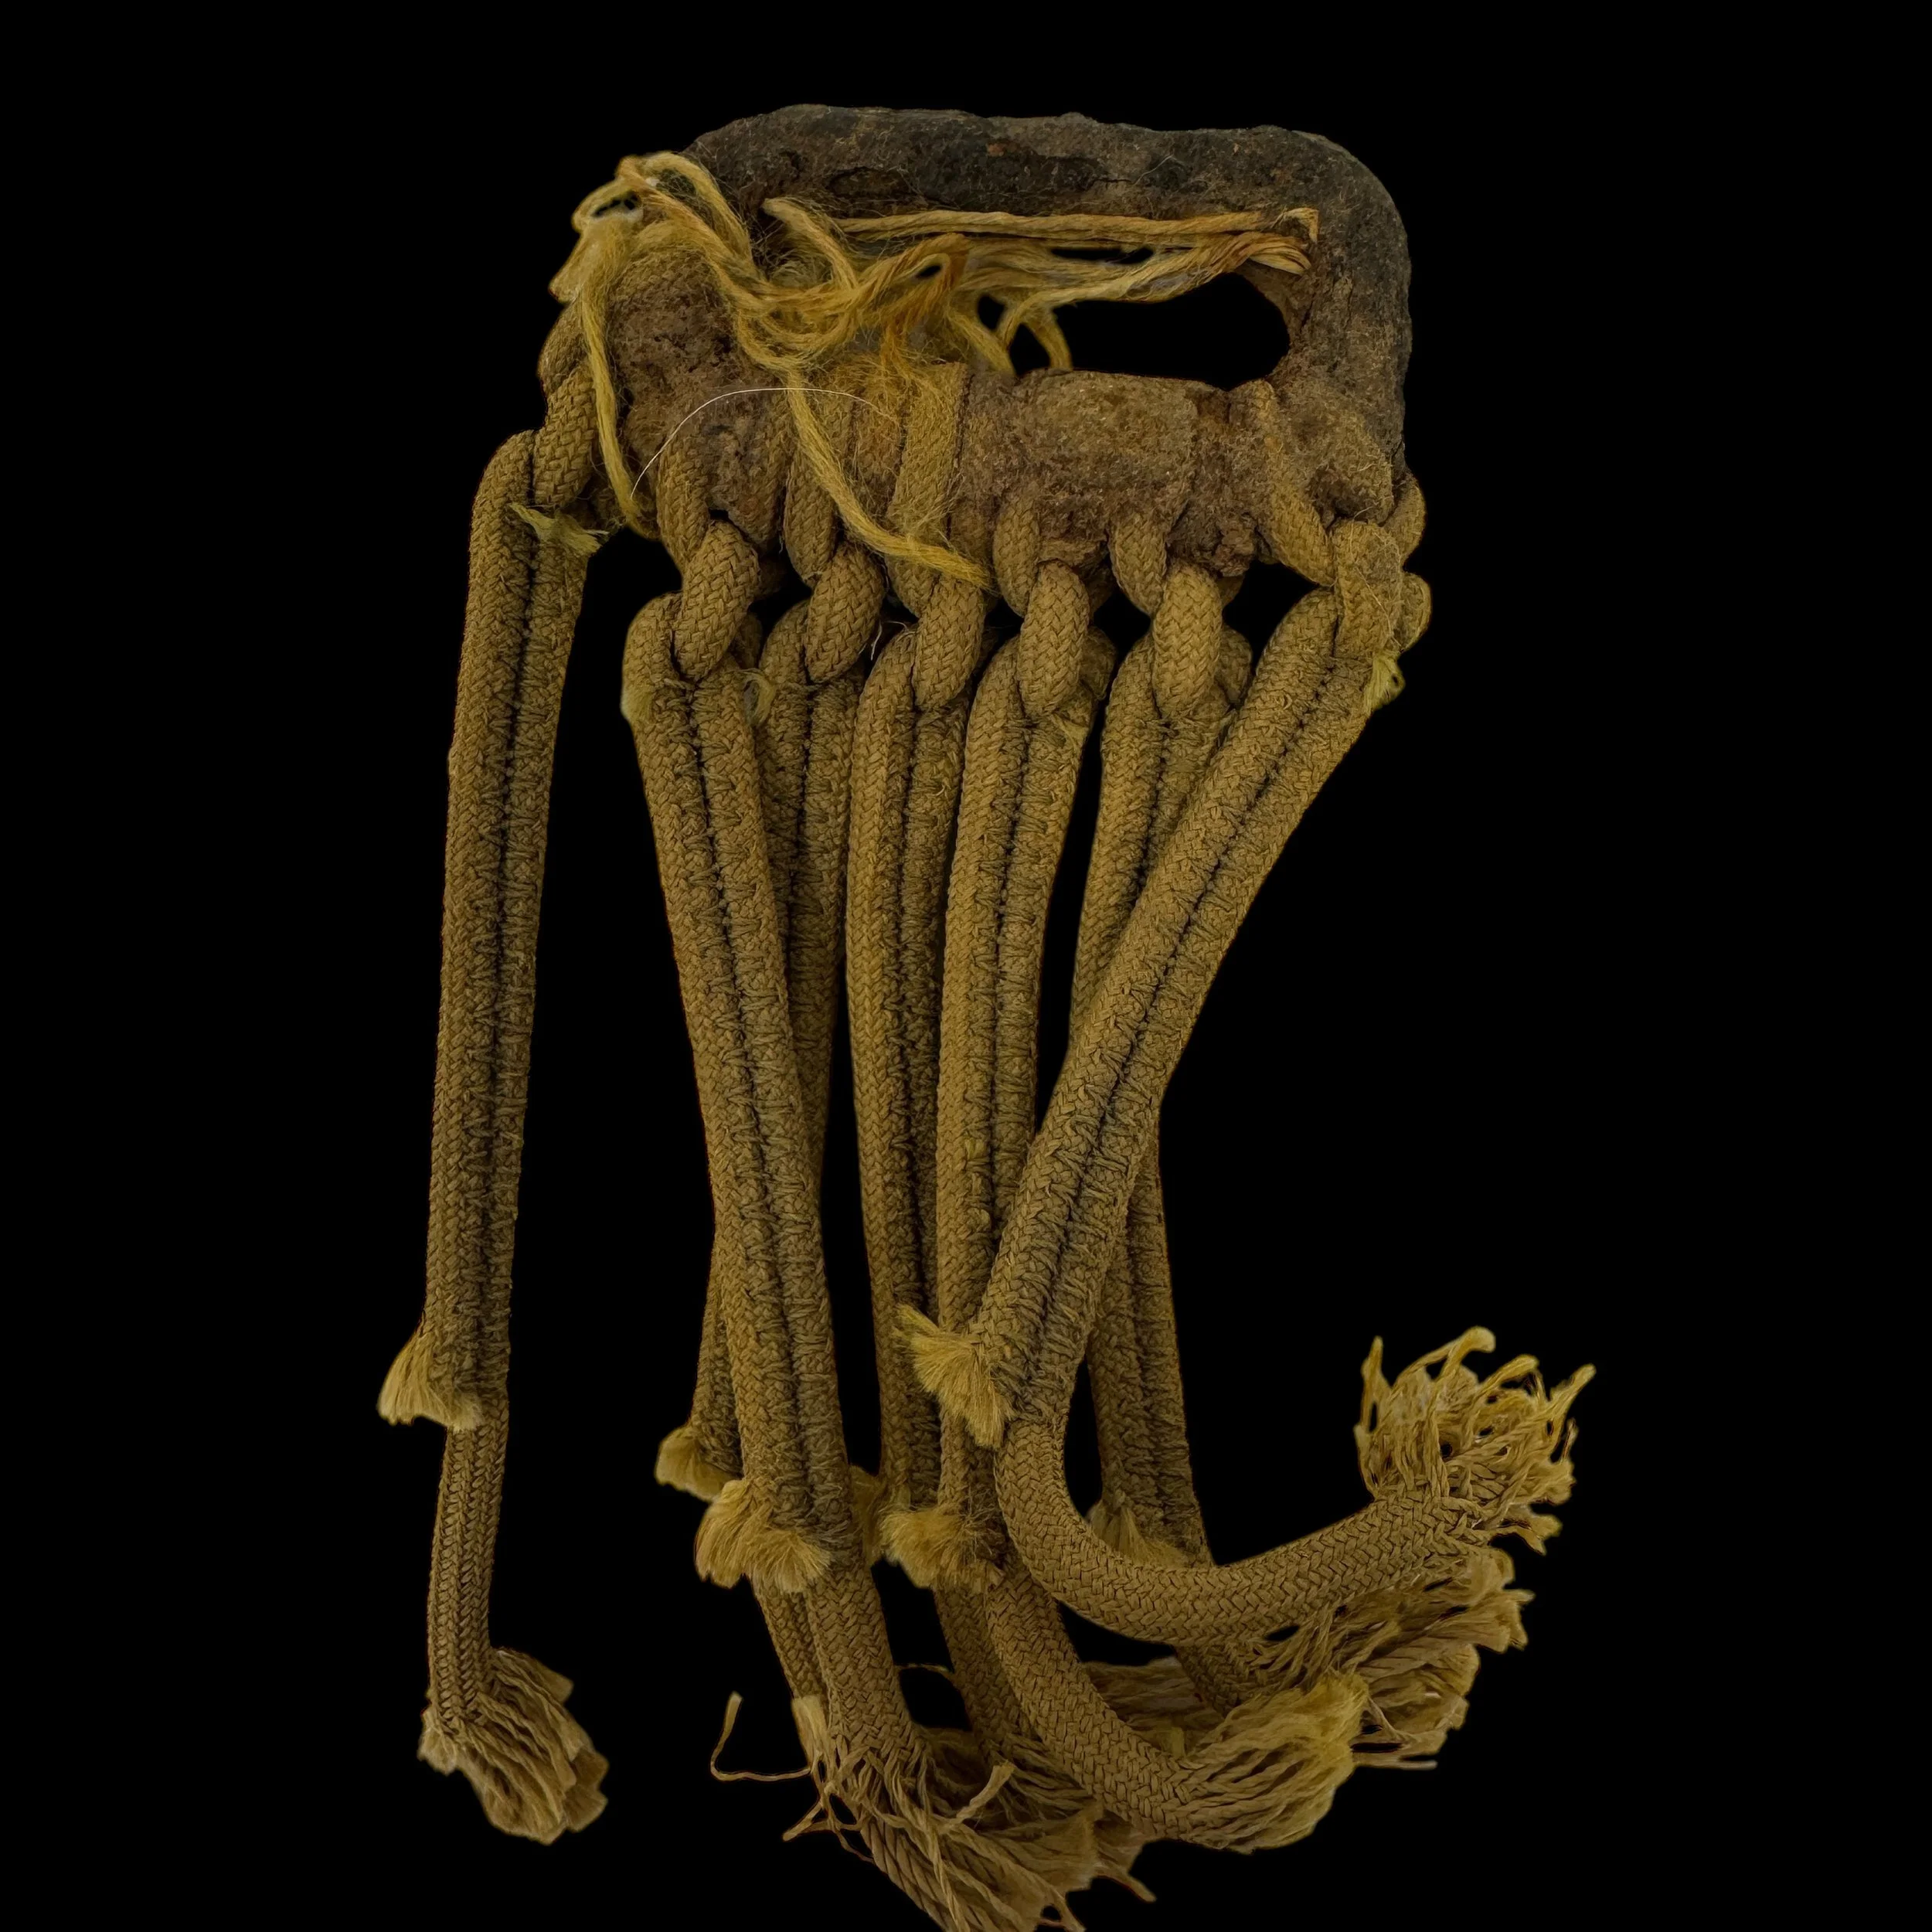

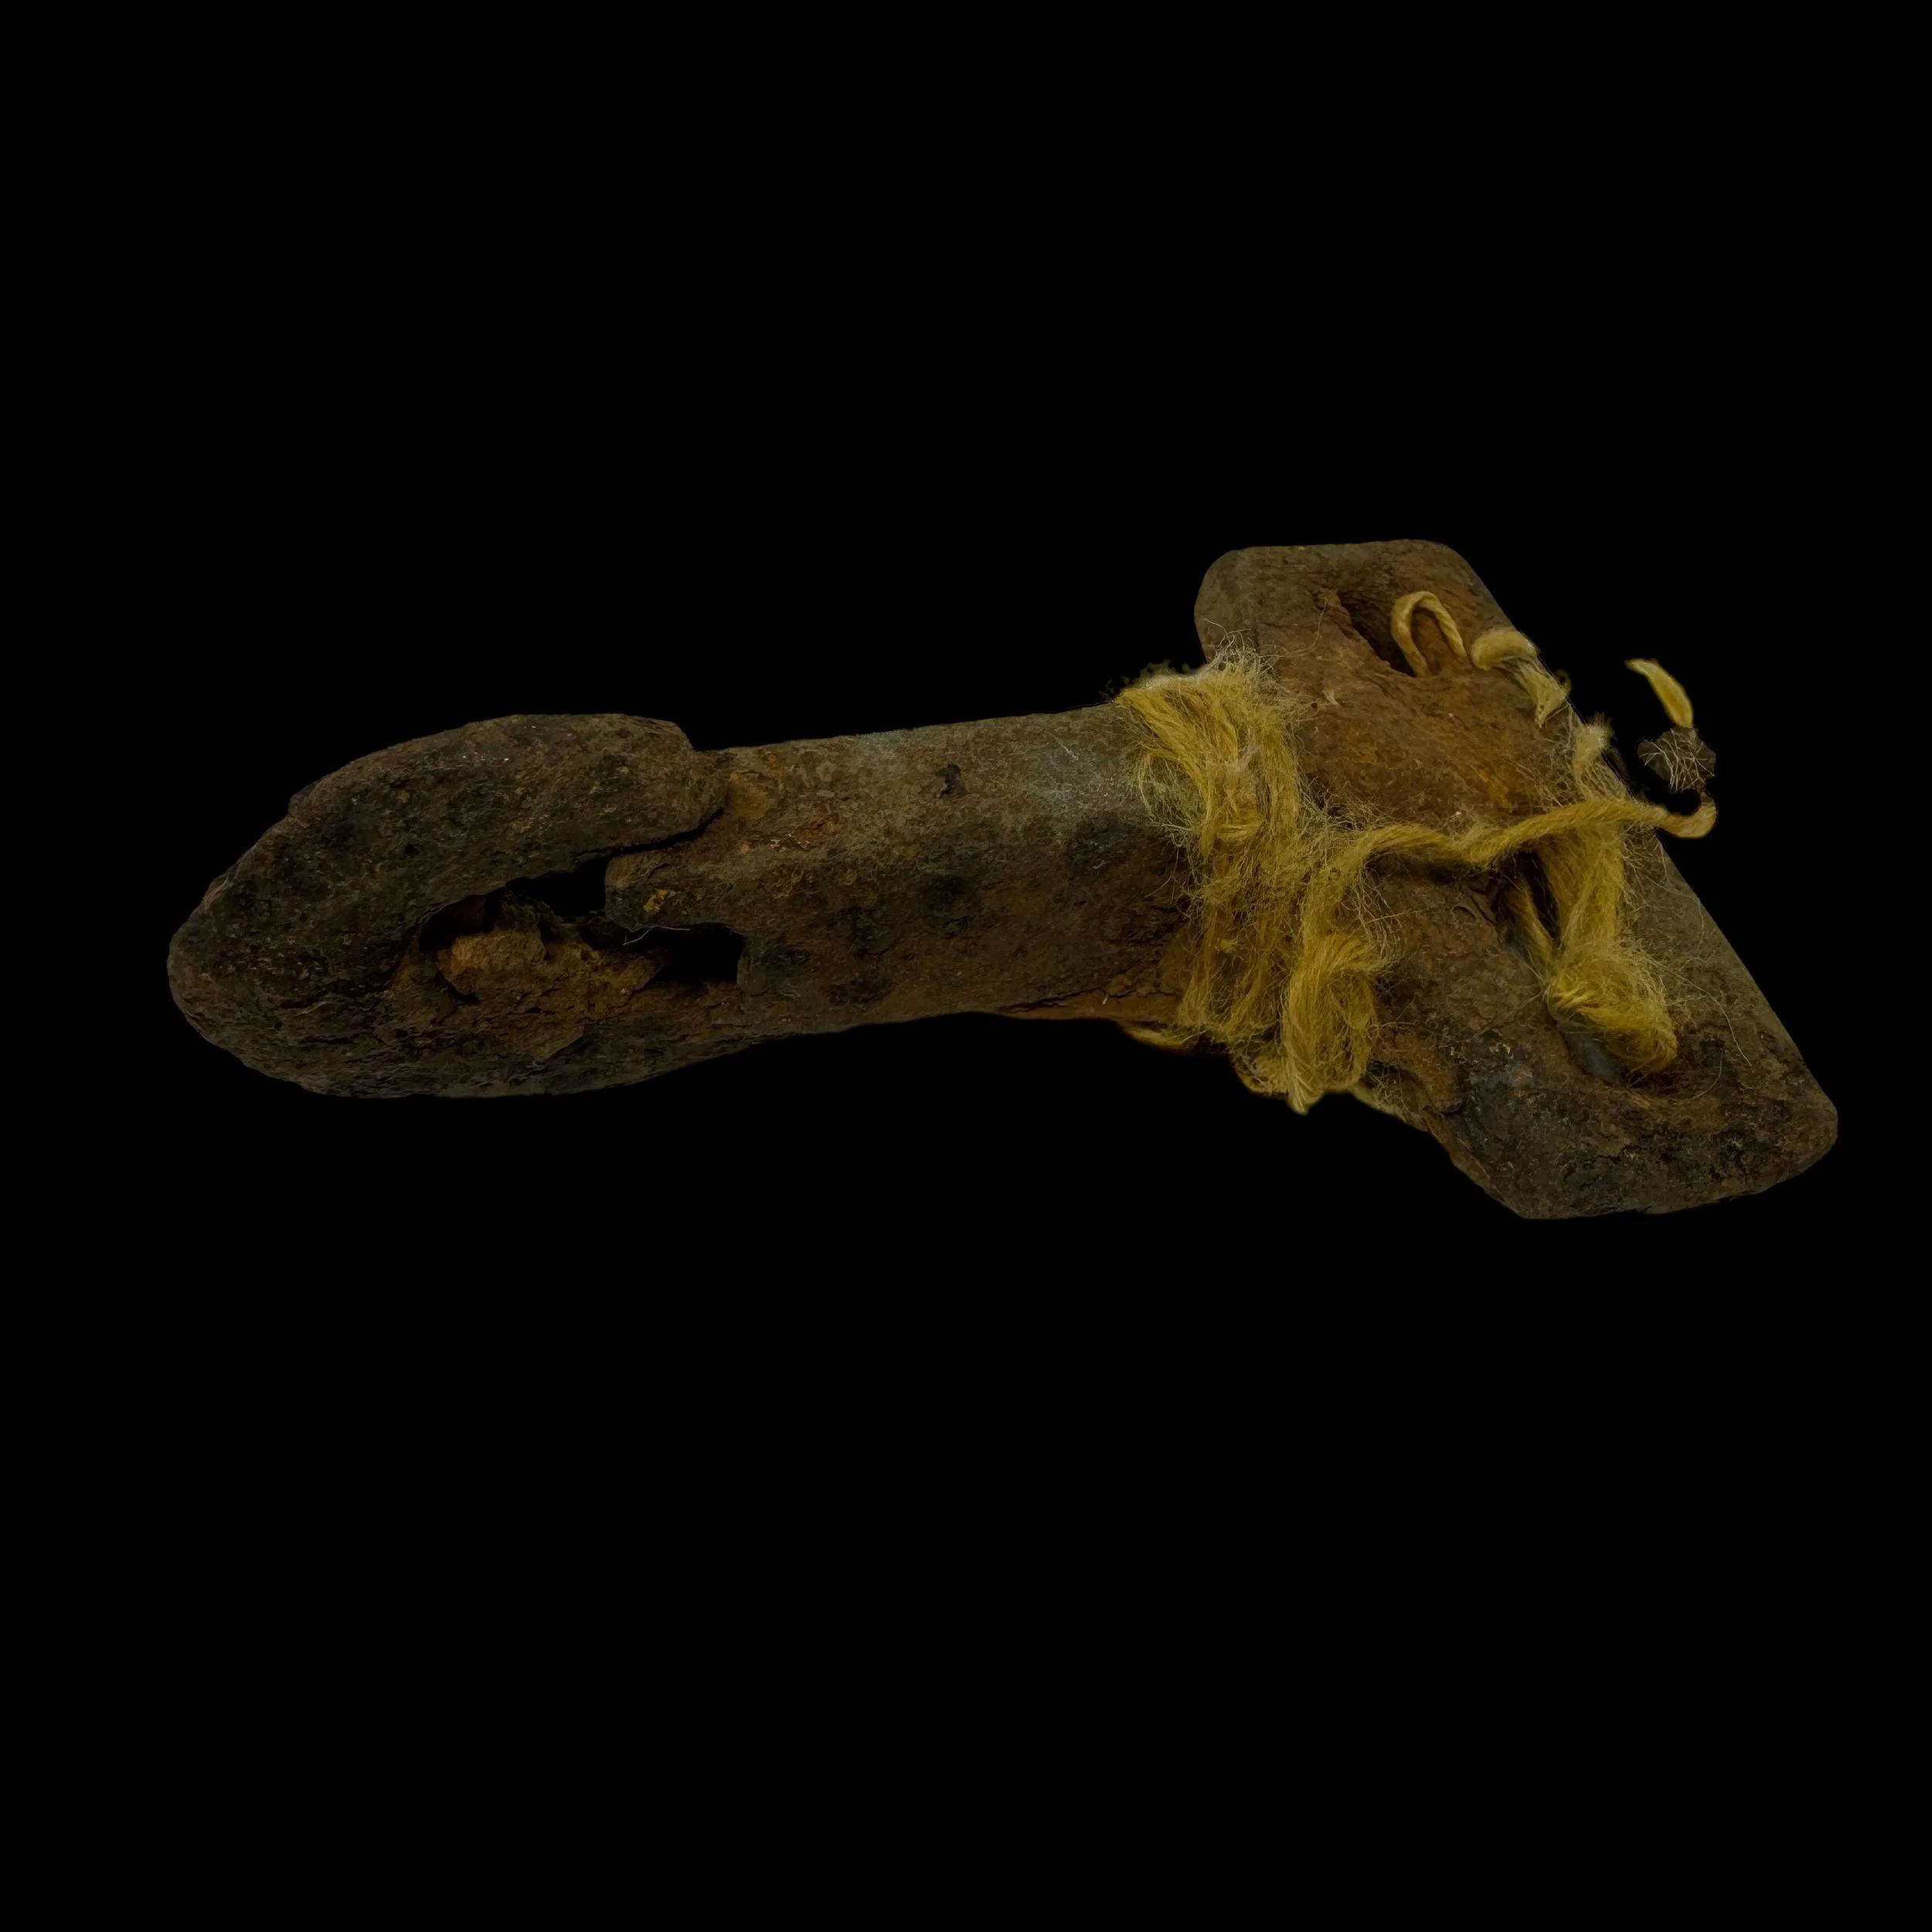
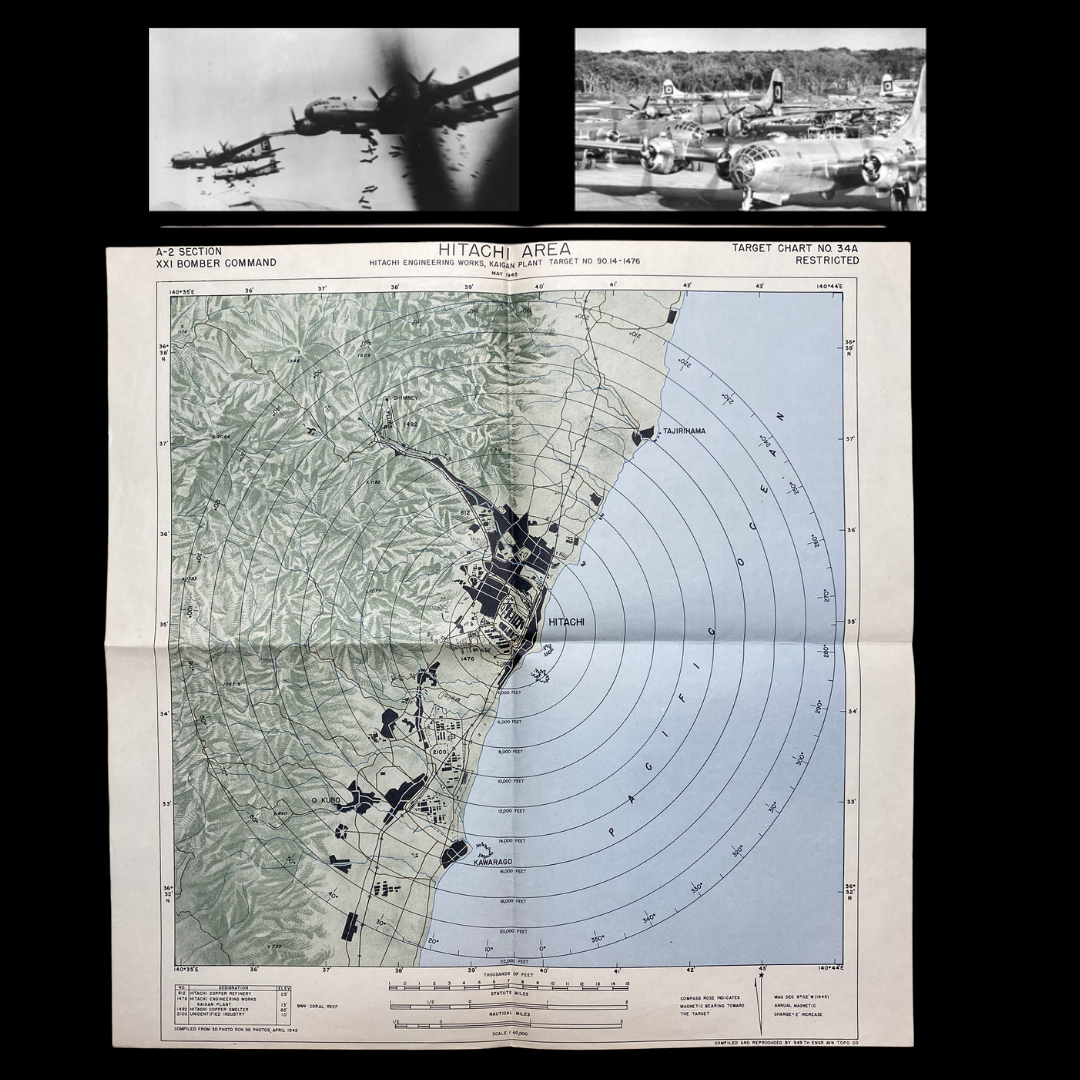


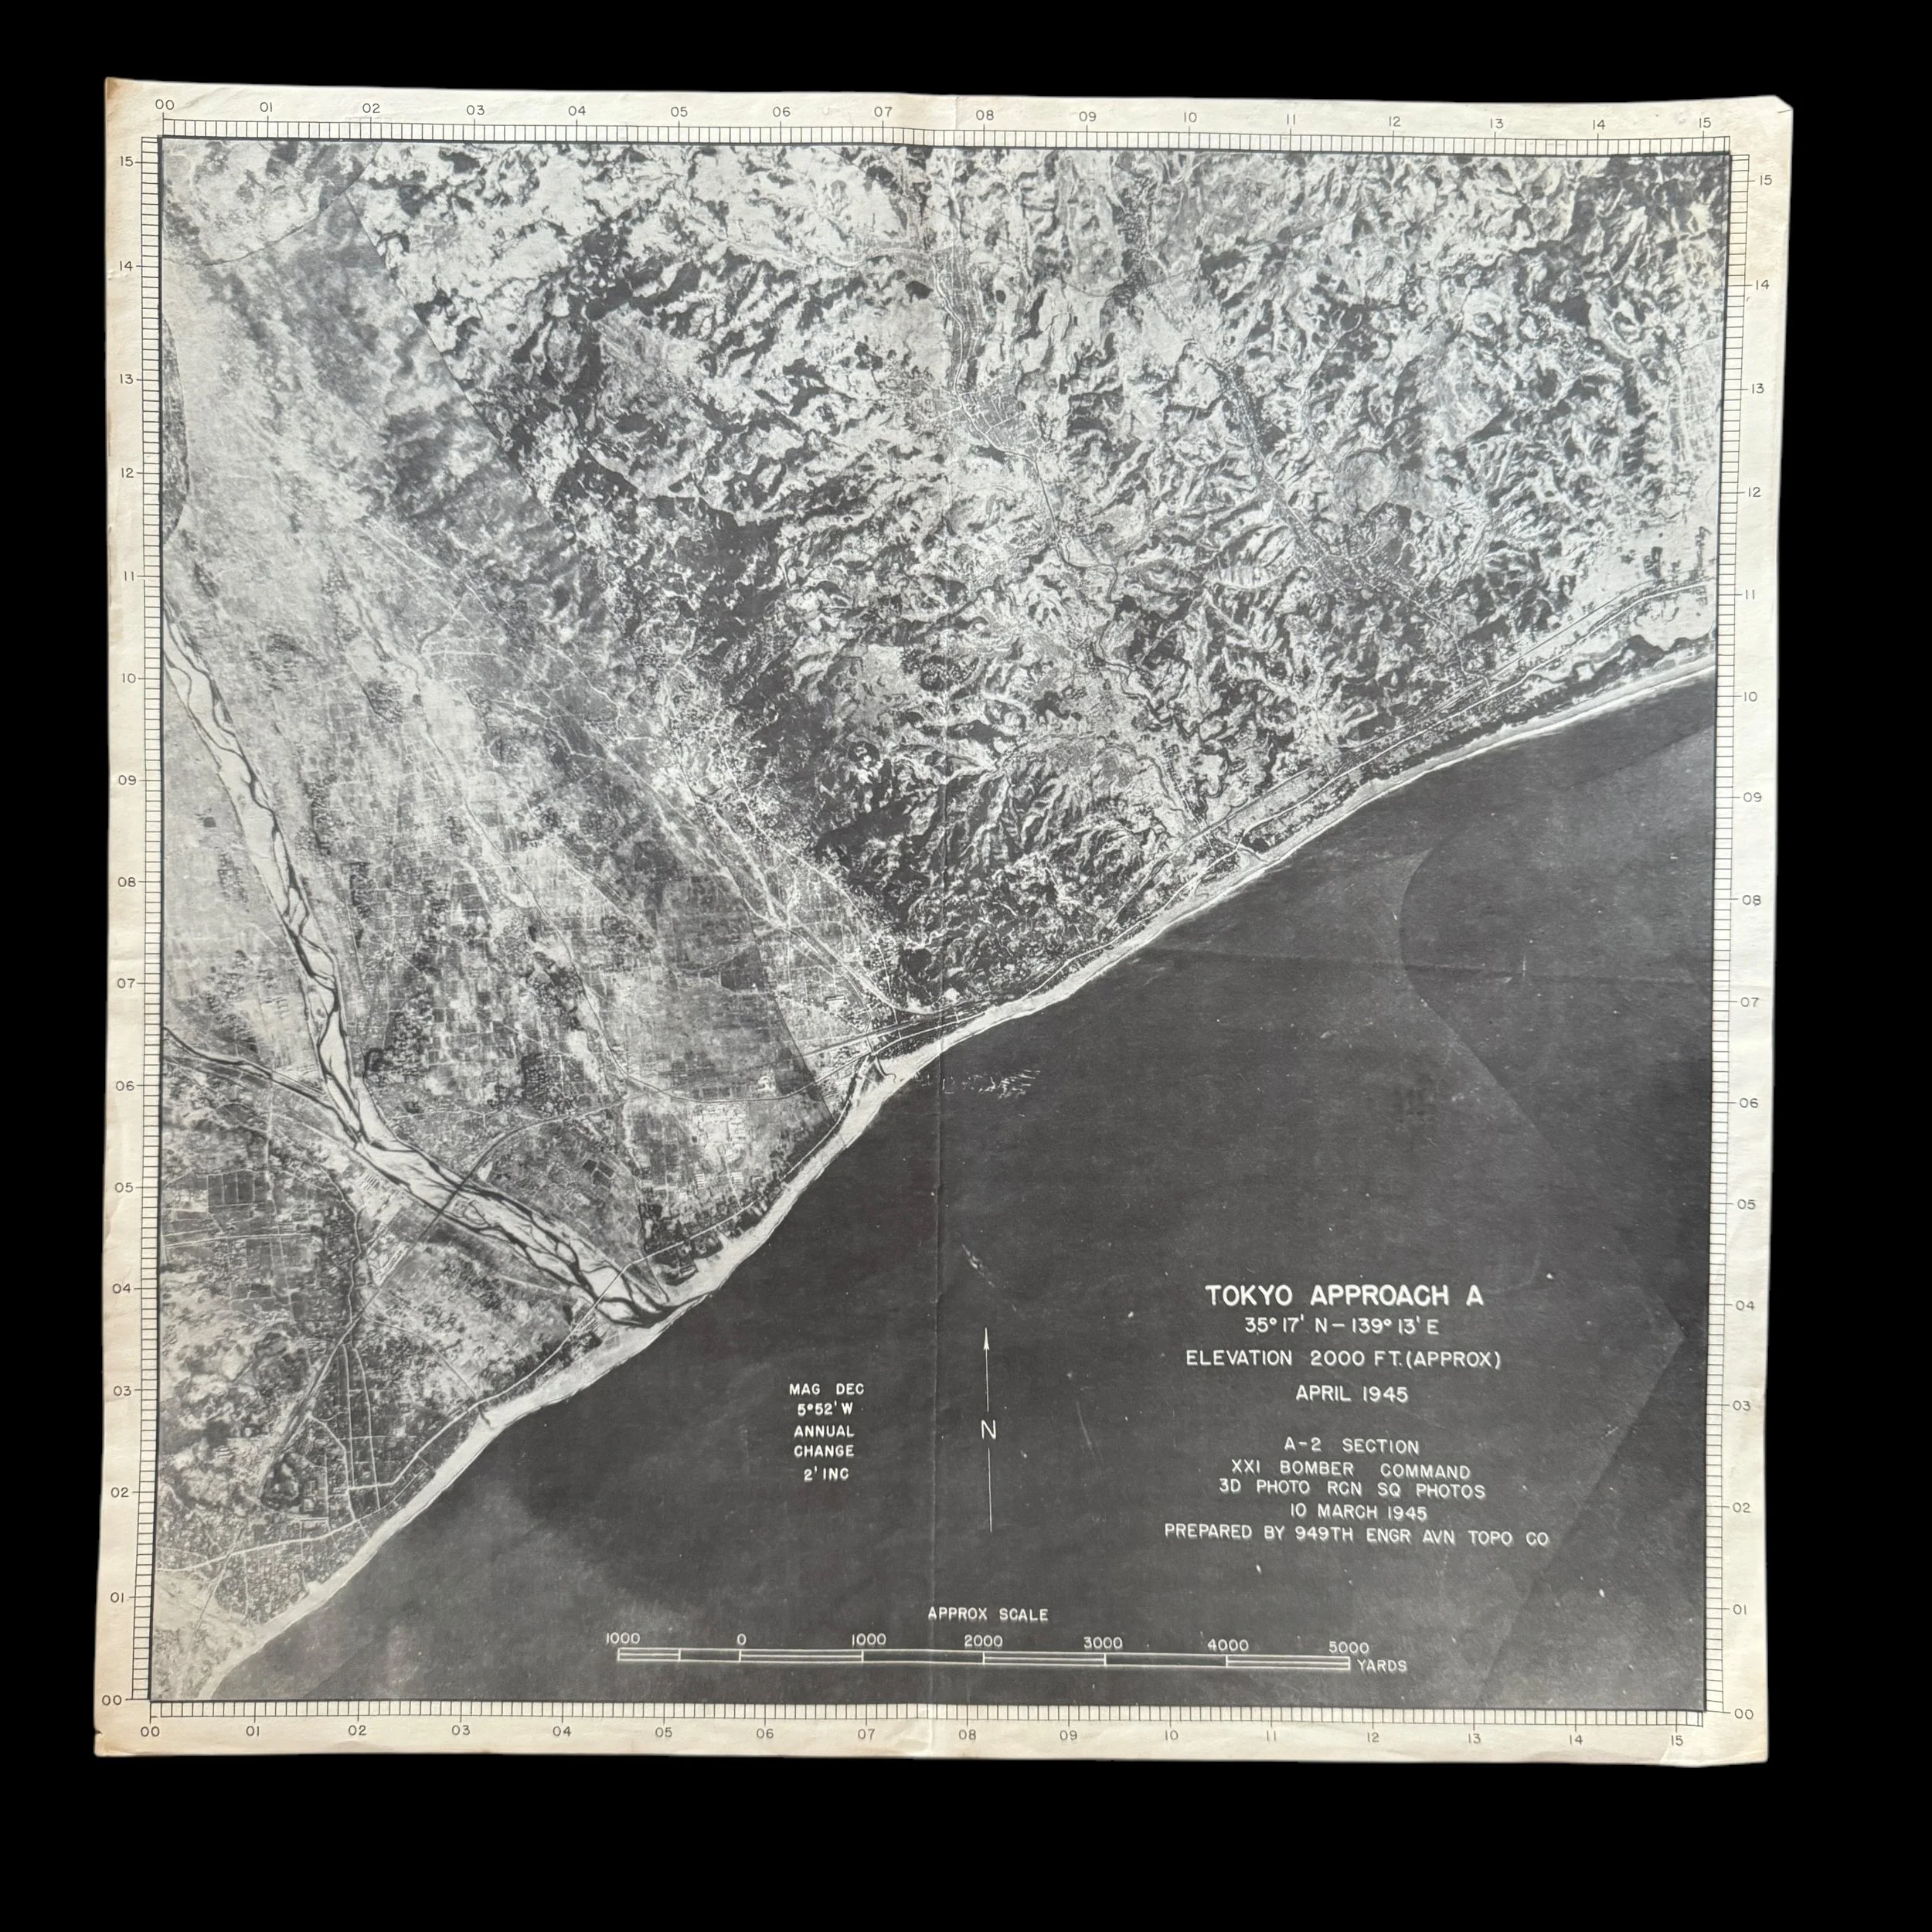
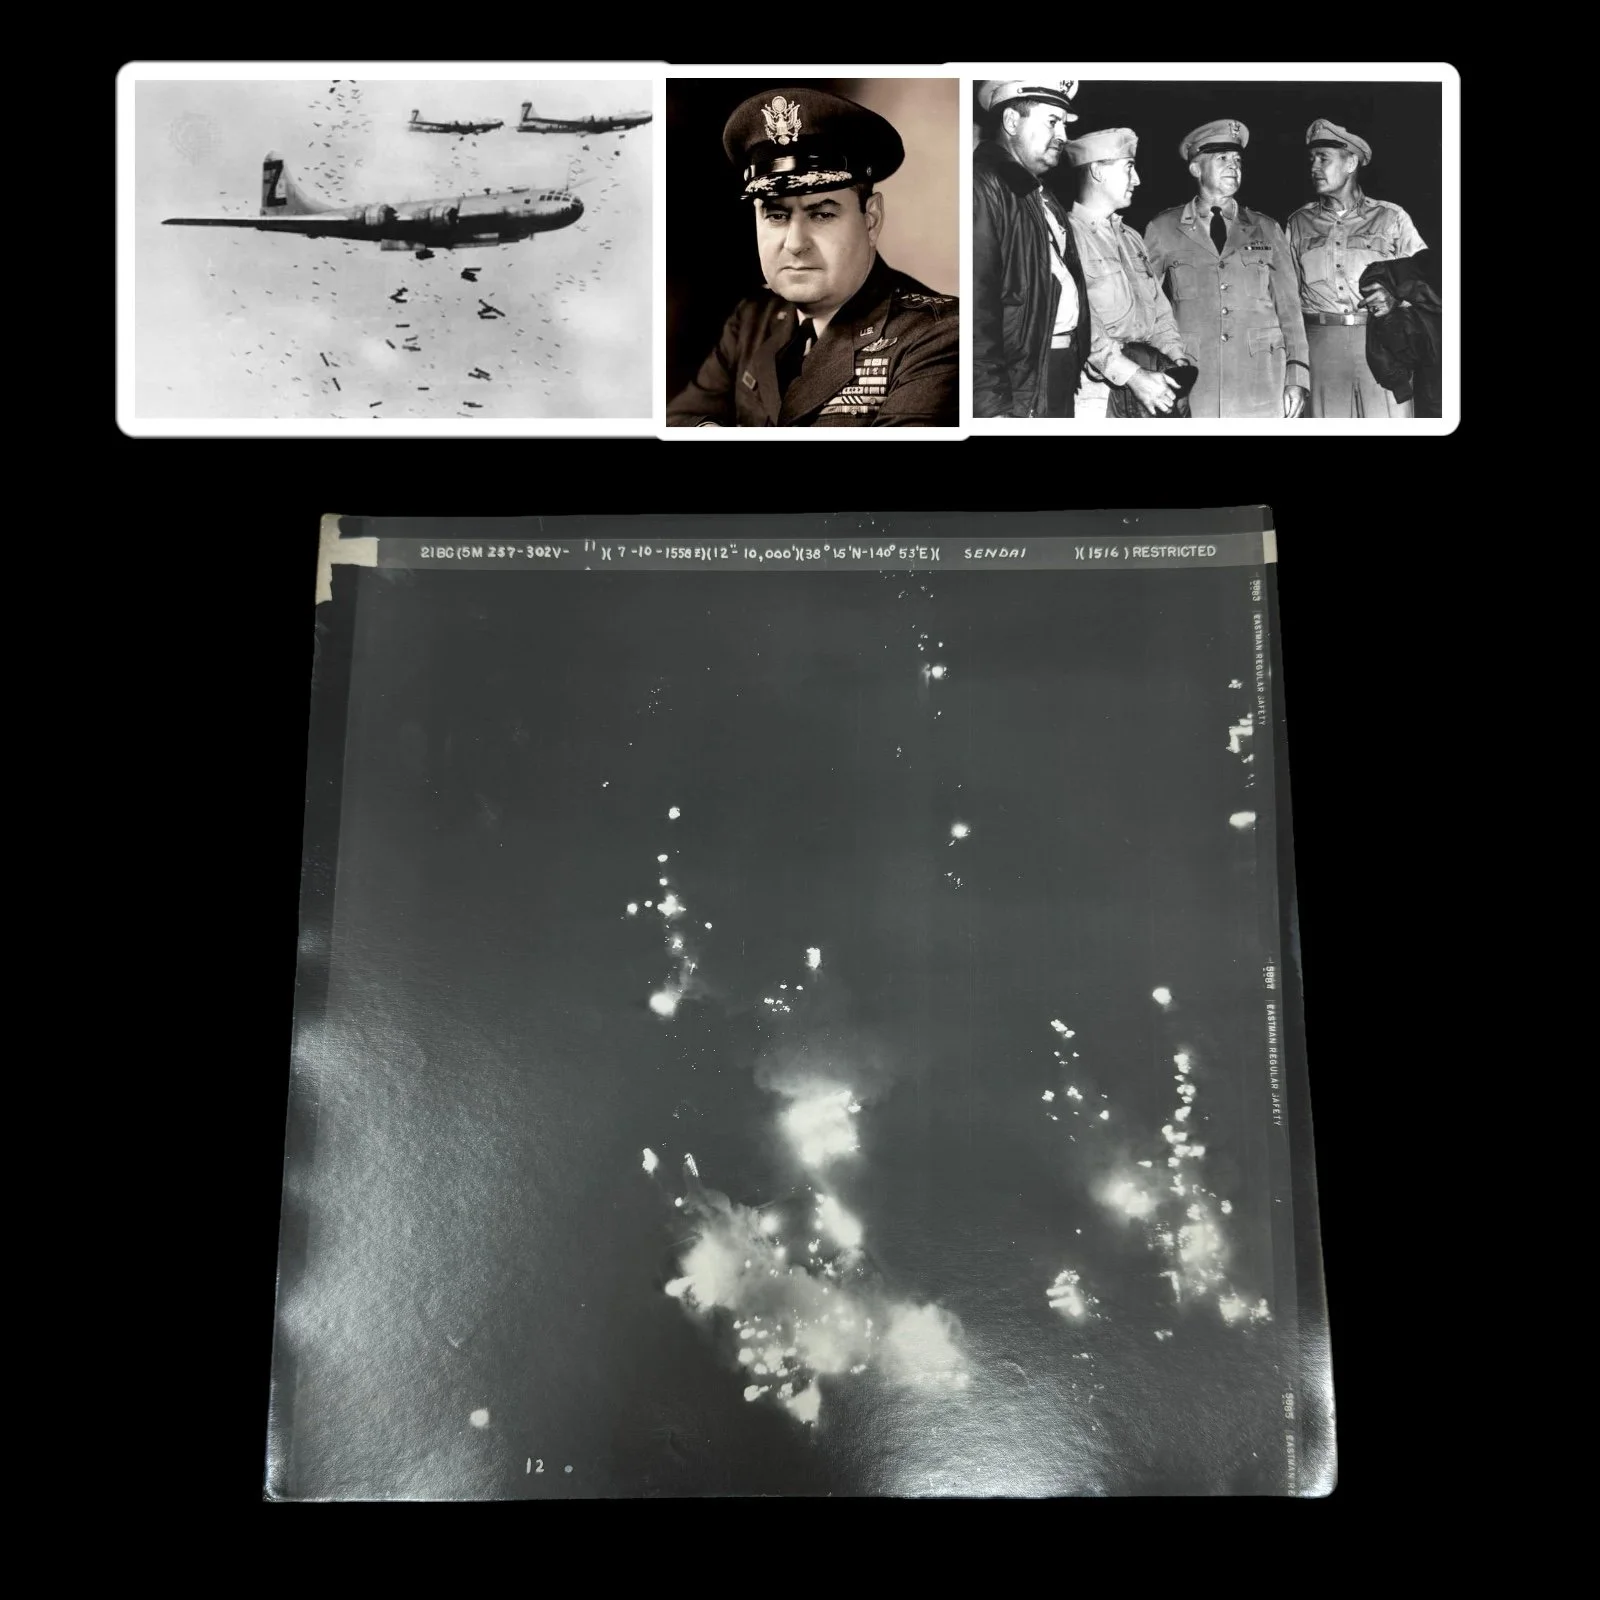
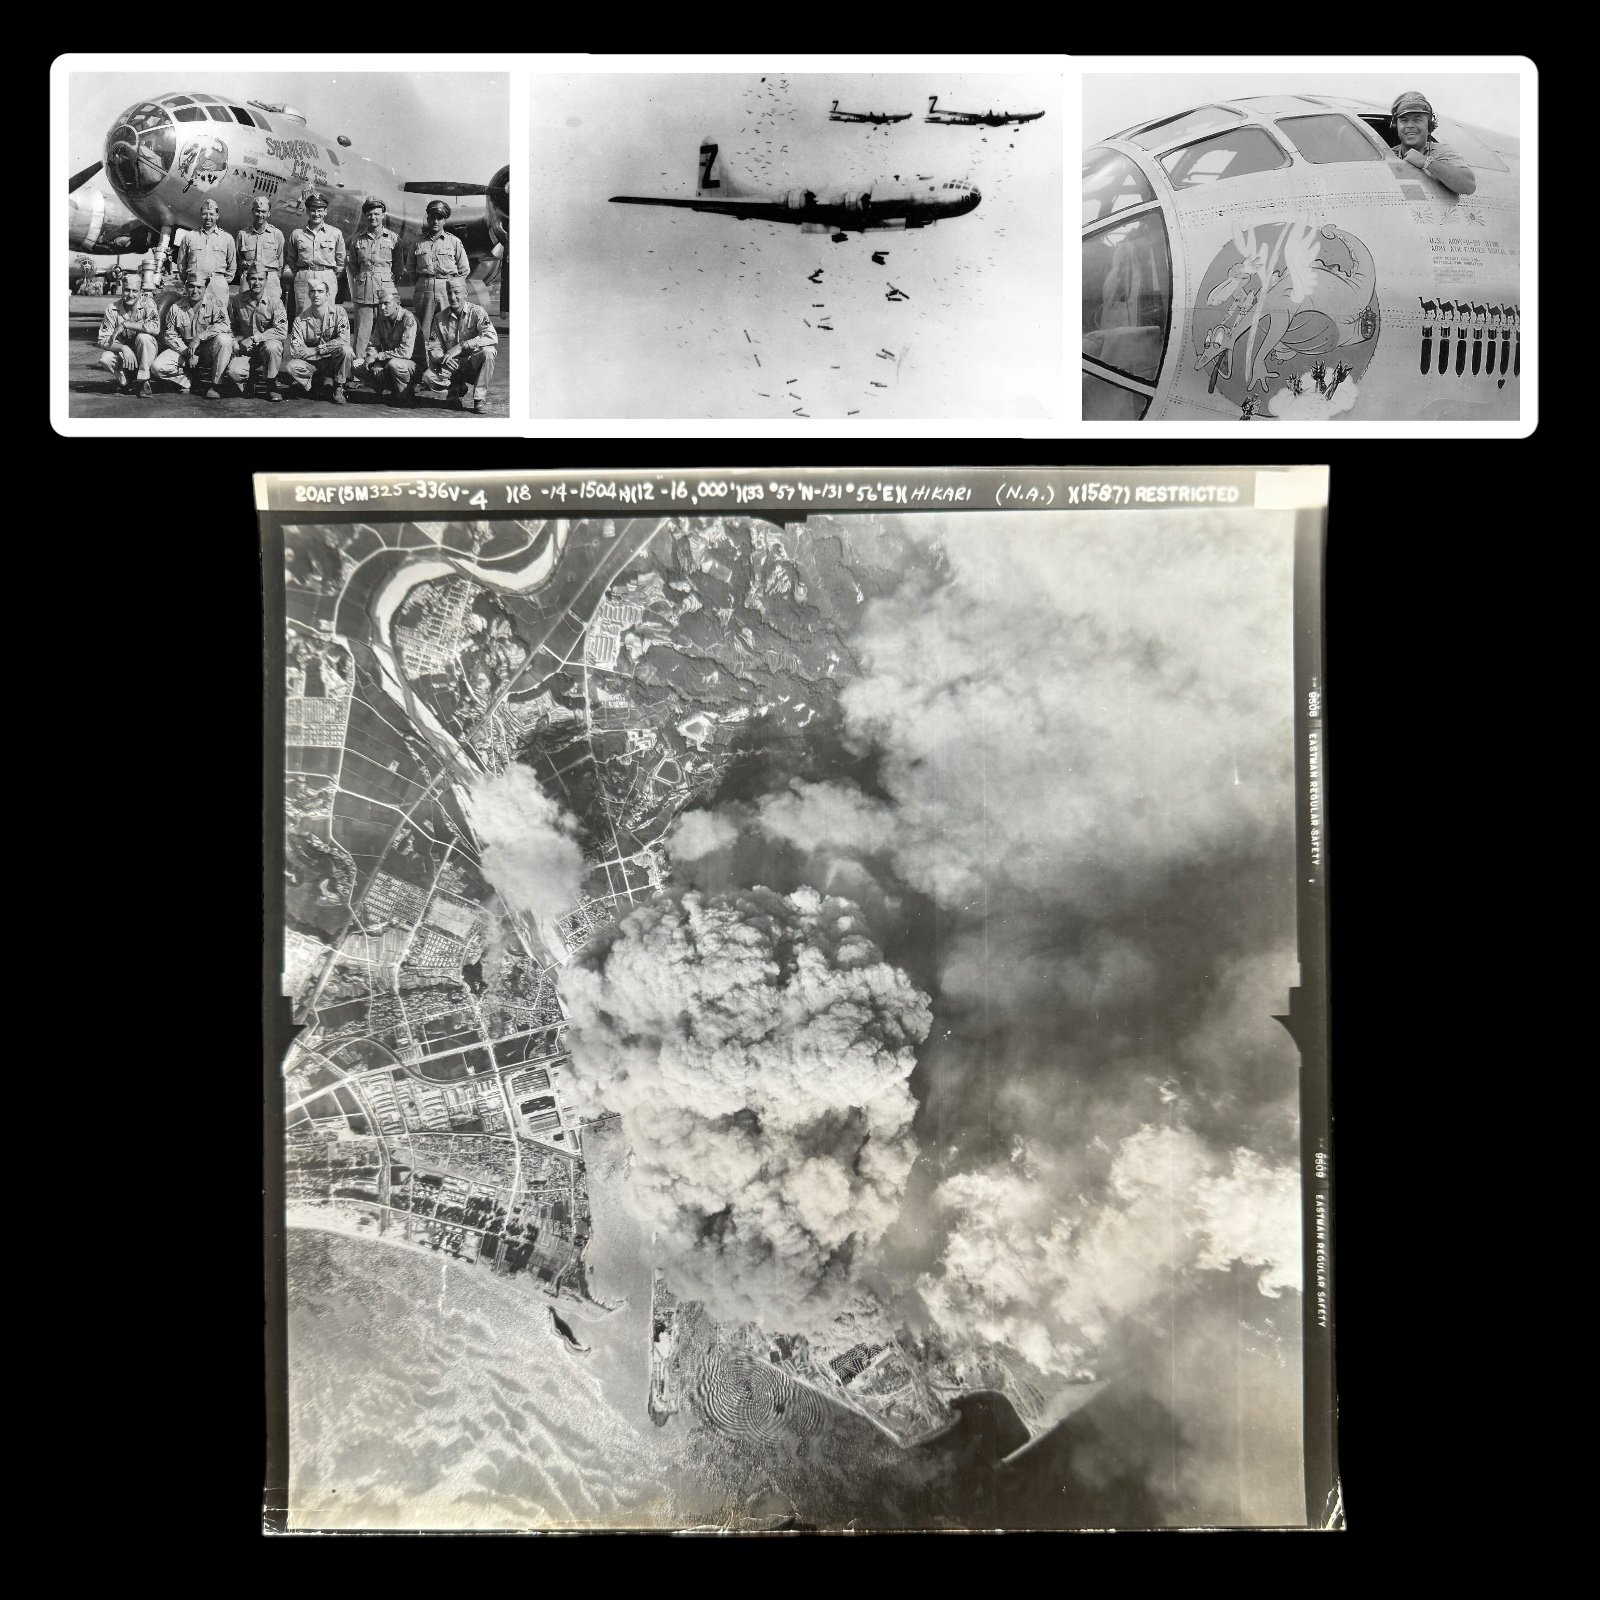
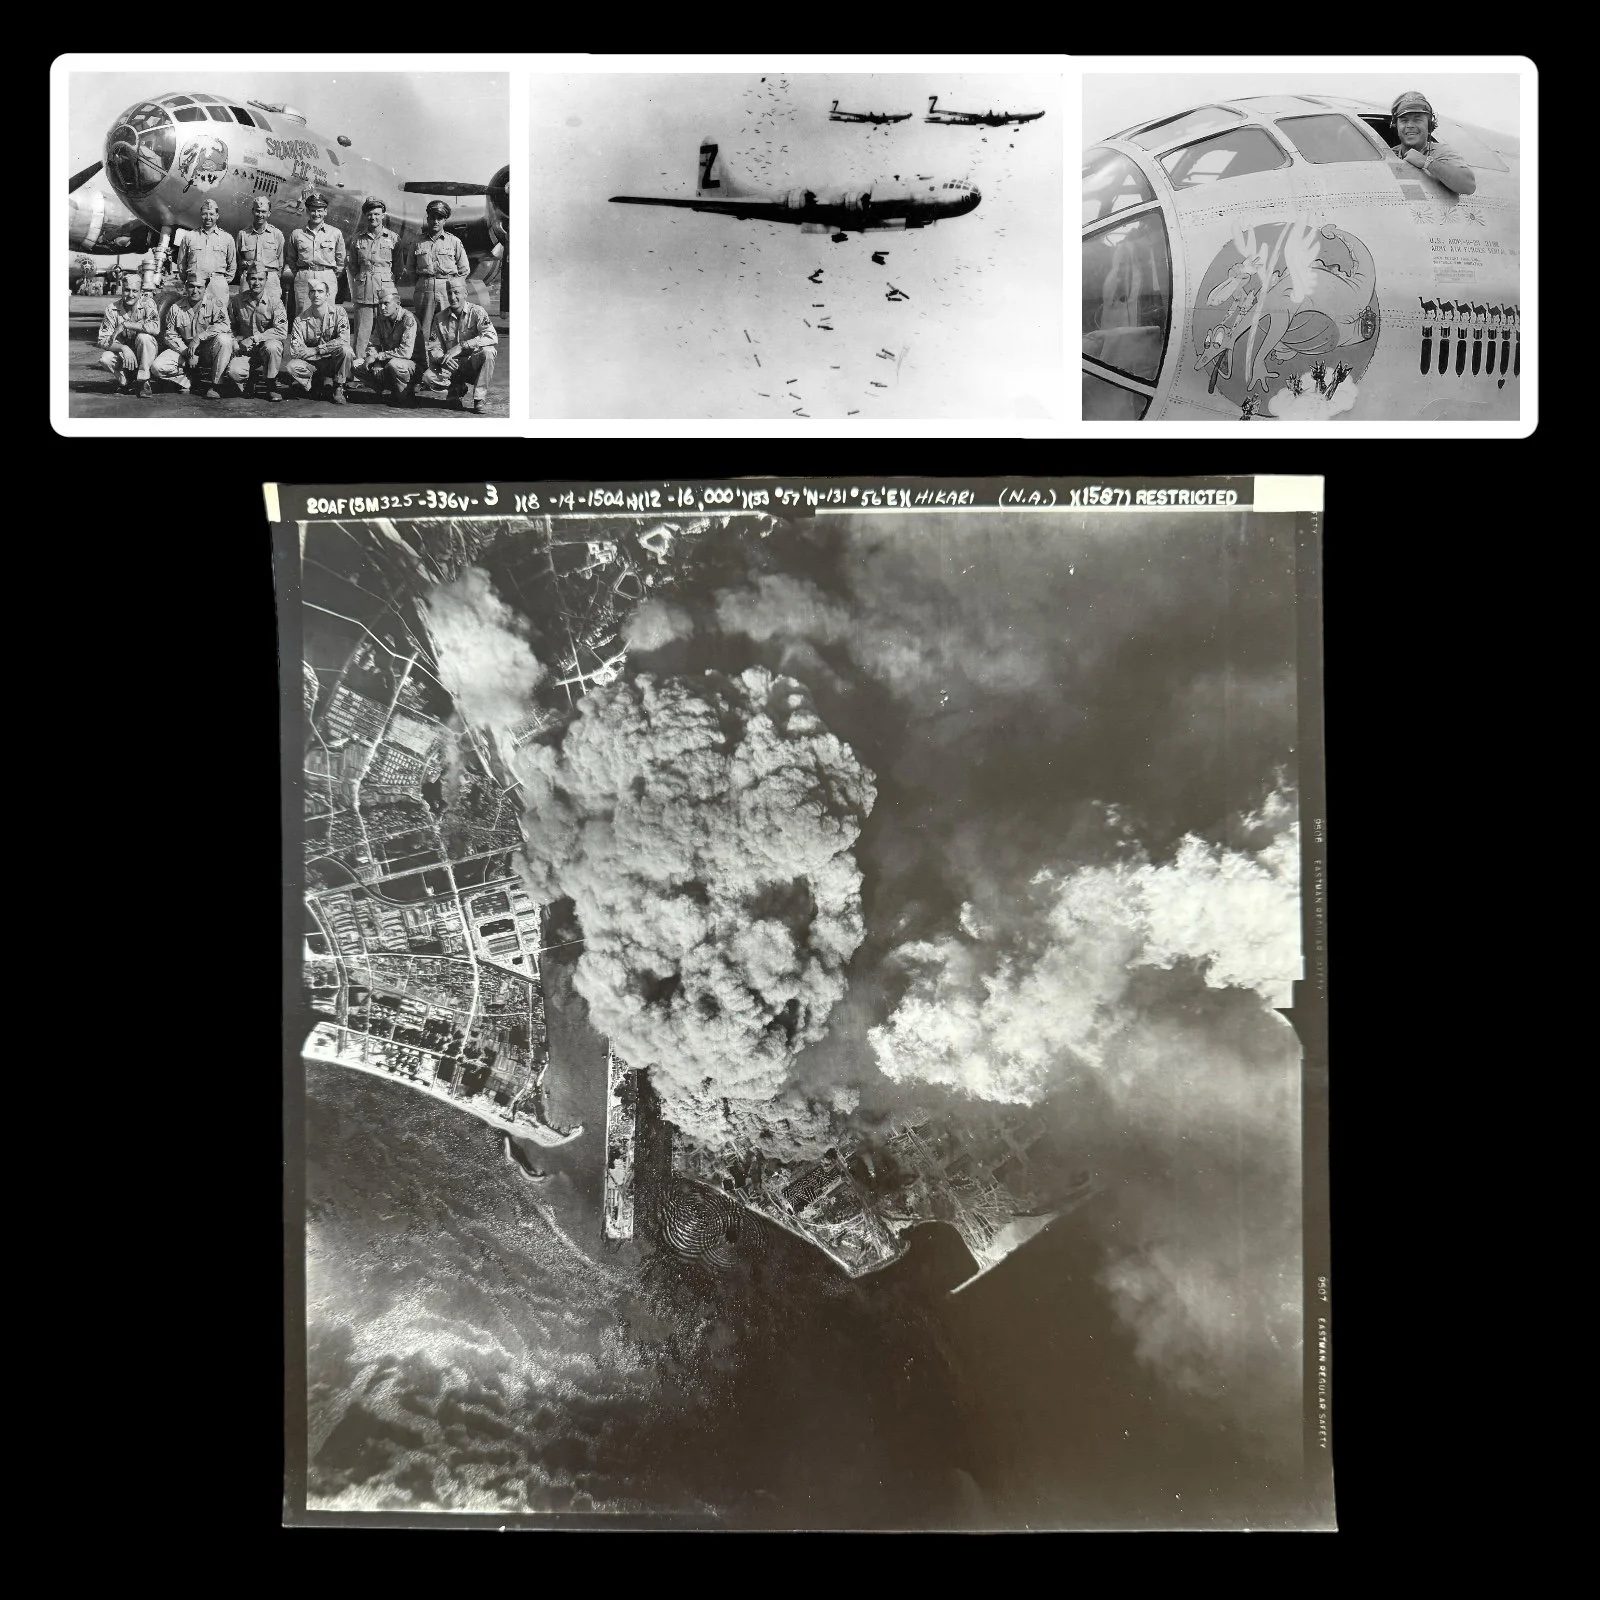
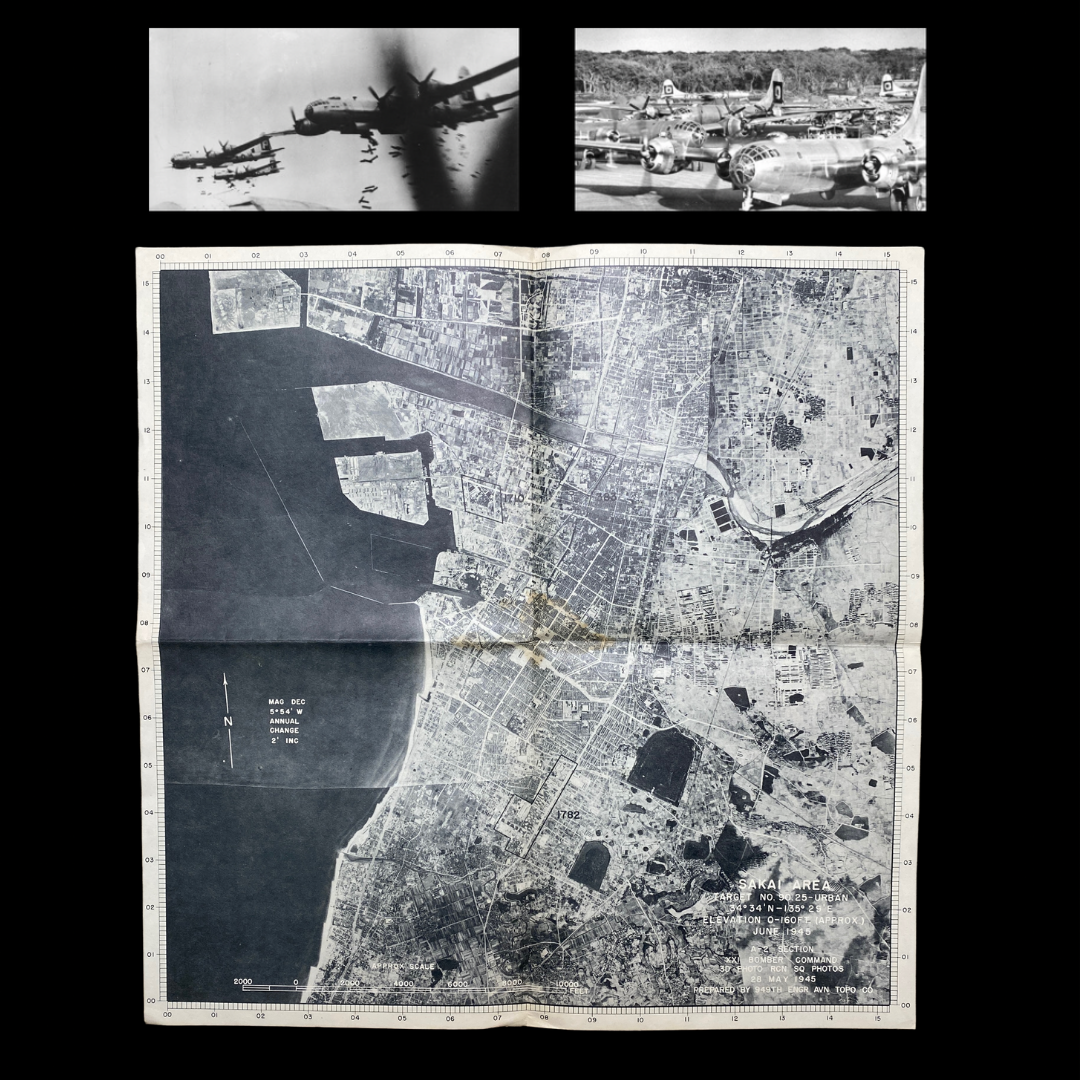
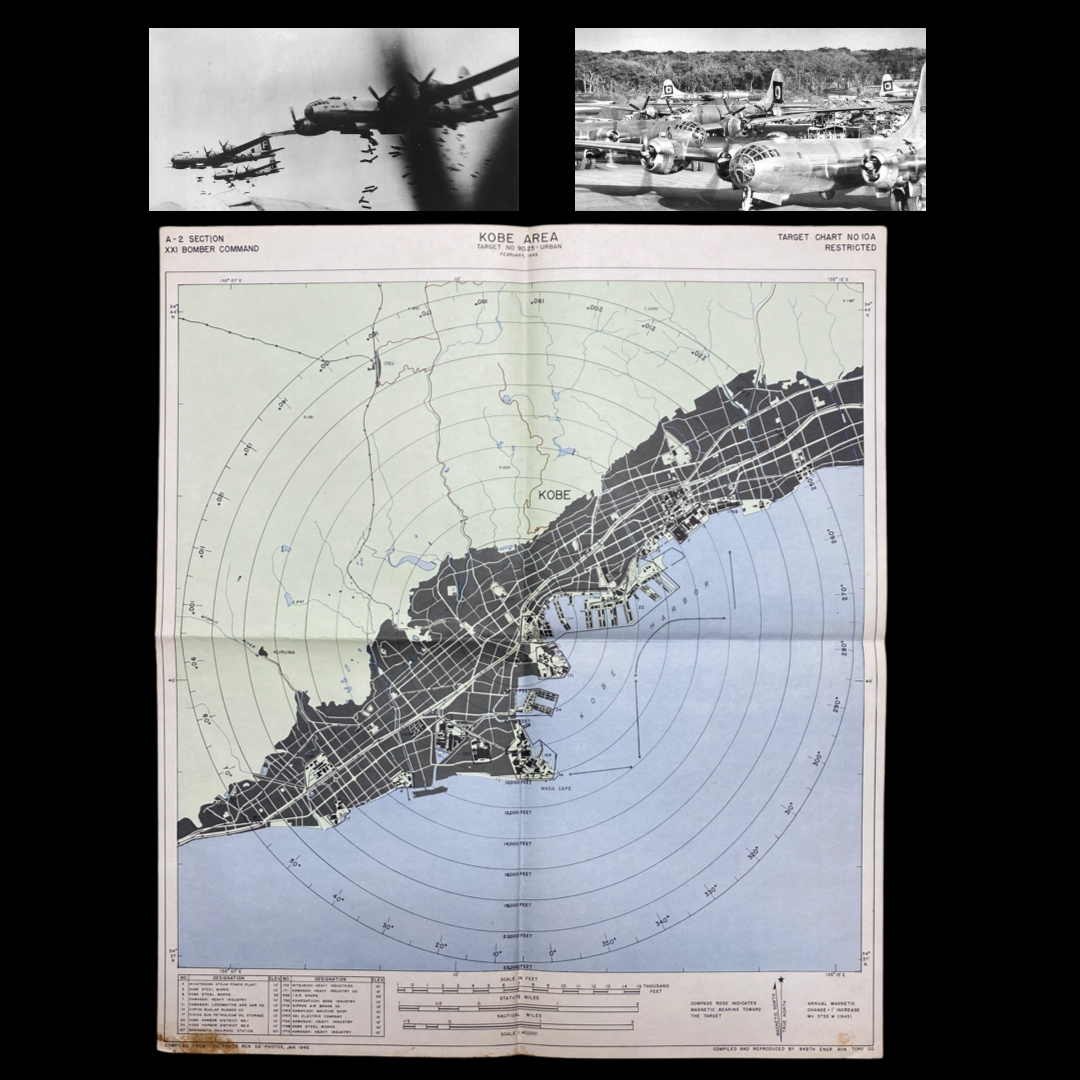
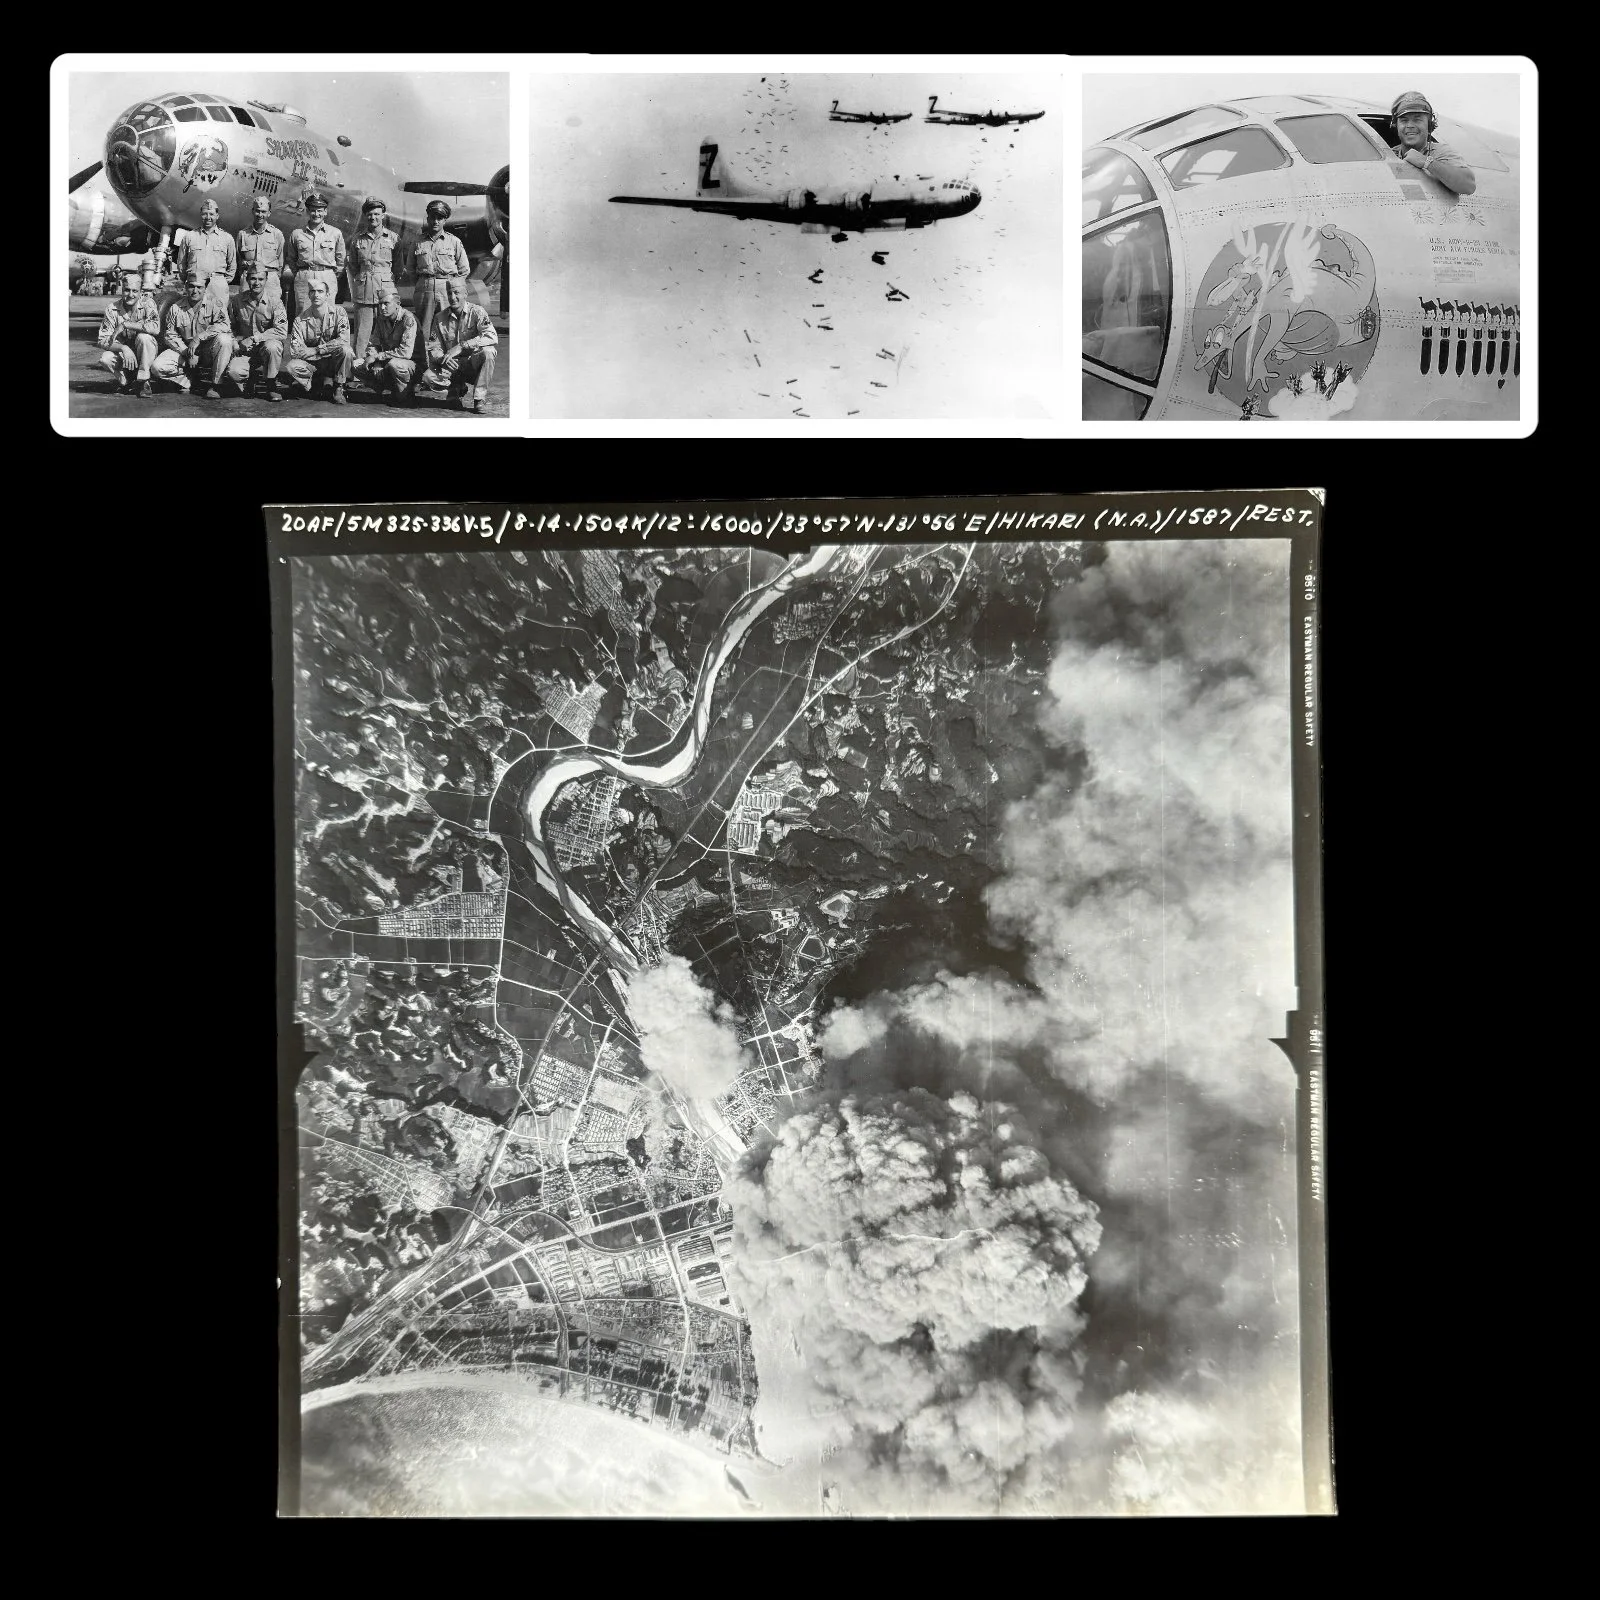


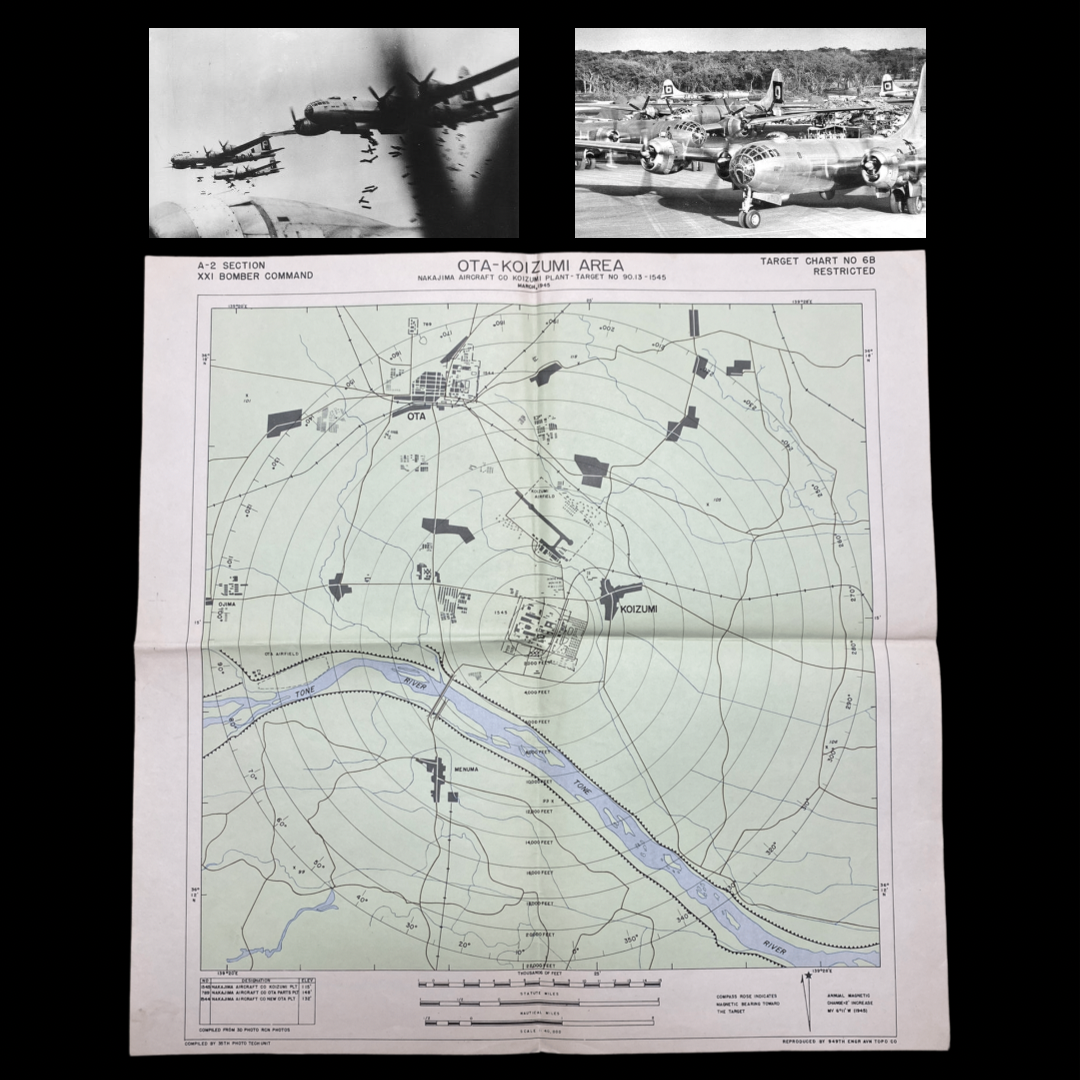

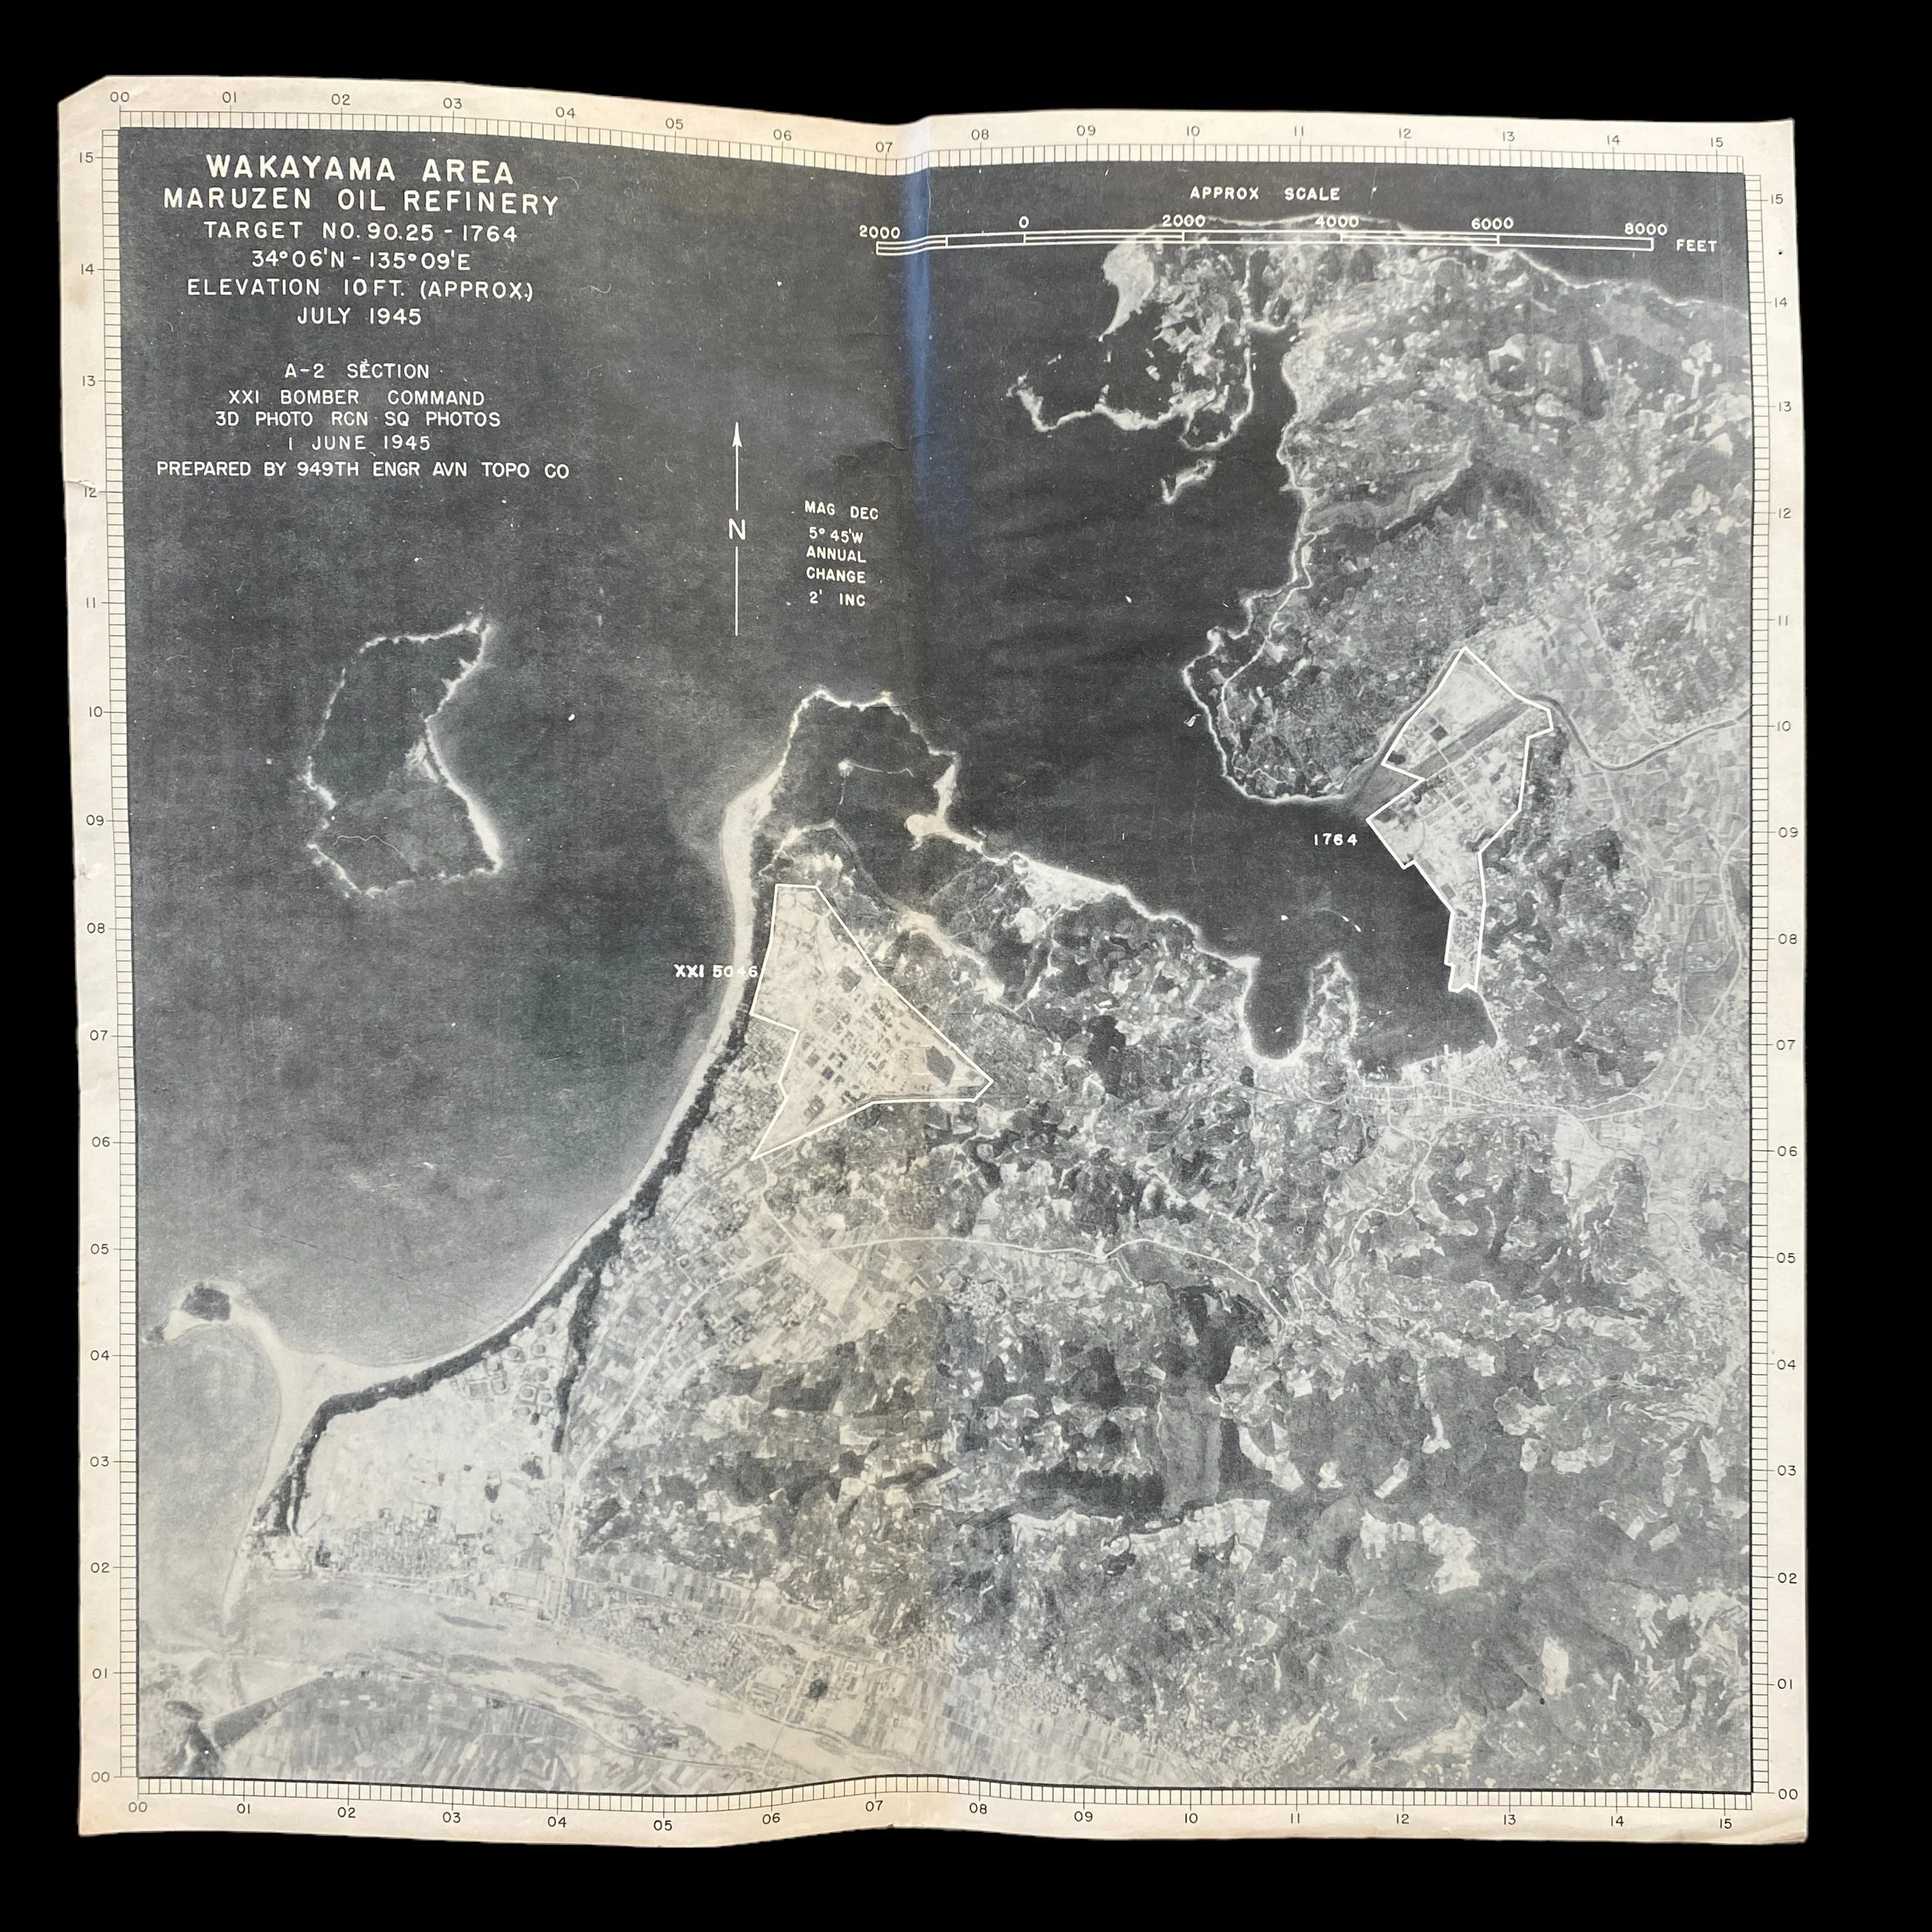


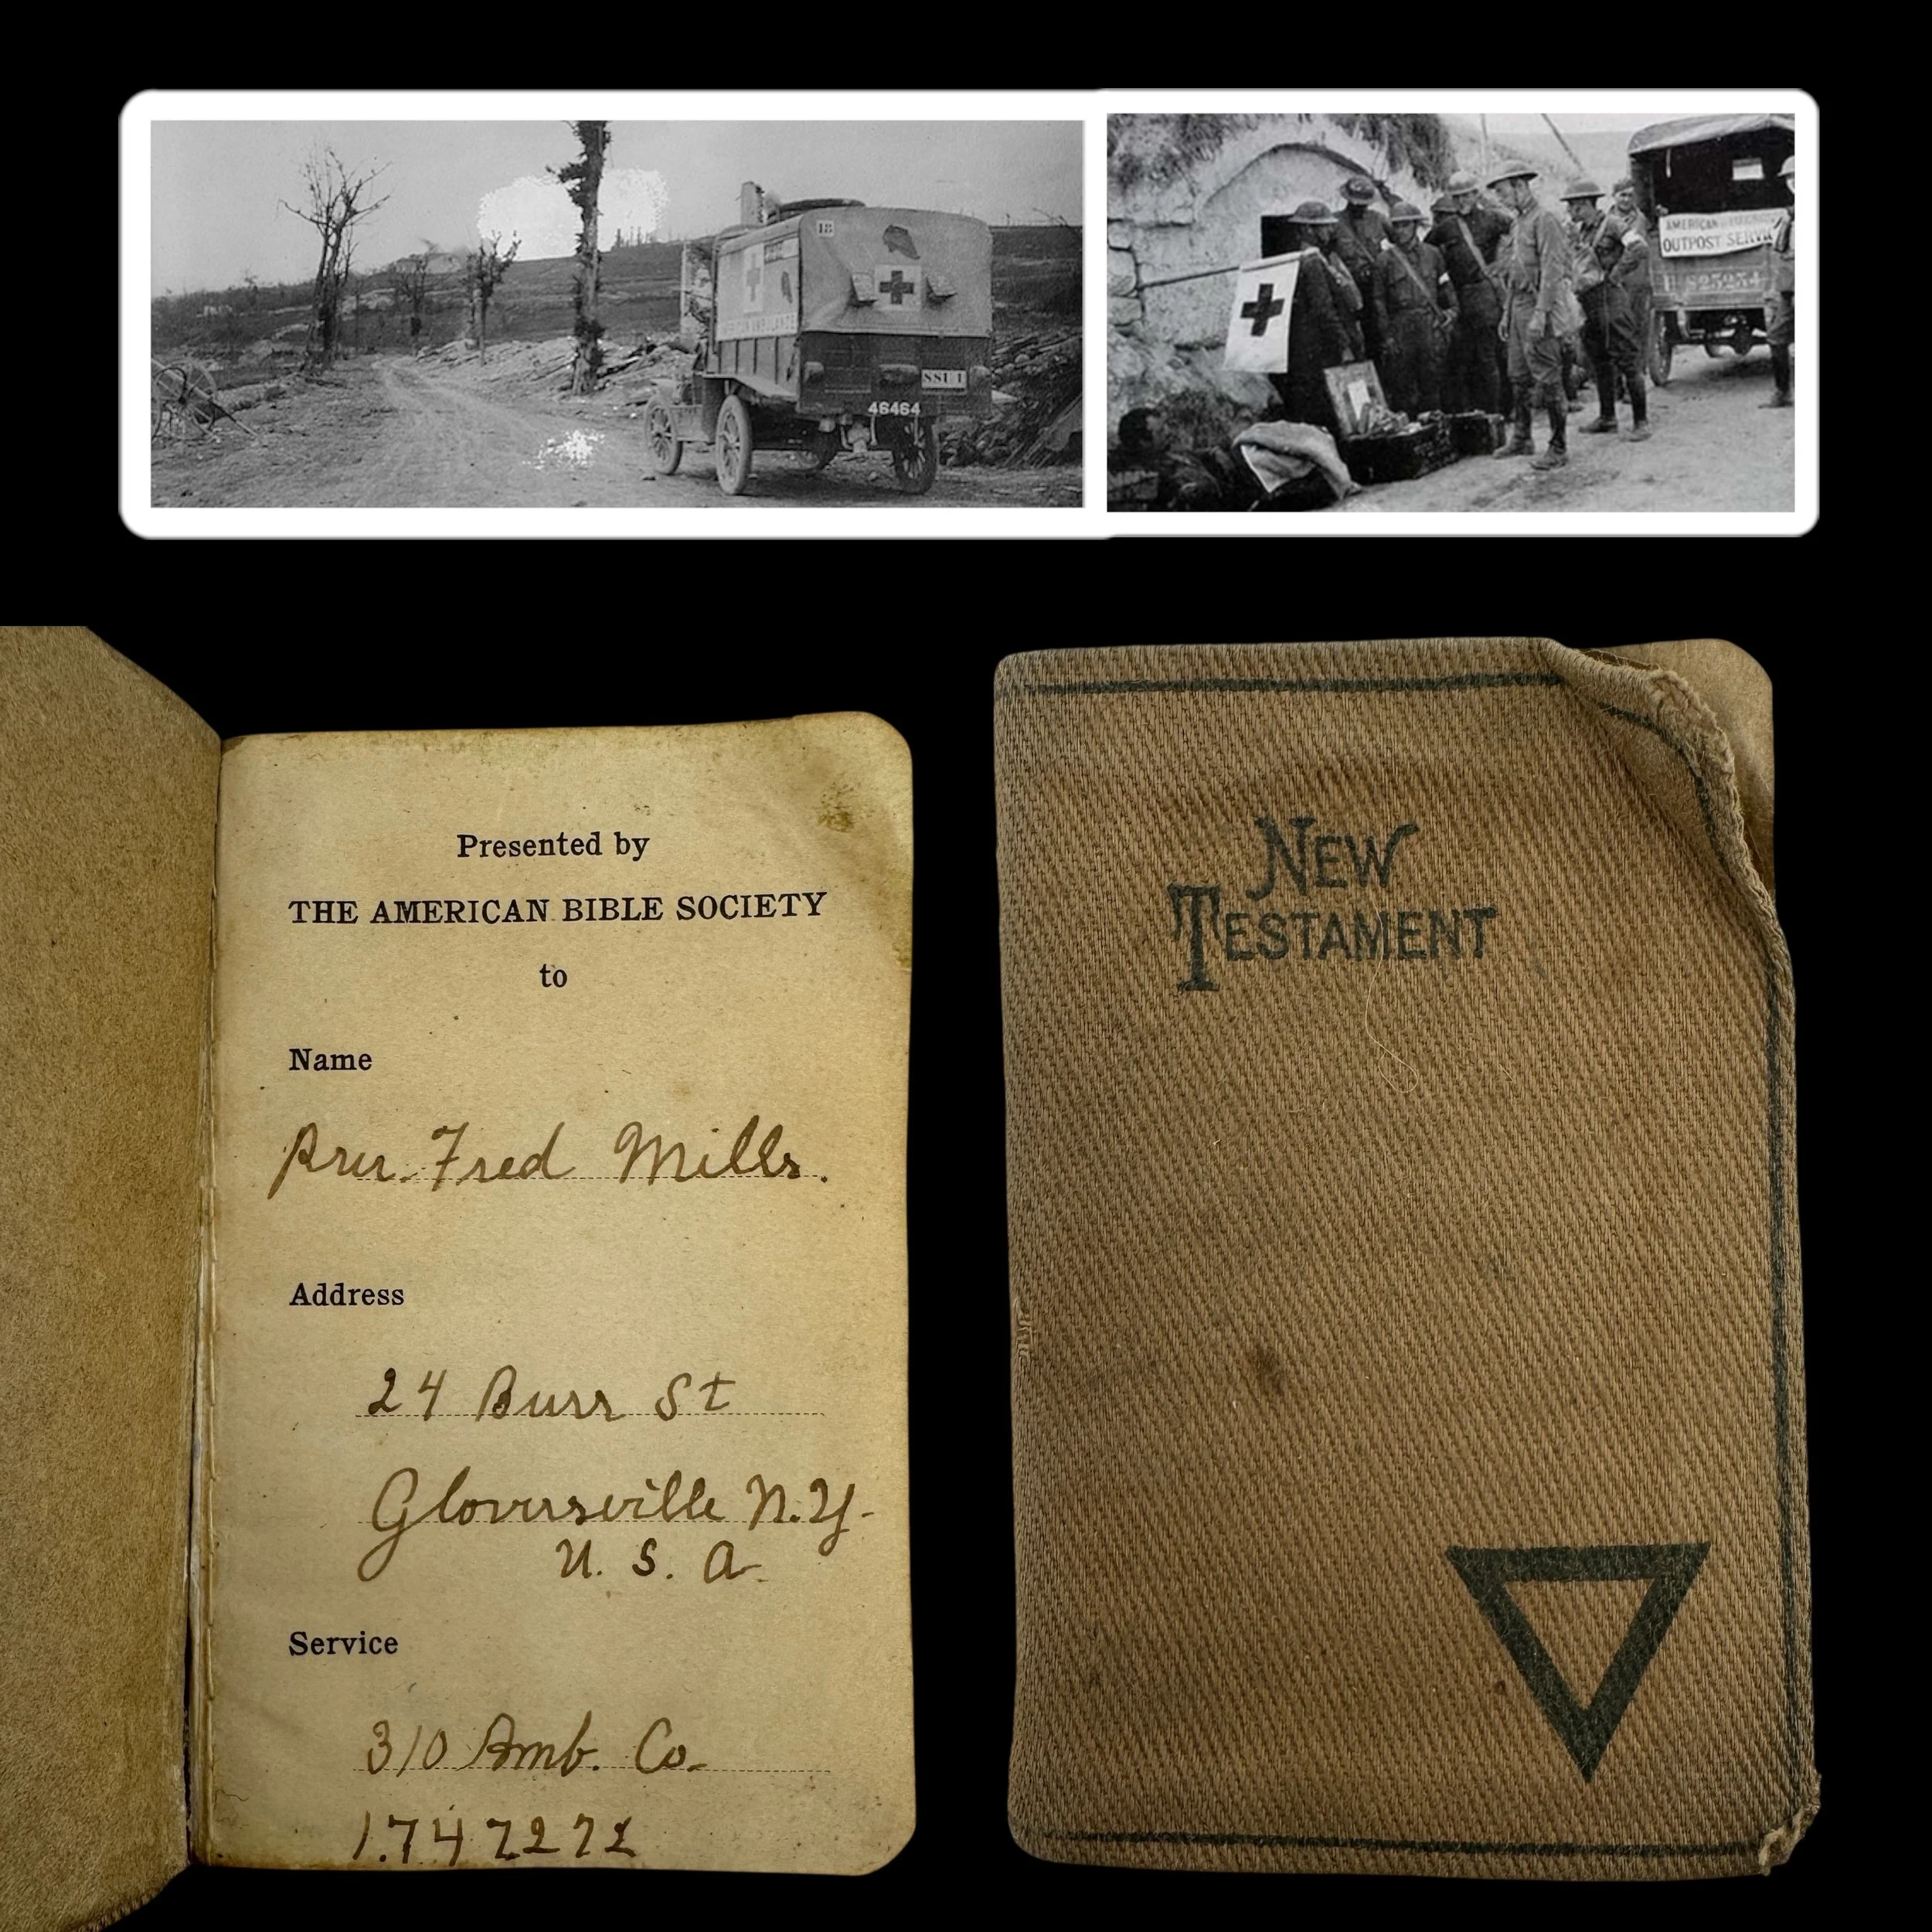
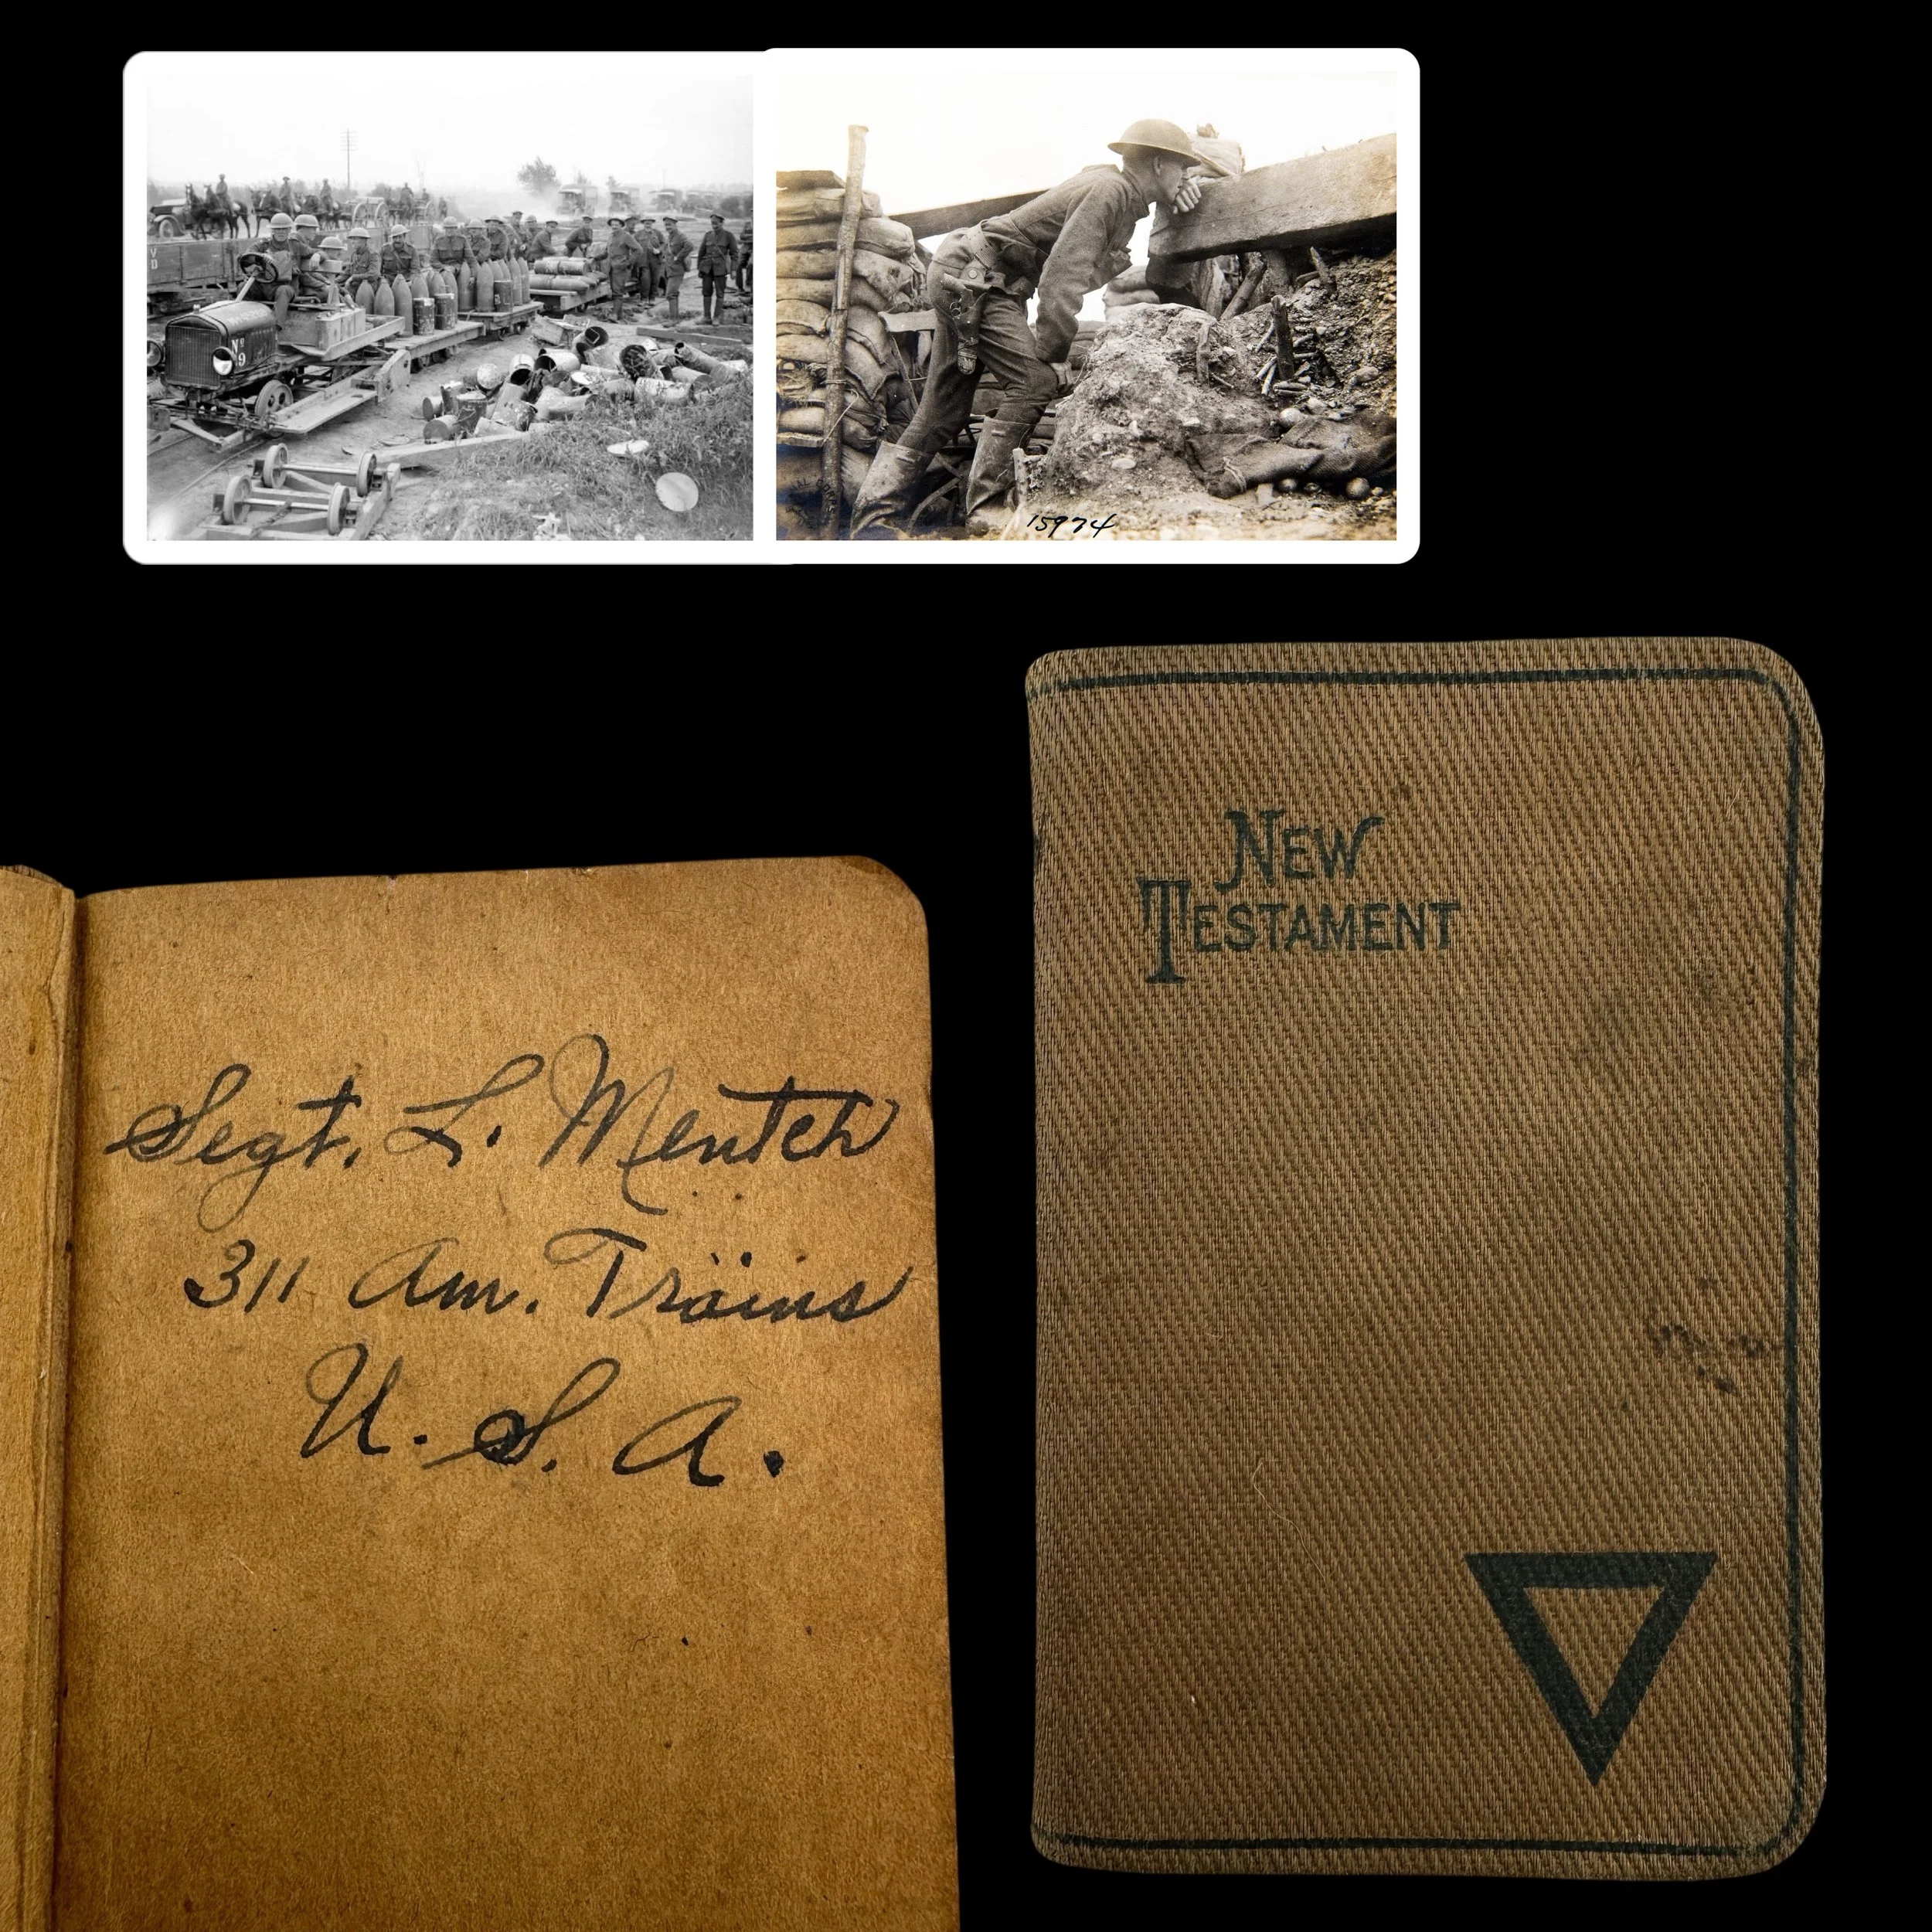


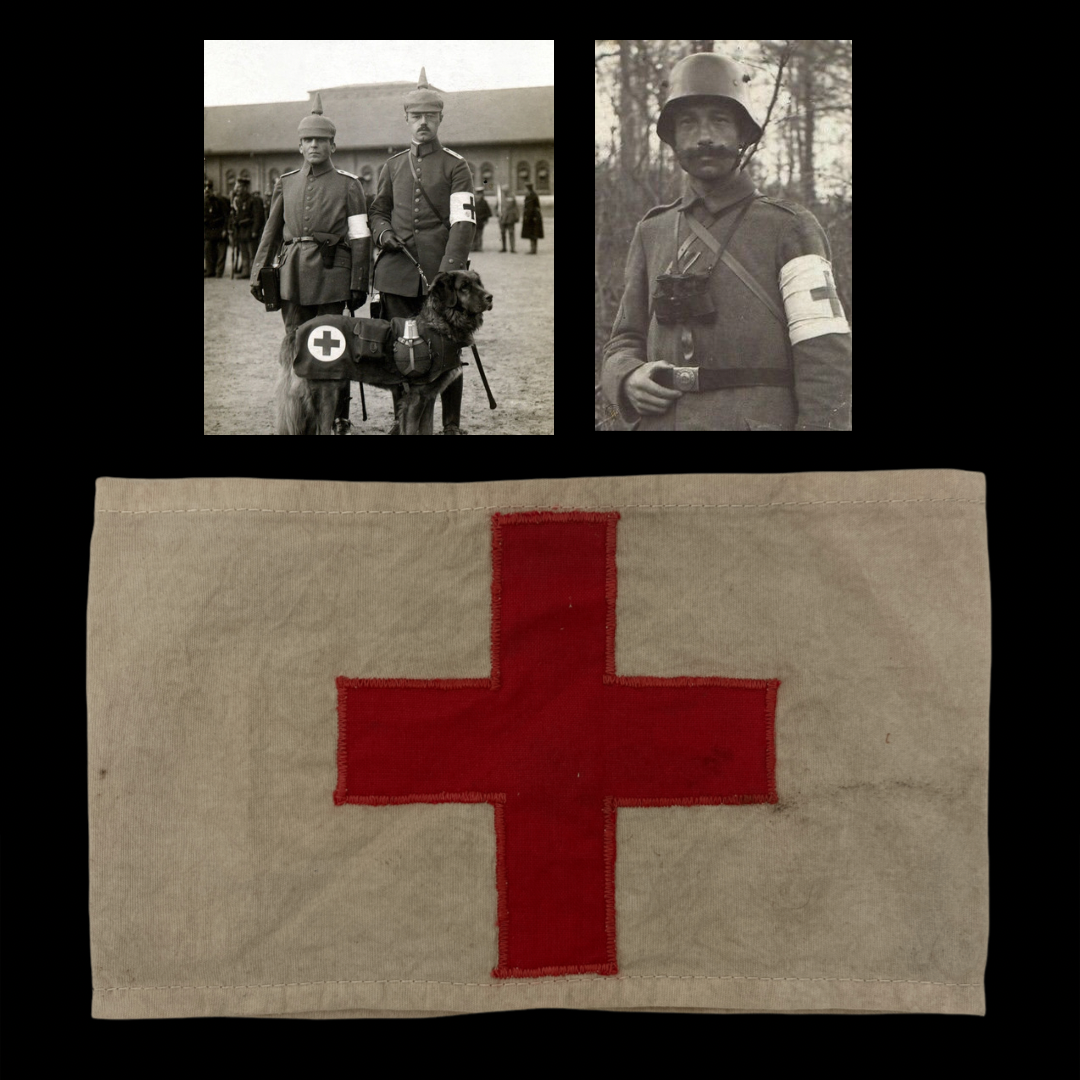

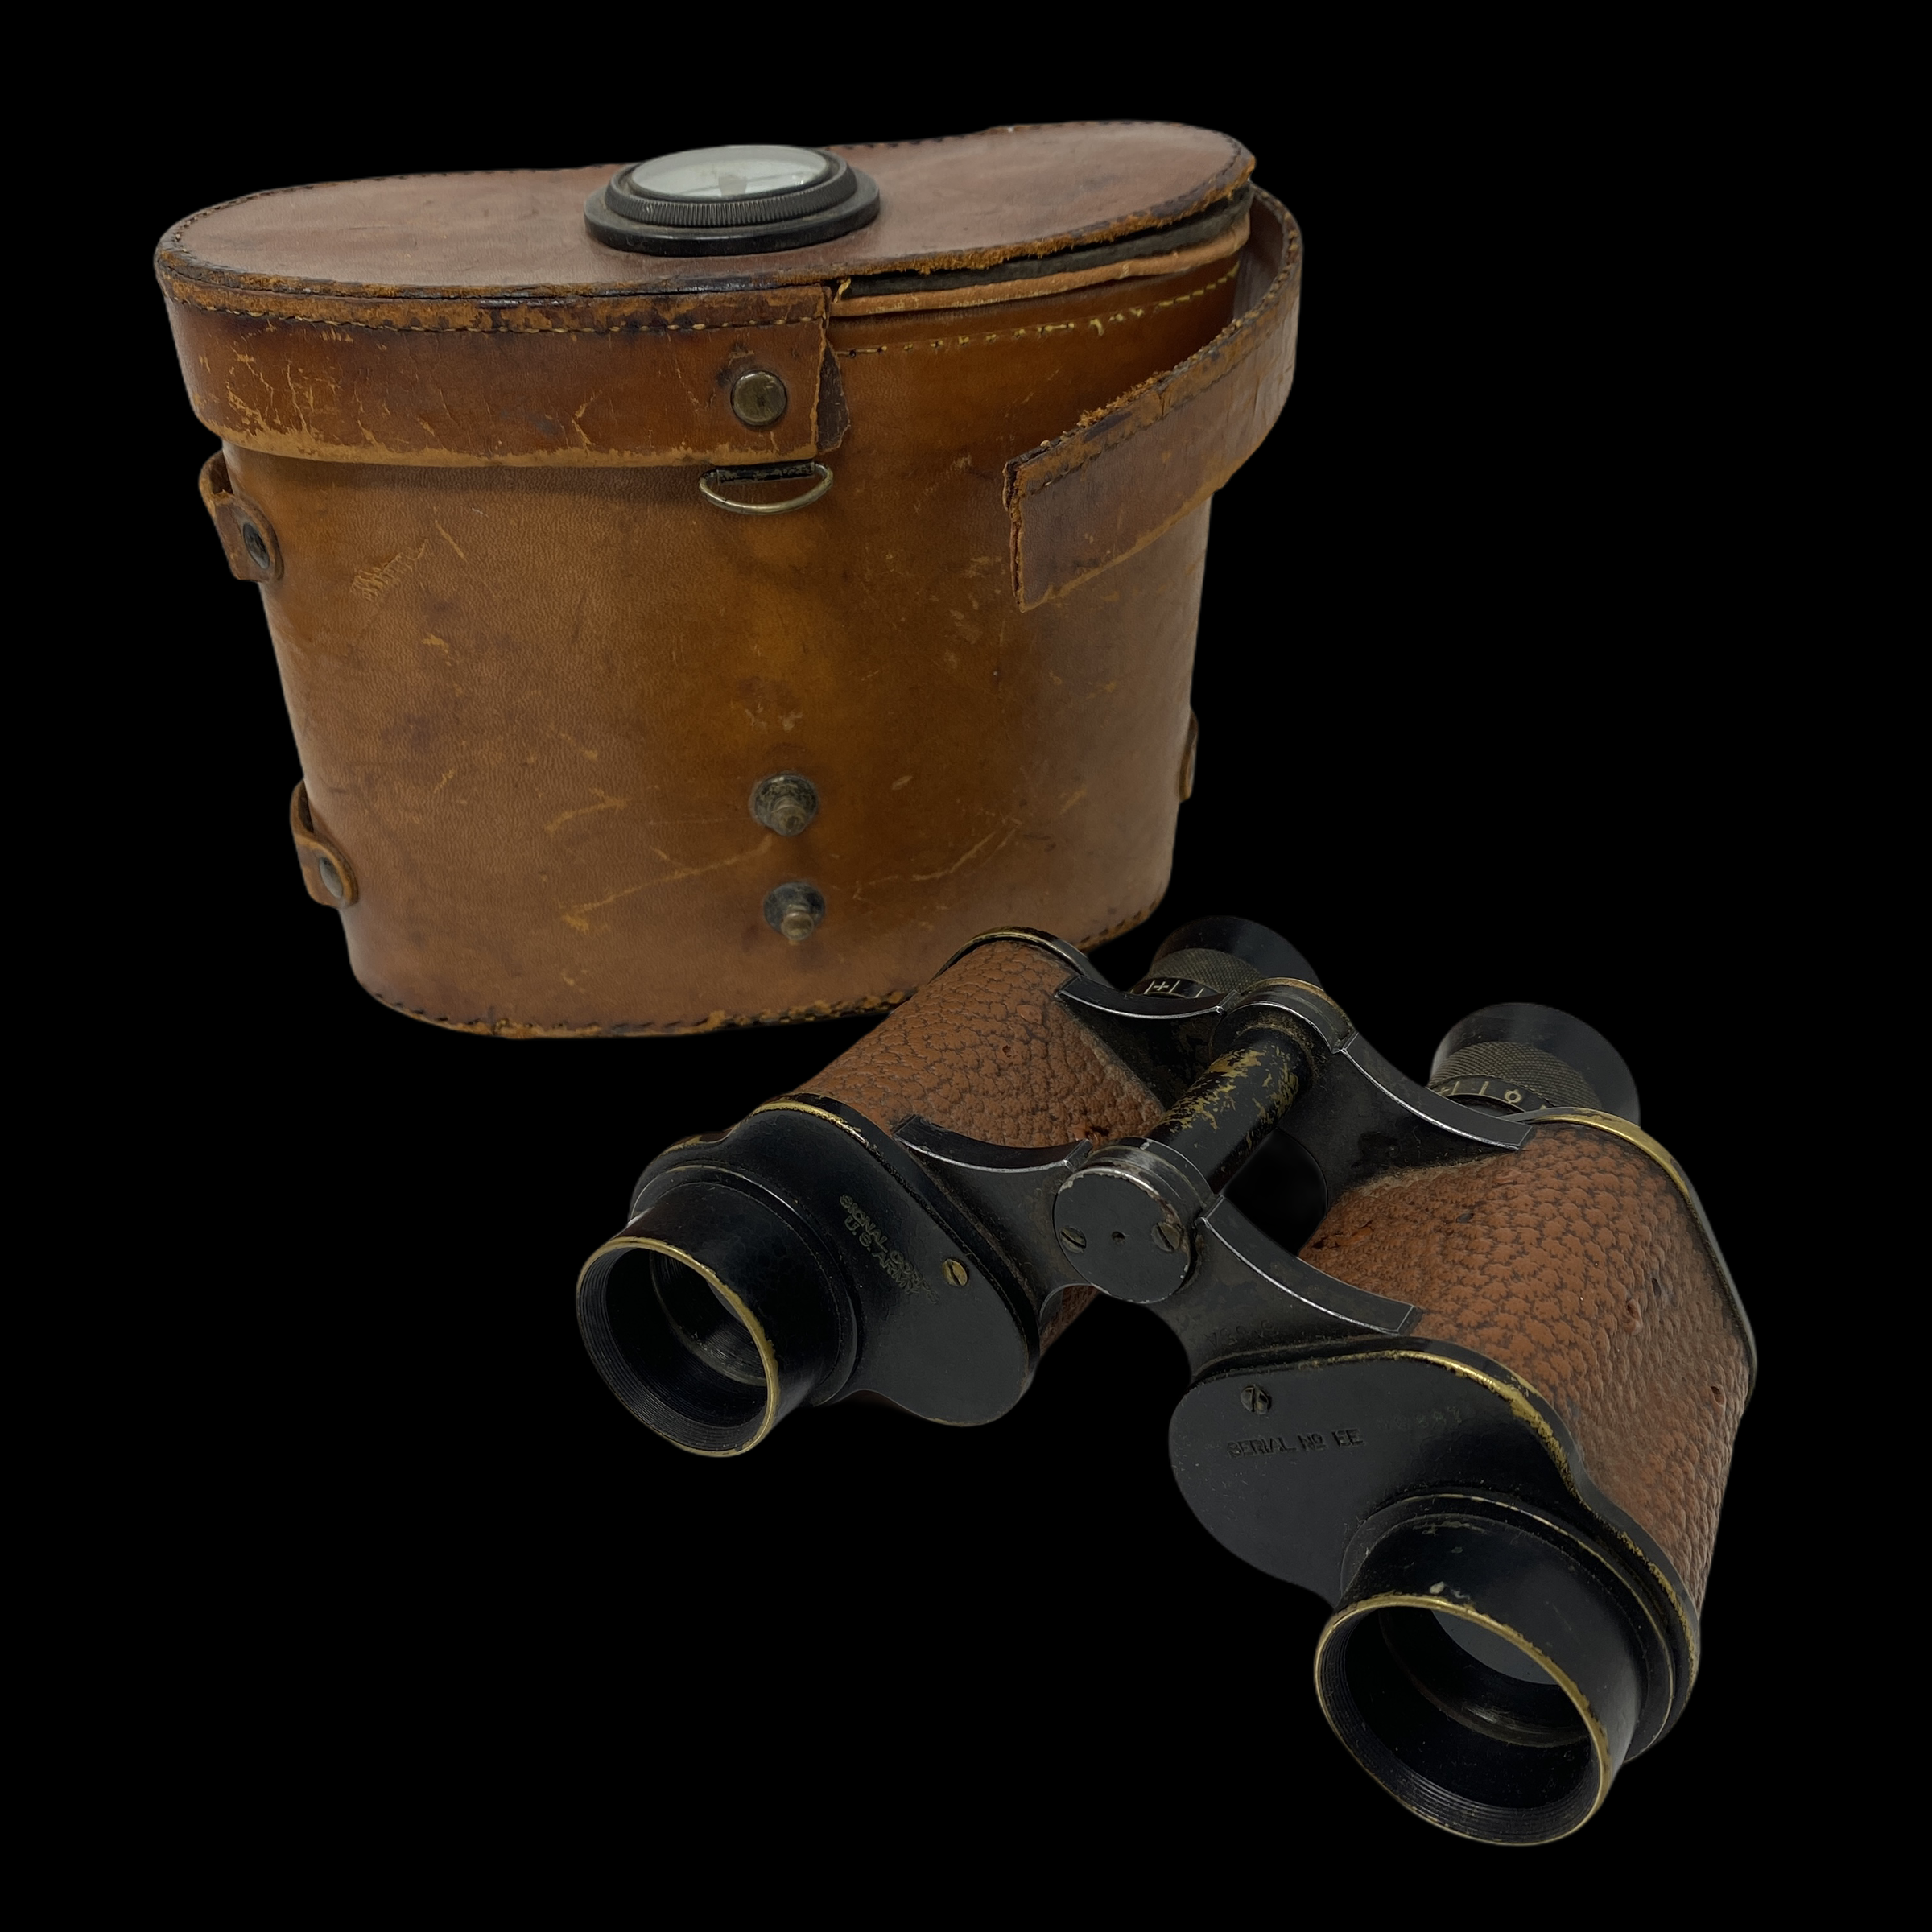

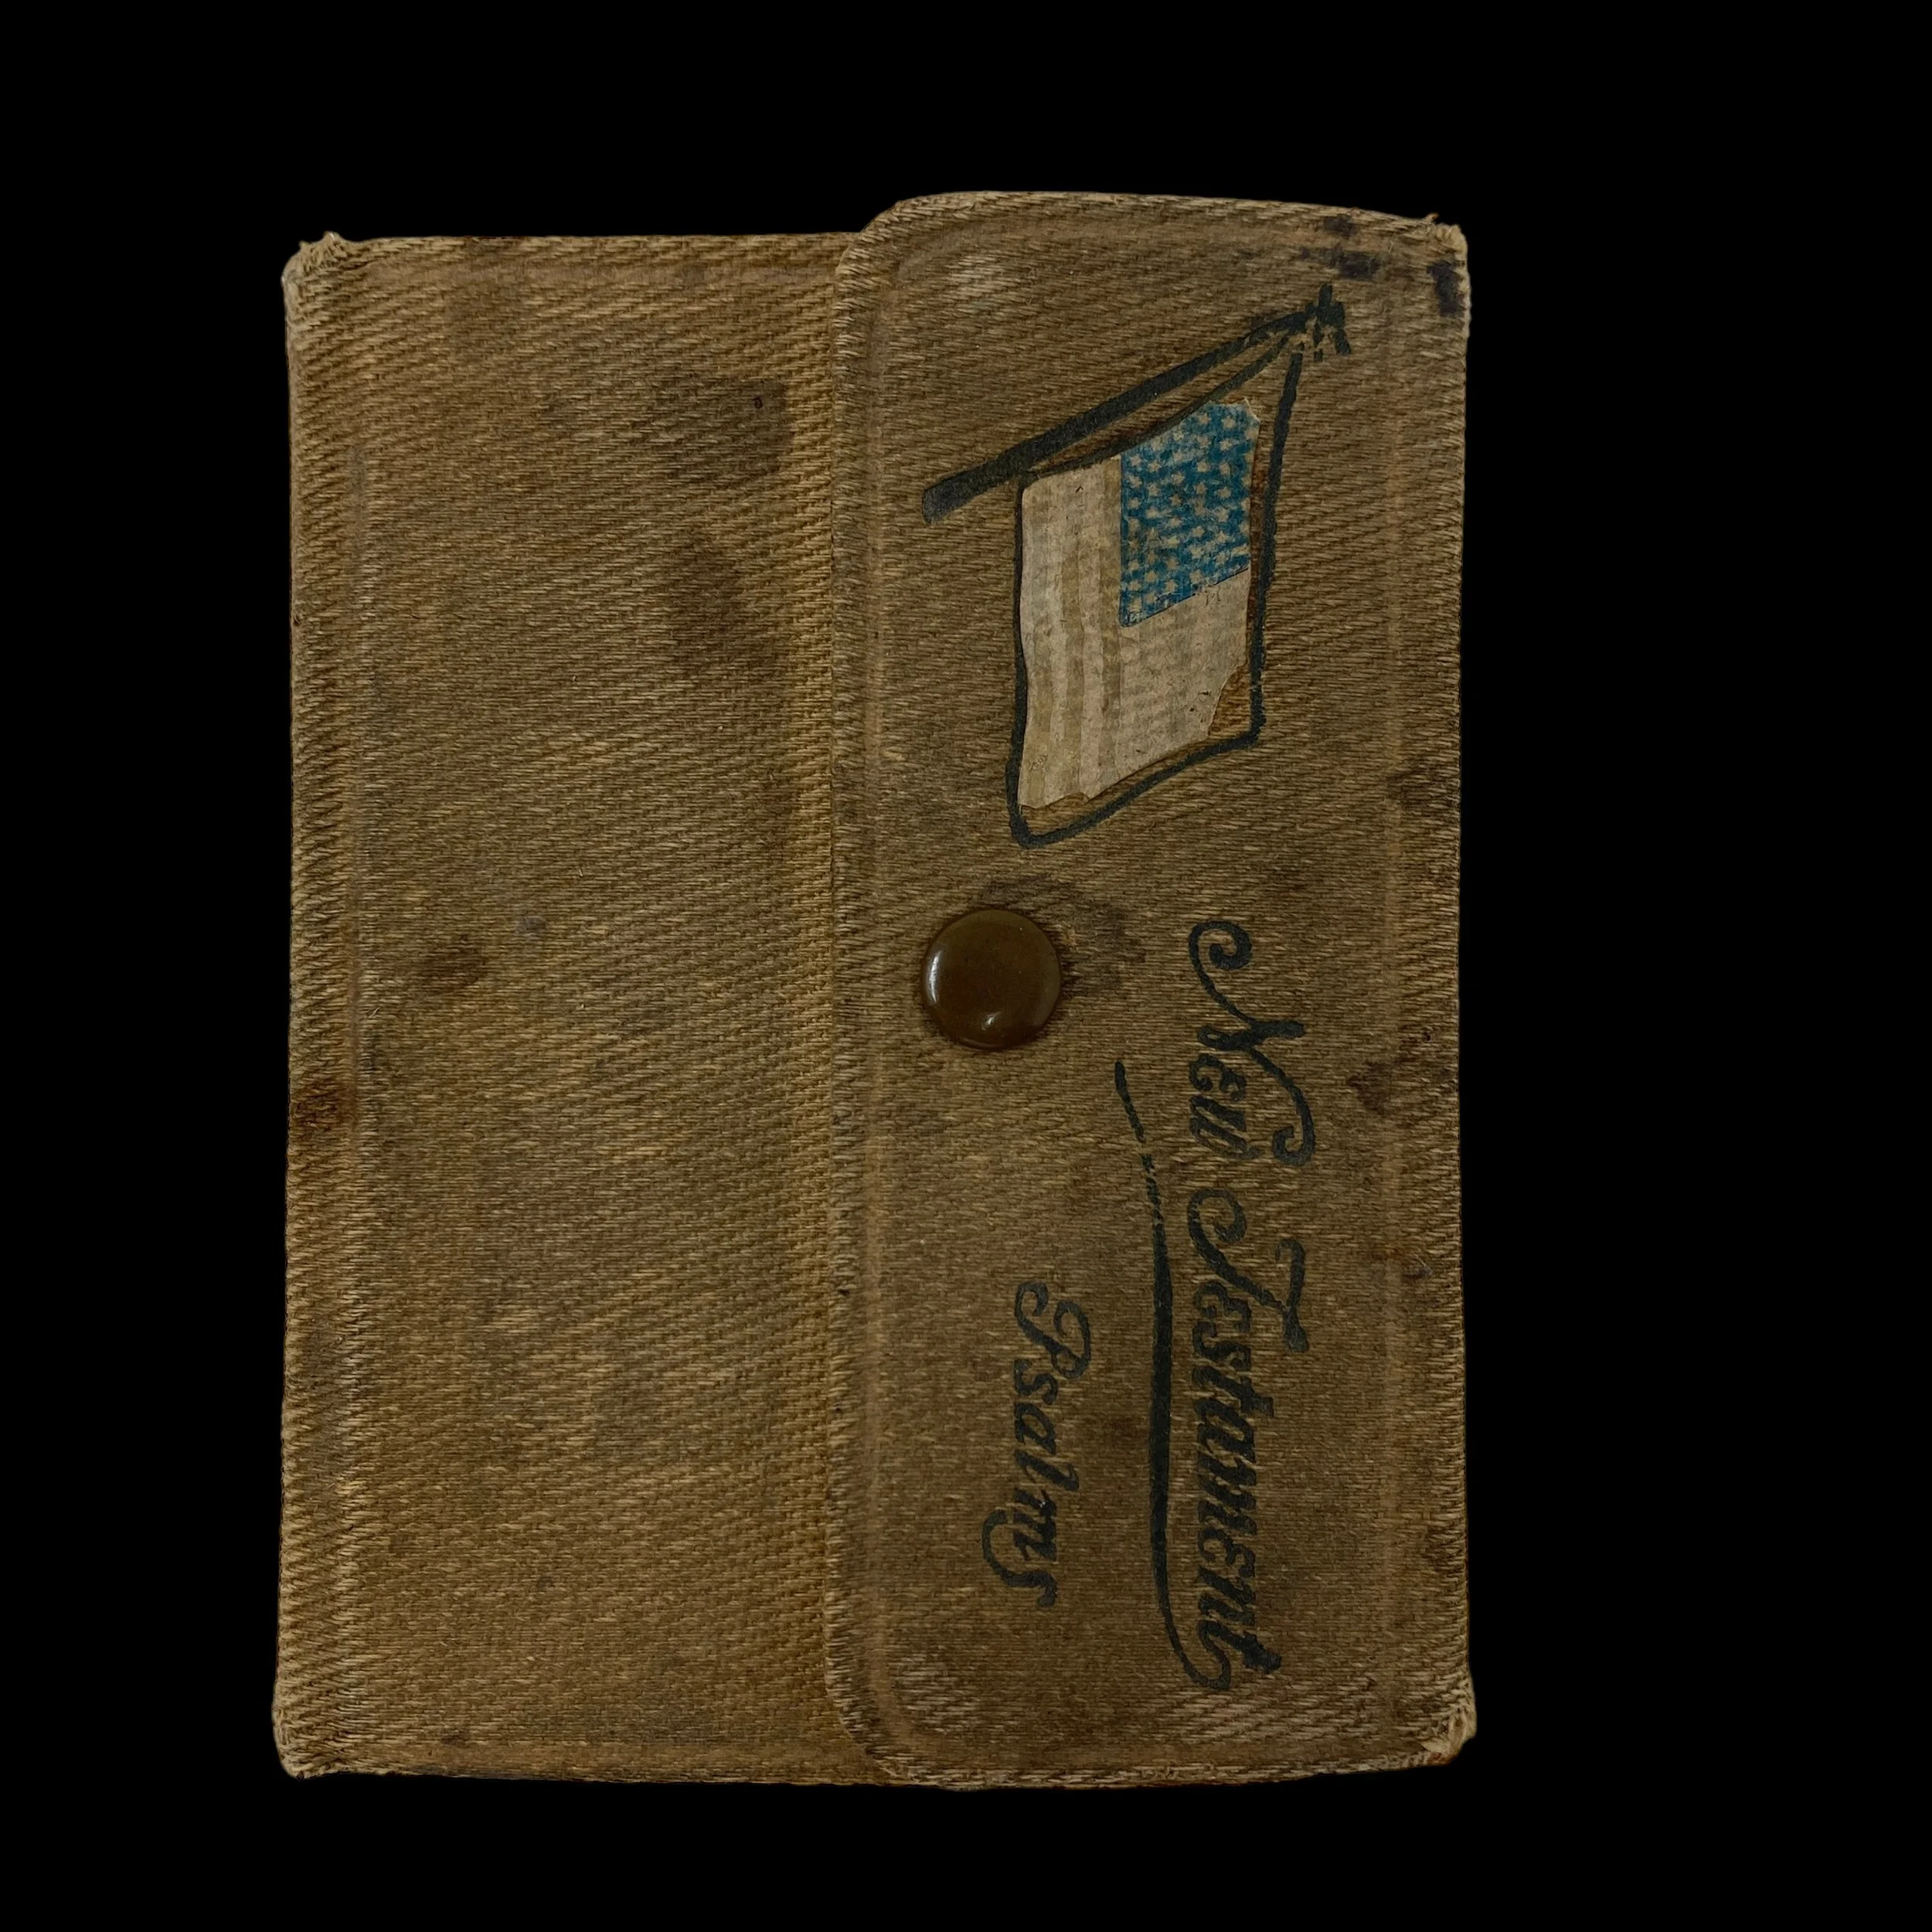

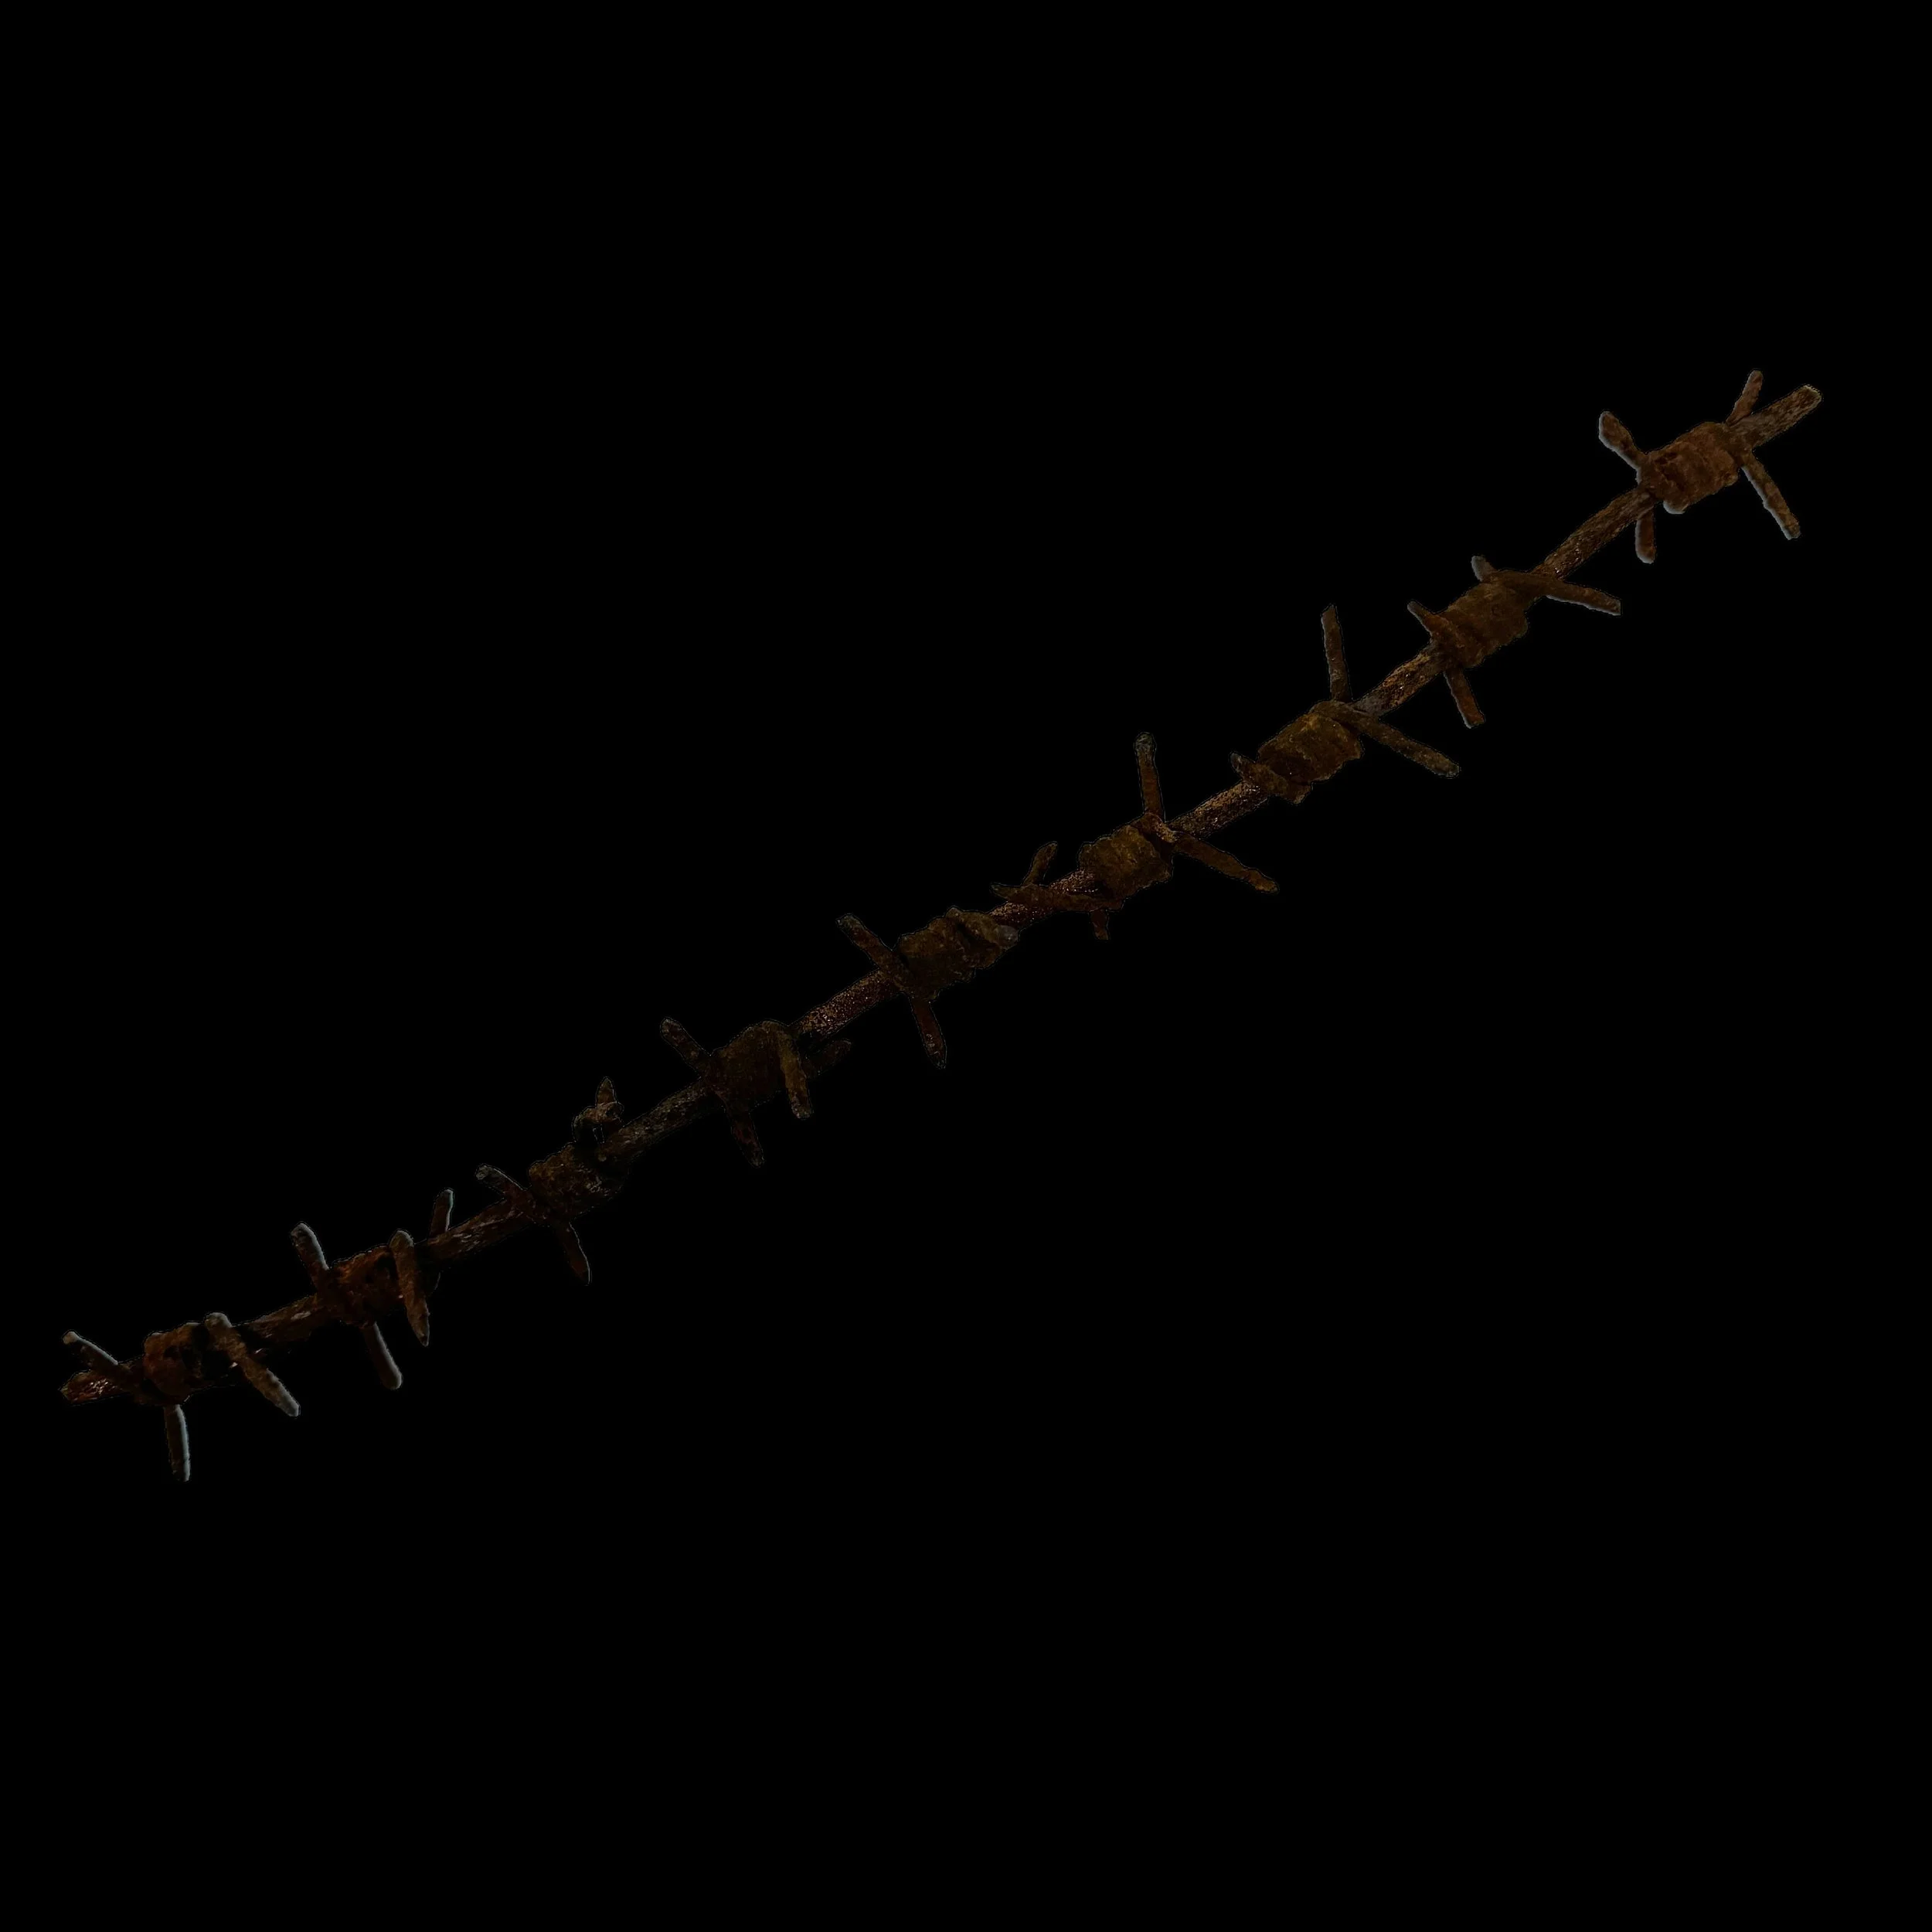
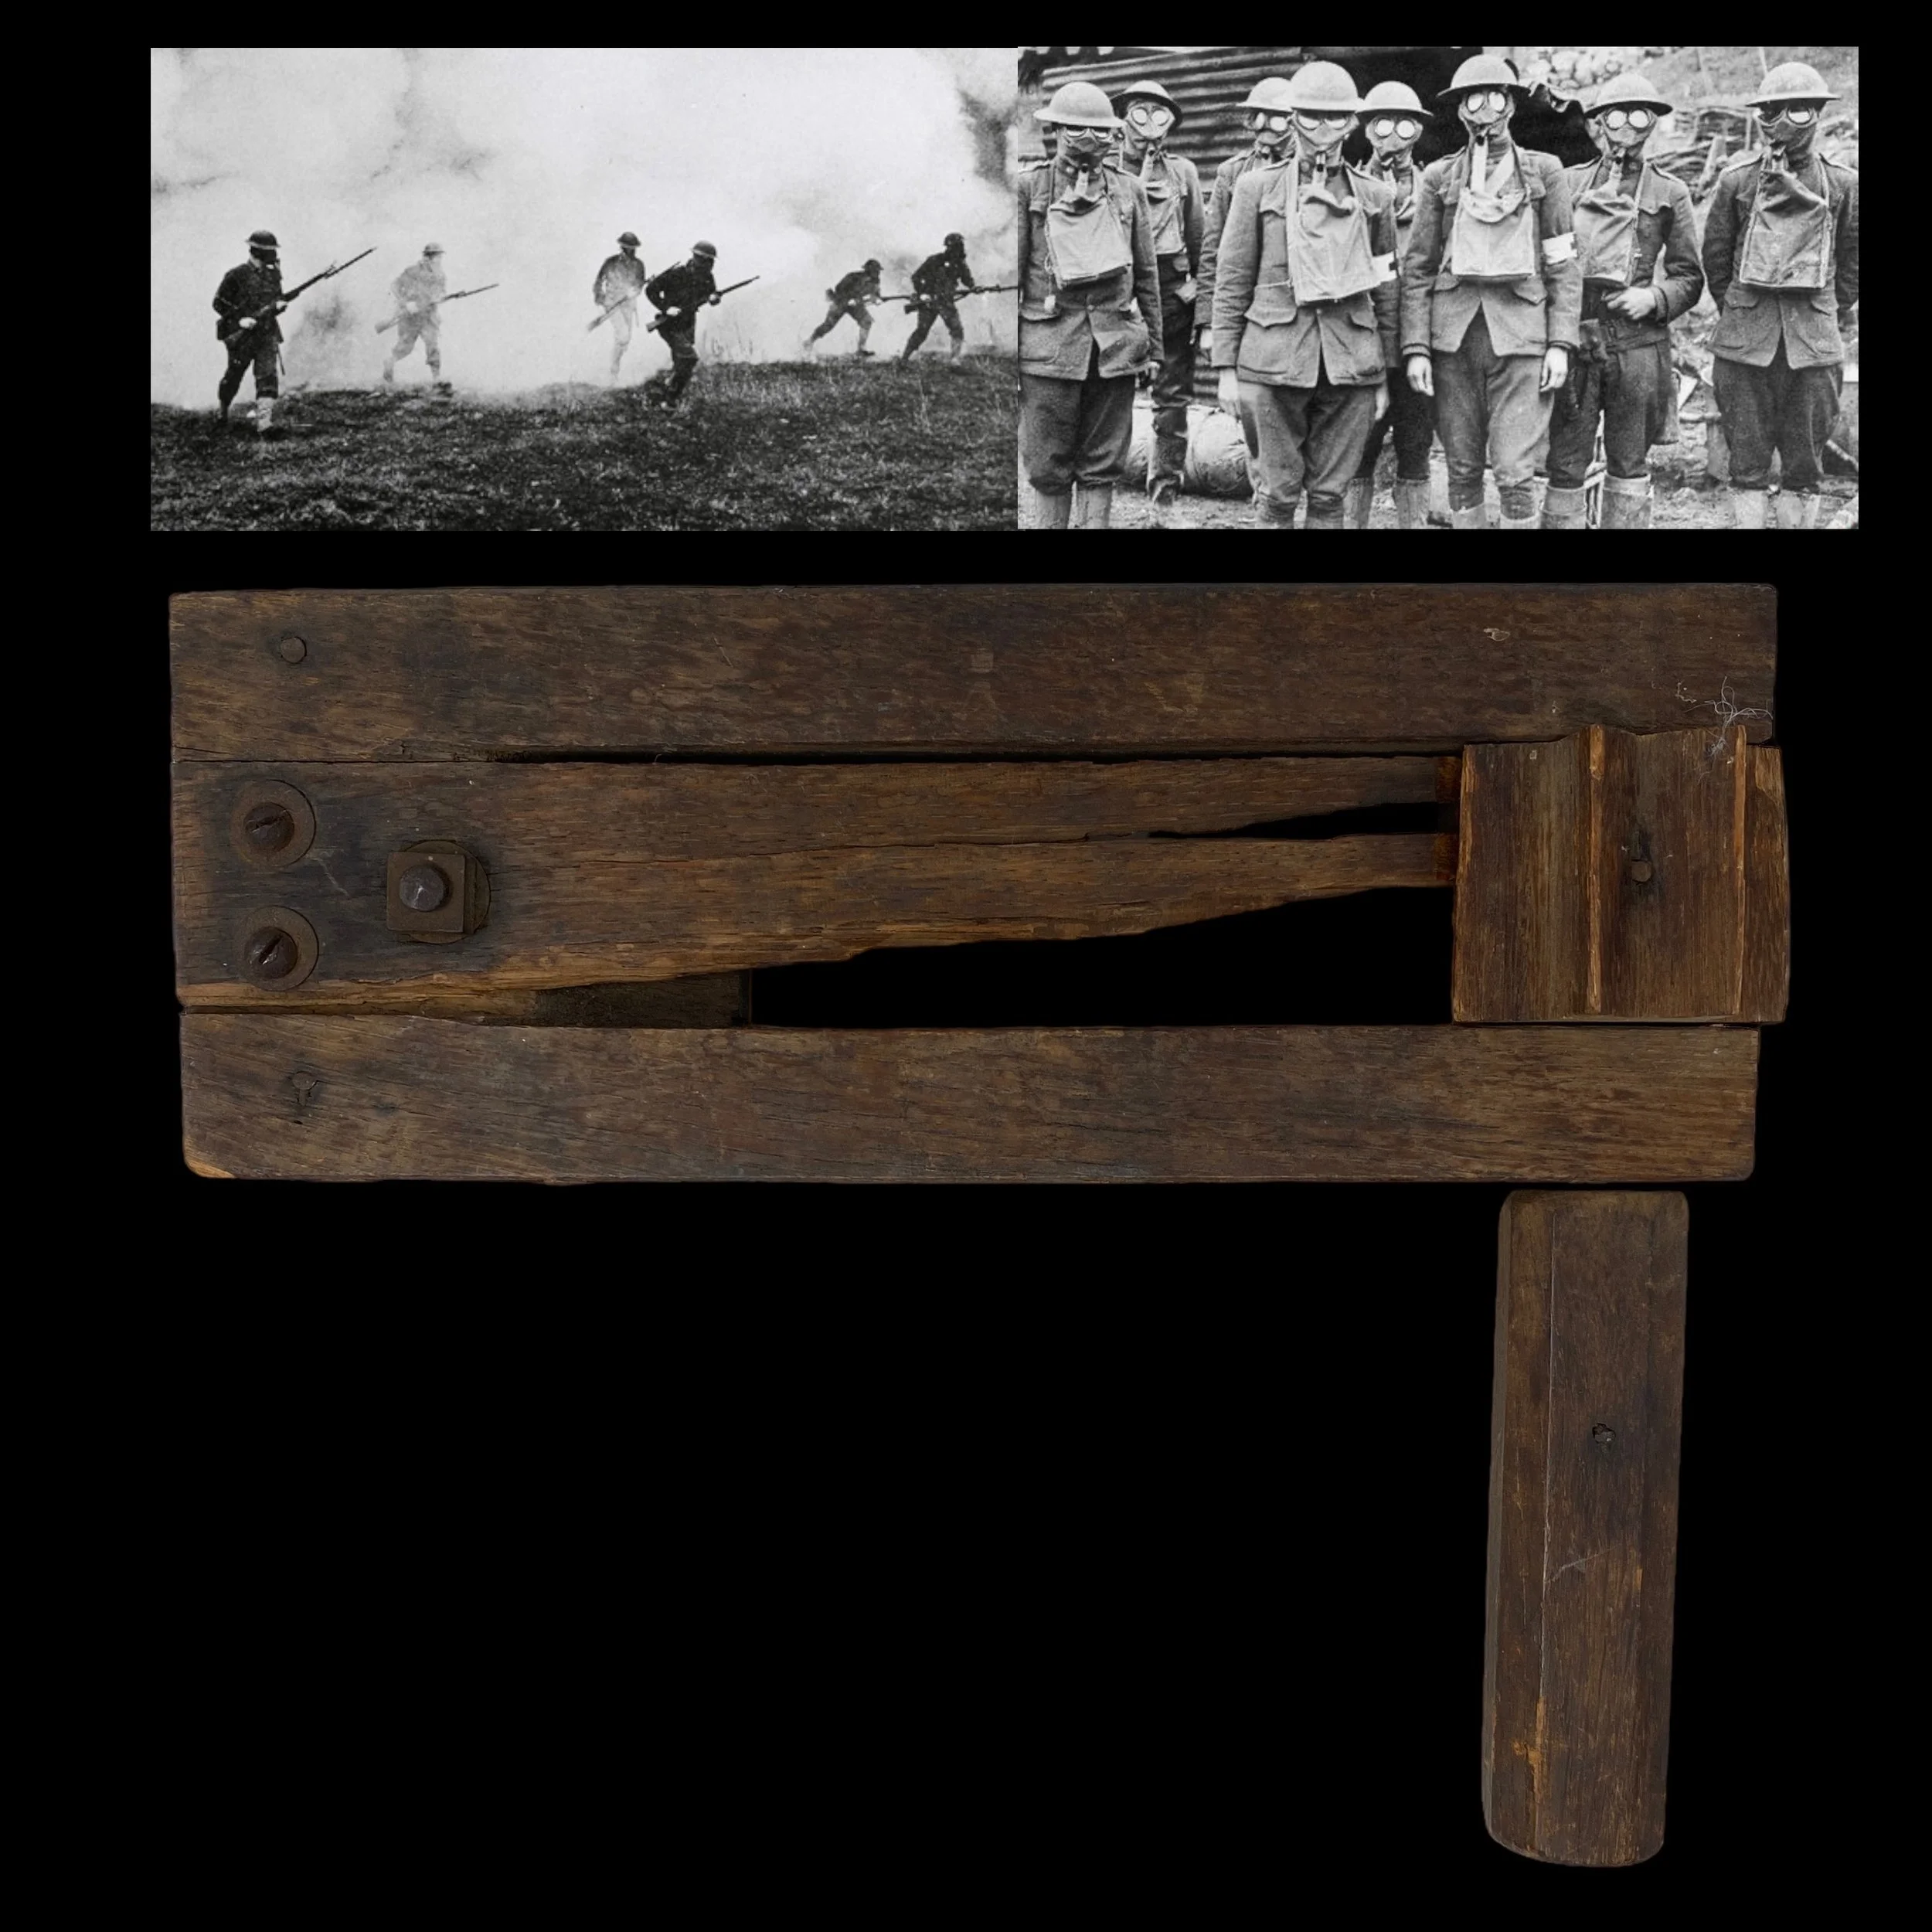


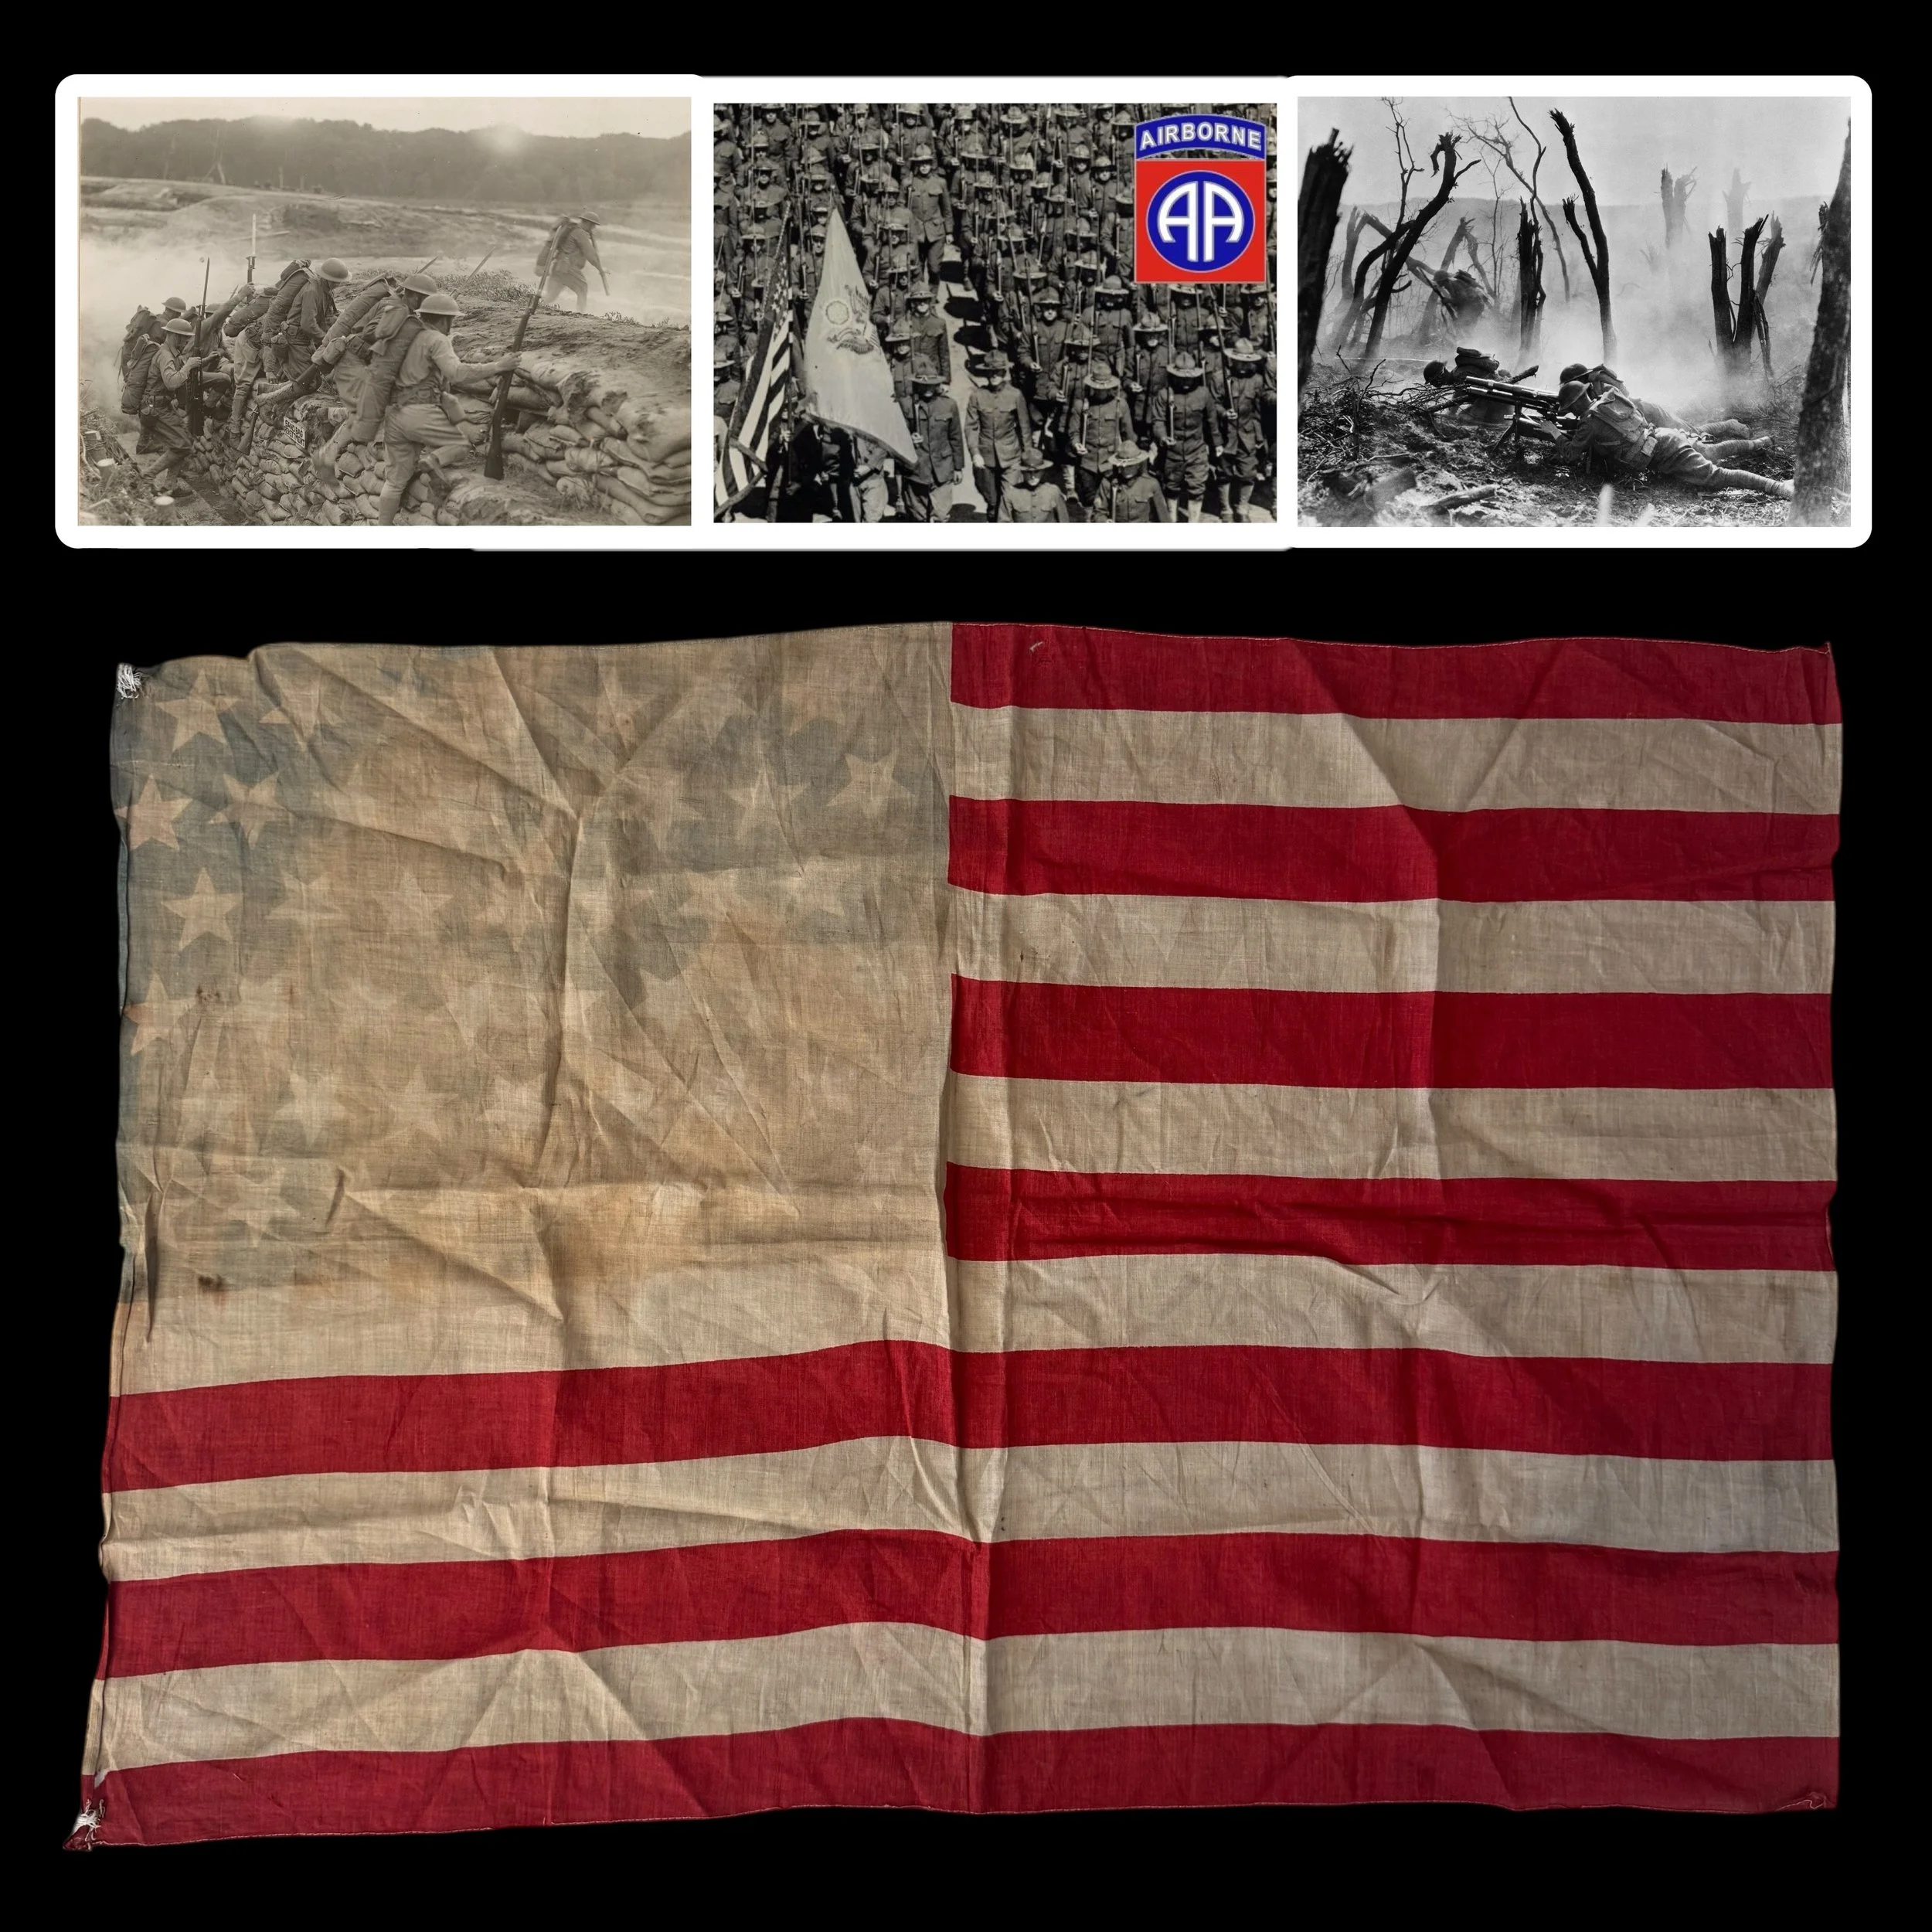


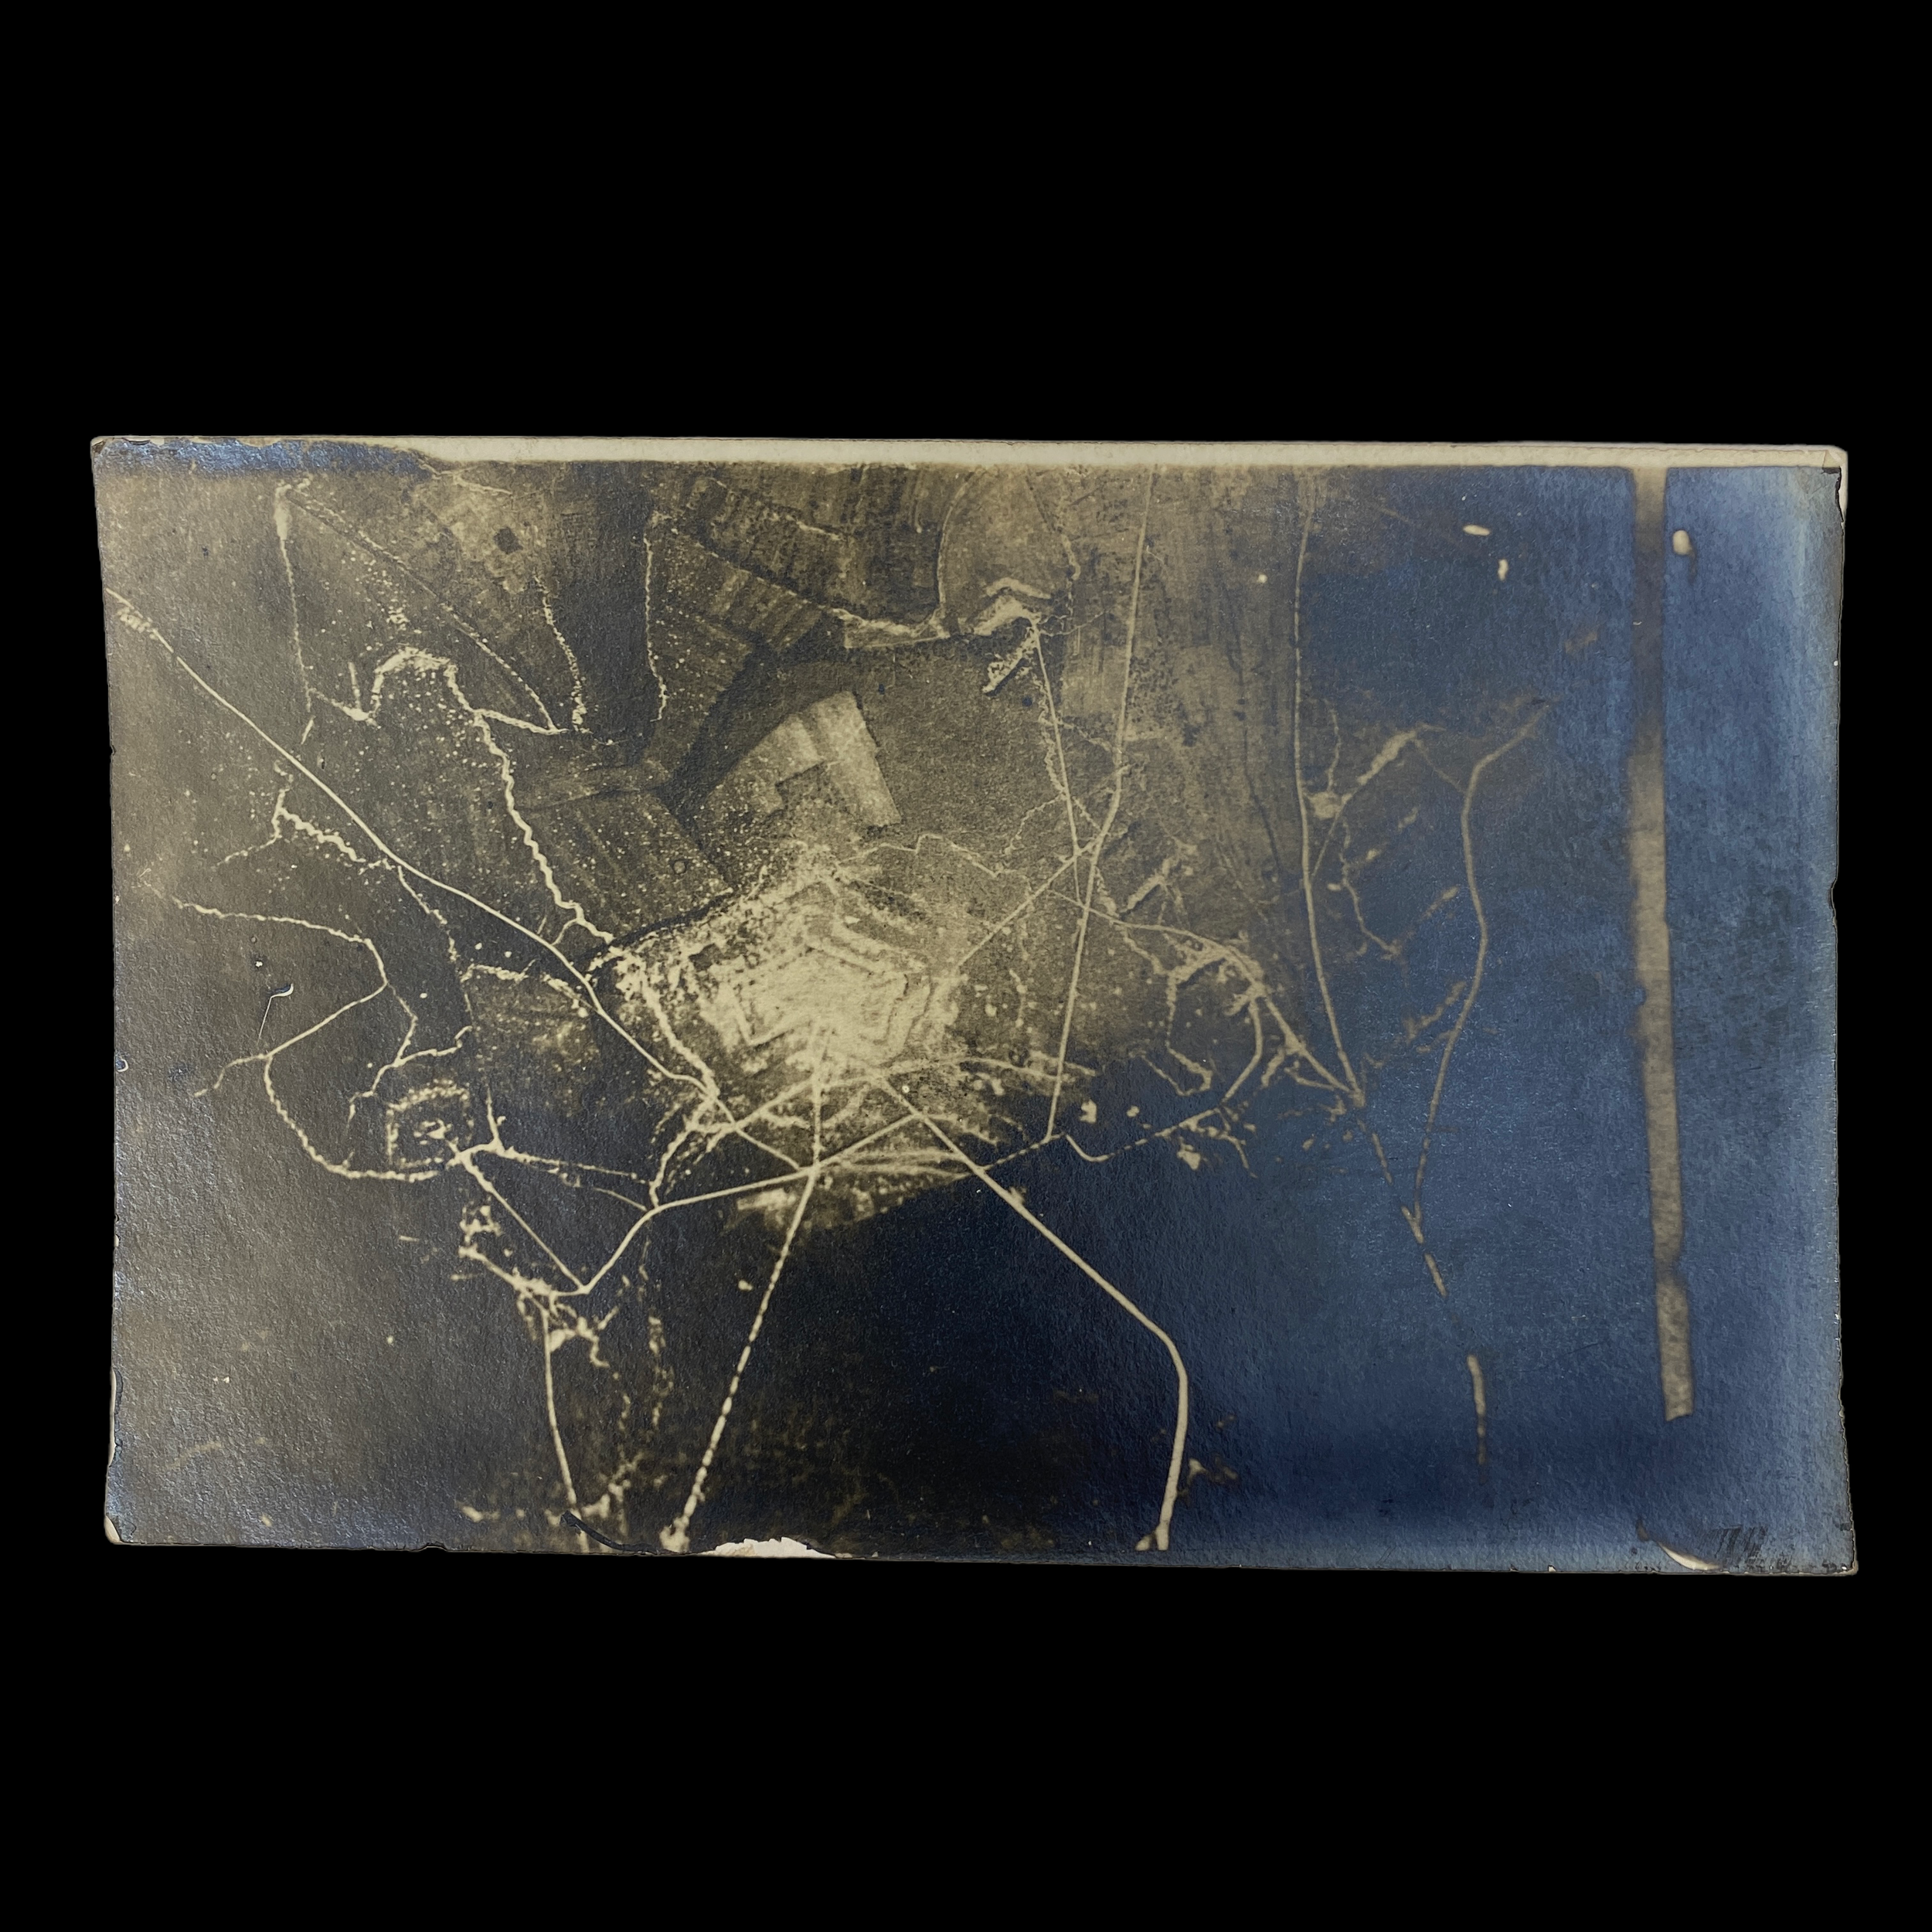
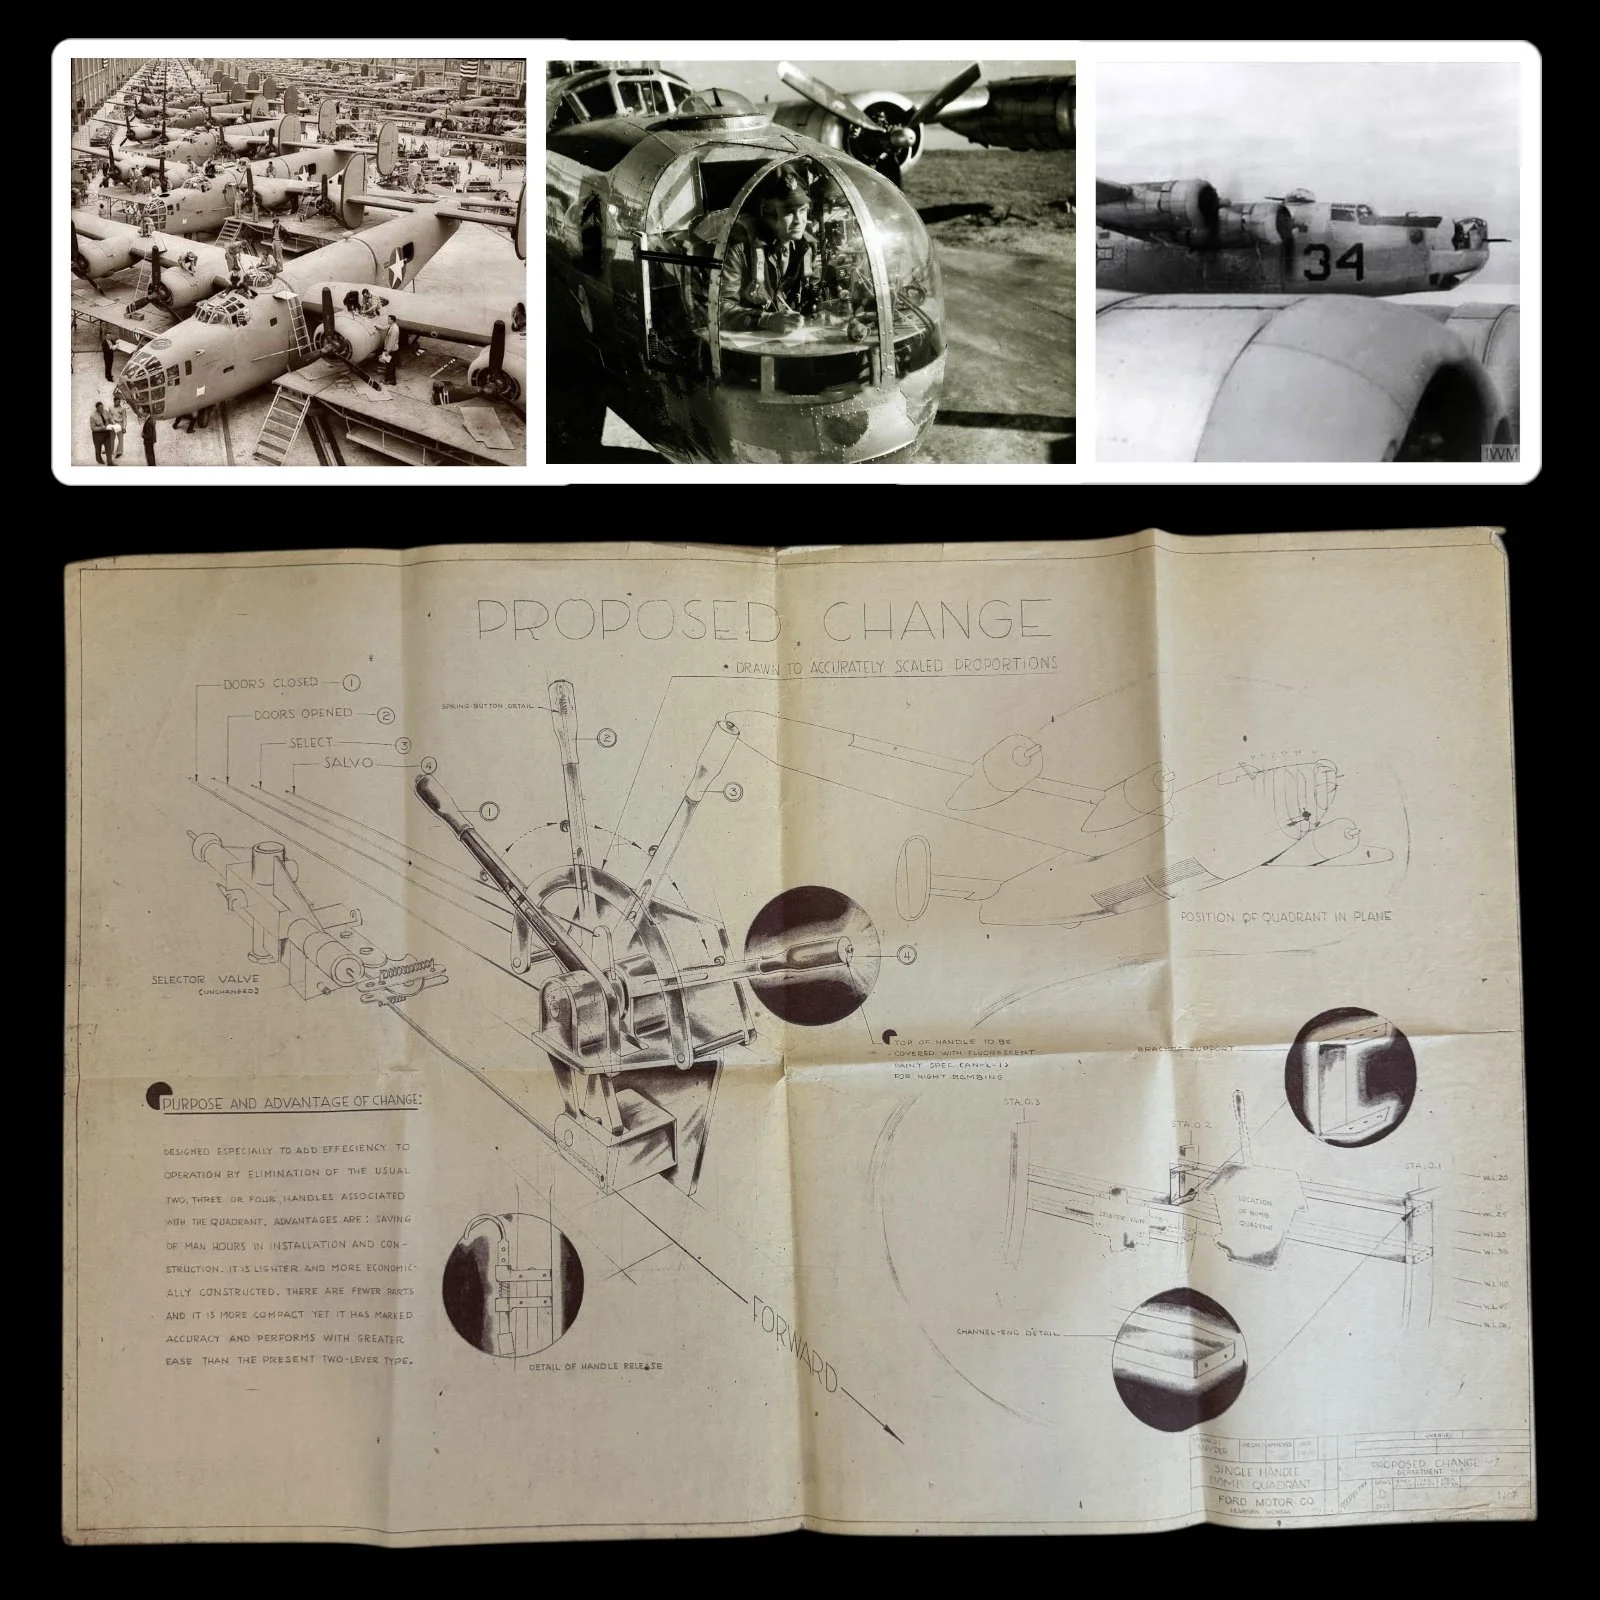
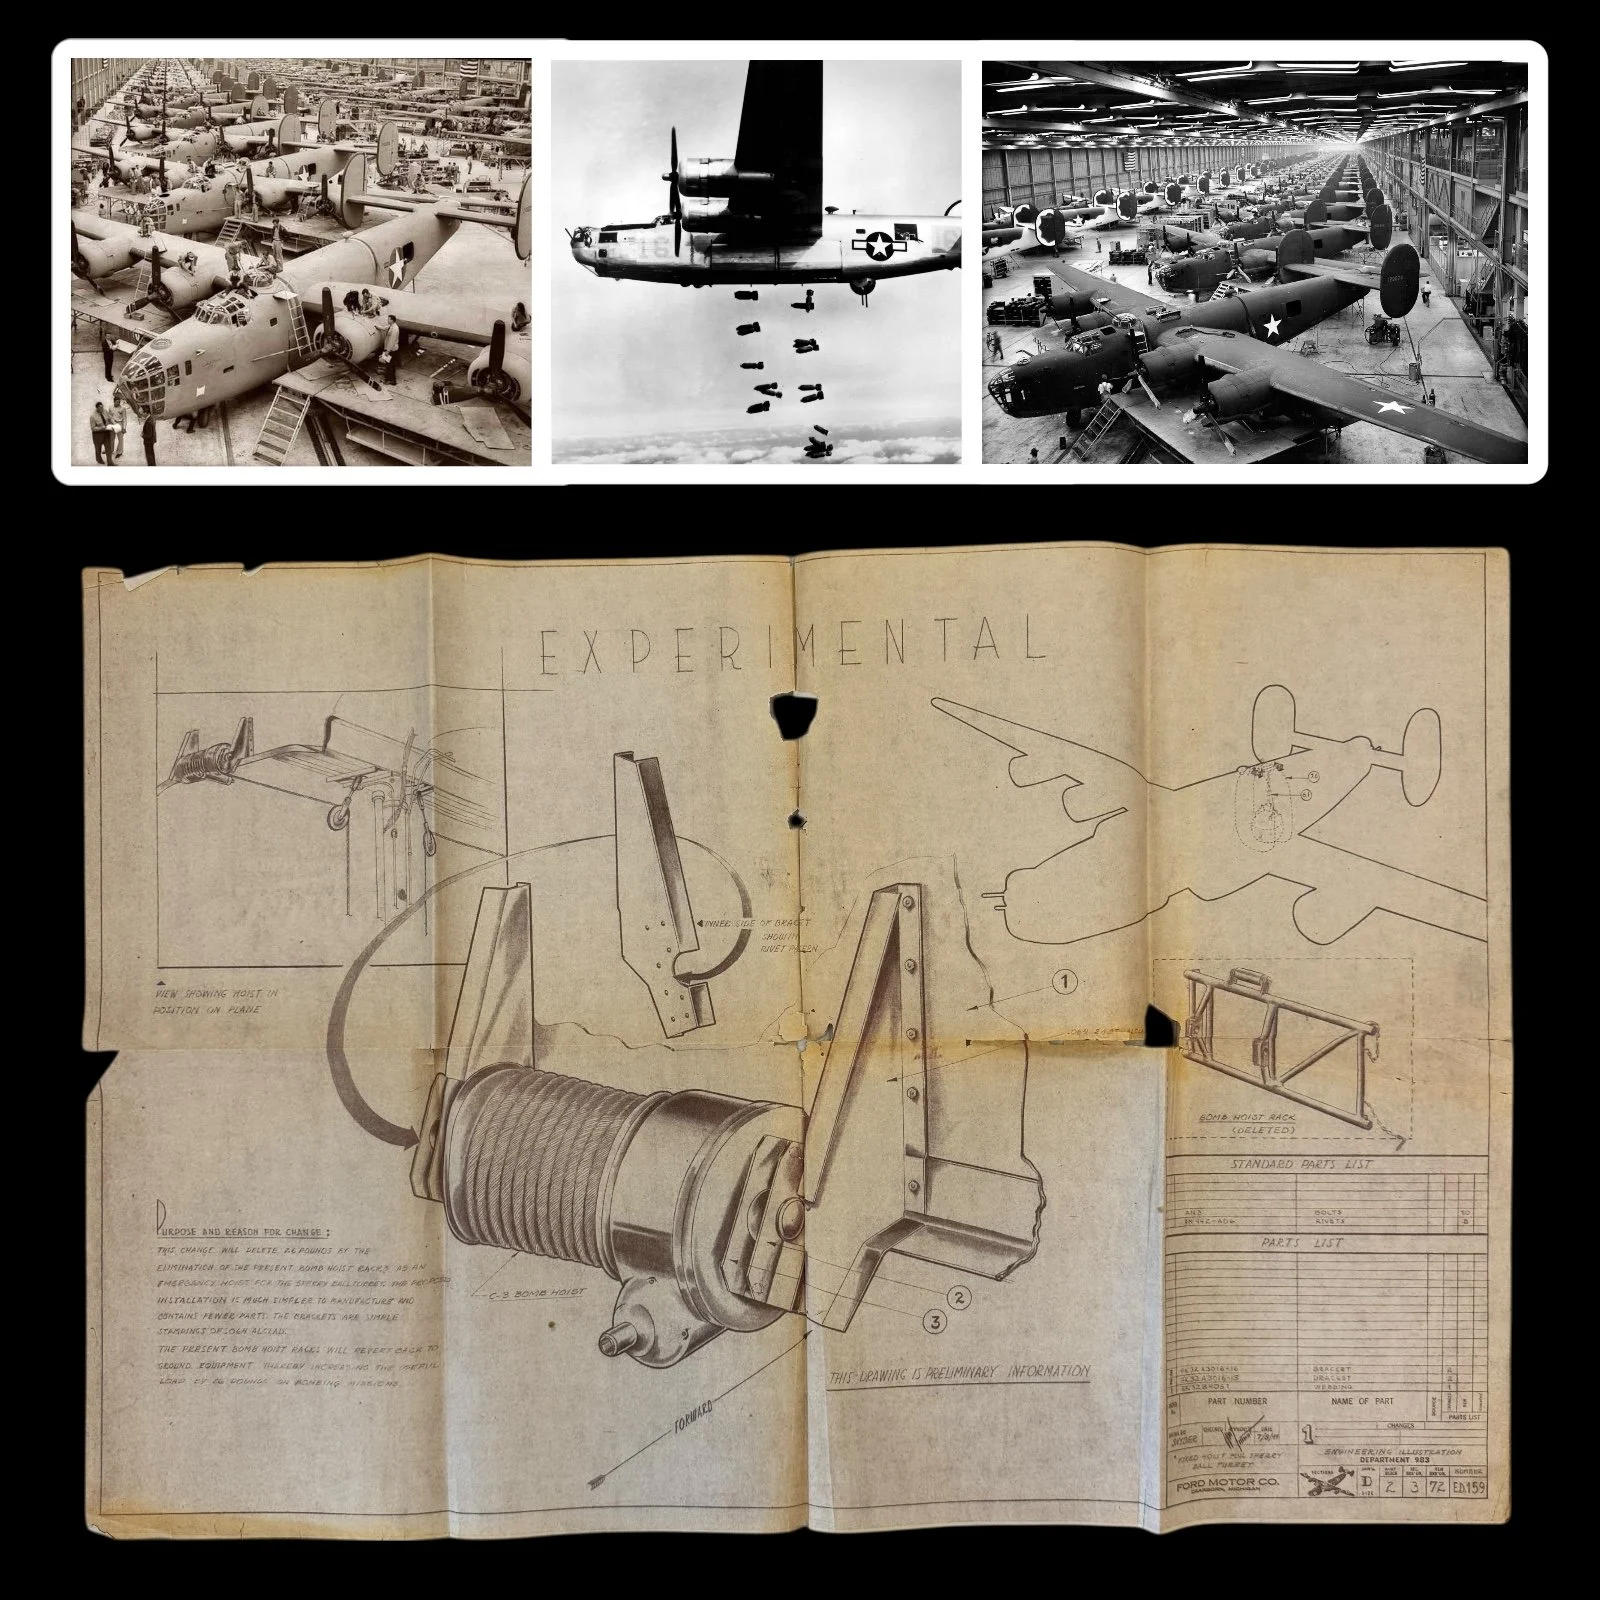

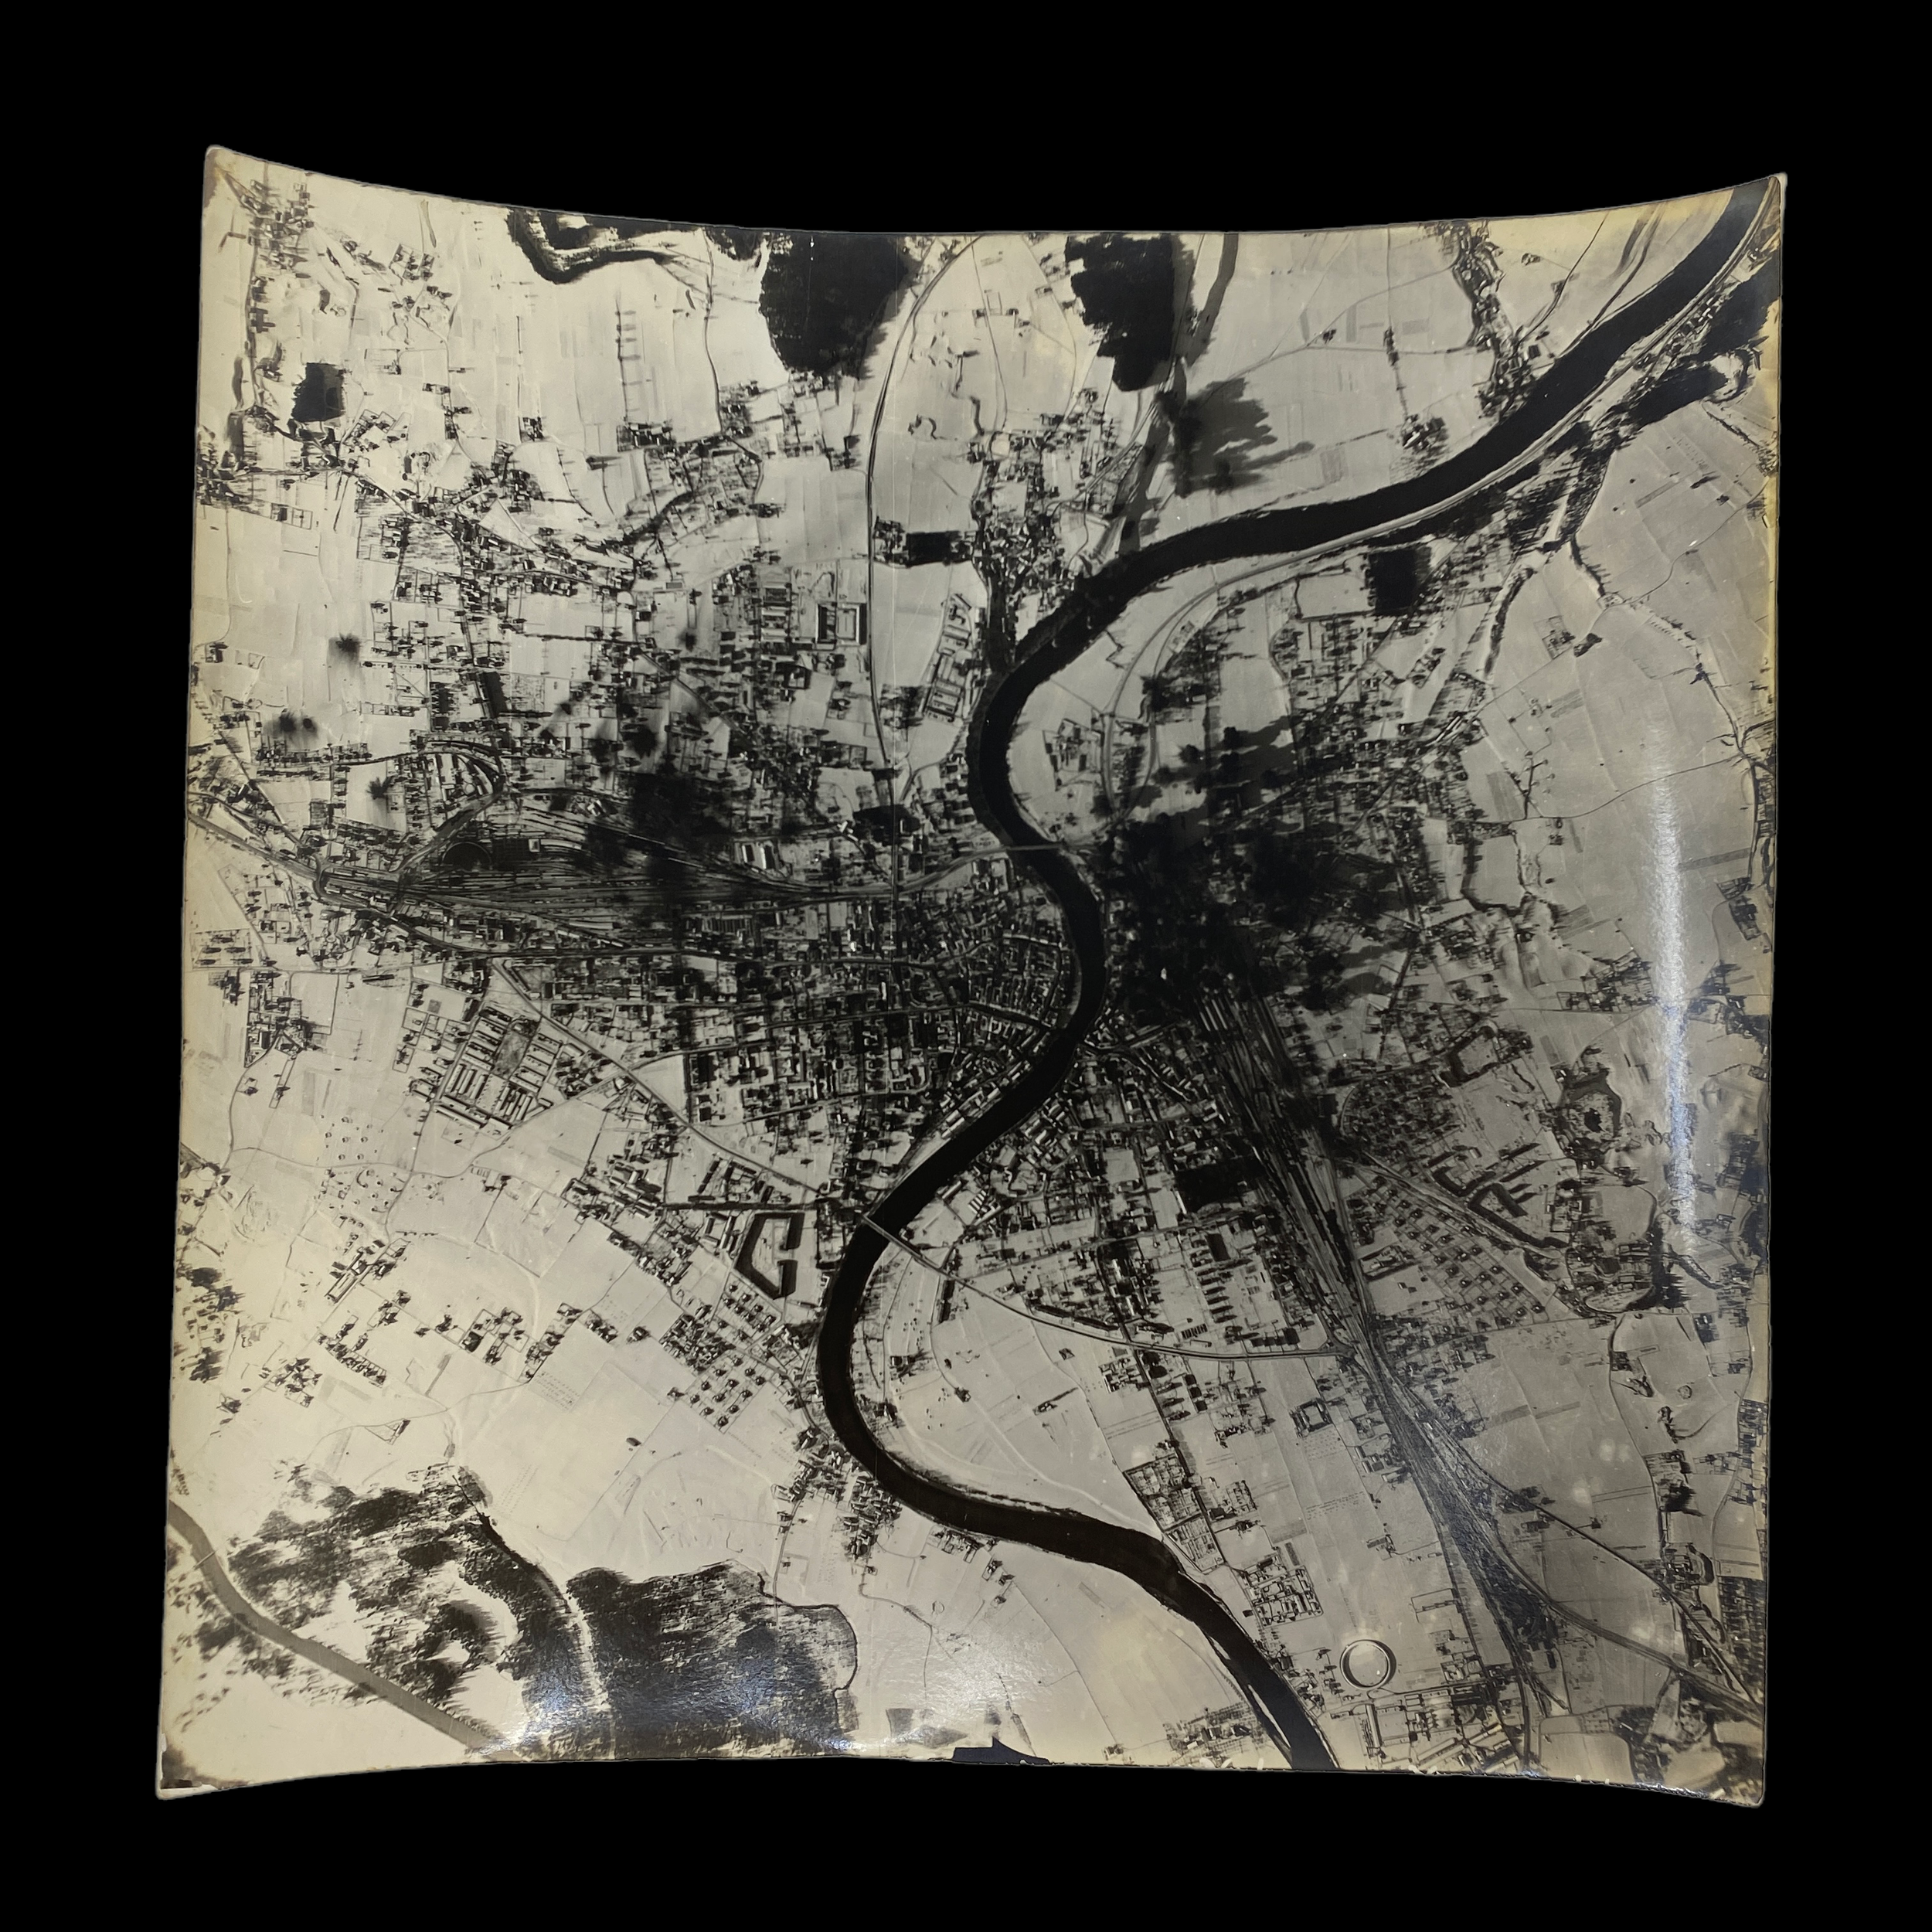

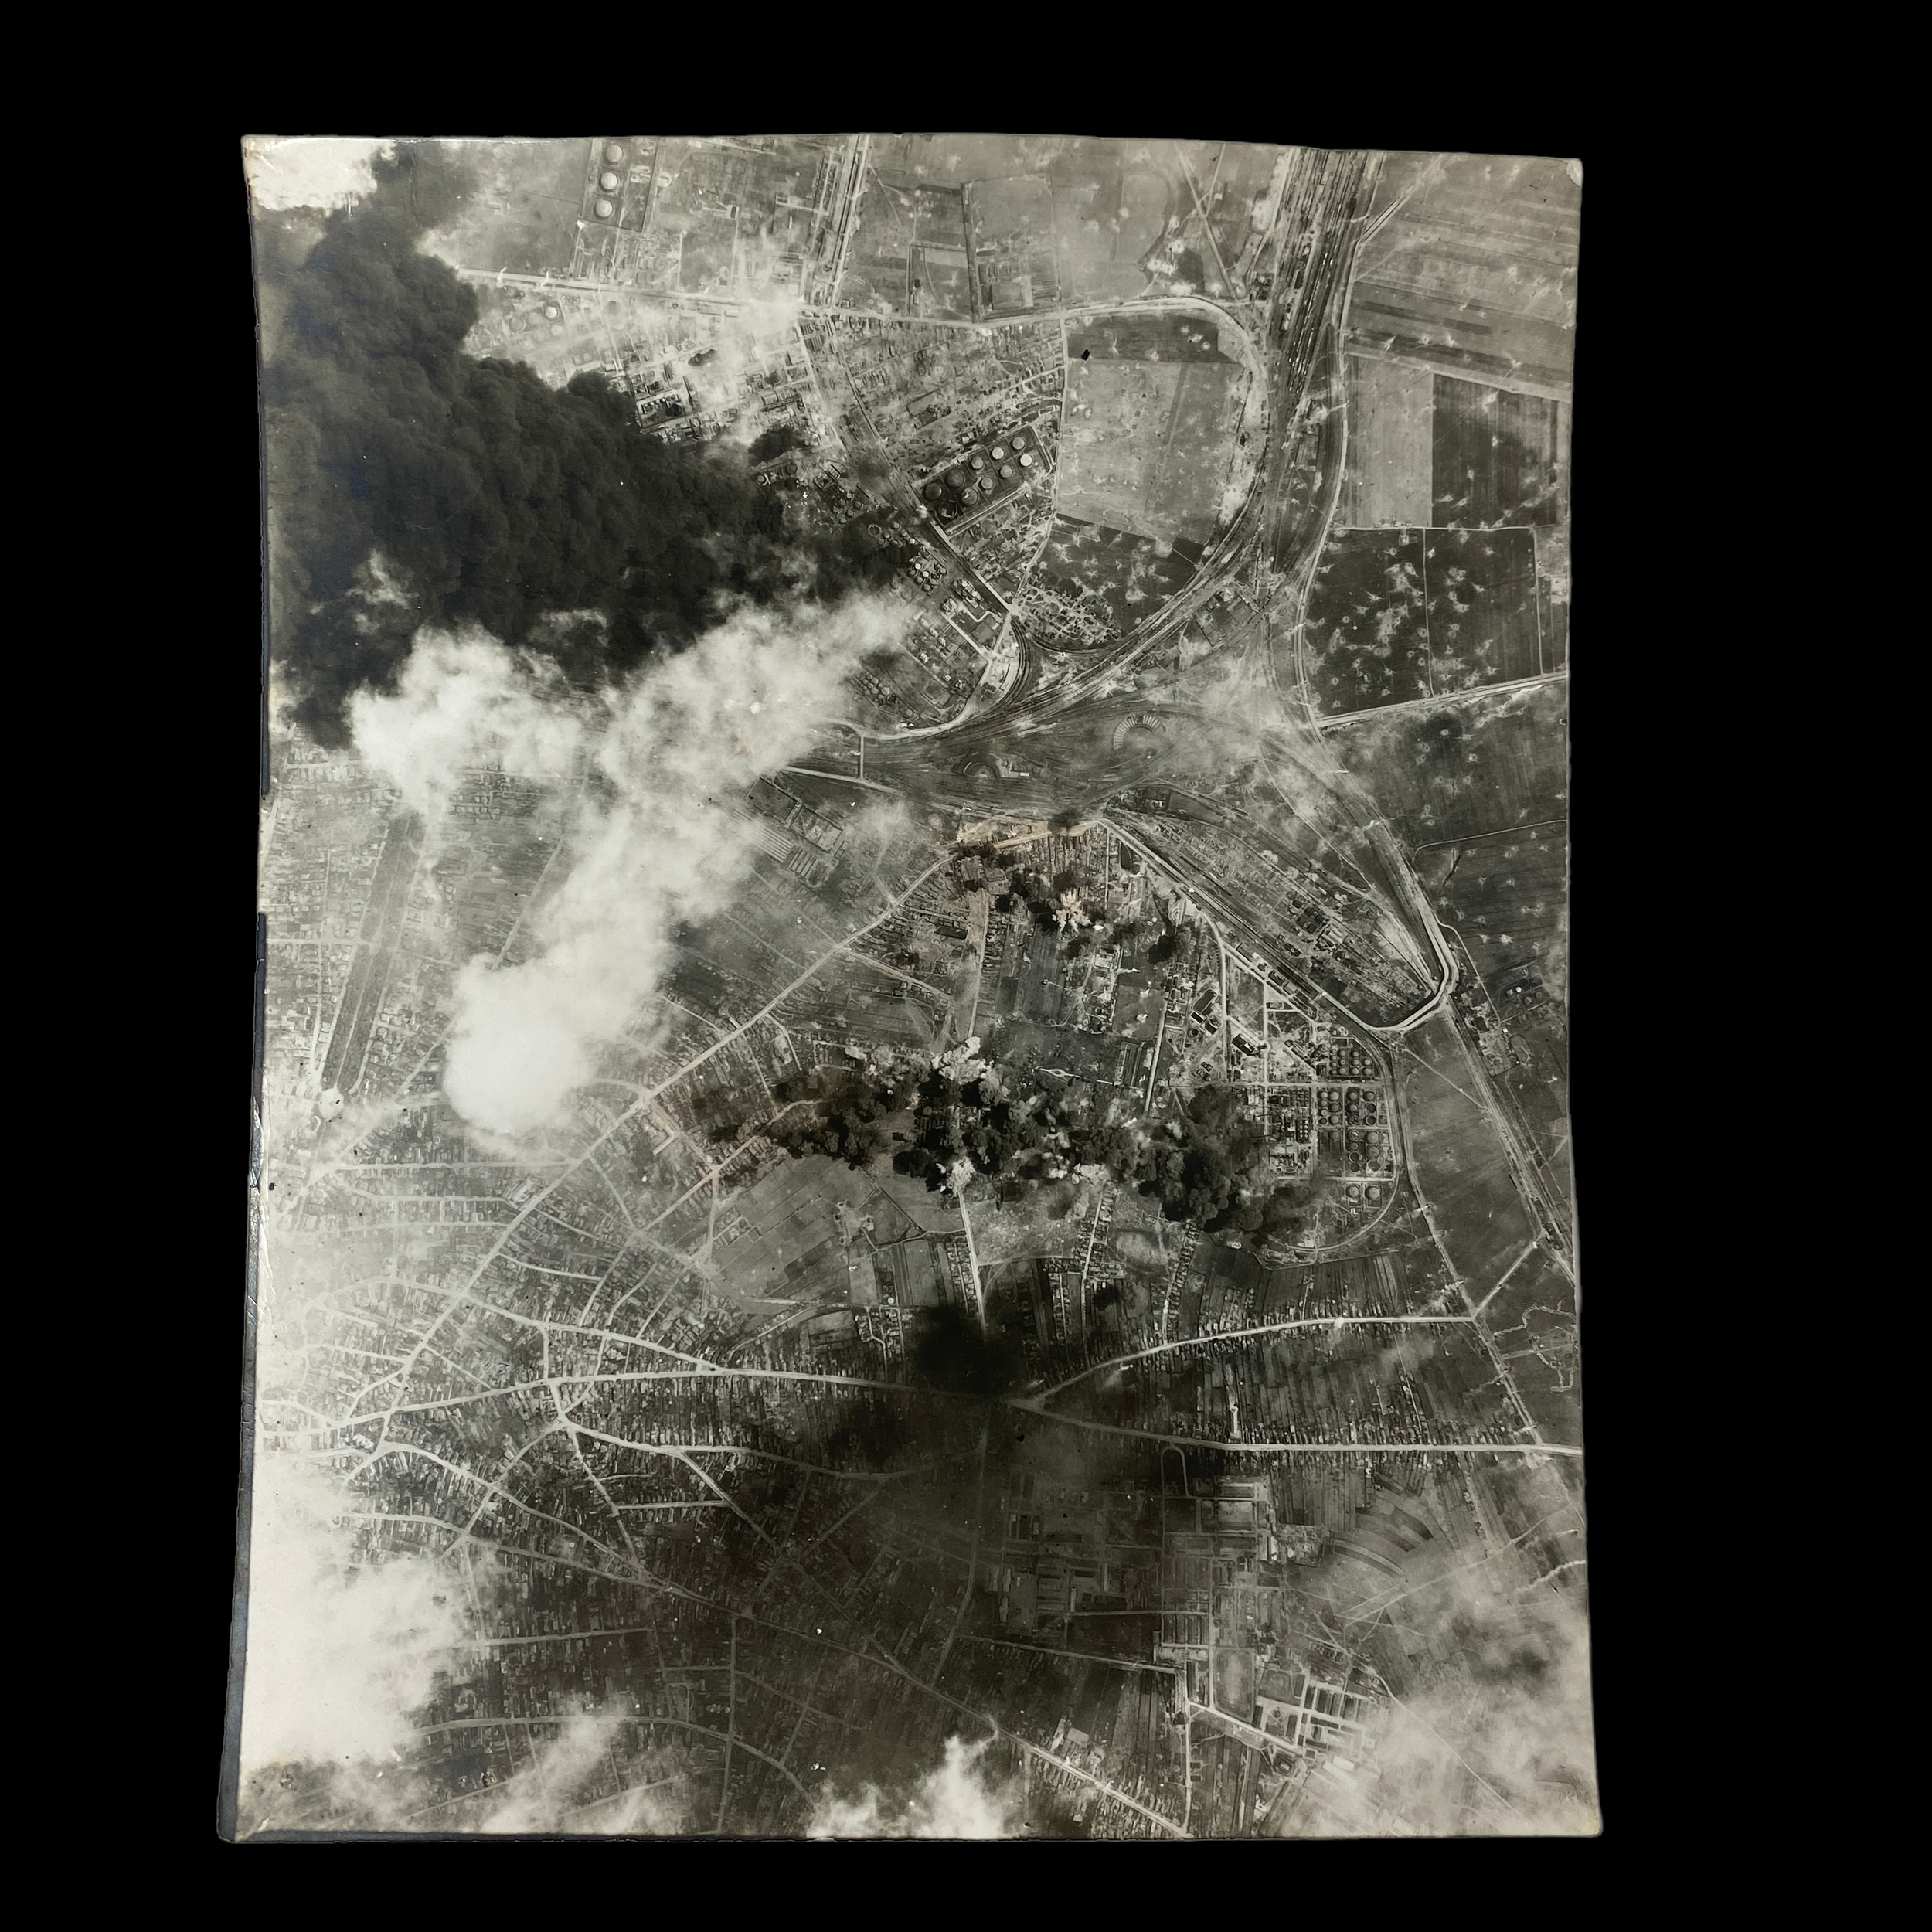
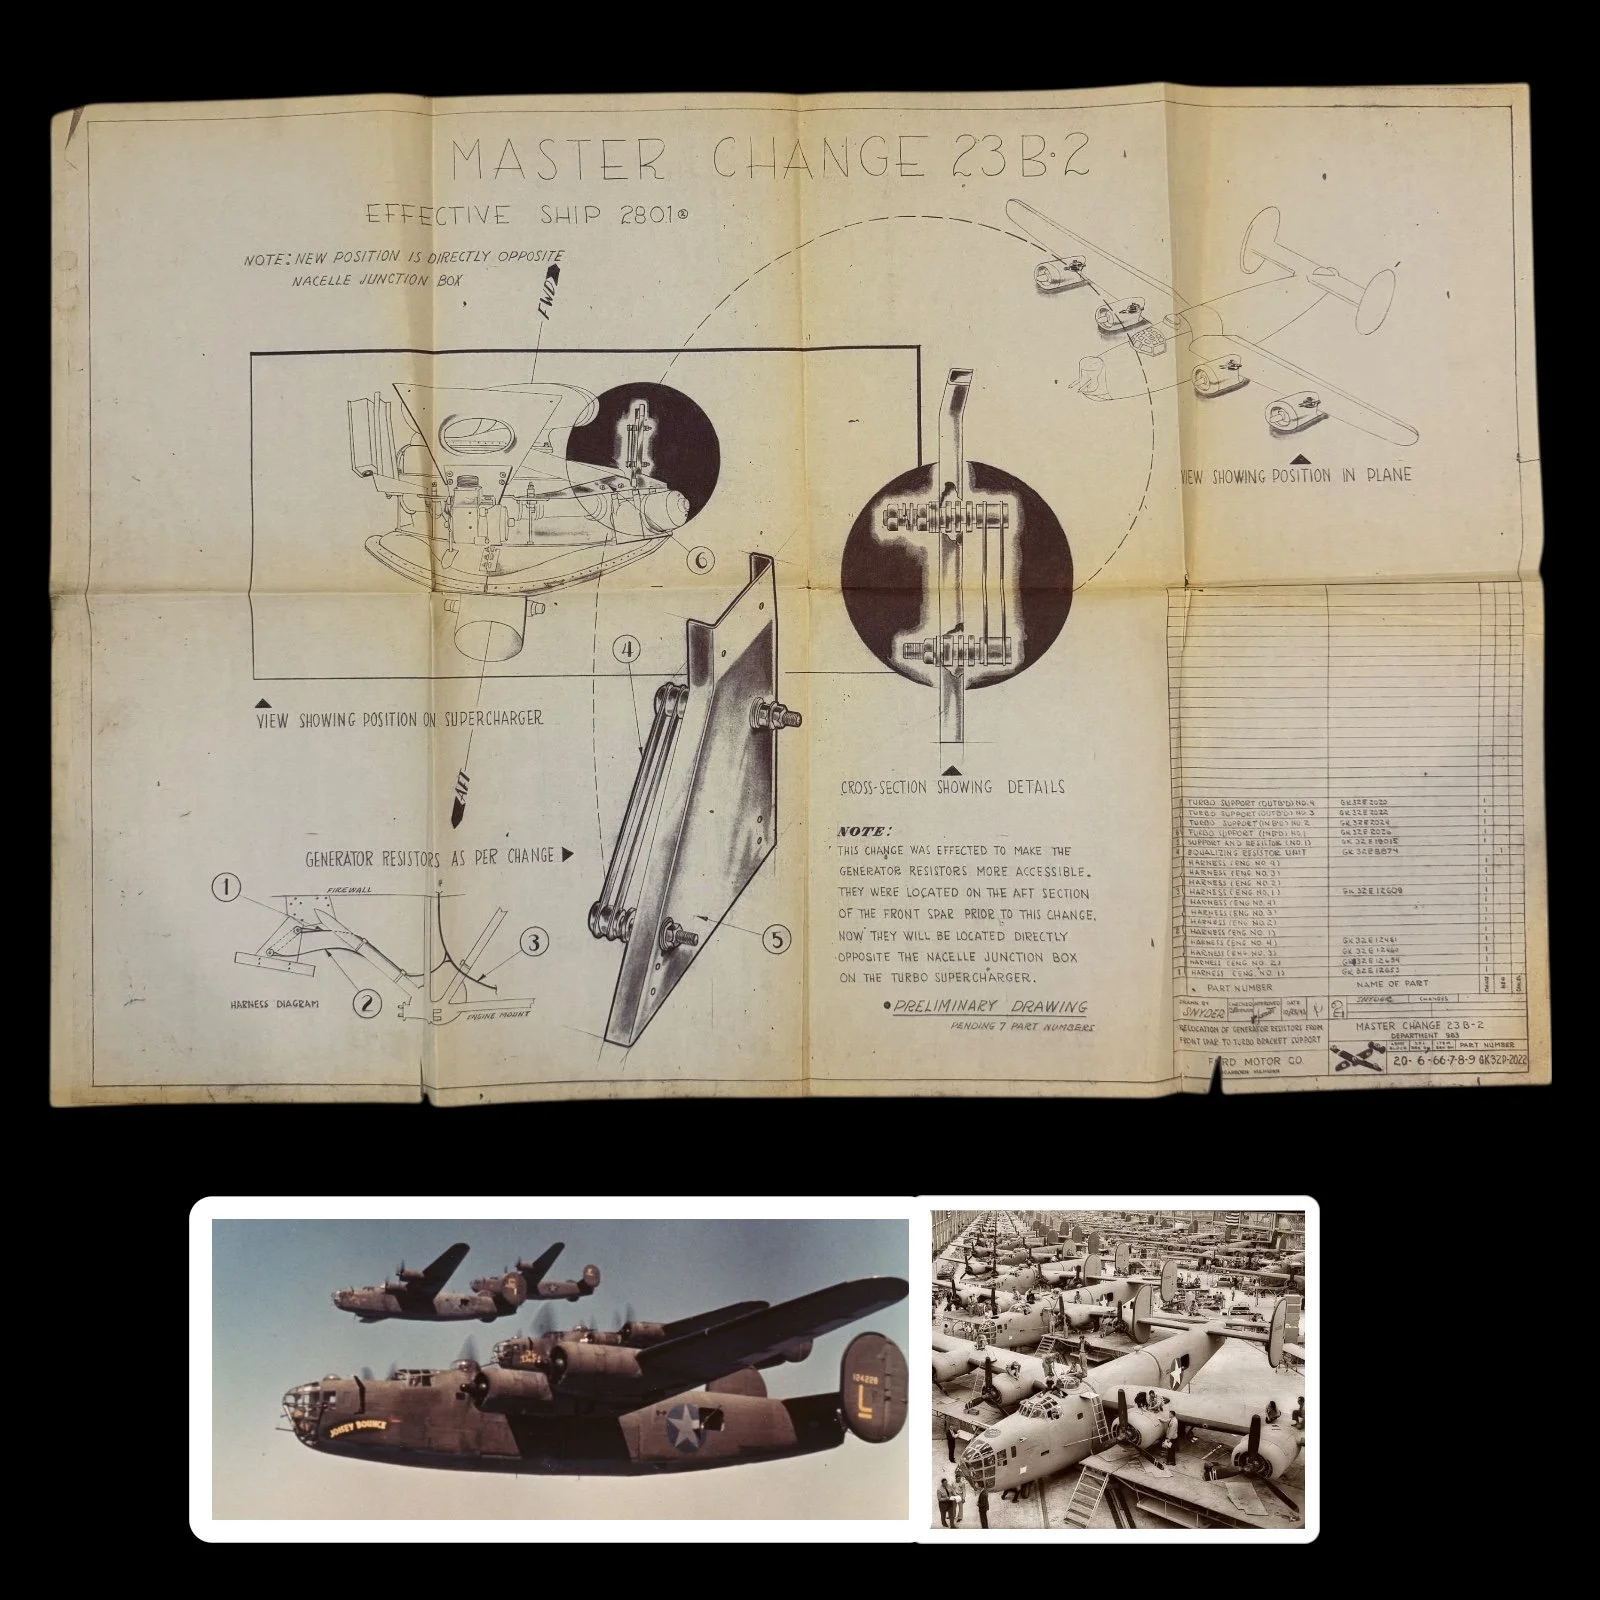
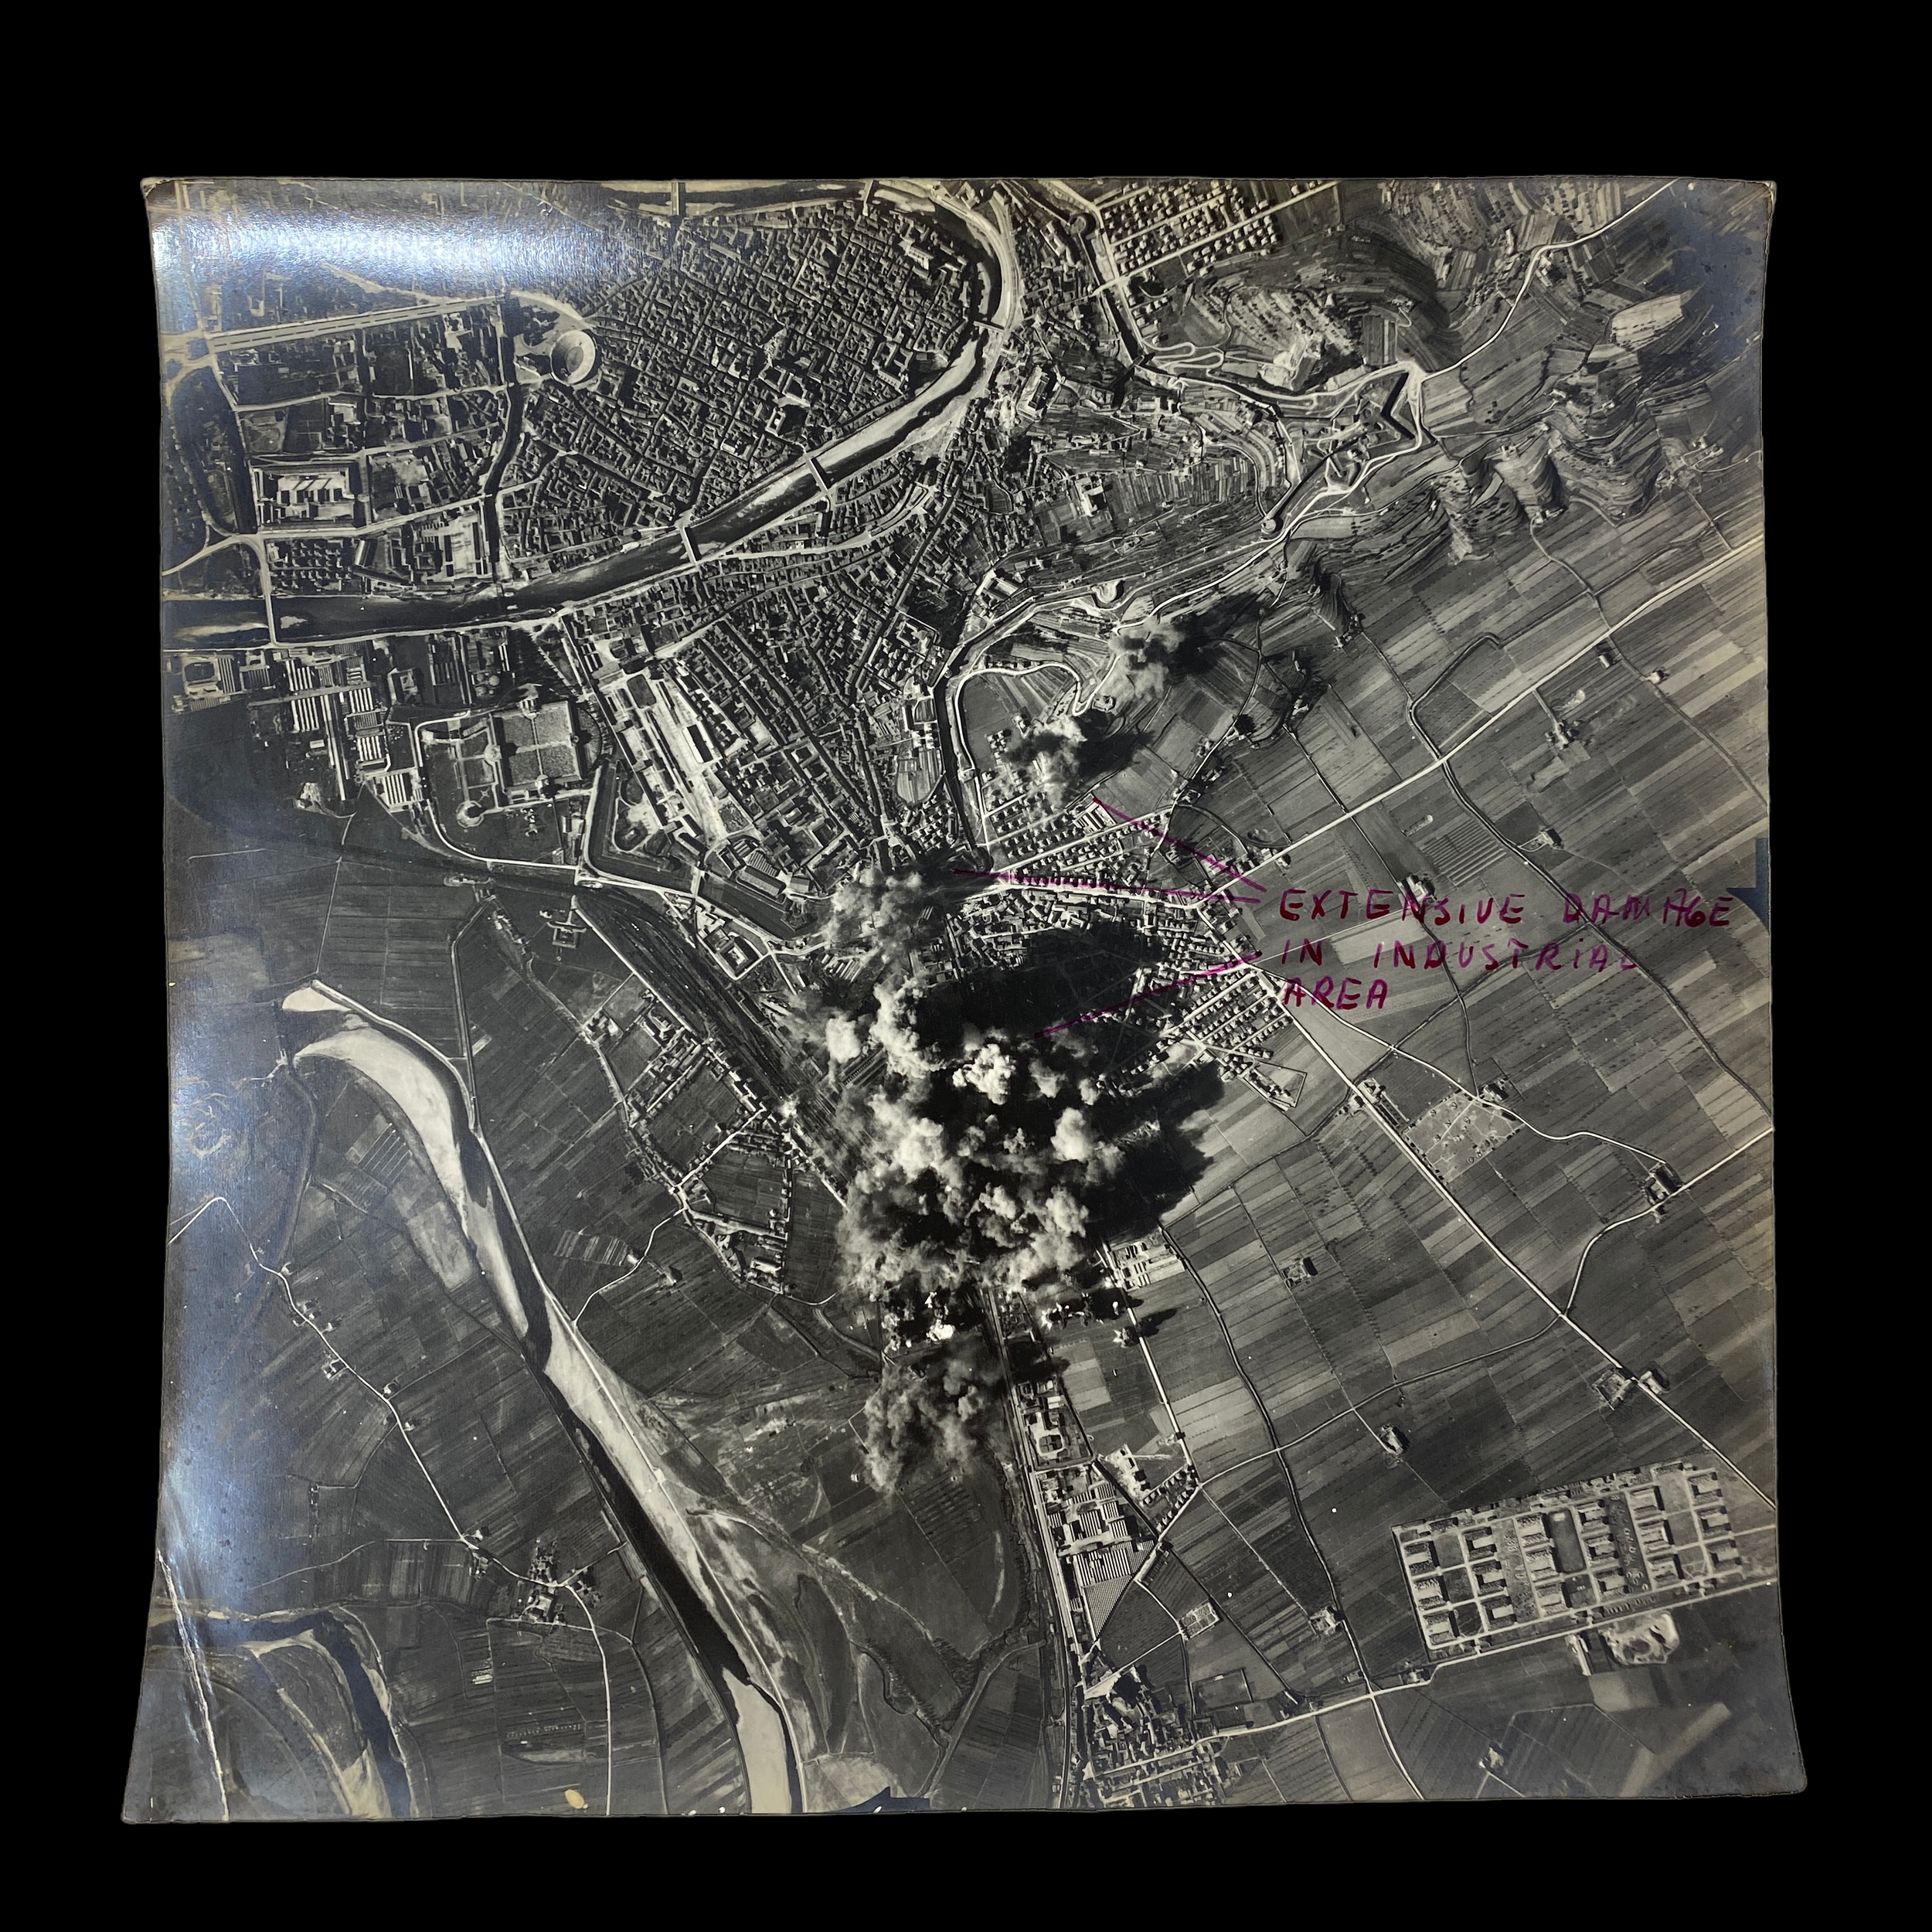

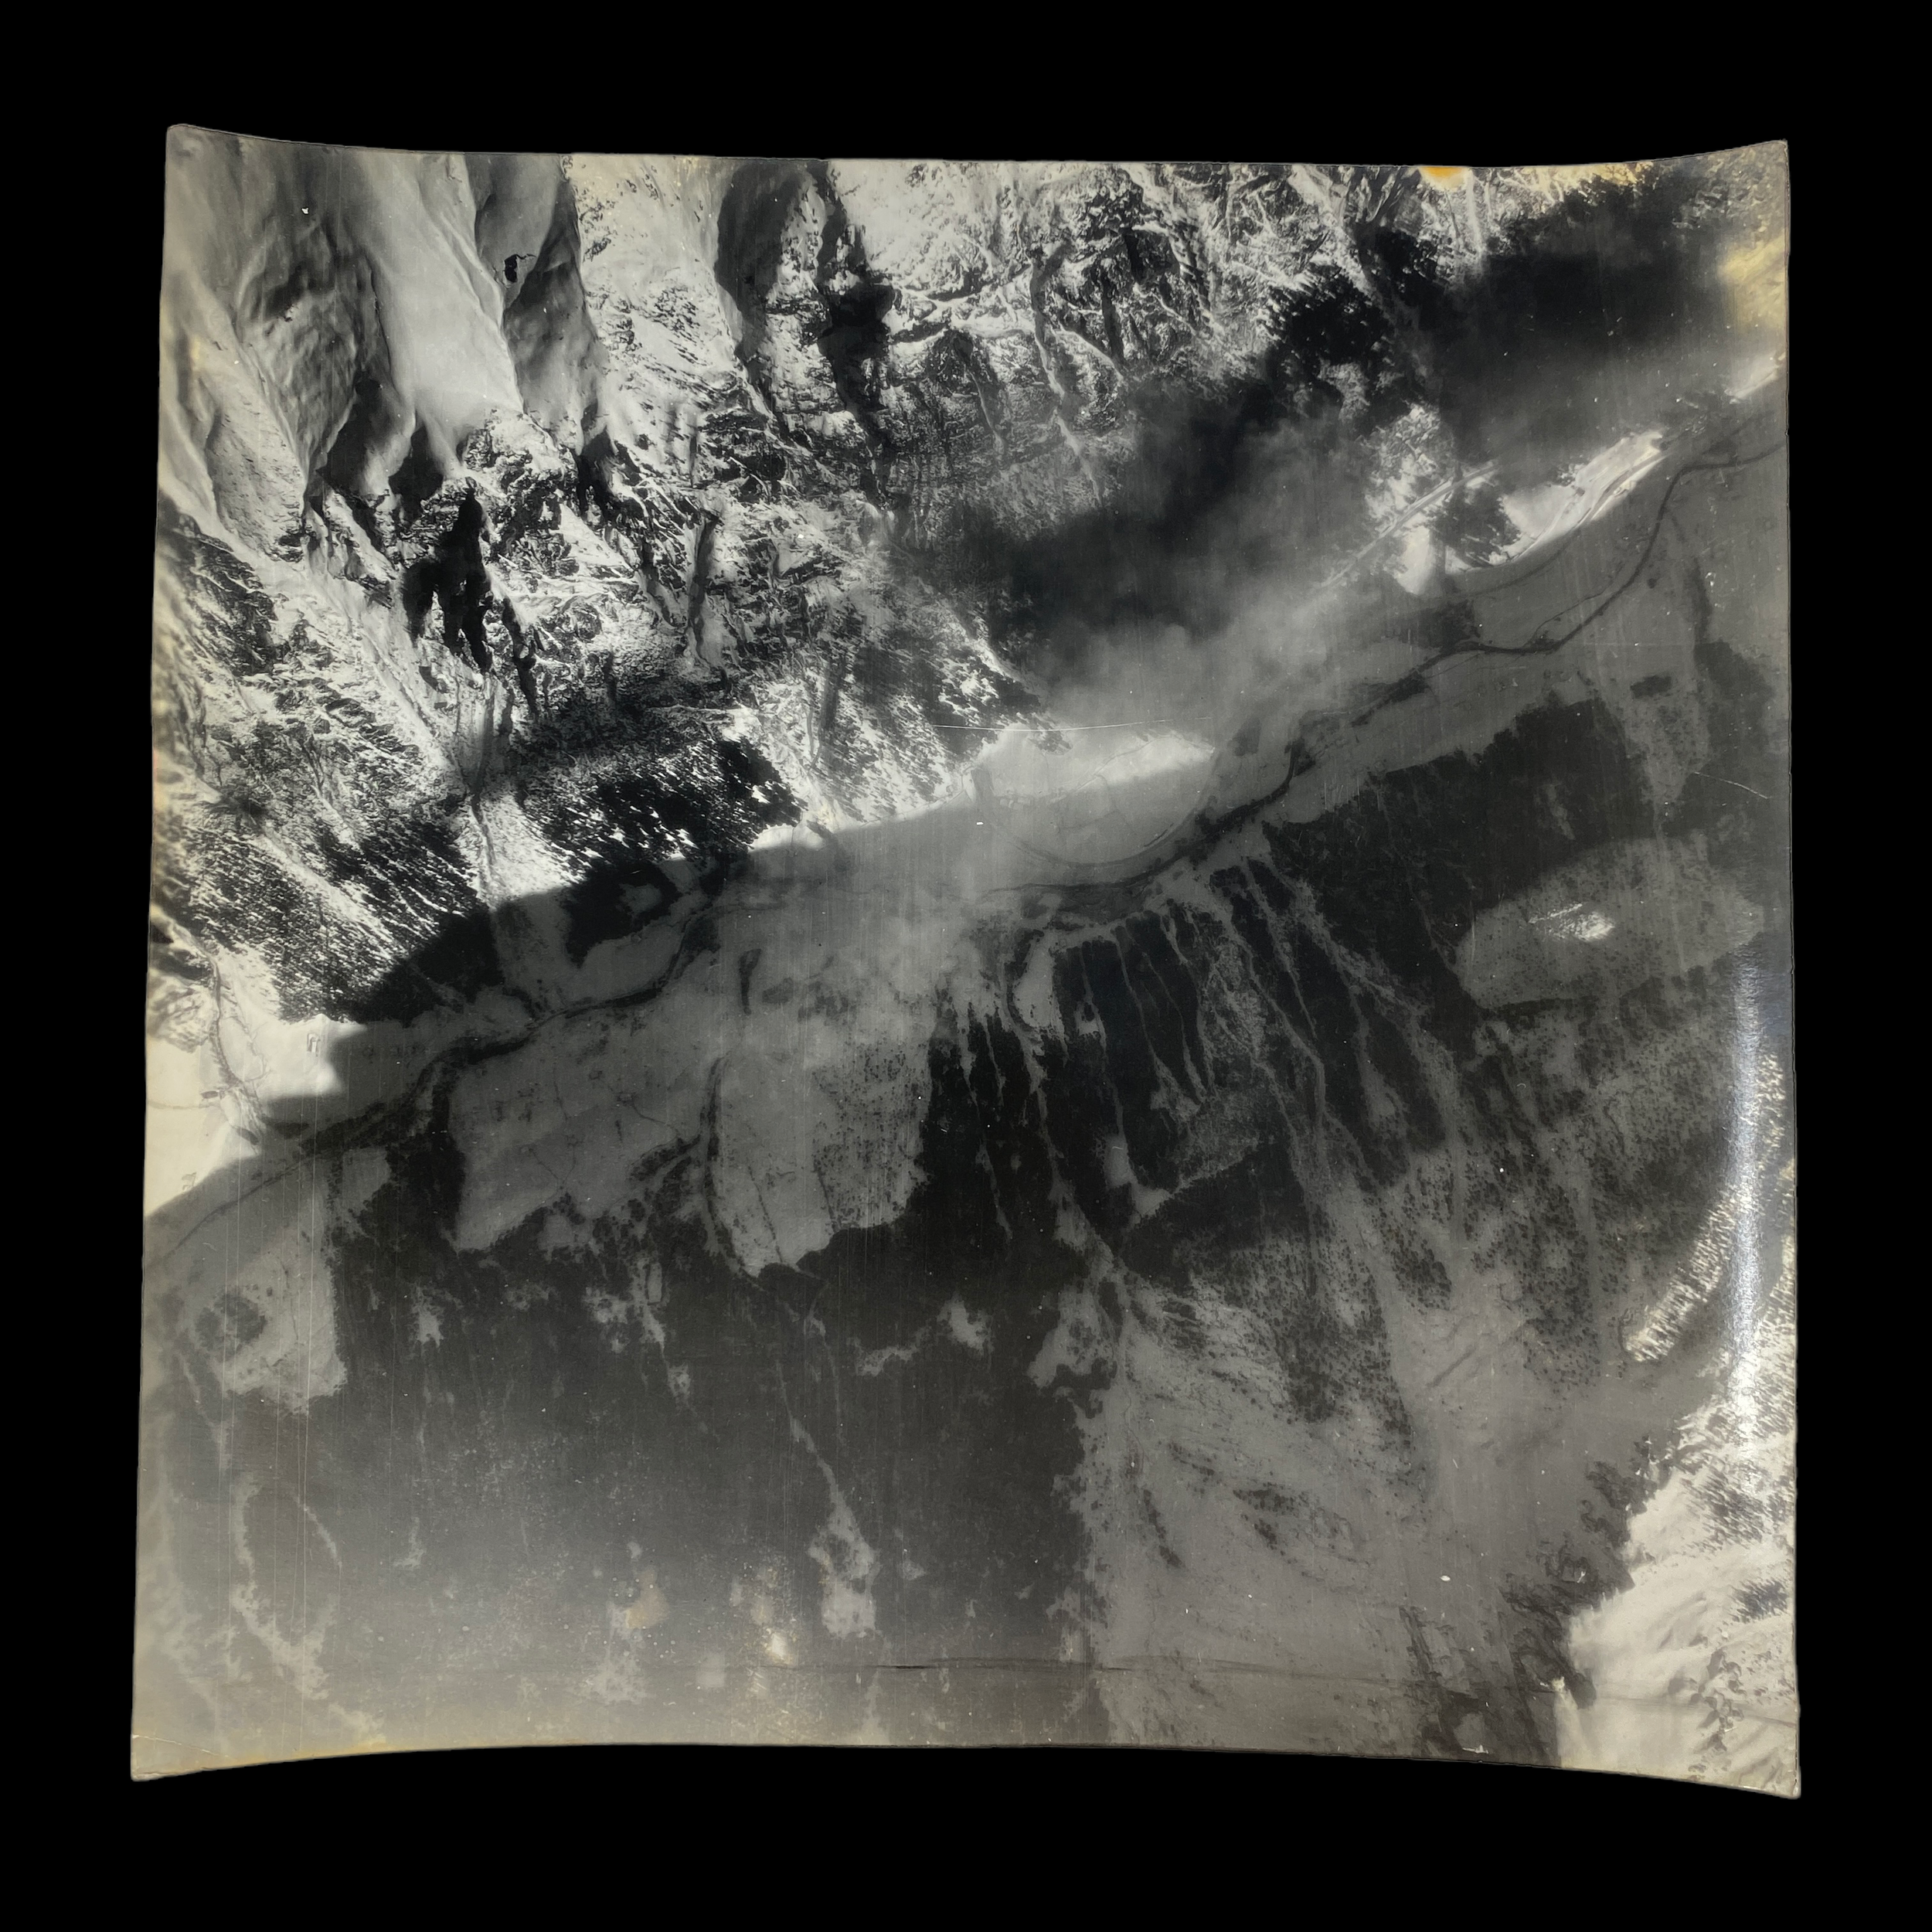
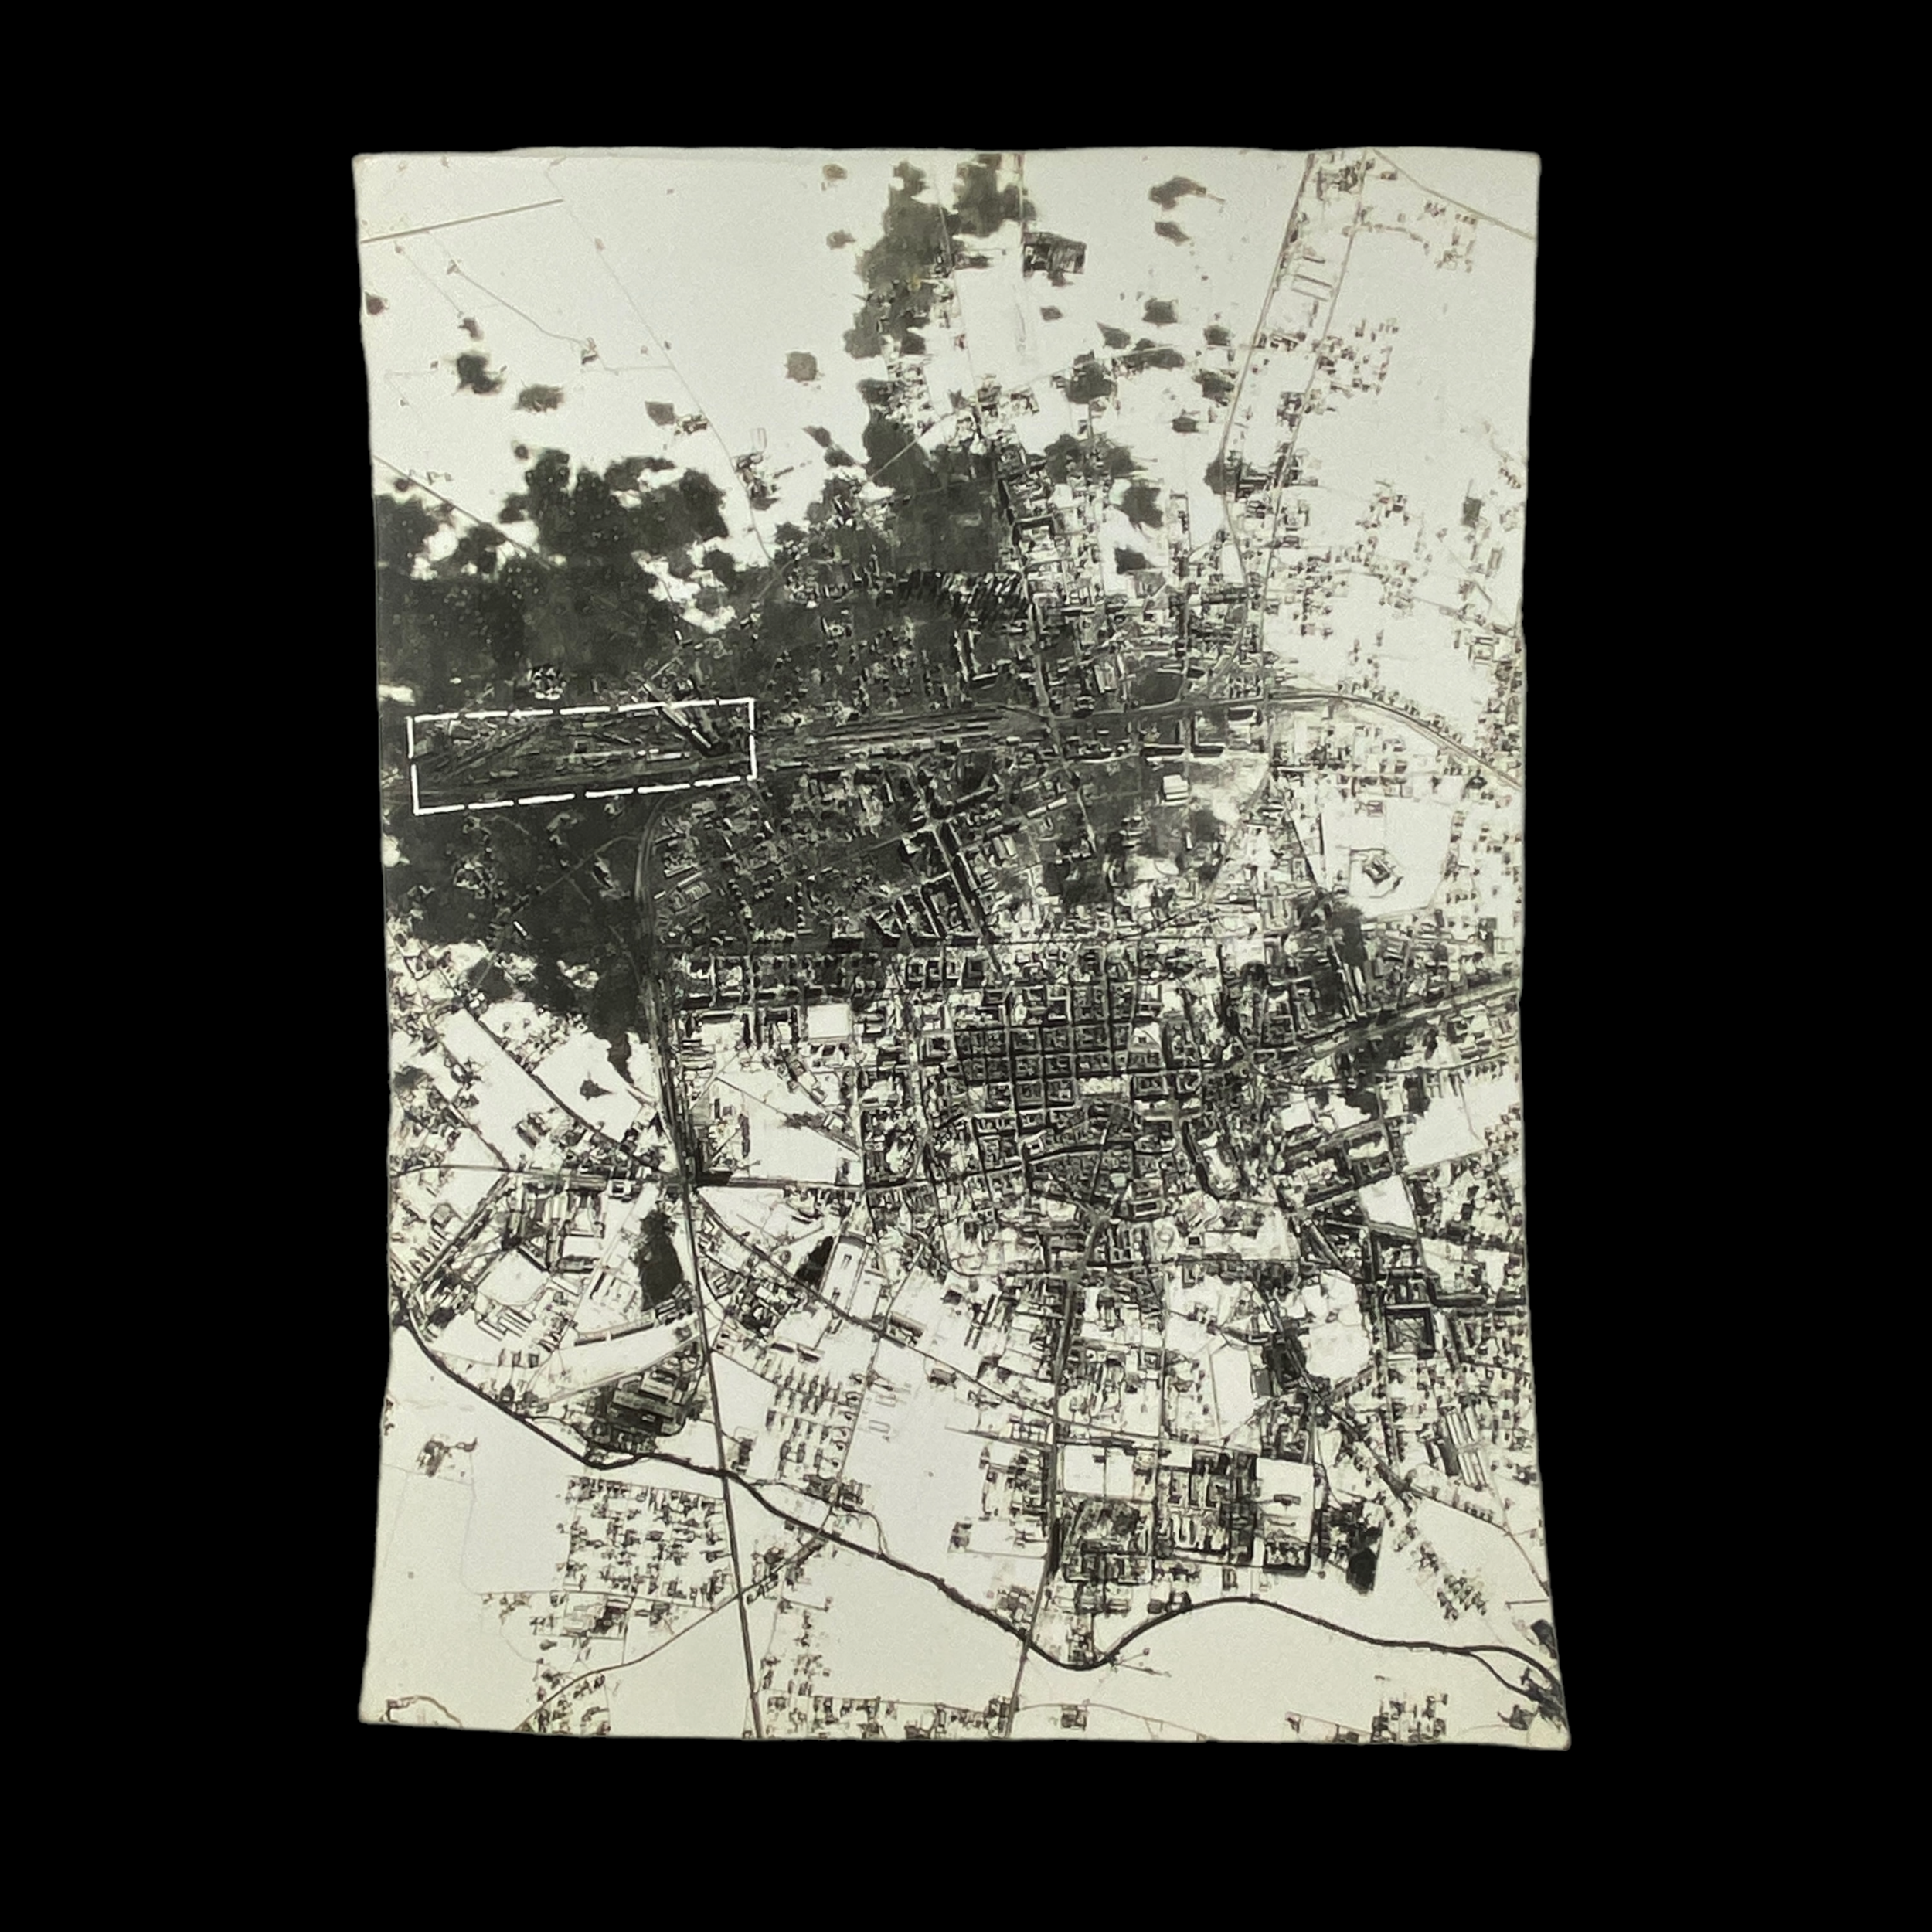
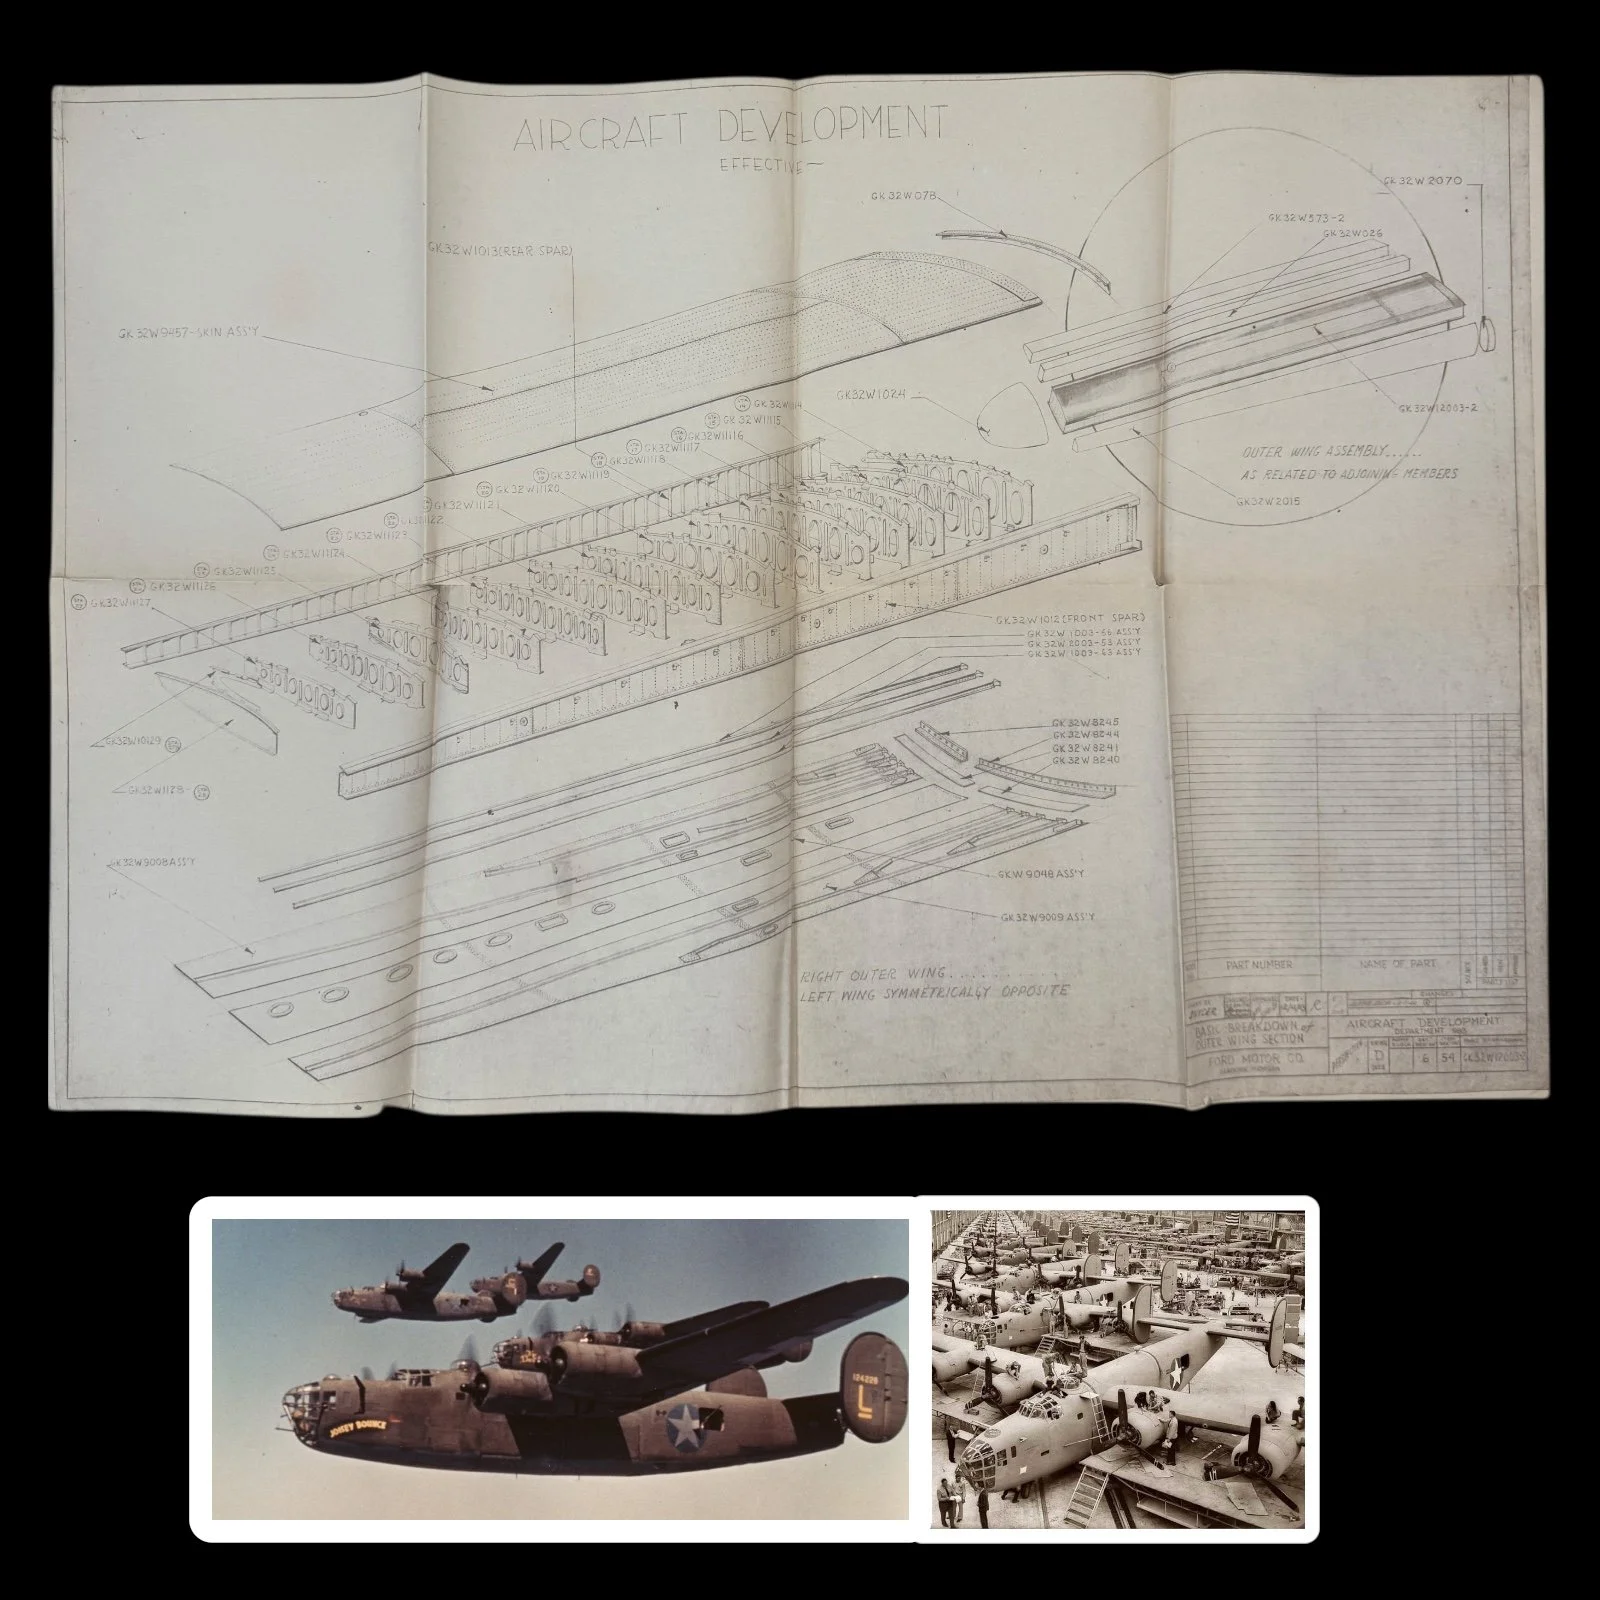
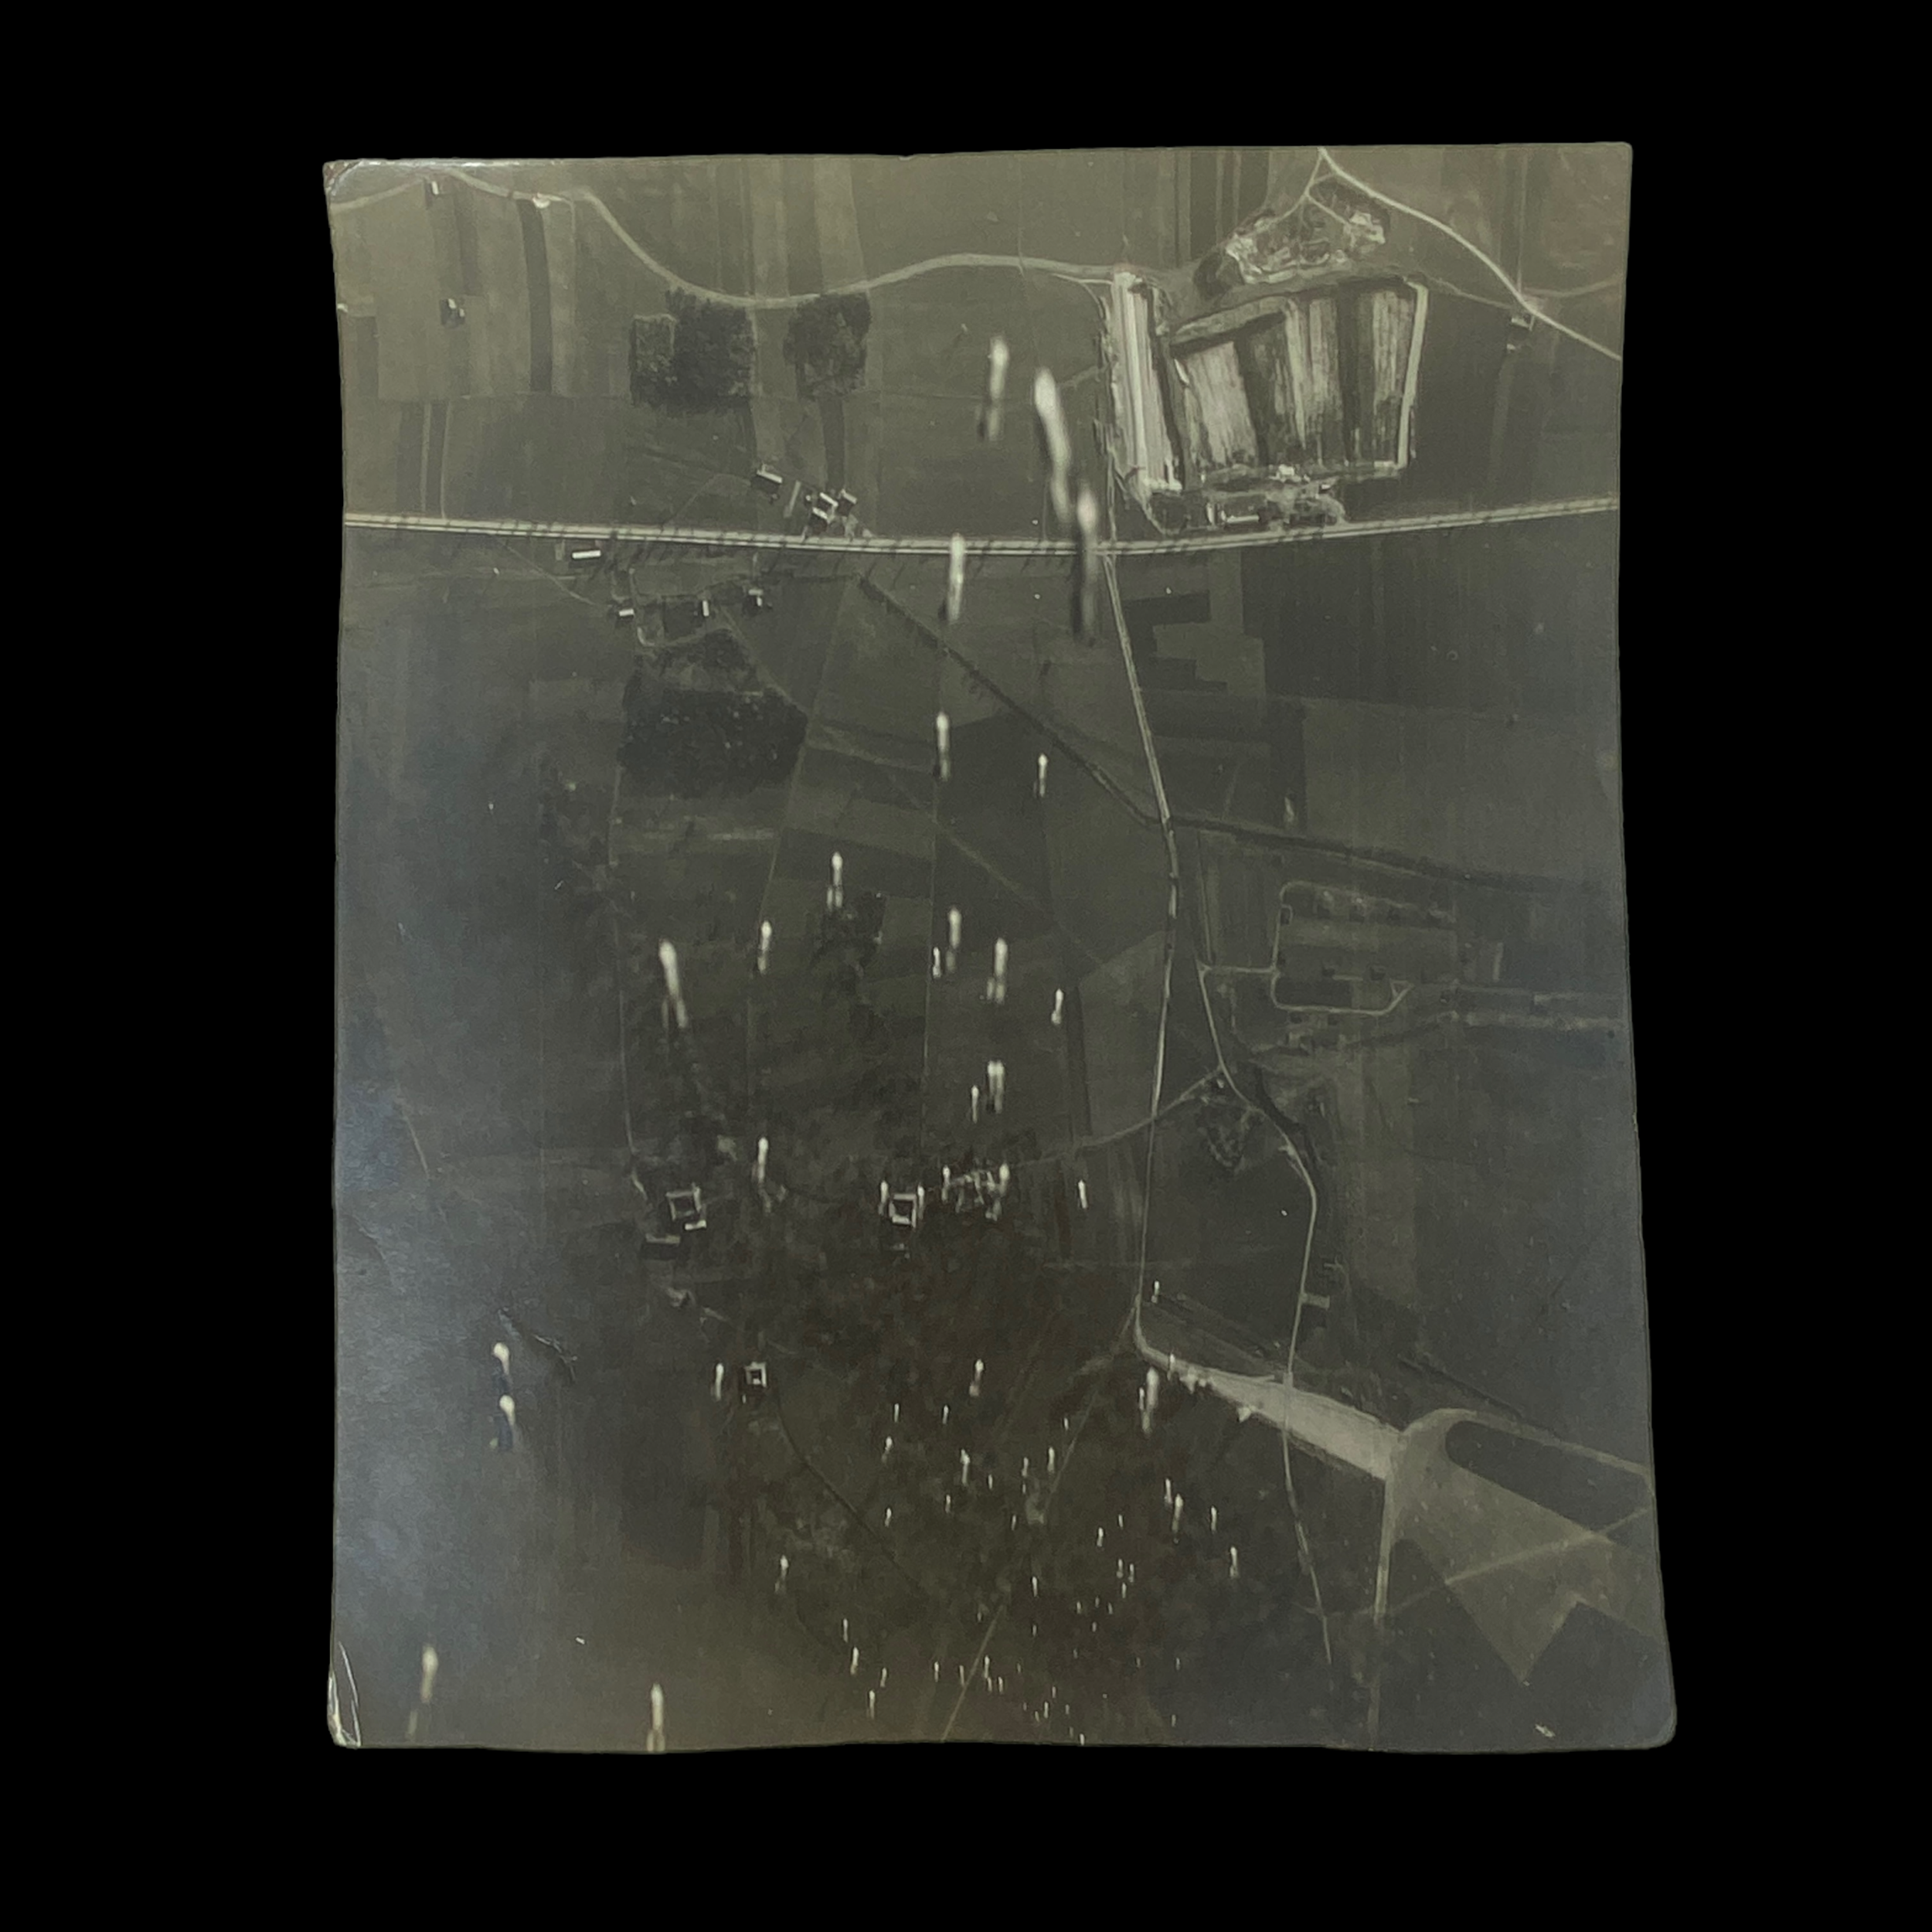
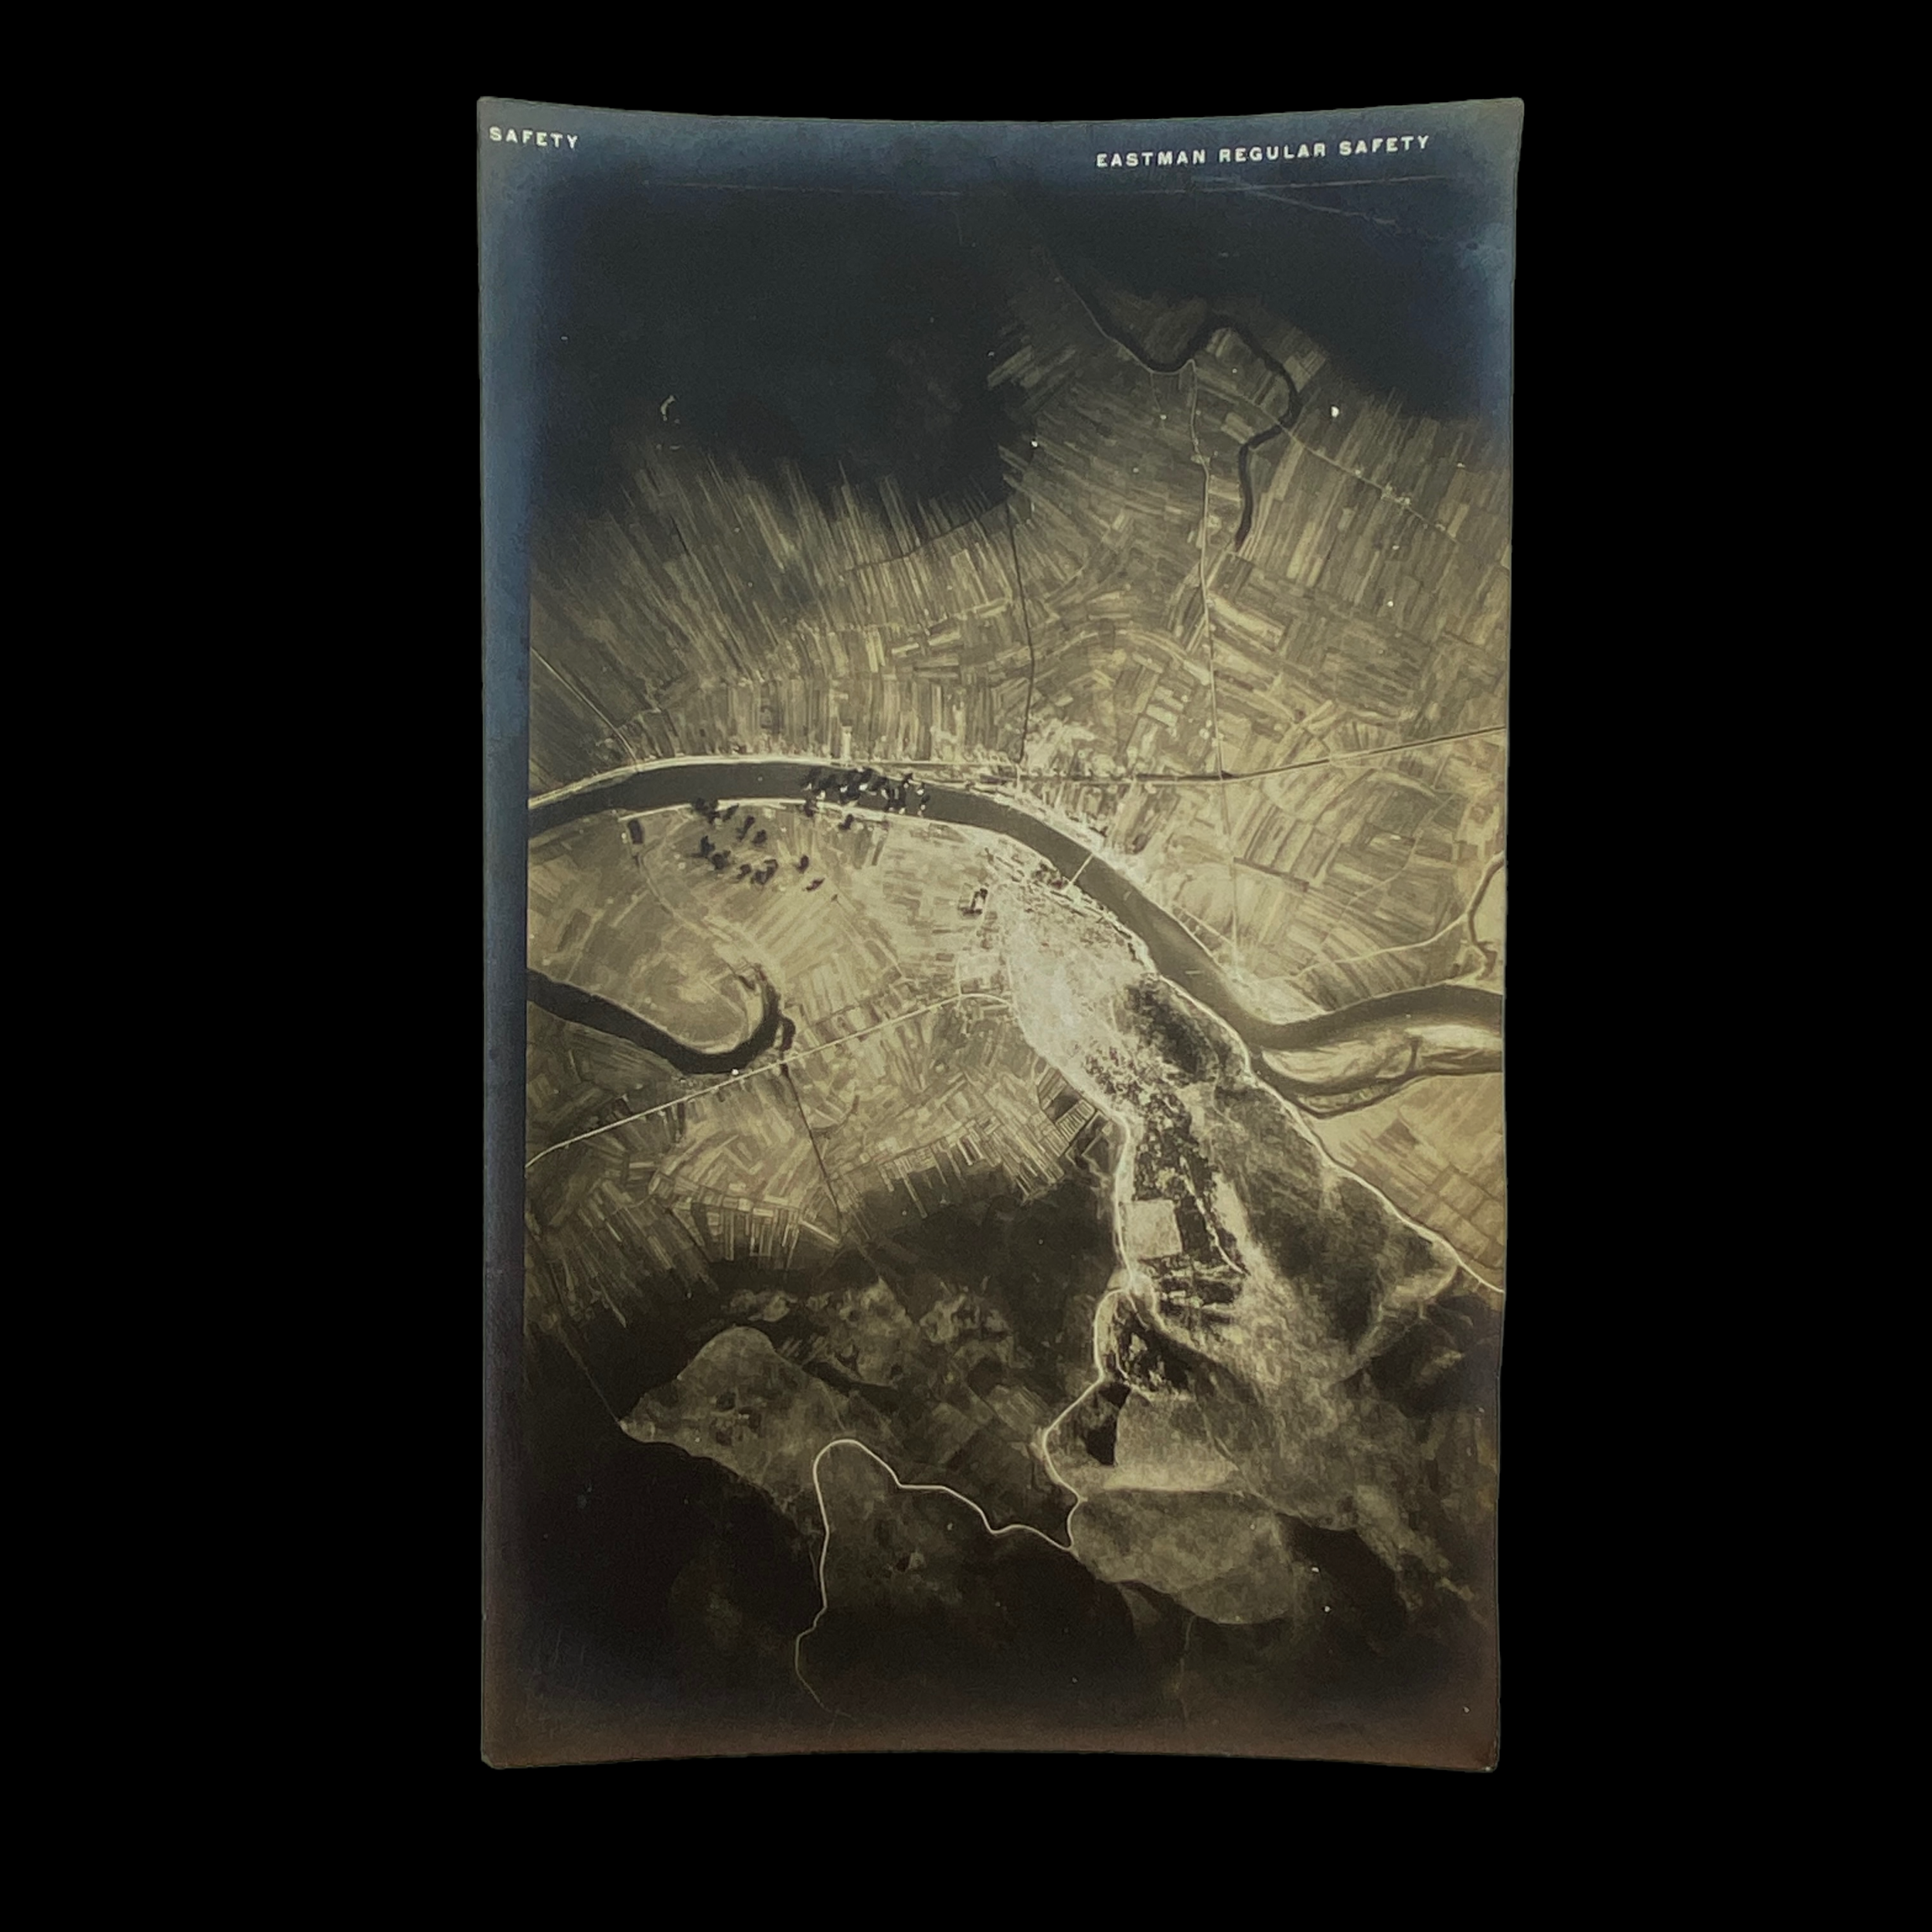
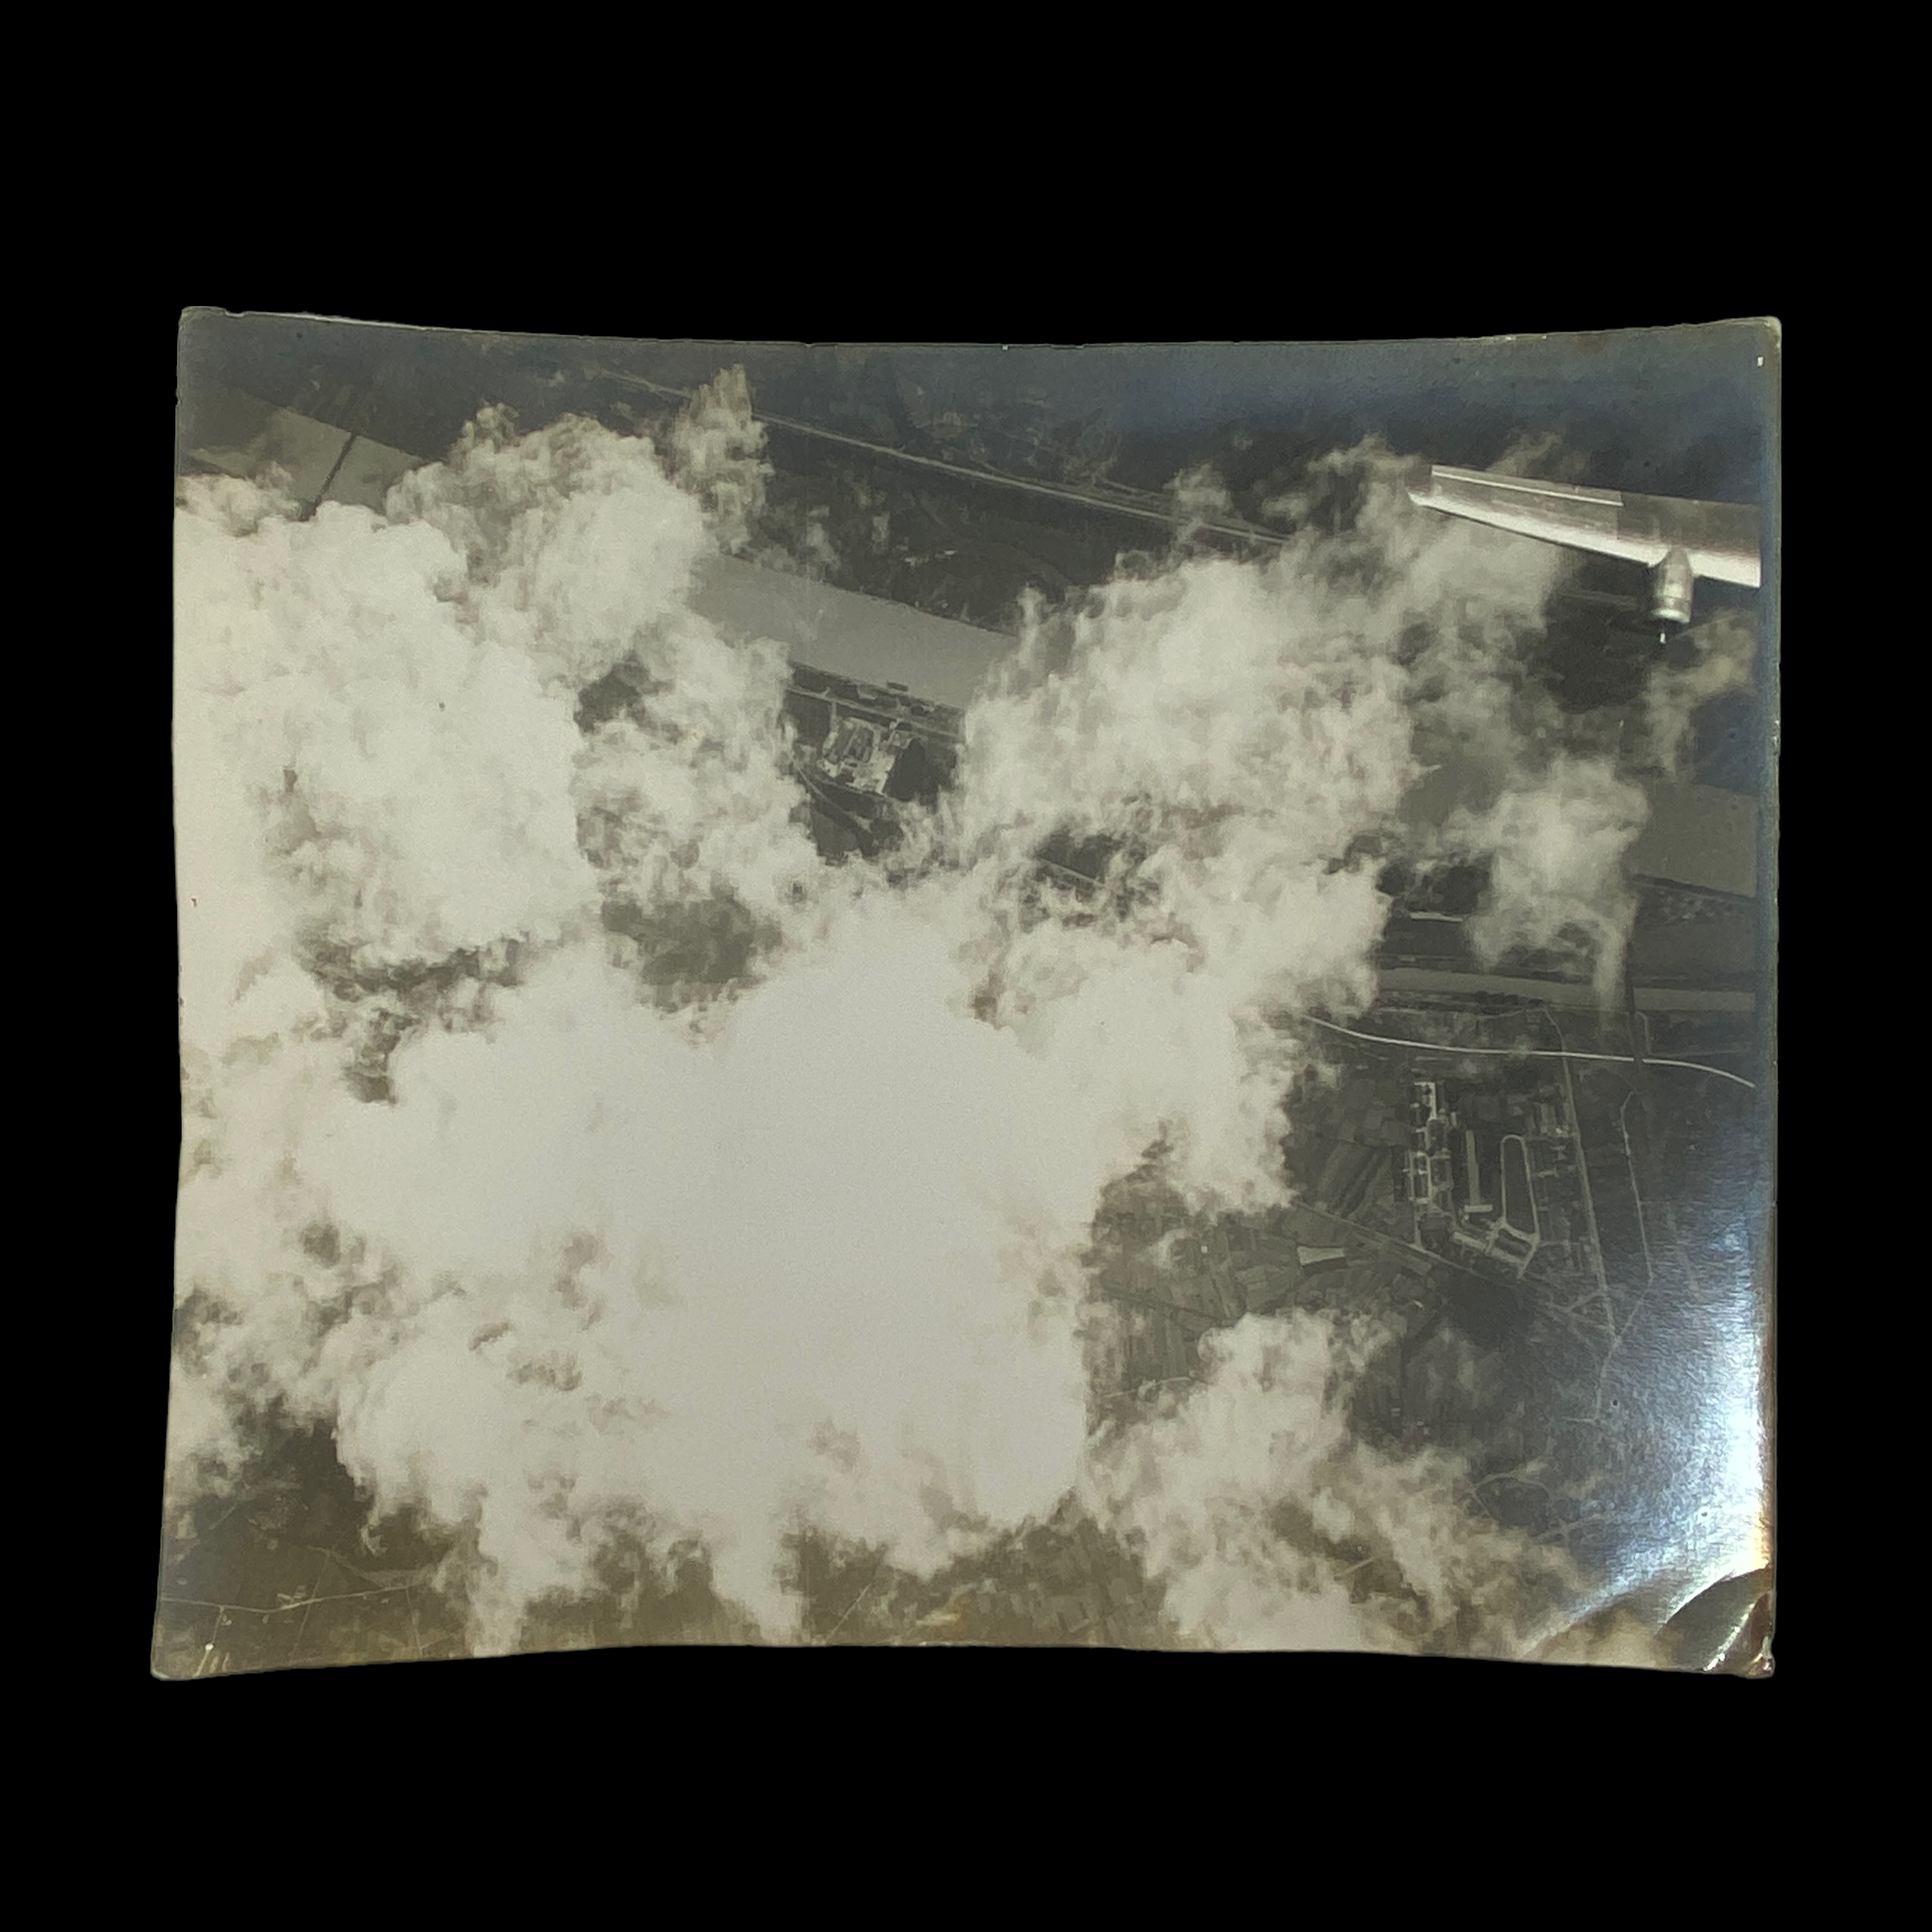
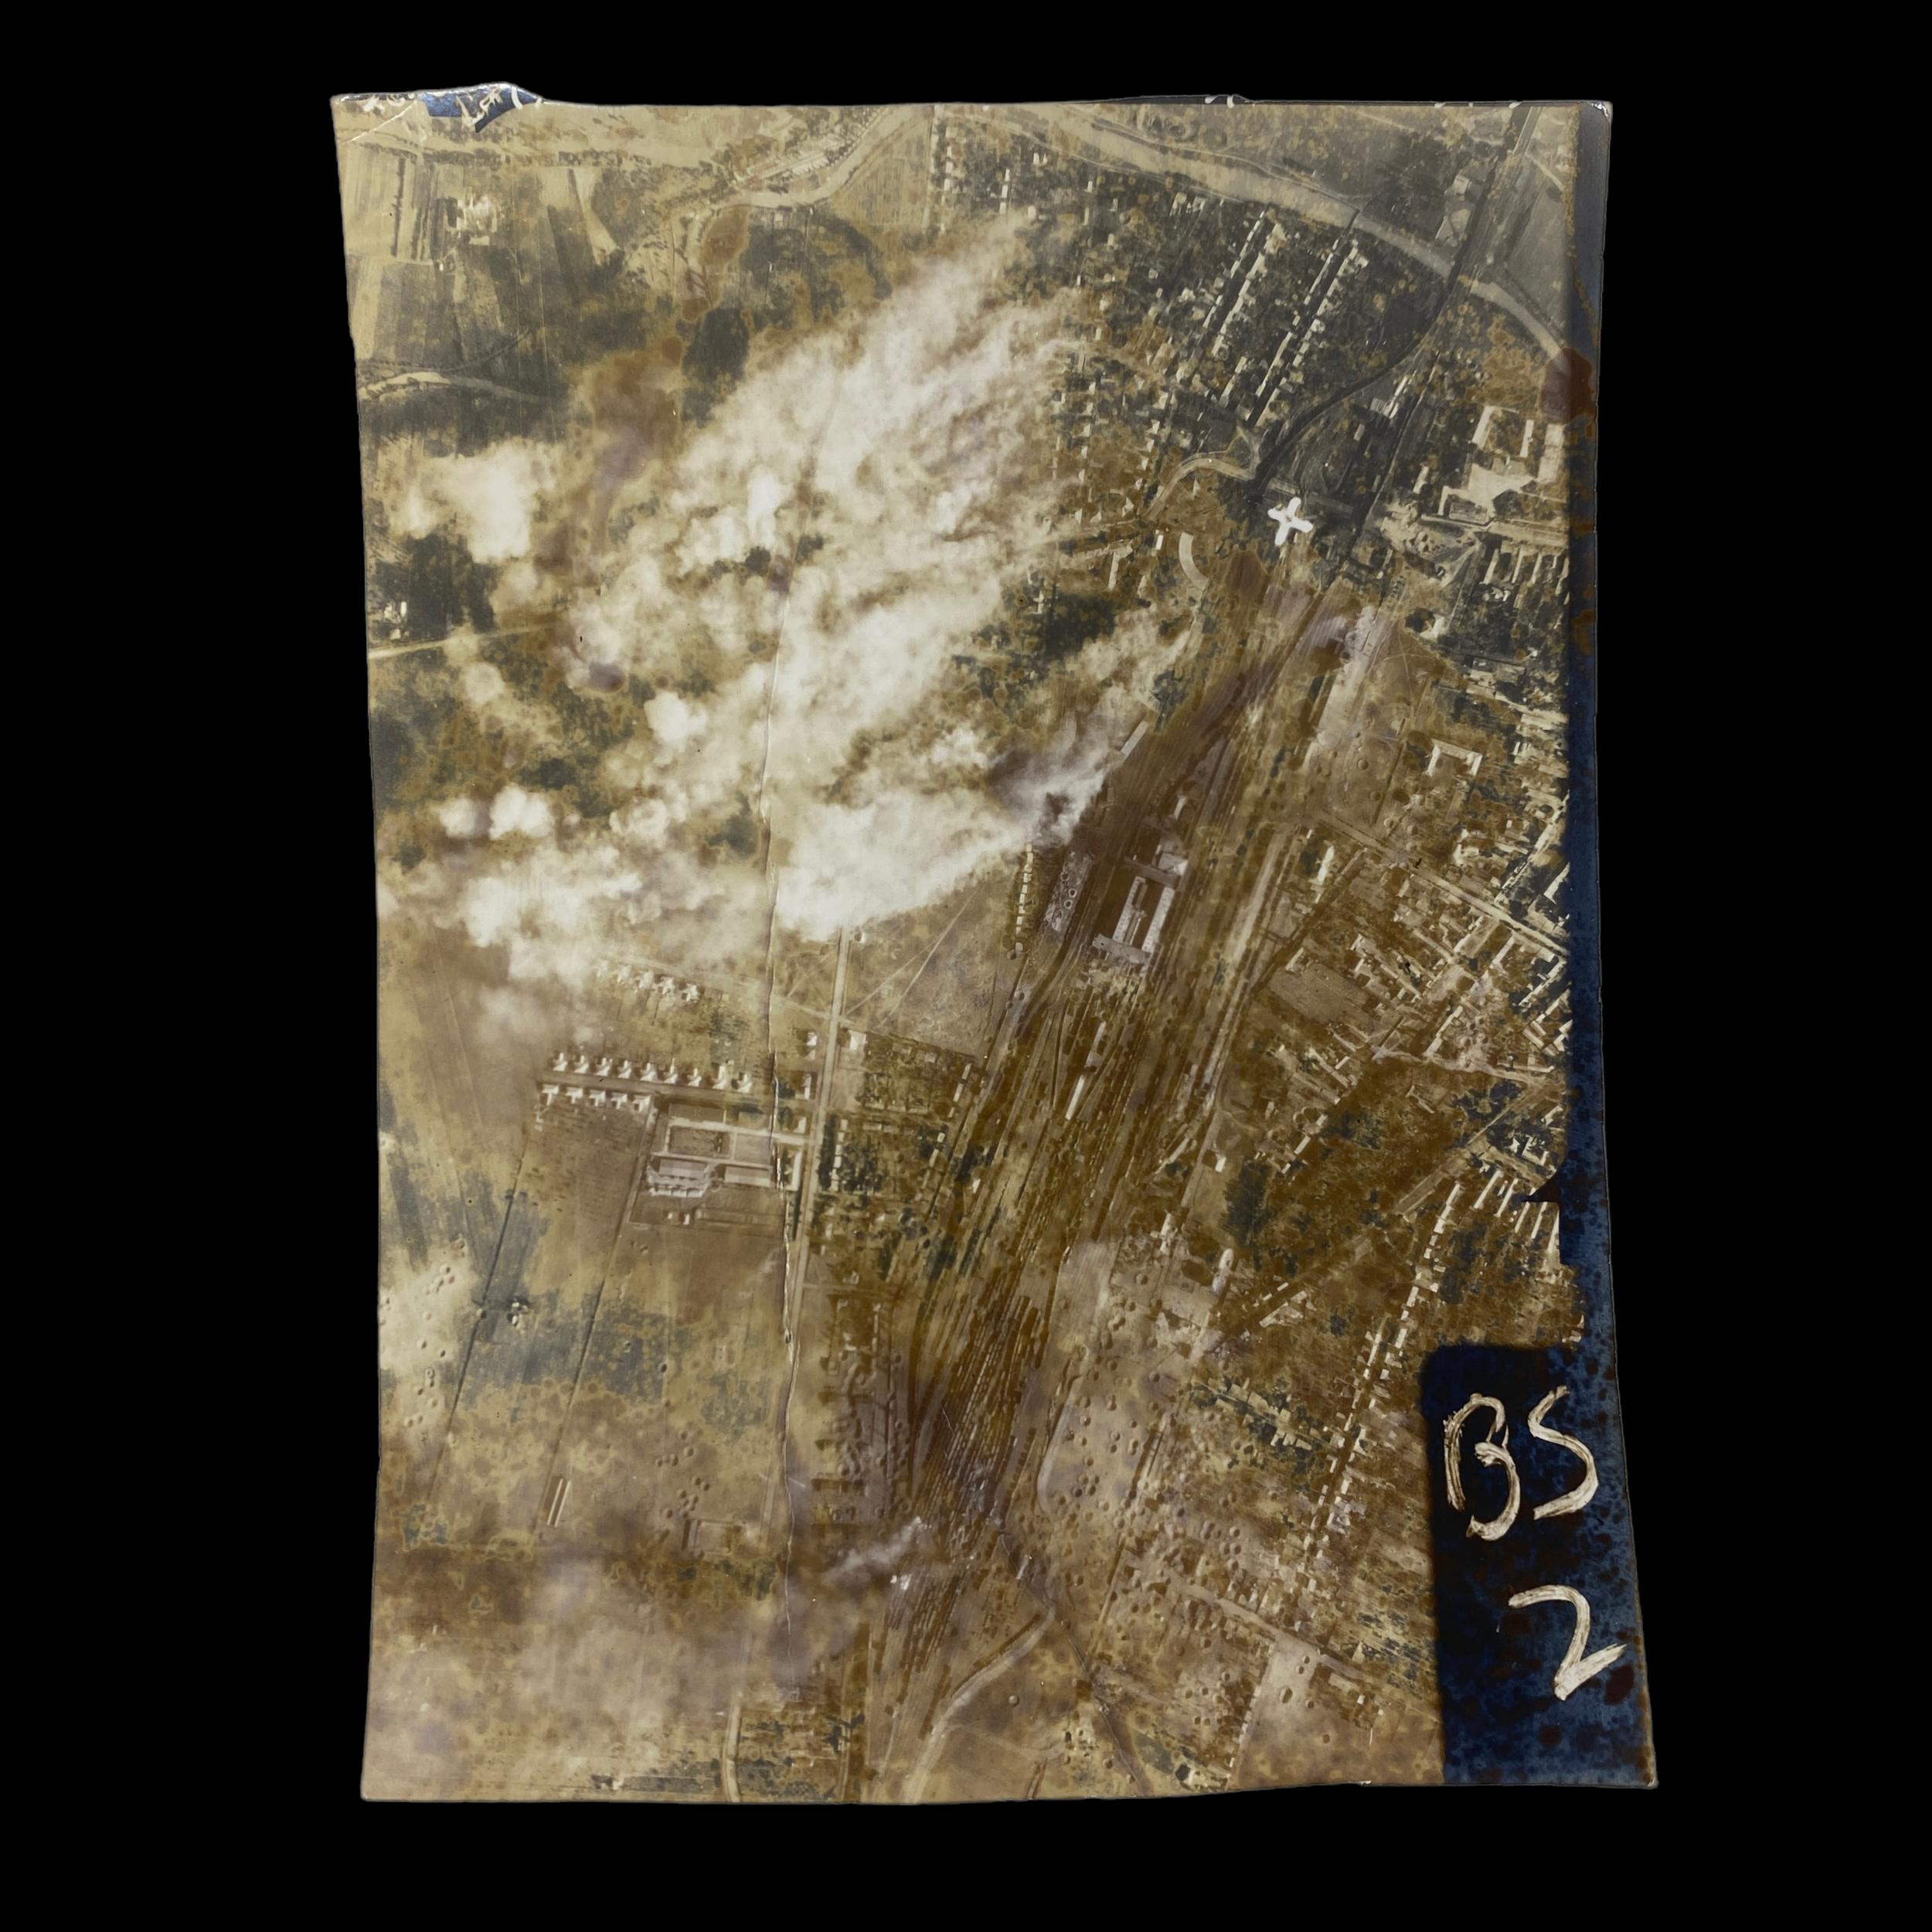
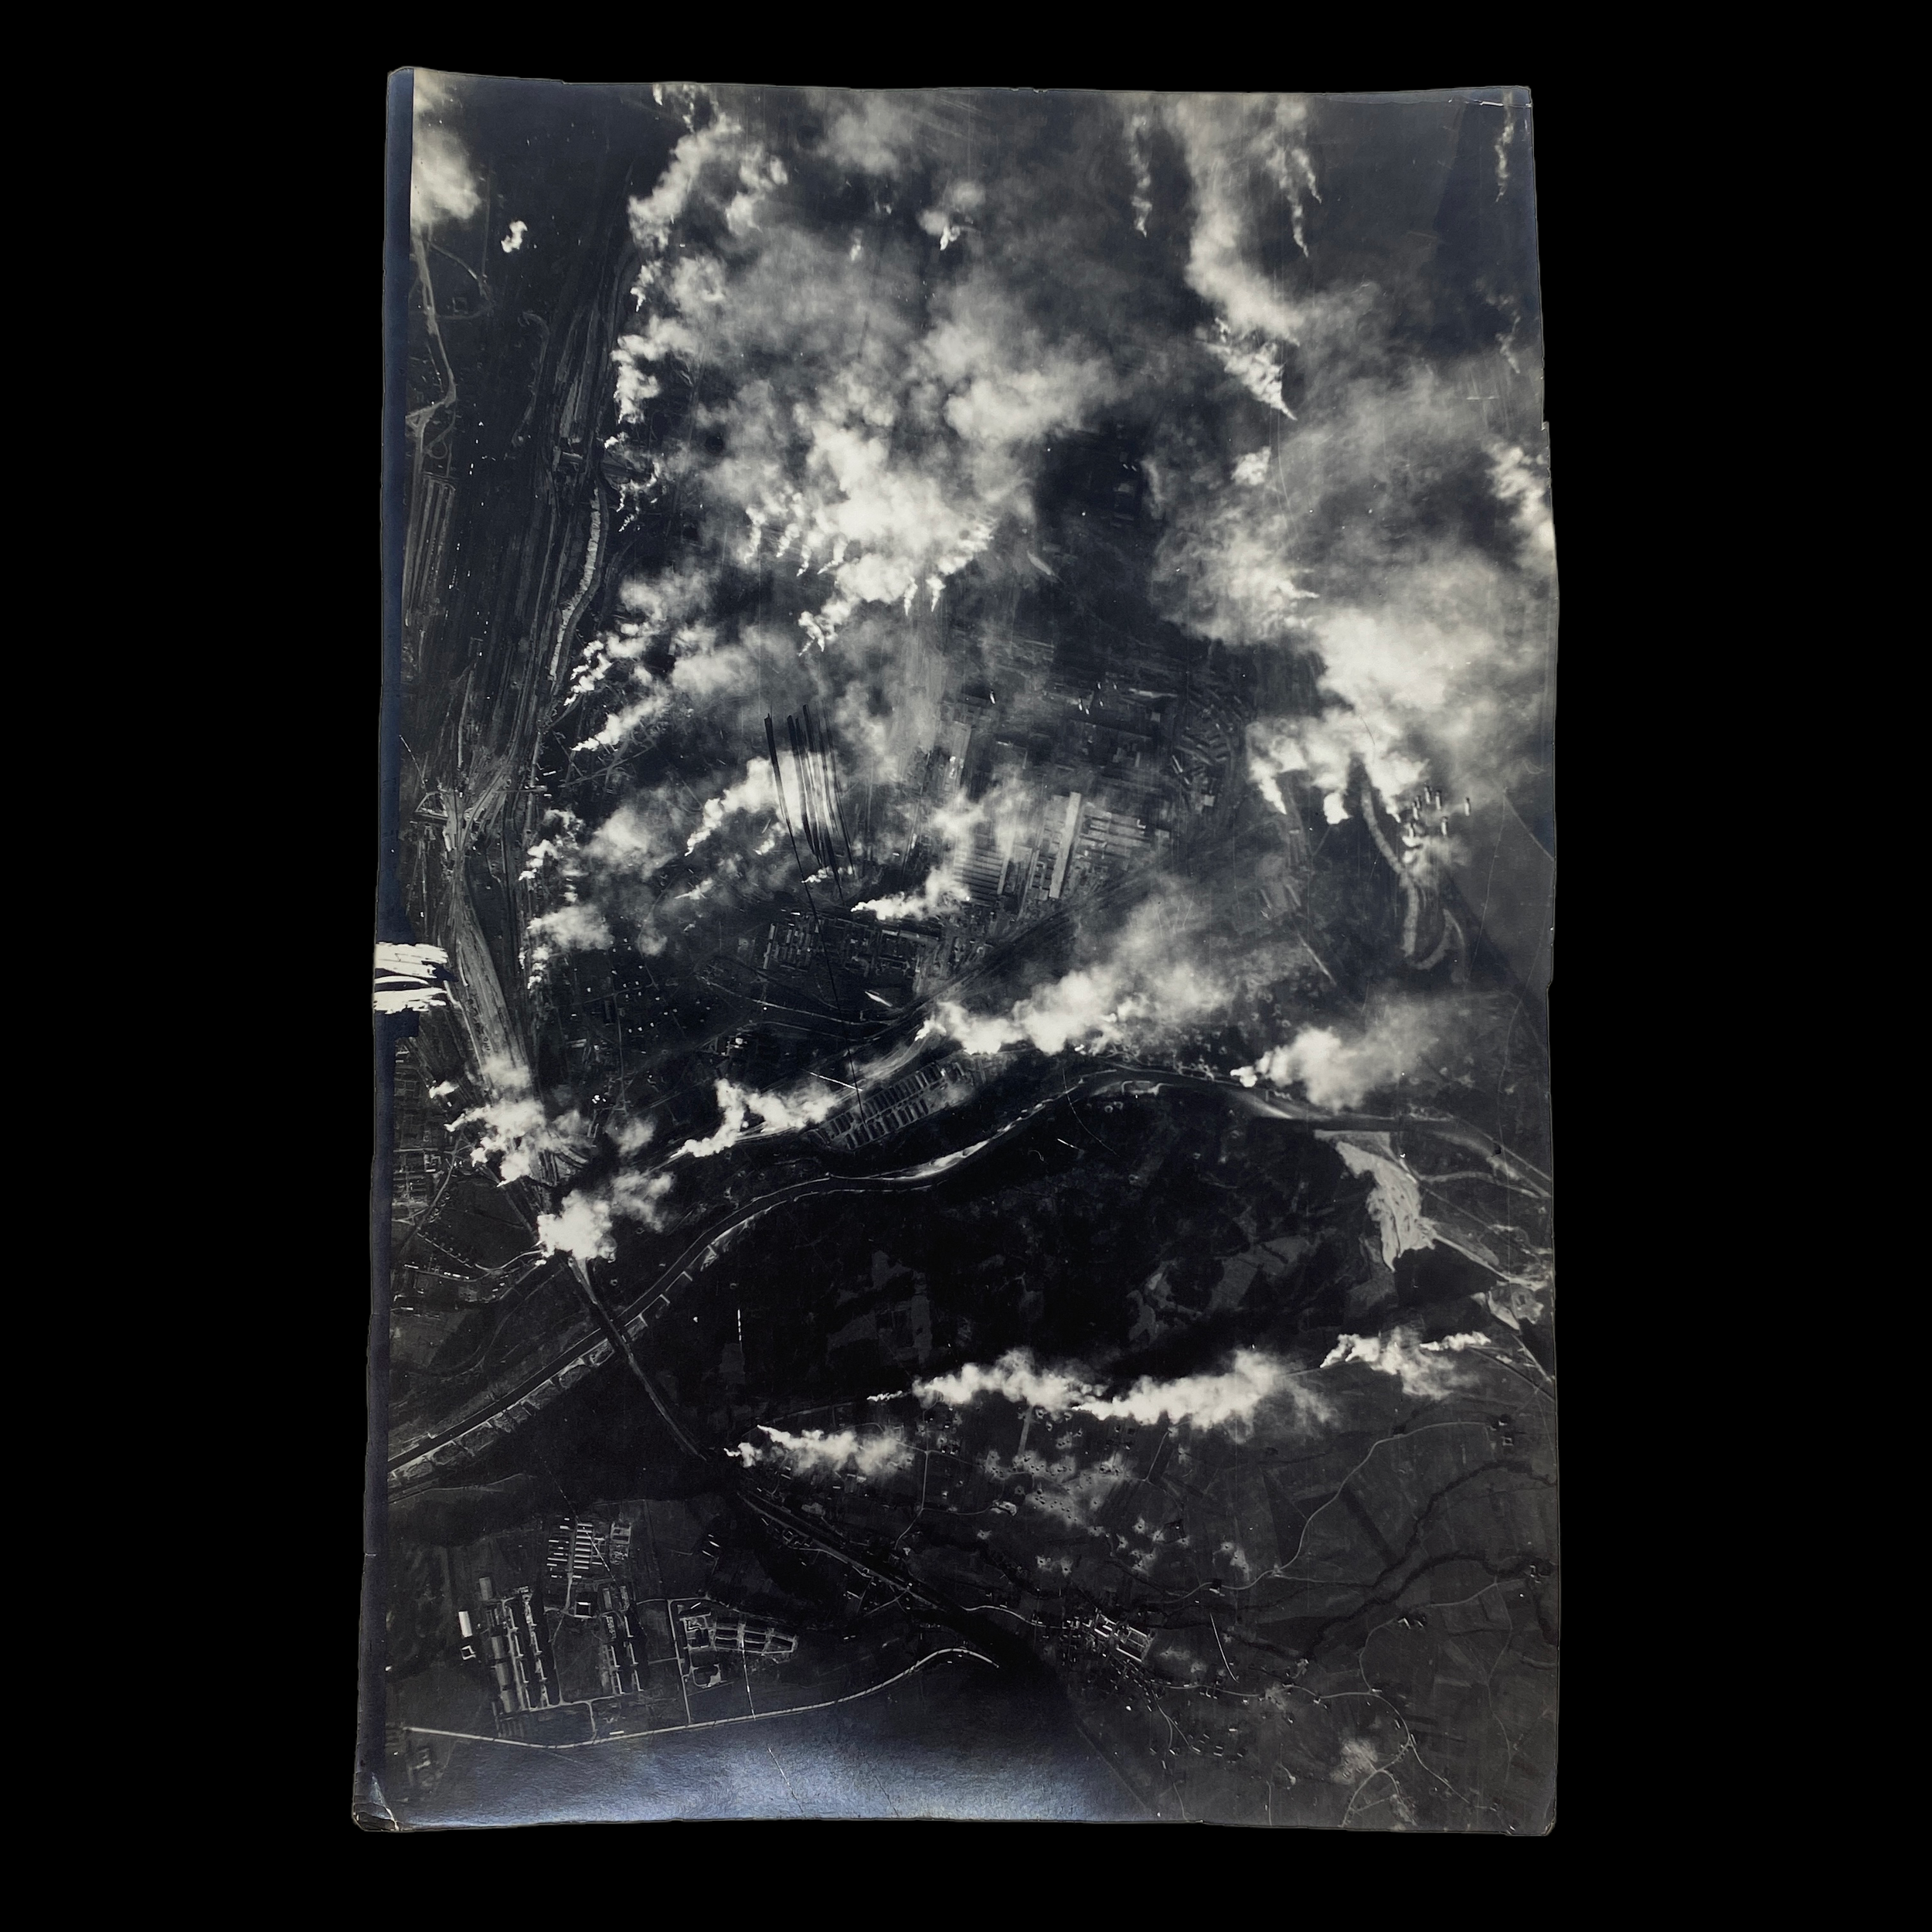
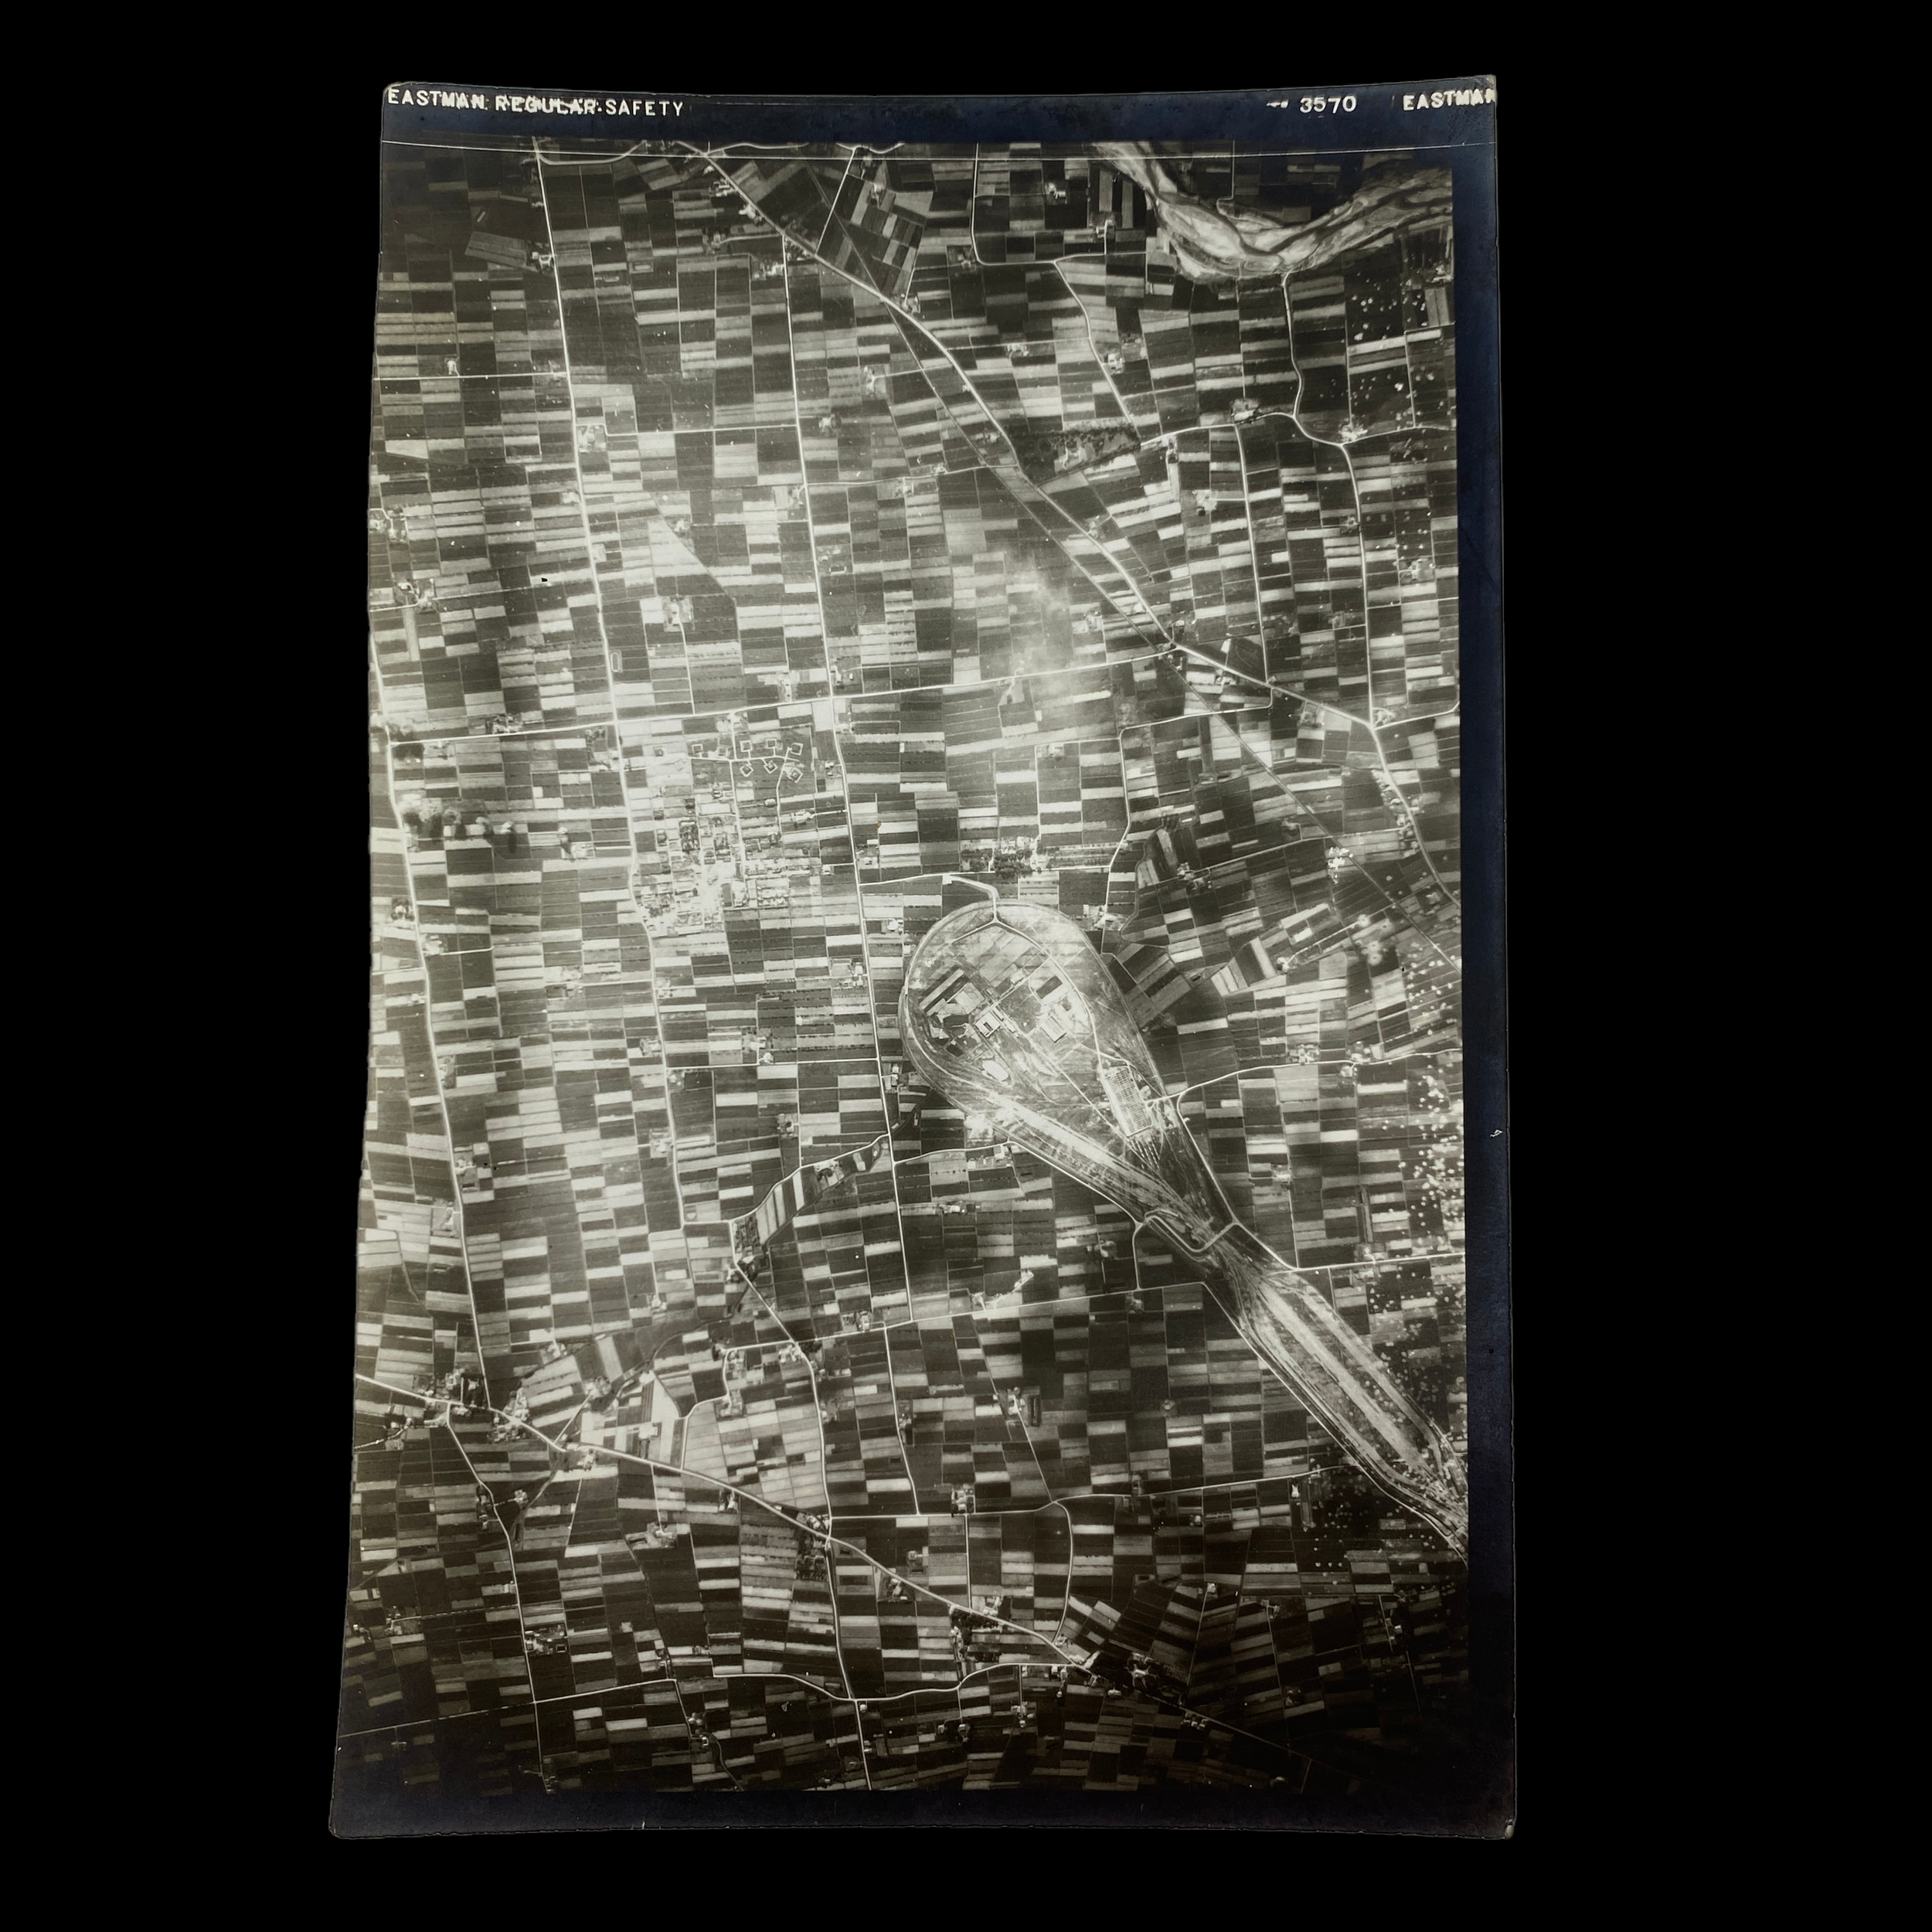

Comes with a hand-signed Certificate of Authenticity and a full historical research write-up.
*Ships via USPS Priority Mail in a medium box with full insurance, tracking, and signature confirmation required upon delivery!
Display Size: 6.25 x 8.25 inches (Medium/Large Display Size)
From: World War II - European Theater
Historical Piece of WWII History Included: Original World War II Ninth Air Force B-26 Marauder Pilot Jacket Worn by 1st Lt. Arthur Pakula (0819703) During His 1944-1945 Combat Missions with the 456th Bomb Squadron - 323rd Bomb Group
Dated: 1944-1945
Exclusive WWII Relic Display: Limited Edition of 50
________________________
🇺🇸A PROUD U.S.A. COMPANY - OUR PROCESS🇺🇸
Each of our “Piece of History” displays is meticulously hand-made, one-of-a-kind, and created to honor and preserve the legacy of World War II. Our in-house graphic design team carefully pairs every relic with a high-resolution archival photograph directly tied to the historical context of the relic itself. Every display includes a custom title and an historical description, providing meaningful insight into the artifact’s significance. Printed on premium matte photographic paper, each display is housed in a high-quality 6×8 frame proudly made in the U.S.A. To ensure both preservation and presentation, the artifact is placed on plush archival padding inside a UV-resistant clear acrylic case. Before being sealed, each piece is authenticated by our archivists and secured with a tamper-proof authentication hologram. This dual-layered display is designed to be instantly ready for your home, office, or collection…whether on a desk, wall, or shelf. Own your piece of WWII history today!
________________________
#1. Historical Significance:
During World War II, First Lieutenant Arthur Pakula (O819703) stood among the braze pilots of the 323rd Bomb Group, one of the most battle tested B-26 Marauder units in the European Theater of Operations. As the pilot of “Crew 13”, Pakula carried not only the responsibility of his aircraft, but the lives of the men who trusted him through some of the most dangerous medium bomber missions of the war. The 323rd Bomb Group operated in a relentless tempo from 1943 through 1945, striking German rail yards, bridges, airfields, troop concentrations, and fortified positions across occupied Europe in direct support of Allied ground forces. Their missions were low altitude, high exposure, and unforgiving. Every flight meant navigating intense flak, enemy fighters, and unpredictable weather while maintaining precise bombing accuracy.
Pakula’s leadership within Crew 13 became one of his defining traits. Calm under pressure. Disciplined in execution. Fully committed to the success of each mission. He piloted multiple B-26 Marauders during his combat service, including aircraft such as 41-34969, The Gremlin II, Hell’s Belle, Ole 33 Gal, and Buzzin Huzzy. Each aircraft carried its own scars, its own history, and its own crew memories, yet Pakula’s consistency behind the controls remained the constant. These aircraft were not just machines. They were lifelines that carried crews into hostile skies and, when fortune allowed, brought them home again.
The 323rd Bomb Group played a critical role in the lead up to and aftermath of D-Day, continuing its operations through the brutal campaigns of France, Belgium, and Germany. Their B-26 Marauders attacked German supply lines, armored movements, and defensive positions that directly shaped the success of Allied advances. Pilots like Pakula flew in tight formations at low altitude, where flak bursts tore through the sky and left no margin for hesitation. The Marauder demanded skill, precision, and confidence. Under Pakula’s control, it became a weapon of determination rather than fear.
From 1944 into 1945, as Allied forces pushed deeper into Europe, the missions only intensified. The 323rd Bomb Group remained at the front edge of tactical air power, delivering critical strikes that disrupted German reinforcements and weakened entrenched defenses. Pakula’s record reflects a pilot who adapted to changing battle conditions while maintaining the discipline required to survive repeated combat operations. His repeated flights aboard multiple aircraft demonstrate not only operational necessity, but the trust placed in him by his commanders and fellow crew members.
Arthur Pakula’s service with the 323rd Bomb Group represents the quiet heroism of the medium bomber crews who rarely received the same attention as heavy bomber units, yet carried an equal burden of risk. Crew 13, under his leadership, became part of a larger story of courage, endurance, and sacrifice.
Air force: Ninth Air Force
Type: Bombardment
Unit Hierarchy: Squadron
Nicknames: White Tails
Moto: We Conquer Without Fear
Insignia: Four Leaf Clover overlaid by three Dice -4,5 and6
Aircraft used: B-26 Marauder
#2. Why This Display is Special:
Our "Piece of History" displays are a tangible connection to one of the most pivotal moments in WWII history. Carefully curated and designed, each display transforms an authentic fragment of WWII history into a breathtaking and meaningful tribute to the past. Whether you're a passionate history enthusiast, a proud descendant of a WWII veteran, or simply someone who values the sacrifices made for freedom, this limited edition display offers a unique way to honor the legacy of the Greatest Generation. Each display invites conversation, reflection, and a deeper appreciation for the courage and resilience of the U.S. soldiers who fought in the European Theater. It stands not only as a stunning display but as a reminder of the bravery, sacrifice, and enduring spirit that helped shape the modern world. Let this display spark curiosity, inspire remembrance, and preserve the memory of those who fought for liberty for generations to come.
🇺🇸We are deeply honored to preserve these powerful pieces of history…not only for the world-renowned museums we curate for, but also for private collectors like yours! For this special display, 50% of all sales from this “Piece of History” display will be donated to the non-profit Honor Flight Network. Honor Flight is committed to transporting as many U.S. military veterans as possible to Washington, D.C., where they can visit the memorials dedicated to their service and sacrifice—all at no cost to them. Thank you for joining us in preserving history and honoring the heroes who helped shape it. 🇺🇸
This display would make an extraordinary addition to any WWII or military history collection. For further details or inquiries, please don’t hesitate to reach out.